


Step 1 of 5
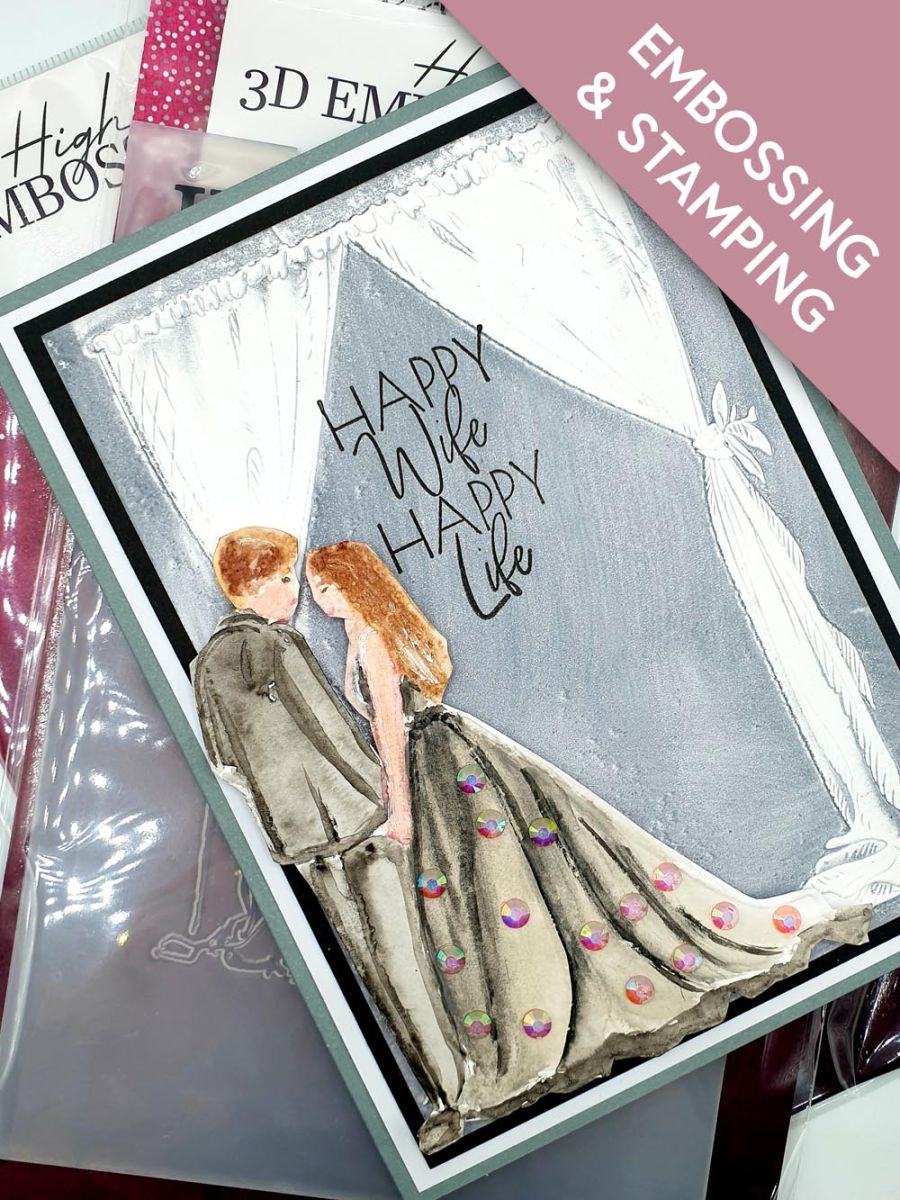
Emboss the Happy Ever After design on to white watercolour cardstock.








Prices change straight away. Every language is our own translation, not Google.
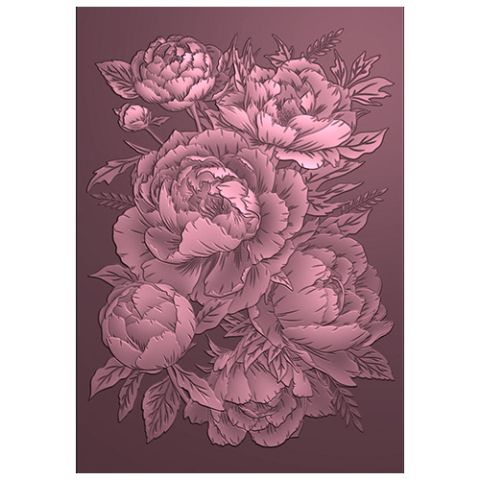 Signature Watercolour High Definition 3d Embossing Folder - Pretty Peony€12.99BUY✓ ADDED
 Cardstock BlackBlack cardstock 5 ½ “ x 7 ½ “€5.65BUY✓ ADDED
 Watercolour Mixing PaletteWatercolor palette€7.85BUY✓ ADDED
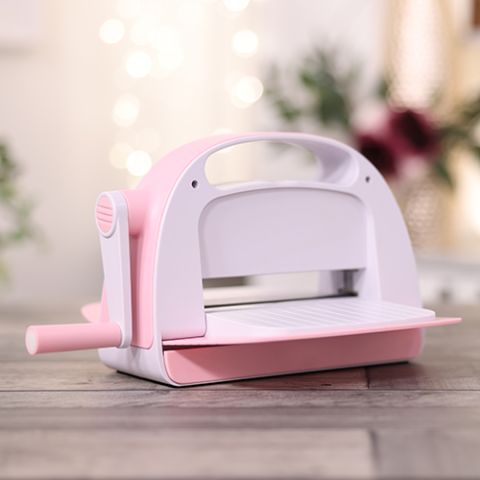 Stamps By Me 6 Inch Die Cutting & Embossing MachineEmbossing machine€129.99BUY✓ ADDED
Emboss the Happy Ever After design on to white watercolour cardstock.
Fussy cut the happy couple.
Using the 5 x 7” cardstock for the Cabaret embossing folder, swipe the Grey Flannel ink on the deboss side and run through your machine.
At this point you can either leave the Bride and Groom uncoloured, as shown here, for a white on white effect or watercolor using grey tones and allow to dry
Once dry place foam pads underneath and place onto the embossed cabaret cardstock then stamp the sentiment from Believe you Can.
Matt on to the black cardstock and then on to your grey card blank, to finish the card
Share your make with the Stamps By Me community - and keep this guide for next time.
Prefer the previous layout? Open the old page.



