tap a picture to see it big · tap DONE as you go - this device remembers
Step 1 of 10
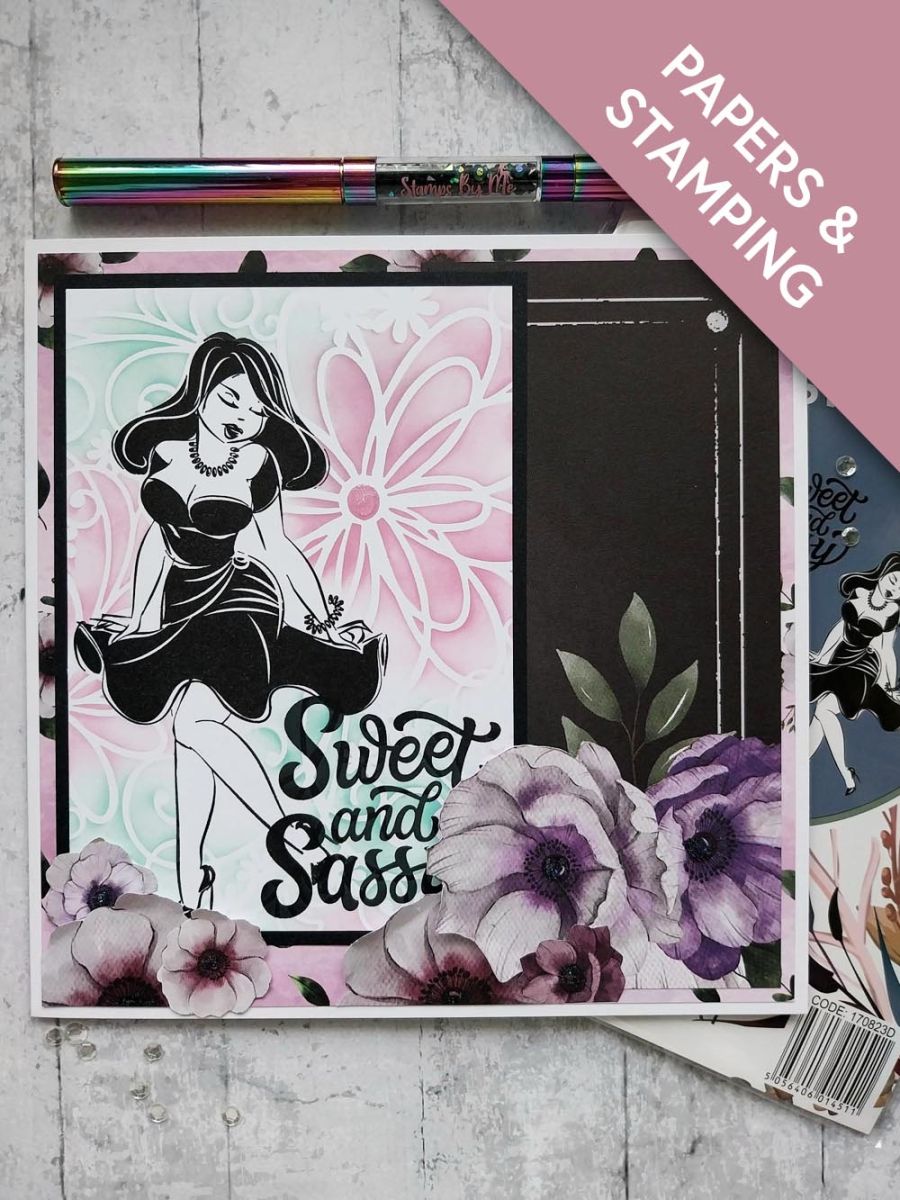
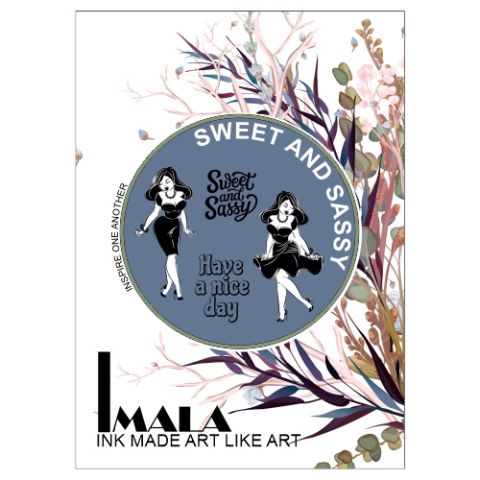
Stamp our sassy lady onto a masking sheet (or copy paper) and fussy cut to create your "mask".
Secure your "mask" to the left of a piece of white card, trimmed to 5 3/4 x 4". Lay the Delightful Daisy stencil over the top and lightly blend with your Distress inks, to create your background.
Step 2 of 10
Remove your "mask", ink up your sassy lady using the Midnight ink and stamp in position.
Step 3 of 10
Stamp the sentiment to the bottom right of your artwork.
Step 4 of 10
Mat on to black card measuring 6 x 4 1/4" and pop your topper to one side.
Step 5 of 10
Trim this floral decorative paper from the Bloom & Grow pack, to 6 3/4" square. Adhere to the front of your white 7 x 7" card blank.
Step 6 of 10
Create a panel from this decorative sheet and adhere down the right side of your prepped card. You need to cut along the top edge of the flower on the left before securing the panel in place, so you can "tuck" your topper underneath (see next step).
Step 7 of 10
Adhere your topper to the left of your card, tucking the bottom right under your flower, as seen here.
Step 8 of 10
Fussy cut a few coordinating flowers from another decorative sheet.
Step 9 of 10
Mould the flowers with your fingers to give them shape before adhering to your artwork where required.
Step 10 of 10
Use the Stickles to add a touch of sparkle to your finishd card.
You made it!
Share your make with the Stamps By Me community - and keep this guide for next time.
Hello! I'm Toni's AI craft helper - I know the projects from Toni's shows, our guides and everything in the shop. Ask me anything, like "which dies go with this stamp set?" or "what do I need to start ink blending?"
An AI helper (not Toni herself), answering from Toni's shows and our shop - please check the product page before you buy.