


Step 1 of 6
Cut a piece of white card measuring 3 5/8 x 5 3/8
Cut strips of grey pearl card and red card. Apply double sided tape to one edge of the white card.








Prices change straight away. Every language is our own translation, not Google.
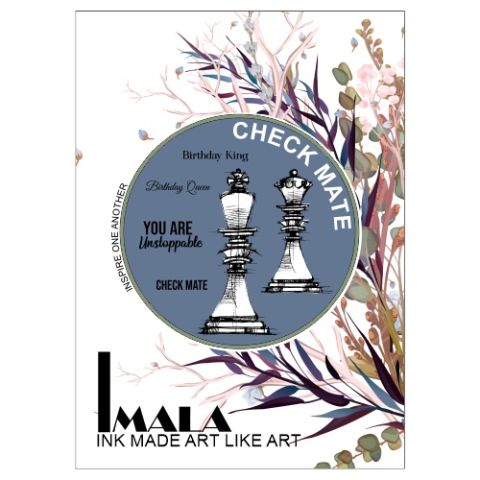 Imala - A5 Stamp - Check MateIMALA CheckMate A5 Stamp Set€17.99BUY✓ ADDED
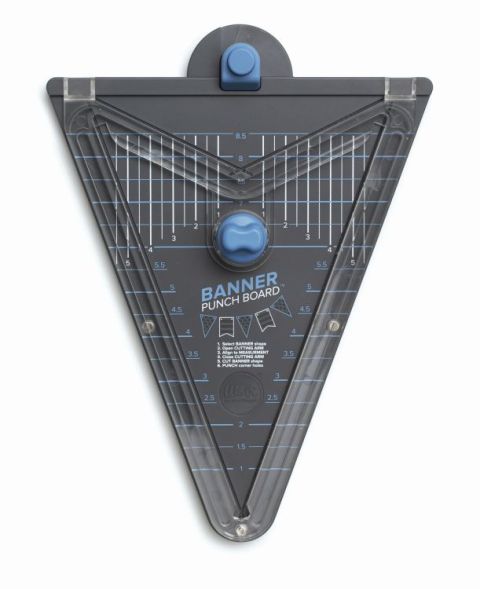 Punch Board - We R - BannerSBM Banner punch€20.89BUY✓ ADDED
Cut a piece of white card measuring 3 5/8 x 5 3/8
Cut strips of grey pearl card and red card. Apply double sided tape to one edge of the white card.
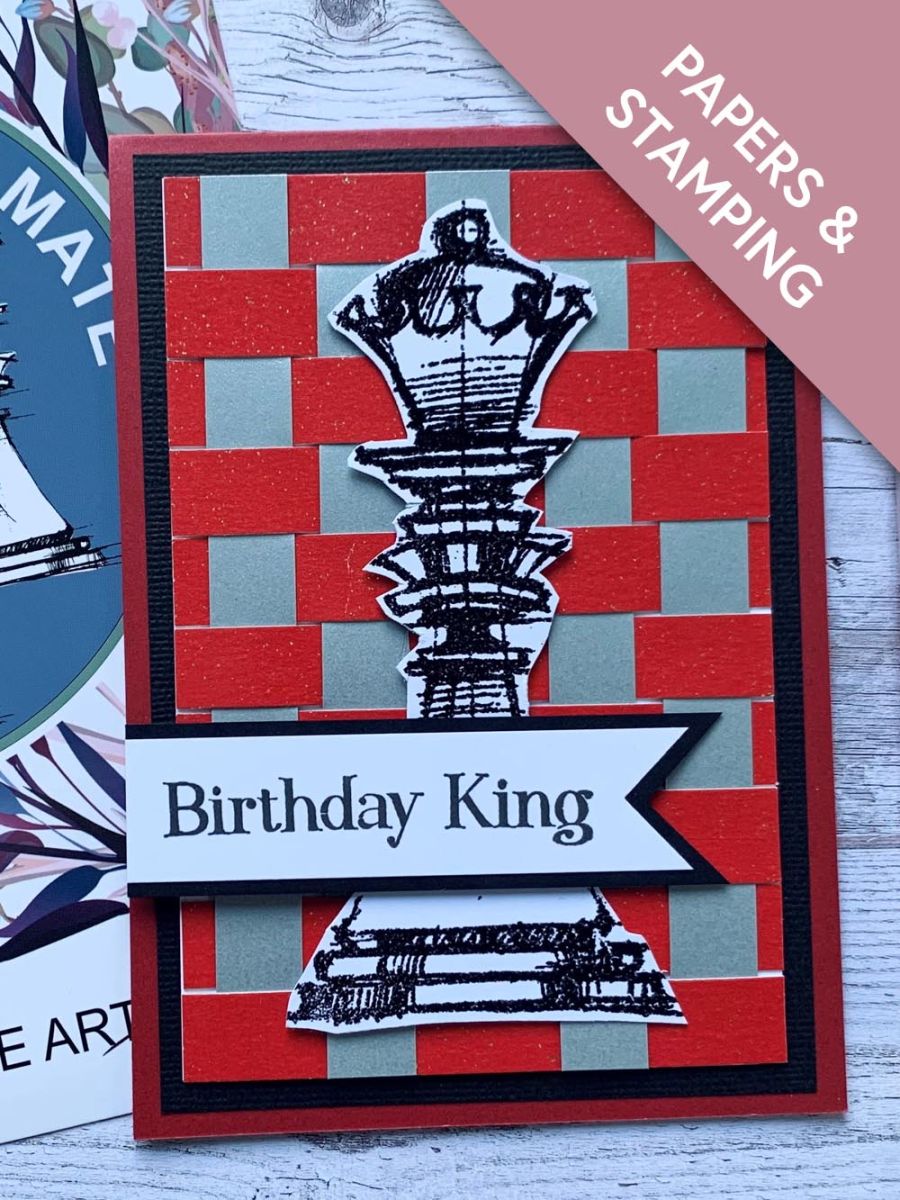
Peel off the double sided tape and weave the red and grey strips to create a chequered look. Trim off the excess so they fit the white panel.
Add glue to the ends of the strips to stick them in place.
Mount the black card on to the red card blank.
Adhere the chequered card to the card blank.
Stamp one of the chess pieces, with the WOW sticky embossing ink, on to white card wiped over with an anti-static bag. Apply the black embossing powder over the stamped image, decanting the excess powder back into the pot. Get your heat tool good and hot before heat setting the powder. Fussy cut your chess piece.
Secure your 3D chess piece to the front of the card using foam pads. Stamp the sentiment on to white card, using the black ink pad and create a banner using the punch. Create a black banner slightly bigger and adhere together.
Add the sentiment using foam pads and your card is complete.
Share your make with the Stamps By Me community - and keep this guide for next time.
Prefer the previous layout? Open the old page.



