


Step 1 of 6
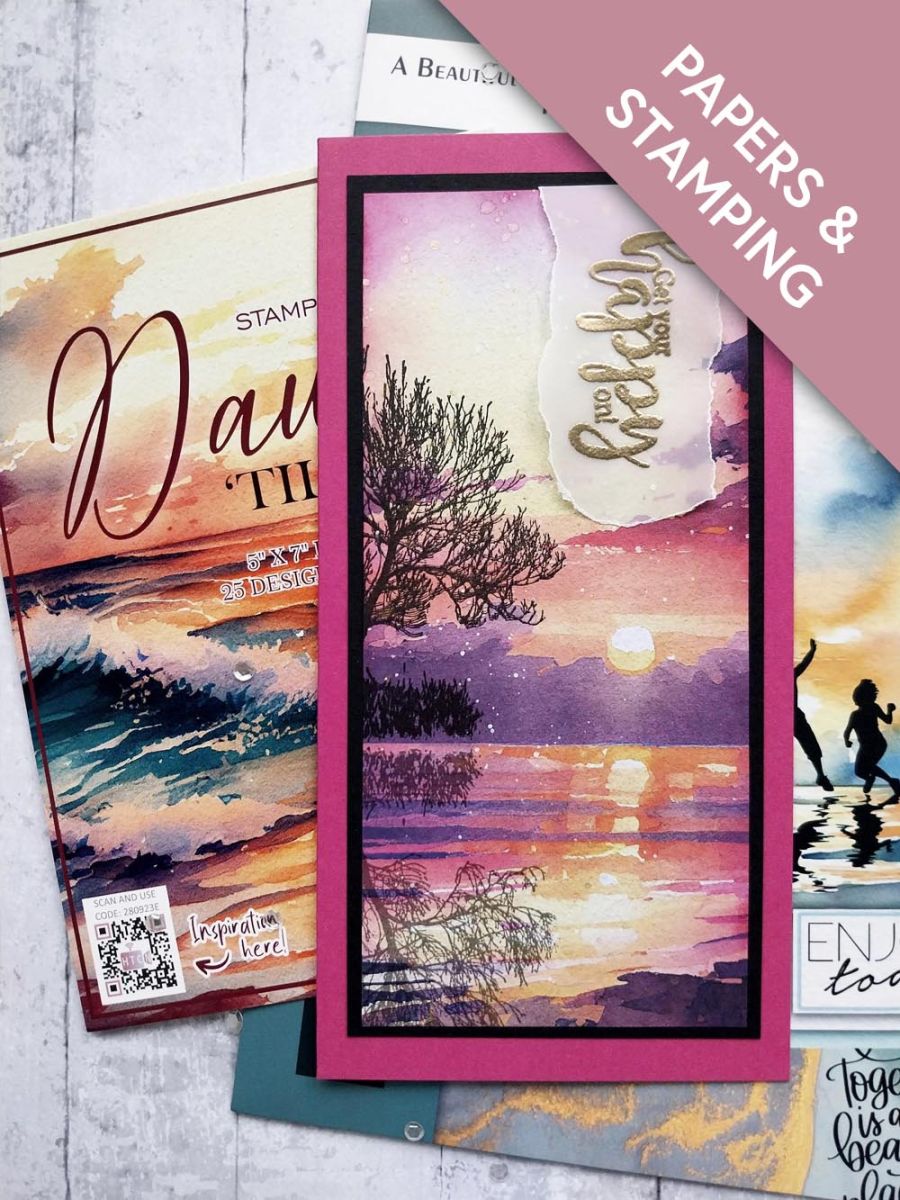
Trim this beautiful paper to 7 x 3 1/4", keeping the sunrise to the right of the design. Blend around the edges of the paper with the Magenta ink.








Prices change straight away. Every language is our own translation, not Google.
 Cardstock BlackBlack cardstock€5.65BUY✓ ADDED
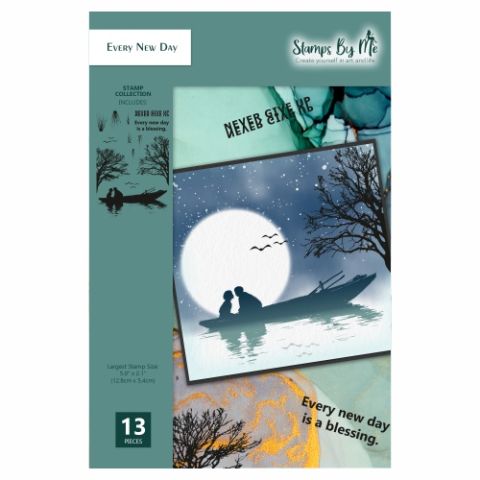 Tv - A5 Reflection Stamp - Every New Day€18.99BUY✓ ADDED
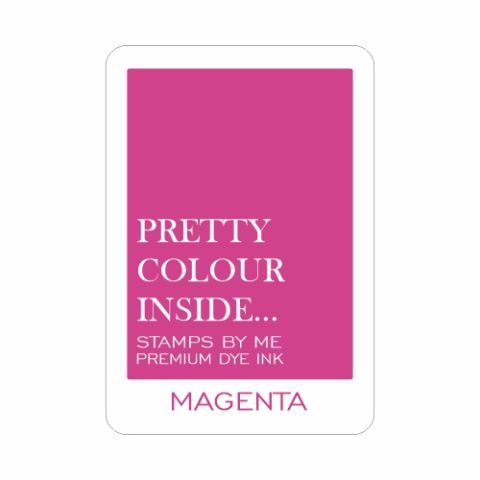 Stamps By Me - Premium Dye Ink Pad - MagentaSBM Dye Ink Pad: Magenta
Trim this beautiful paper to 7 x 3 1/4", keeping the sunrise to the right of the design. Blend around the edges of the paper with the Magenta ink.
Smoosh a little Cotton ink on to your glass mat, add water and splatter over your landscape.
Swirl the Pearlywinks spray to activate the mica, spray a little on to your glass mat and splatter as before.
Use your heat tool to quick-dry the ink.
Stamp the trees from a Beautiful Place To Be, in Midnight, coming on to the left side of your landscape.
Tear a piece of vellum wide enough for the sentiment stamp and long enough to leave excess vellum above the sentiment, allowing you to secure over the top of the paper.
Having wiped over the vellum with your anti-static bag, stamp the sentiment in the WOW sticky embossing ink. Apply the gold embossing powder over the stamped sentiment and decant any excess powder back in to the pot. Get your heat tool good and hot before heat setting the powder.
Place the vellum down the top right corner of the paper, fold the excess vellum over the top and secure on the reverse with double-sided tape.
Mat your artwork on to black card cut to 7 1/4 x 3 1/2" and then on to the front of your DL fushia card.
Share your make with the Stamps By Me community - and keep this guide for next time.
Prefer the previous layout? Open the old page.



