


Step 1 of 7
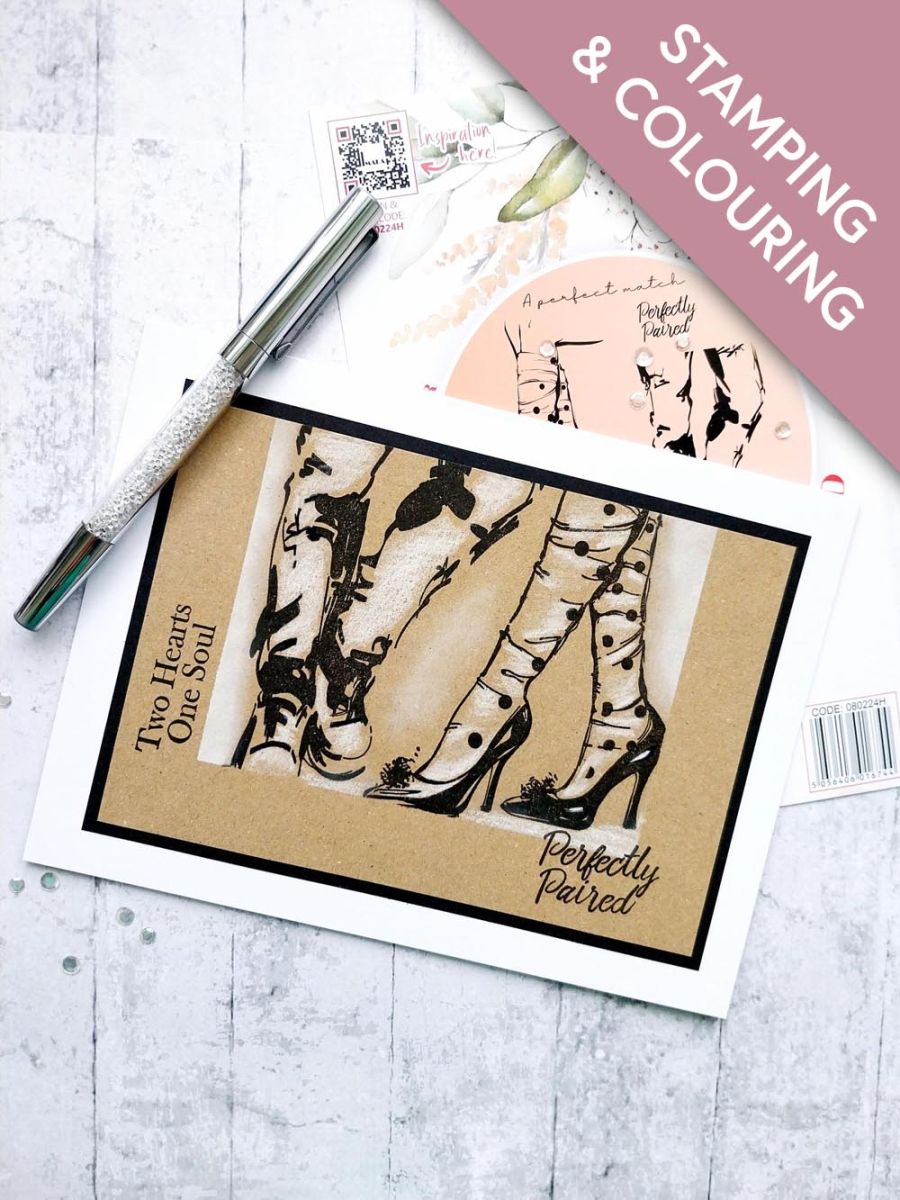
Cut a piece of kraft card to 4 3/4 x 6 3/4". Place landscape and apply masking tape along the bottom and down both sides, creating yourself a panel.








Prices change straight away. Every language is our own translation, not Google.
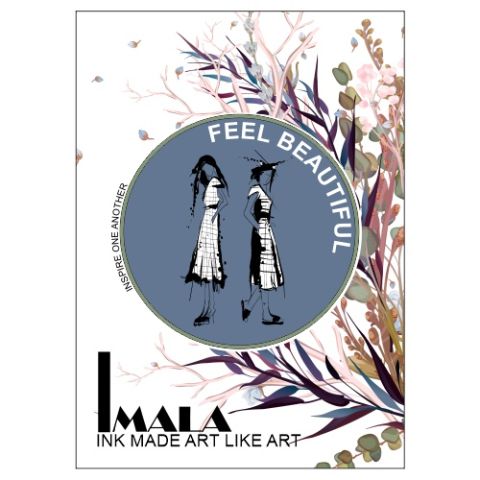 Imala - A5 Stamp - Feel Beautiful€17.99BUY✓ ADDED
Cut a piece of kraft card to 4 3/4 x 6 3/4". Place landscape and apply masking tape along the bottom and down both sides, creating yourself a panel.
Stamp the artwork in the Midnight ink, within the masked panel.
Use your white oil pencil to colour in the image and "ground" the feet.
Blend the Cotton pigment ink around the inner edges of the panel and between the legs, with your blending brush. As pigment ink is slow drying you may want to blast dry with your heat tool before proceeding any further.
Carefully remove the masking tape to reveal your artwork. You can go back in with your white pencil adding more highlights as required.
Stamp your sentiments in the Midnight, as required. I positioned mine to accentuate the shape of the inky panel.
Mat your artwork on to black cardstock trimmed to 5 x 7" and then adhere to your card blank, to finish.
Share your make with the Stamps By Me community - and keep this guide for next time.
Prefer the previous layout? Open the old page.



