


Step 1 of 8
Choose your MDF tag, plaque or a DL card blank.








Prices change straight away. Every language is our own translation, not Google.
 Imala - A5 Stamp - Feel Beautiful€17.99BUY✓ ADDED
 Blending Tool RectangleBlending tool€11.49BUY✓ ADDED
Choose your MDF tag, plaque or a DL card blank.
Cover the tag with a sheet of decorative paper from the Brush Texture pad.
Tip: Use an emery board to neaten off the edges around the MDF tag.
Ink around the edges with the Hickory Smoke Distress Ink.
Blend the Hickory Smoke/Iced Spruce randomly through the Peaceful Moment stencil, adding texture to your decorative paper.
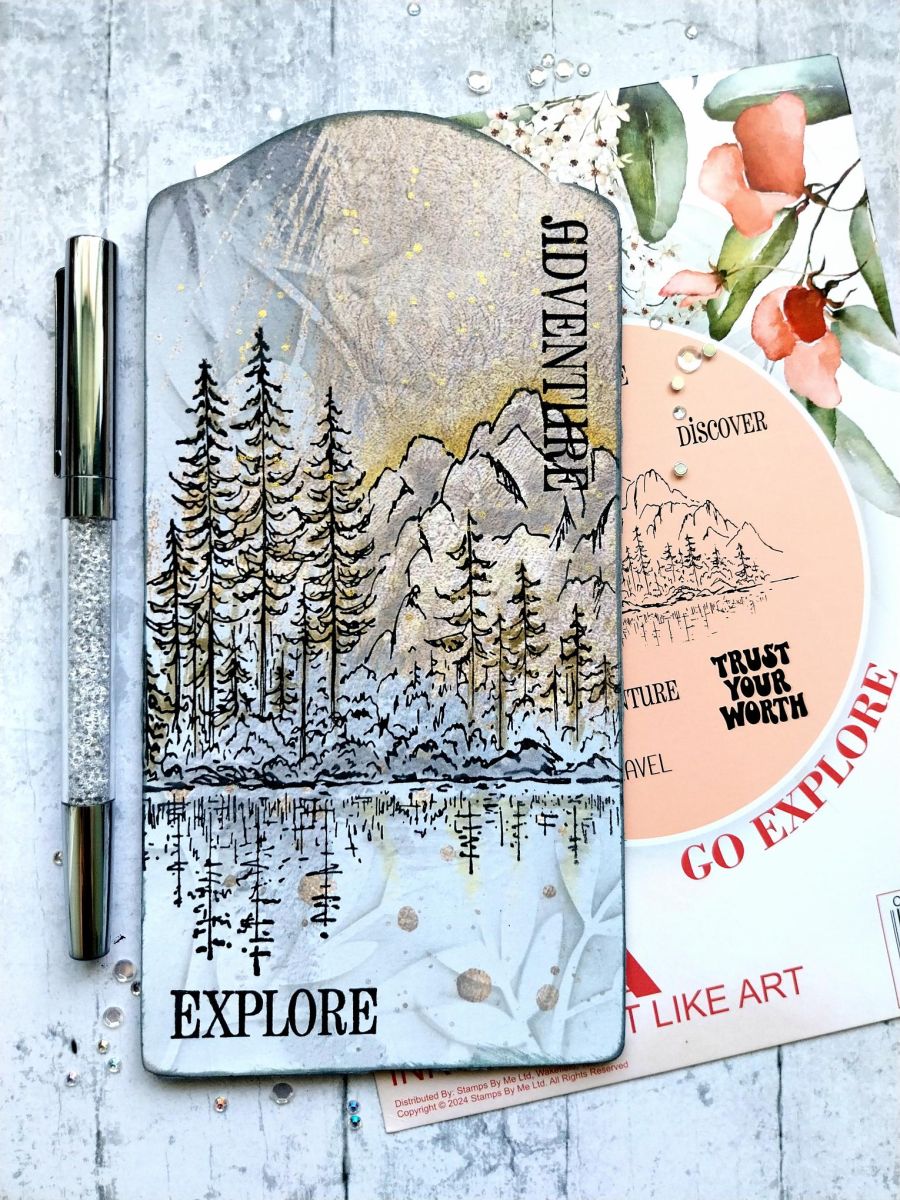
Stamp the image from the Go Explore set in Midnight, across your MDF tag.
Use your Distress Inks to paint the image, adding a hint of sunlight coming up from behind the mountains, with the Fossilized Amber.
Swirl the Pearlywinks spray to activate the mica before spraying a little on to your glass mat. Splatter above the mountains and trees to add a hint of glimmer and sparkle.
Finish your project by stamping the word sentiments in Midnight, where required.
Share your make with the Stamps By Me community - and keep this guide for next time.
Prefer the previous layout? Open the old page.



