


Step 1 of 9
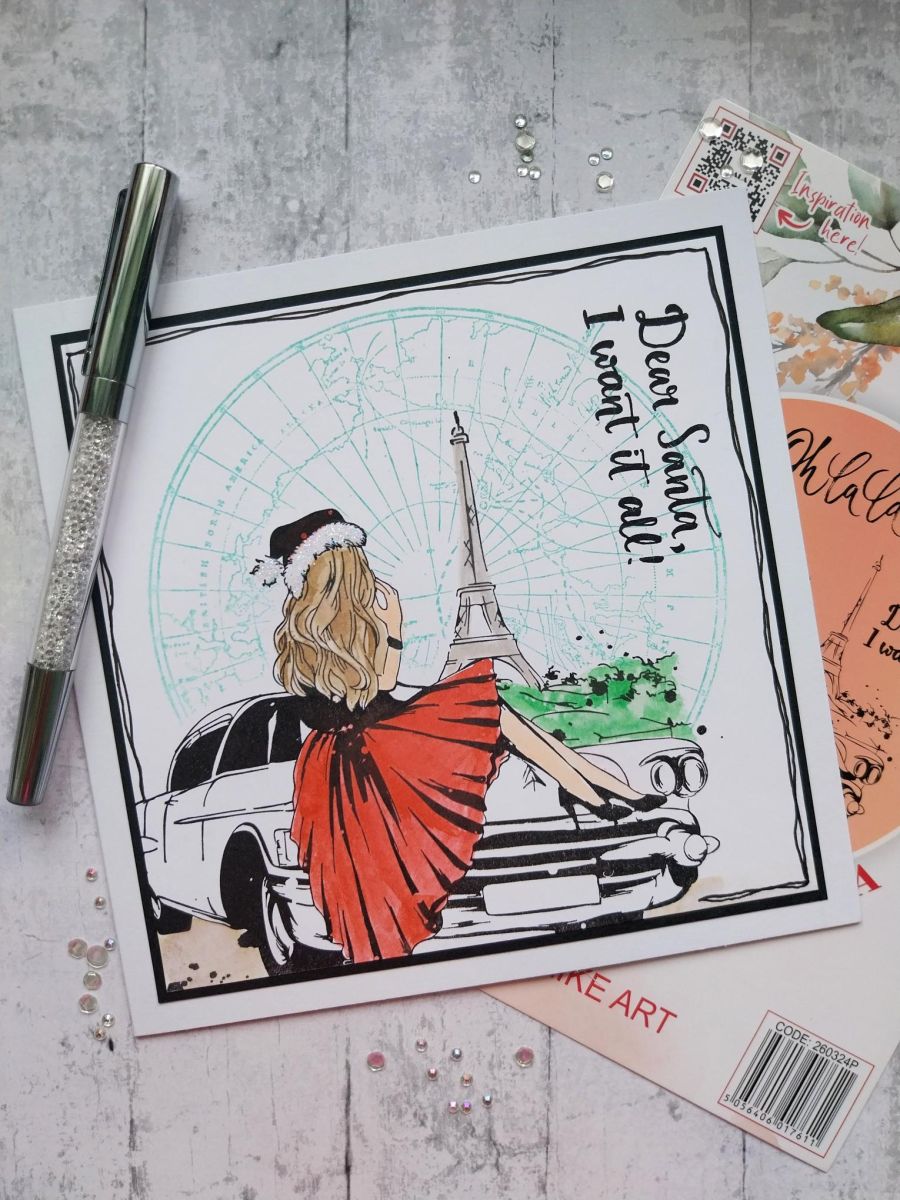
Stamp our lovely image on to a masking sheet or copy paper and fussy cut to create your "mask".








Prices change straight away. Every language is our own translation, not Google.
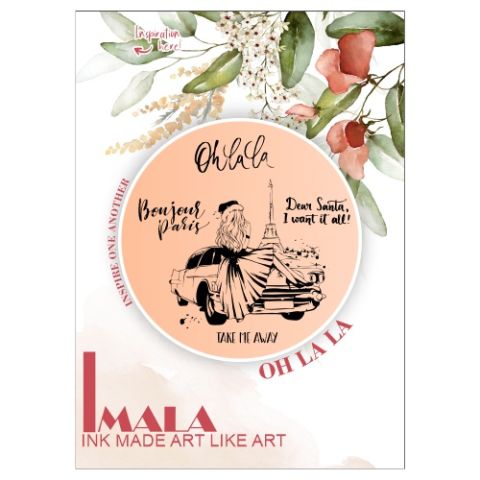 Imala - A5 Stamp - Oh La LaIMALA Oh La La A5 Stamp€17.99BUY✓ ADDED
 Imala - A5 Stamp - Feel Beautiful€17.99BUY✓ ADDED
Stamp our lovely image on to a masking sheet or copy paper and fussy cut to create your "mask".
Trim a piece of white card to 6 1/4" square and place inside your Eureka. Position the "mask" slightly to the left of the card and secure with magnet.
Stamp the Arctic Circle in Salvaged Patina, in the centre of the card, stamping over the "mask".
Remove the "mask" and stamp your image in Midnight in the masked off area.
Use your inks watered down, to paint your stamped image.
Stamp the sentiment in Midnight, down the right side of the card.
Use a black pen to create a decorative frame around your artwork.
Mat on to black card measuring 6 1/2" square and then on to your white card blank.
Finally, use the Stickles to add a touch of sparkle to your card.
Share your make with the Stamps By Me community - and keep this guide for next time.
Prefer the previous layout? Open the old page.



