


Step 1 of 8
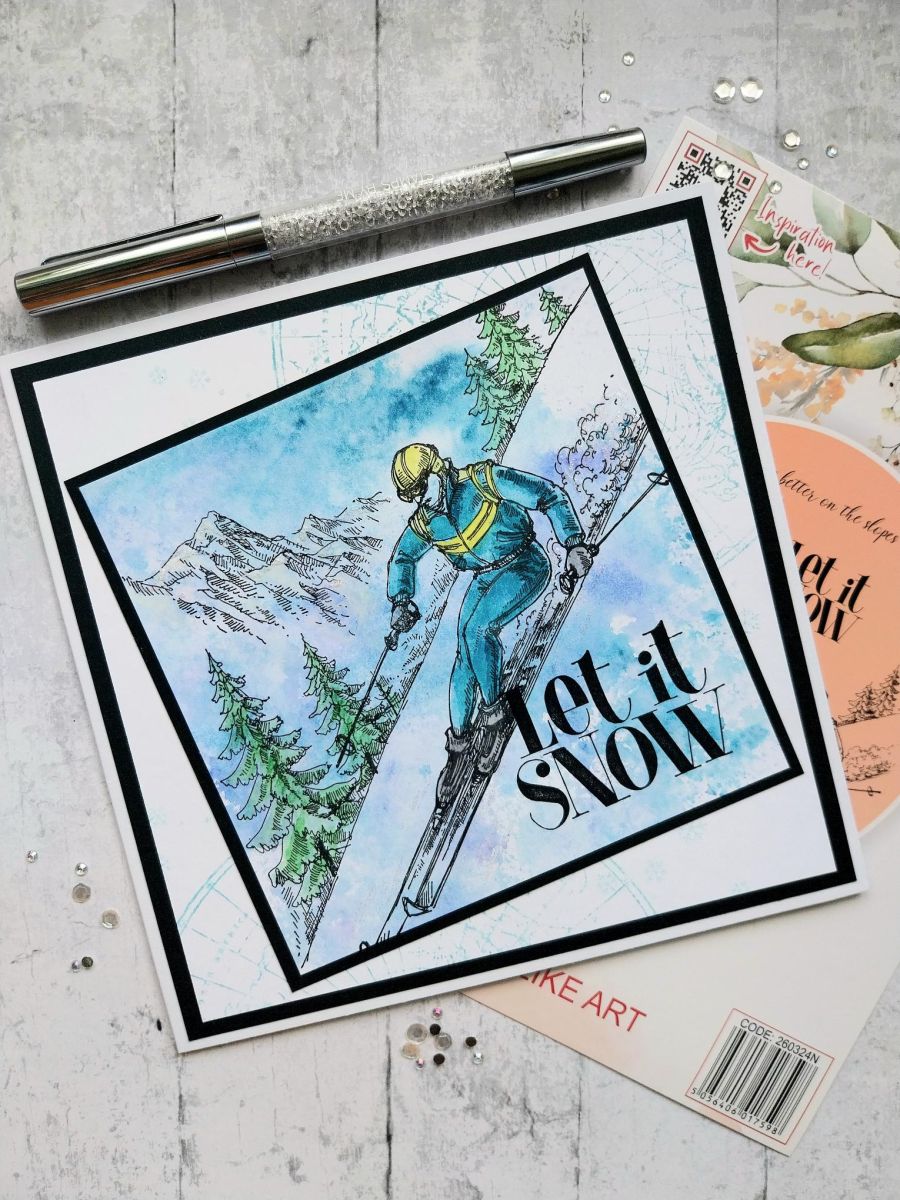
Trim a piece of card to 5 3/4" square. Smoosh the Tiffany and Surfboard on to your glass mat, add a little water and smoosh the card through the ink.








Prices change straight away. Every language is our own translation, not Google.
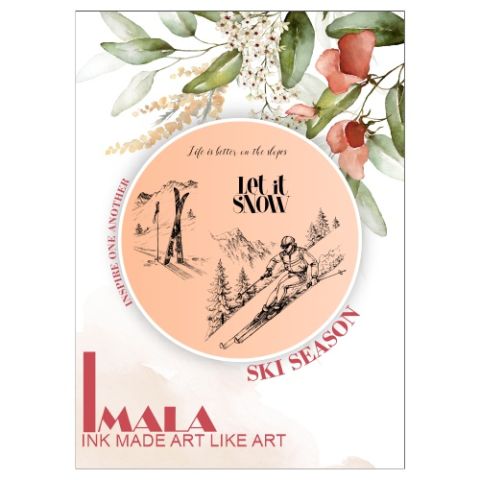 Imala - A5 Stamp - Ski SeasonIMALA Ski Season A5 Stamp€17.99BUY✓ ADDED
 Imala - A5 Stamp - Feel Beautiful€17.99BUY✓ ADDED
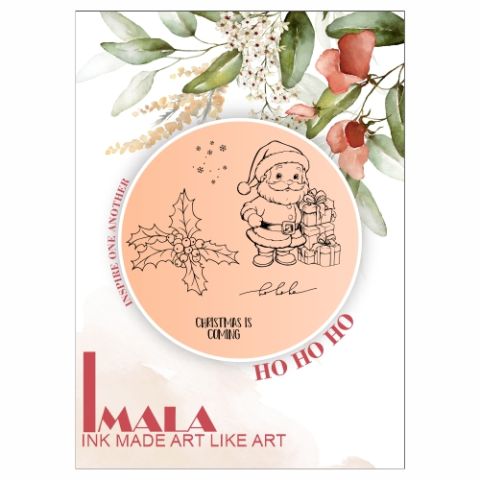 Imala - A5 Stamp - Ho Ho HoIMALA Ho Ho Ho A5 Stamp€17.99BUY✓ ADDED
Trim a piece of card to 5 3/4" square. Smoosh the Tiffany and Surfboard on to your glass mat, add a little water and smoosh the card through the ink.
Stamp Ski Season in Midnight, on to your inky background.
Use your coloured inks, mixed with a little water, to paint your image. Pop aside to dry.
Trim a piece of white card to 6 1/2" square and stamp the Arctic circle in the Tumbled Glass, coming off the top right corner and bottom left edge. Stamp a few random snowflakes from the Ho Ho Ho set, in the same ink.
Mat both stamped panels on to black cardstock, trimmed to 6" and 6 3/4" square.
Stamp the sentiment in Midnight, in the bottom right corner of your arwork.
Assemble your mats and layers on to your card blank, as seen here.
Finally, use the Stickles to add a touch of sparkle to your card.
Share your make with the Stamps By Me community - and keep this guide for next time.
Prefer the previous layout? Open the old page.



