


Step 1 of 9
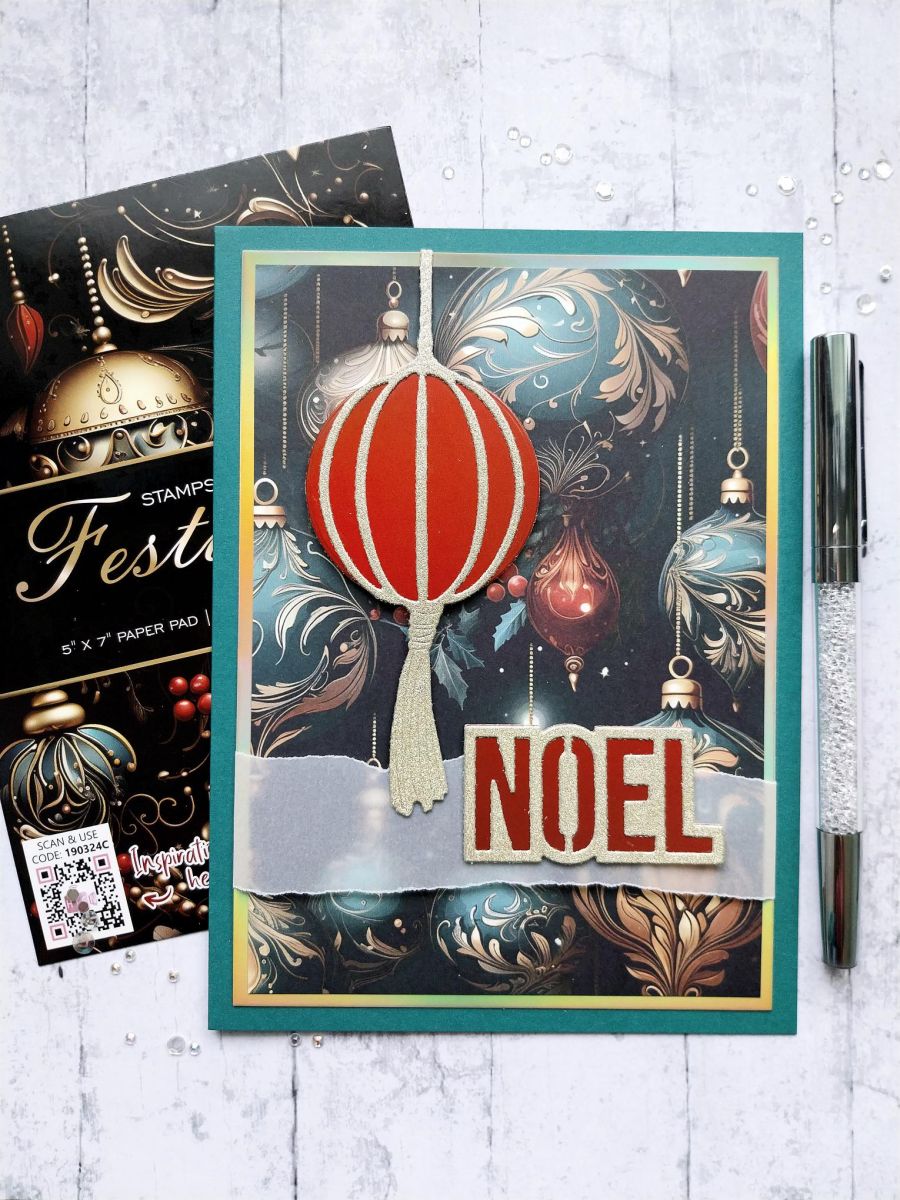
Choose your bauble and die cut the detailed die from one of the satin papers in the bumper pack and the solid die from a coordinating glitter card.








Prices change straight away. Every language is our own translation, not Google.
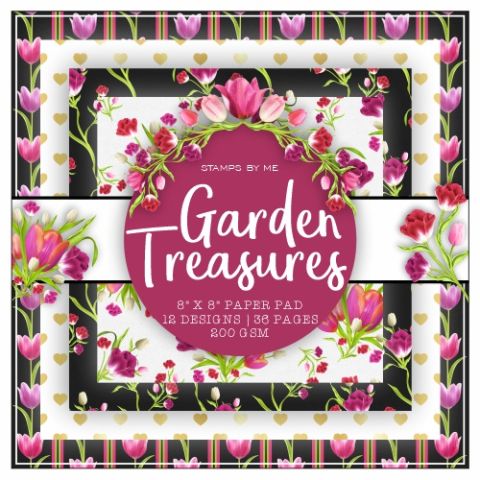 Stamps By Me Garden Treasures 8 X 8 Paper Pad
Choose your bauble and die cut the detailed die from one of the satin papers in the bumper pack and the solid die from a coordinating glitter card.
Adhere the detailed die cut on top of the die cut mat.
Take out a sheet of mirror card and your chosen decorative paper. Trim the paper to 6 3/4 x 4 3/4".
Adhere the decorative paper onto the mirror card.
Adhere your festive bauble to the left using a comination of wet glue and foam pads.
Die cut the detailed "NOEL" from coordinating glitter card and the solid die from satin card.
Tear a panel of vellum, place across the bottom half of the paper and tuck it just under the bauble tassel. Fold the ends of the vellum over the edge and secure on the reverse with the double-sided tape.
Adhere the die cut NOEL to the right of the tassel, across the vellum panel.
Finally, adhere to the front of your card blank.
Share your make with the Stamps By Me community - and keep this guide for next time.
Prefer the previous layout? Open the old page.



