


Step 1 of 7
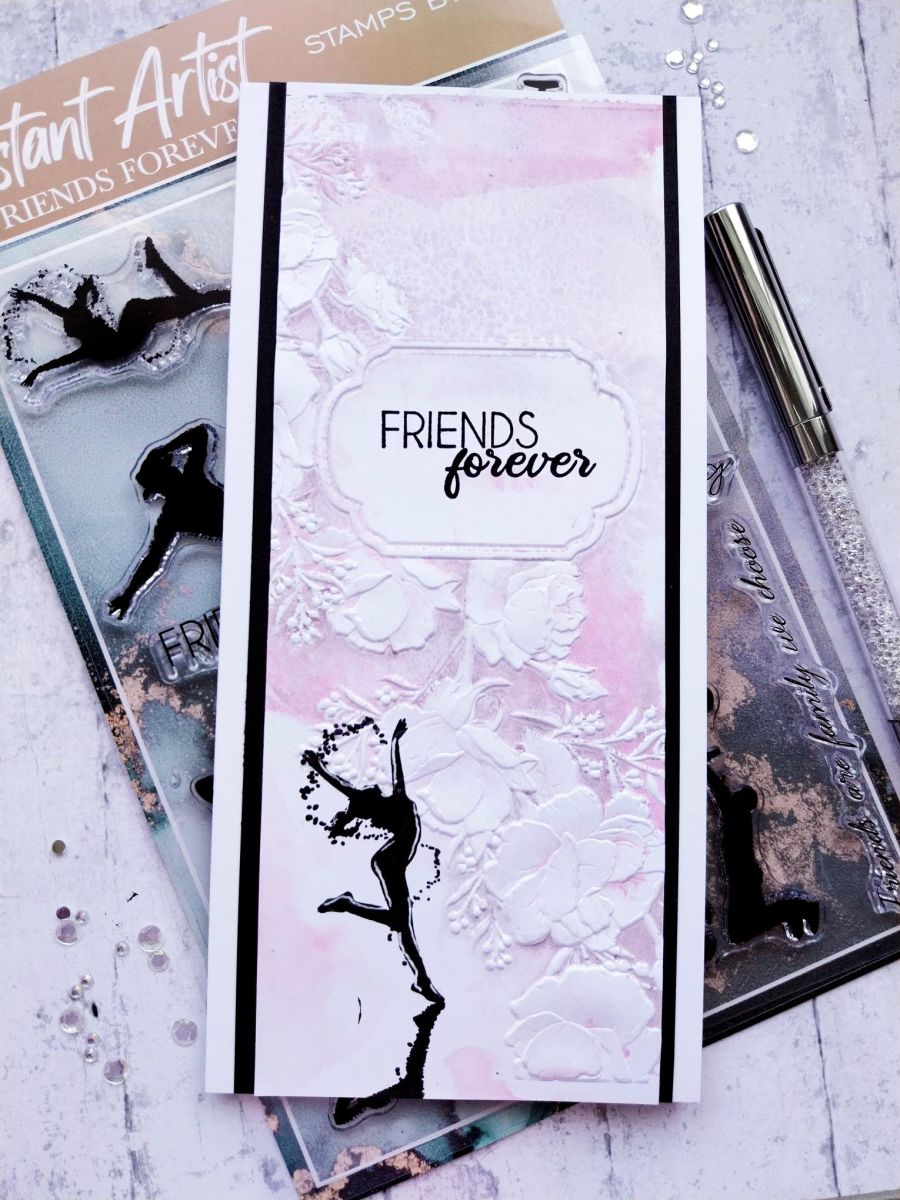
Use your Distress inks to ink up the debossed side of your embossing folder and spritz lightly with water. You can of course, ink up both sides and decide which side you prefer.








Prices change straight away. Every language is our own translation, not Google.
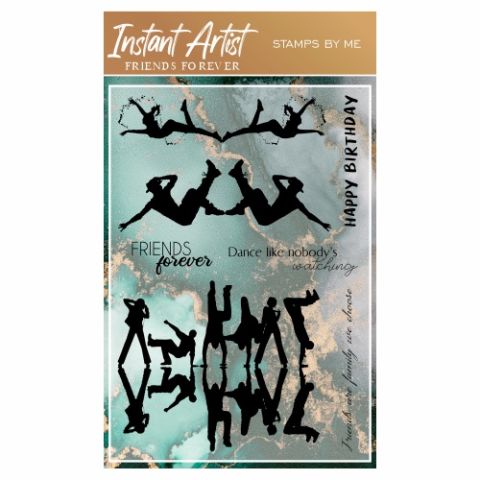 A5 Stamp - Reflection - Friends ForeverFriends Forever Reflection A5 Stamp€18.99BUY✓ ADDED
 Signature Watercolour Hd3d Embossing Folder - Beautiful Beads€12.99BUY✓ ADDED
Use your Distress inks to ink up the debossed side of your embossing folder and spritz lightly with water. You can of course, ink up both sides and decide which side you prefer.
On a piece of white card cut to 3 x 8", stamp your dancer in Midnight, in the bottom left corner.
Place the stamped card inside your inked folder, so the panel is at the top and run it through your machine.
Use your white gel pen to add accents and highlights to your stamped image.
Stamp your sentiment in the centre of the embossed panel.
Mat your embossed card onto black card cut to 3 1/2 x 8", so the top and bottom are flush and an equal amount of black cardstock is visible down both sides.
Adhere to the front of your DL card blank, again flush with the top and with equal white card down both sides.
To finish, use your clear Gossip sparkle pen to add shimmer and sparkle as required.
Share your make with the Stamps By Me community - and keep this guide for next time.
Prefer the previous layout? Open the old page.



