


Step 1 of 10
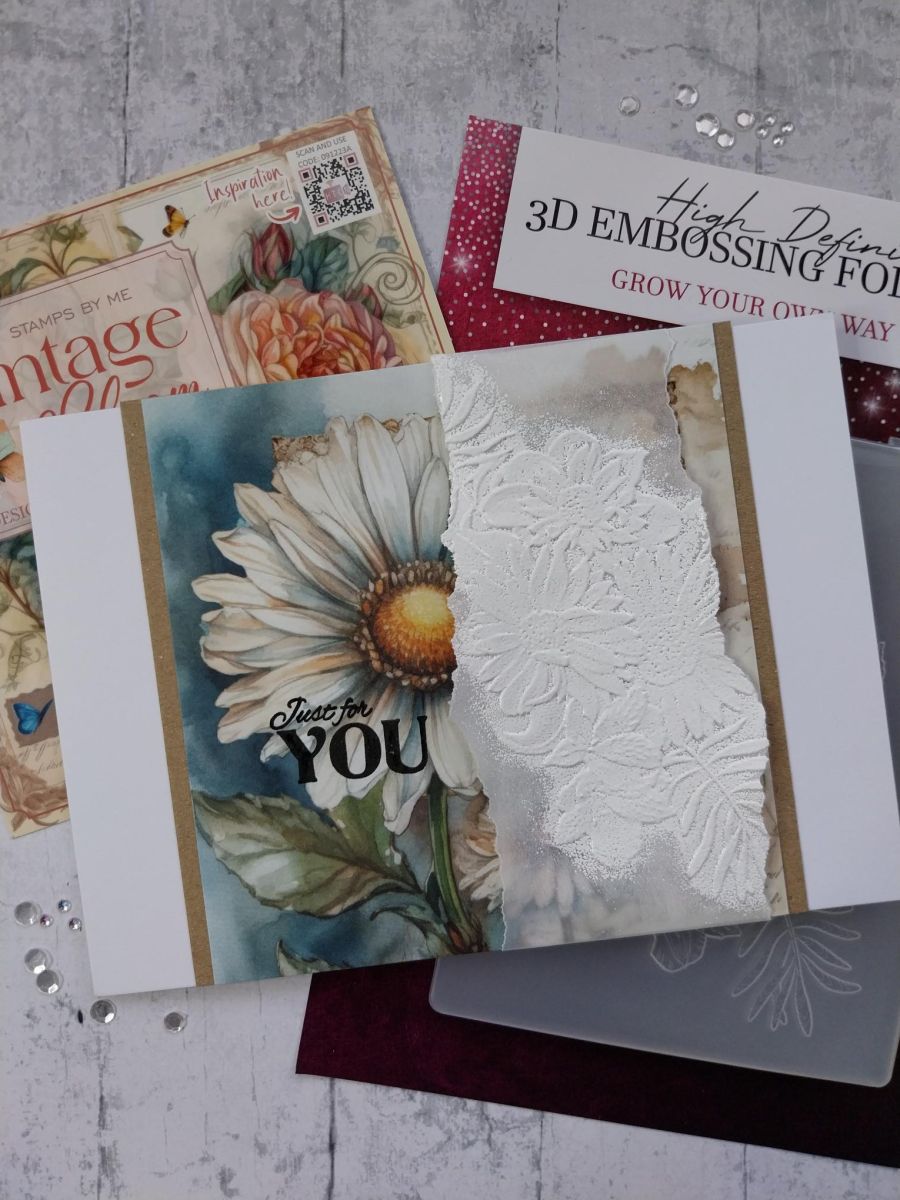
Choose your painted mount from the Vintage Bloom pack.
Tear a vellum panel slightly longer than the mount and as wide as you wish.








Prices change straight away. Every language is our own translation, not Google.
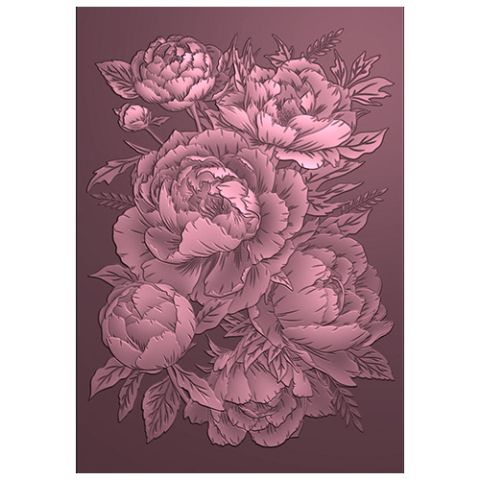 Signature Watercolour High Definition 3d Embossing Folder - Pretty Peony€12.99BUY✓ ADDED
Choose your painted mount from the Vintage Bloom pack.
Tear a vellum panel slightly longer than the mount and as wide as you wish.
Place inside your embossing folder on the area of the design you wish to pick up. If needs be, you can fold a little vellum over at the top first, as this will be hidden behind the mount anyway.
Run through your embossing machine.
Wipe over the embossed vellum with an anti-static bag before lightly pouncing the Cotton ink pad over the raised areas. You can use a clear sticky ink but I wanted to intensify the whiteness!
Apply white or clear embossing powder over the Cotton ink, brushing off any random bits with a little brush.
Get your heat tool really hot before you heat set the powder. Move the tool as soon as the powder starts to turn to avoid burning the vellum.
Place down the right side of your painted mount and secure on the reverse with double-sided tape.
Mat onto kraft card trimmed to 5 1/4 x 5", leaving an equal amount of kraft card visible down the left and right sides.
Stamp your sentiment in Midnight, to the left of the vellum panel.
Finally, mat onto your landscape card blank.
Share your make with the Stamps By Me community - and keep this guide for next time.
Prefer the previous layout? Open the old page.



