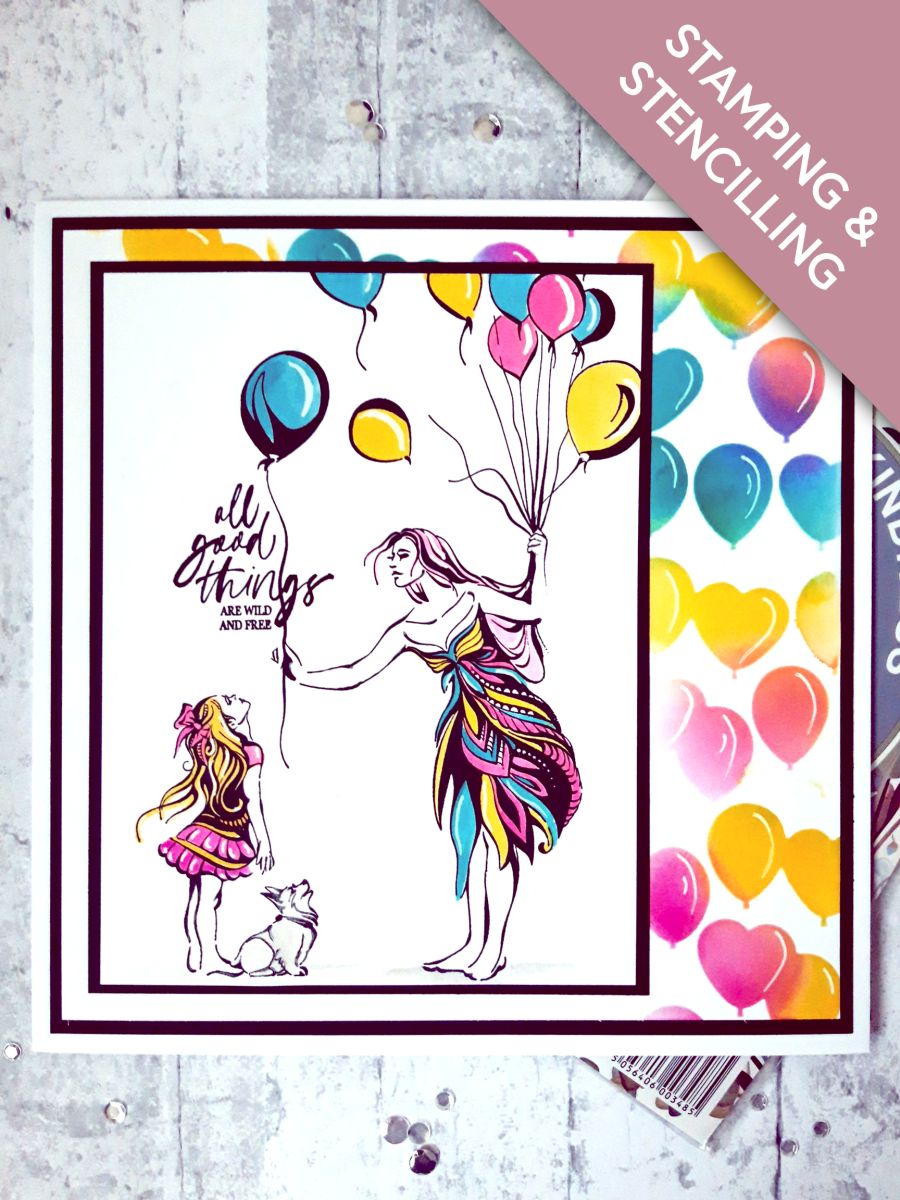
Everything you need
0 of 17 ready· 1 to buy
Shop the list
From your craft stash
Step by step tap a picture to see it big · tap DONE as you go - this device remembers
1
Step 1 of 10
Place the balloon stencil over the 7 1/4 x 7 1/4" white cardstock, so it hangs just off the top and right hand sides.
Using your blending brush, blend the 3 Izink Dye inks randomly through the stencil, so some of the colours blend together.
✓ DONE
2
Step 2 of 10
Once the ink is dry, glue on to the black card (7 1/2 x 7 1/2").
Set to one side.
✓ DONE
3
Step 3 of 10
Ink up the stamp from the Imala Kindness set, with the Onyx Black Versafine.
Stamp on to the white card (6 1/2 x 5")
✓ DONE
4
Step 4 of 10
Apply your 3 Izink Dye inks, on to a craft or glass mat.
Spritz with water and use a paint brush to colour in your stamped image.
Use the Izink Opal Frost Pigment to colour in the dog, and the ground under their feet.
Mix the Izink Avalanche Pigment, with the Cerise Dye ink, to make a skin tone.
✓ DONE
5
Step 5 of 10
Once all your artwork is dry, use a white gel pen to add accents and highlights as required.
✓ DONE
6
Step 6 of 10
Ink up the sentiment, from the Be Yourself Lamination Stamp Collection, with the Onyx Black Versafine.
Stamp through the balloon string.
✓ DONE
7
Step 7 of 10
Glue on to the black card (6 3/4 x 5 1/4")
✓ DONE
8
Step 8 of 10
Glue this on to the left hand side of your stencilled background.
✓ DONE
9
Step 9 of 10
Glue this on to the front of your card blank.
✓ DONE
10
Step 10 of 10
To finish, use the white gel pen to add any highlights required, on the stencilled balloons.
✓ DONE
You made it!
Share your make with the Stamps By Me community - and keep this guide for next time.
Prefer the previous layout? Open the old page .