


Step 1 of 12
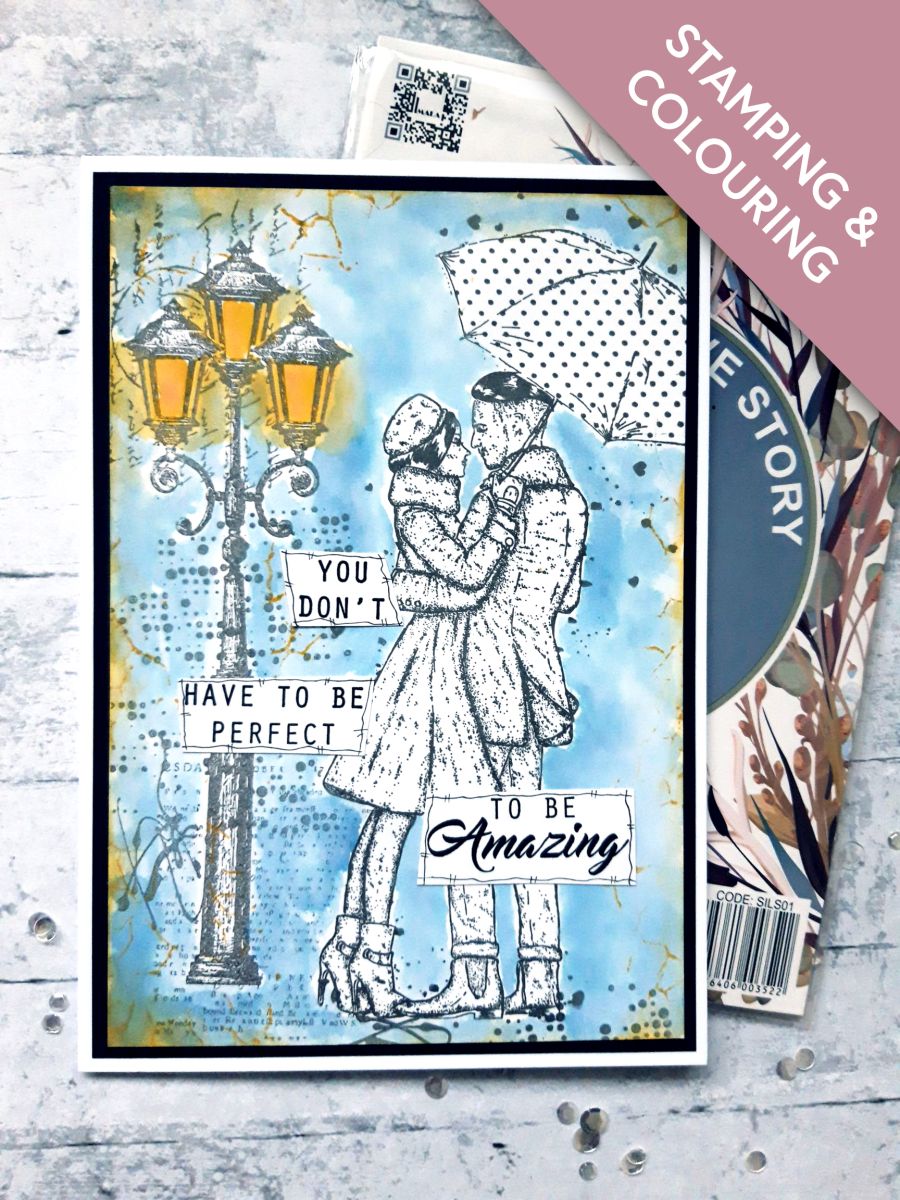
Ink up the stamp from the Imala Love Story, with the Onyx Black Versafine.
Stamp just off the right hand edge of the white cardstock.








Prices change straight away. Every language is our own translation, not Google.
 Eureka 101 Replacement Bar MagnetsEureka 101€10.99BUY✓ ADDED
Ink up the stamp from the Imala Love Story, with the Onyx Black Versafine.
Stamp just off the right hand edge of the white cardstock.
Stamp the same image on to your masking sheet, acetate or copier paper, and cut out.
Place your mask over your stamped image.
Ink up the lampost stamp, from the Midnight Times/Whisper stamp set, with the Smoky Grey Versafine.
Stamp to the left of your stamped couple.
Reink the textured dots area of the same stamp, and stamp around the bottom of the couple's feet. This will "ground" your image, so they do not appear to be "floating".
Carefully peel away, or lift off your mask, to reveal your artwork.
Ensure all the ink is completely dry, before proceeding to the next step.
Apply the Faded Jeans Distress Oxide, on to a craft or glass mat.
Adding water to the ink, use a paint brush to create a wash around your stamped artwork.
Tip: Start off with a pale wash, then you can go back in with more colour, to create depth where you want the shadows to be.
Apply the Fossilized Amber Distress Oxide on to your mat.
Add a little water and paint the lanterns, adding a halo around them.
Ink up the Imala Crackle with the Fossilized Amber Oxide.
Spritz with a little water and randomly stamp around your artwork.
Use your blending brush, to add the Oxide, around the edges of the card. This will draw your eye in to the artwork.
Ensure all the ink is dry before moving on to the next step.
Glue your artwork on to the black cardstock.
Glue this on top of your white, top folding card blank.
Set this to one side.
Ink up the sentiment stamp, from the My Sunshine Lamination Stamp Collection, with the Onyx Black Versafine.
Stamp it on to the white card (3 x 2 1/2").
Cut it in to strips, and use your black pen to draw a decorative, wiggly frame around each one.
Adhere the sentiment strips where required, using either wet glue or foam pads.
Share your make with the Stamps By Me community - and keep this guide for next time.
Prefer the previous layout? Open the old page.



