


Step 1 of 6
Trim a piece of white card to 4 1/2 x 6 1/2".
Line up Blushing Beauty stencil 1 so it's flush with the left edge of the card.








Prices change straight away. Every language is our own translation, not Google.
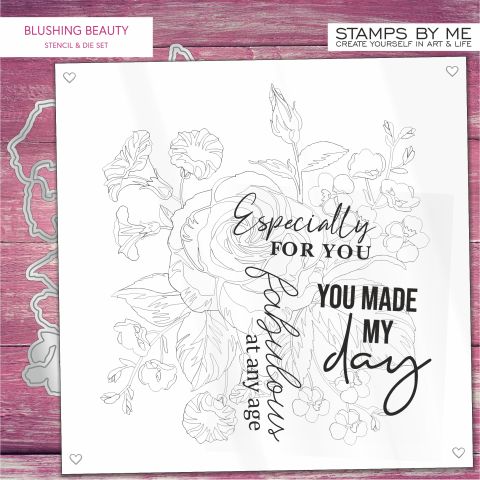 Stamps By Me - Blushing BeautyBlushing Beauty Stamp, Stencil & Die€35.99BUY✓ ADDED
 Blending Tool RectangleBlending tool€11.49BUY✓ ADDED
Trim a piece of white card to 4 1/2 x 6 1/2".
Line up Blushing Beauty stencil 1 so it's flush with the left edge of the card.
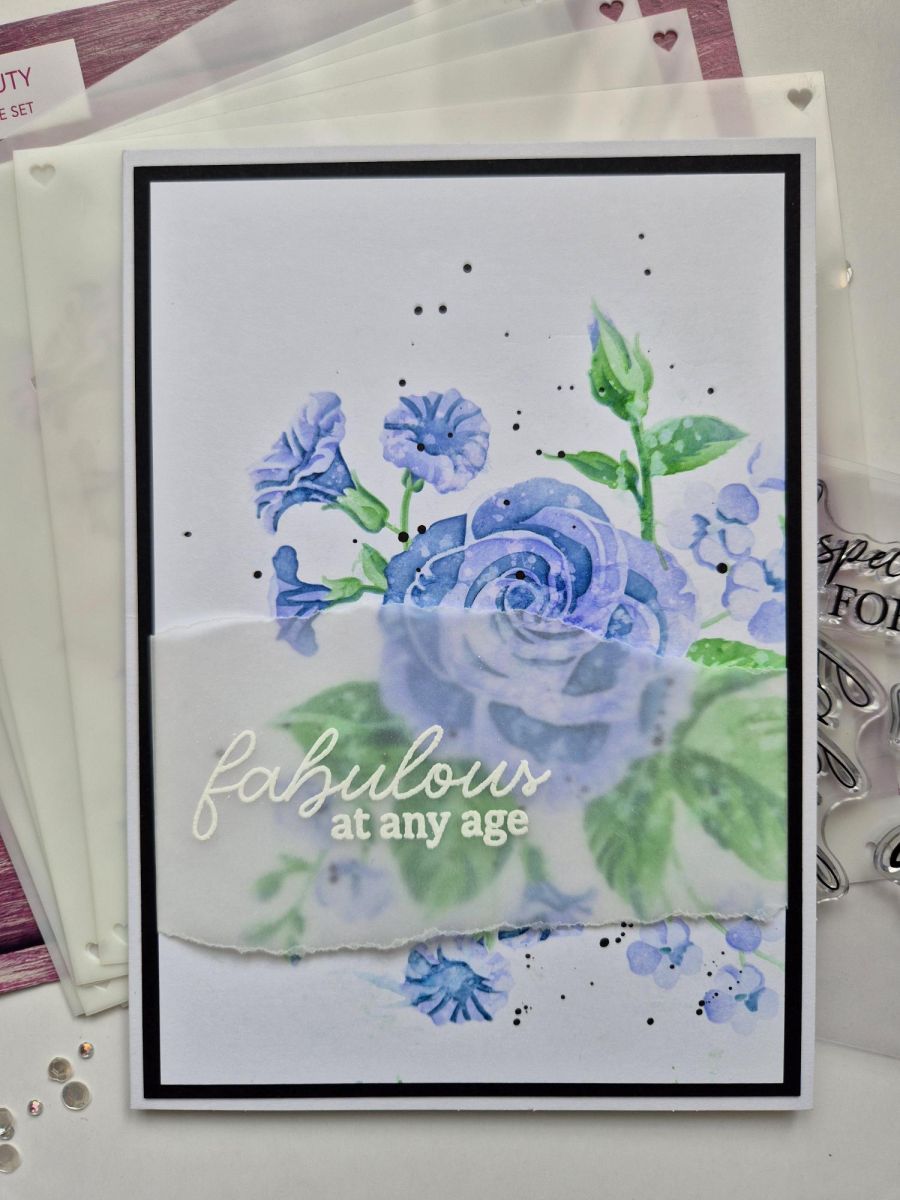
Blend Surfboard lightly through the first stencil
Line up stencil 2 and blend with the Surfboard but with more intensity.
Line up stencil 3 and blend with Ocean.
Line up stencil 4 and lightly blend with Hedgerow.
Line up stencil 5 and blend with Hedgerow but with more intensity.
Line up stencil 6 and blend with Tiffany
Splatter black paint over your artwork.
Tear a panel of vellum wider than your card and deep enough for your chosen sentiment.
Wipe over vellum with anti-static card before stamping your sentiment in the centre, with the sticky embossing ink pad.
Apply the white embossing powder over the stamped sentiment, then shake off any excess and decant back in to the tub.
Get your heat tool hot then heat set the powder, moving the tool as soon as the powder starts to turn.
Wrap the vellum across your stencilled artwork, fold over the ends and secure on the reverse of the card with double-sided tape.
Mat onto black cardstock cut to 4 3/4 x 6 3/4" and then onto your card blank to finish.
Share your make with the Stamps By Me community - and keep this guide for next time.
Prefer the previous layout? Open the old page.



