


Step 1 of 10
Ink up the Cobbles stamp with the Iced Spruce Distress Oxide.
Spritz with water and stamp on to the 7 x 4 3/4" white card. You can reink and stamp, until you achieve the desired effect.








Prices change straight away. Every language is our own translation, not Google.
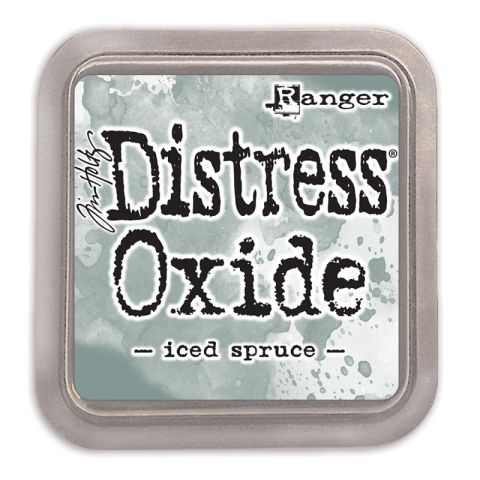 Tim Holtz - Distress - Oxide Pad Iced SpruceDistress Oxide: Iced Spruce
 Eureka 101 Replacement Bar MagnetsEureka 101€10.99BUY✓ ADDED
Ink up the Cobbles stamp with the Iced Spruce Distress Oxide.
Spritz with water and stamp on to the 7 x 4 3/4" white card. You can reink and stamp, until you achieve the desired effect.
Ink up one of the butterfly stamps, from the Textured Wall Stamp Collection, with the Iced Spruce Oxide.
Stamp randomly, first and second generation, on to your cobble background. Reink and restamp again, until you are happy with the background you have created.
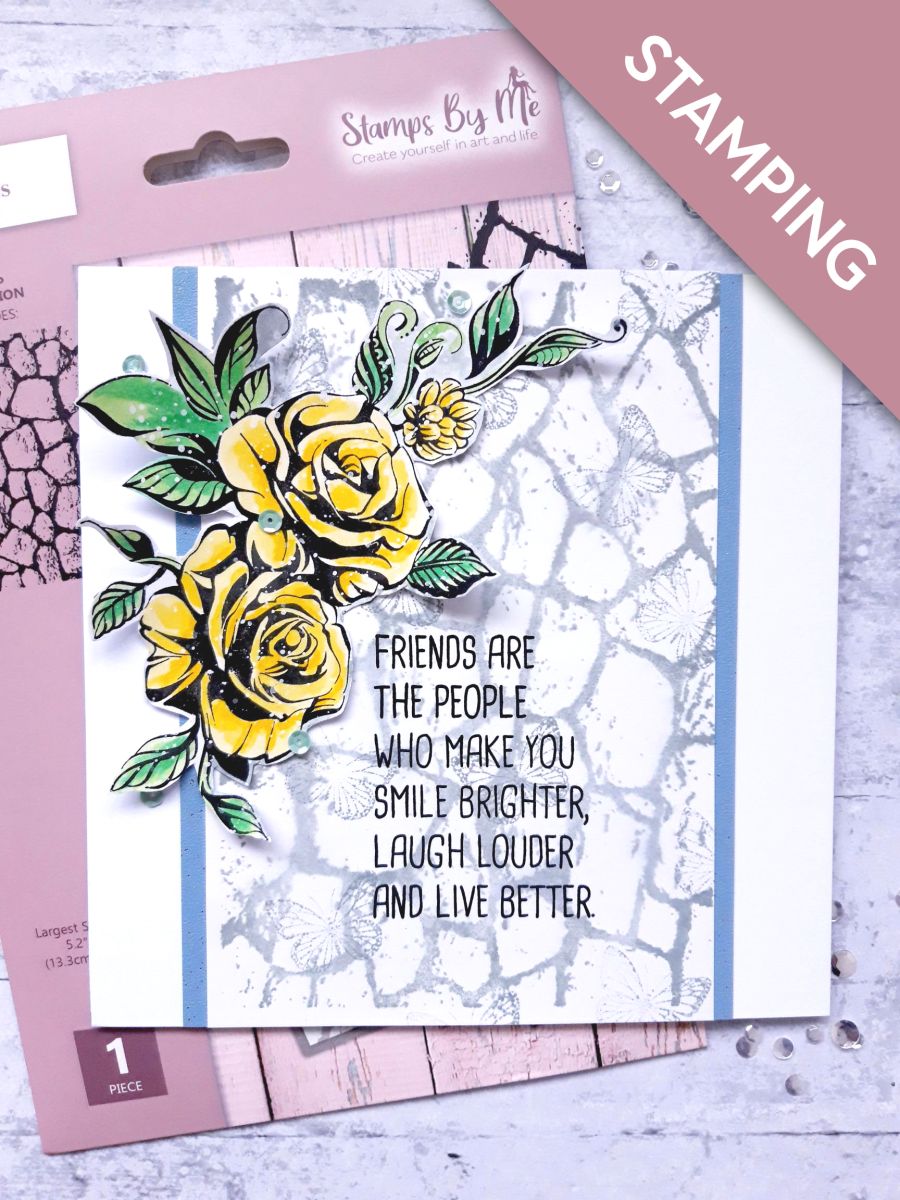
Once your background is dry, adhere it to the blue glitter card, so the top and bottom are flush, and there are equal gaps of blue card visible left and right.
Adhere this on to the front of the card blank, so the top and bottom are flush, and there are equal gaps of white card blank visible left and right.
Set this to one side.
Ink up the Imala Rose Ornament, with the Onyx Black Versafine.
Stamp on to the 7 x 5" white card, and once the ink is dry, cut it out.
Paint your stamped image, using your watercolour paints.
You can use the white Confetti paint to add accents and highlights, if required.
Once the paint is dry, splatter your painted Rose Ornament with the white Confetti paint.
Once dry, adhere your painted Rose Ornament around the left, top corner of the stamped background, using either wet glue, or foam pads to add dimension.
Ink up the sentiment stamp, from the Go After Your Dreams Lamination Stamp Collection, with the Versafine.
Stamp on to your artwork, where required.
To finish your card, add sequins around, and tucked under, your Rose Ornament embellishment.
Share your make with the Stamps By Me community - and keep this guide for next time.
Prefer the previous layout? Open the old page.



