


Step 1 of 9
Place the 6 1/4" square white card flush to the edges, in the bottom right hand corner of your Eureka, and secure with magnet.
Place the stamp from the Beautiful Soul Stamp Collection over the top left hand corner of your card.








Prices change straight away. Every language is our own translation, not Google.
 Eureka 101 Replacement Bar MagnetsEureka 101€10.99BUY✓ ADDED
Place the 6 1/4" square white card flush to the edges, in the bottom right hand corner of your Eureka, and secure with magnet.
Place the stamp from the Beautiful Soul Stamp Collection over the top left hand corner of your card.
Ink up the stamp with the Onyx Black Versafine and stamp your image.
Leave the stamp in place and rotate your card by 90 degrees so the stamped image is now bottom left, and the card is once again flush in the right hand corner of your Eureka, as shown in this image.
Ink up the stamp again with the Versafine and stamp in the top left corner.
Repeat these steps twice more, always leaving your stamp in place, rotating the card 90 degrees and securing it flush, in the bottom right hand corner of the Eureka.
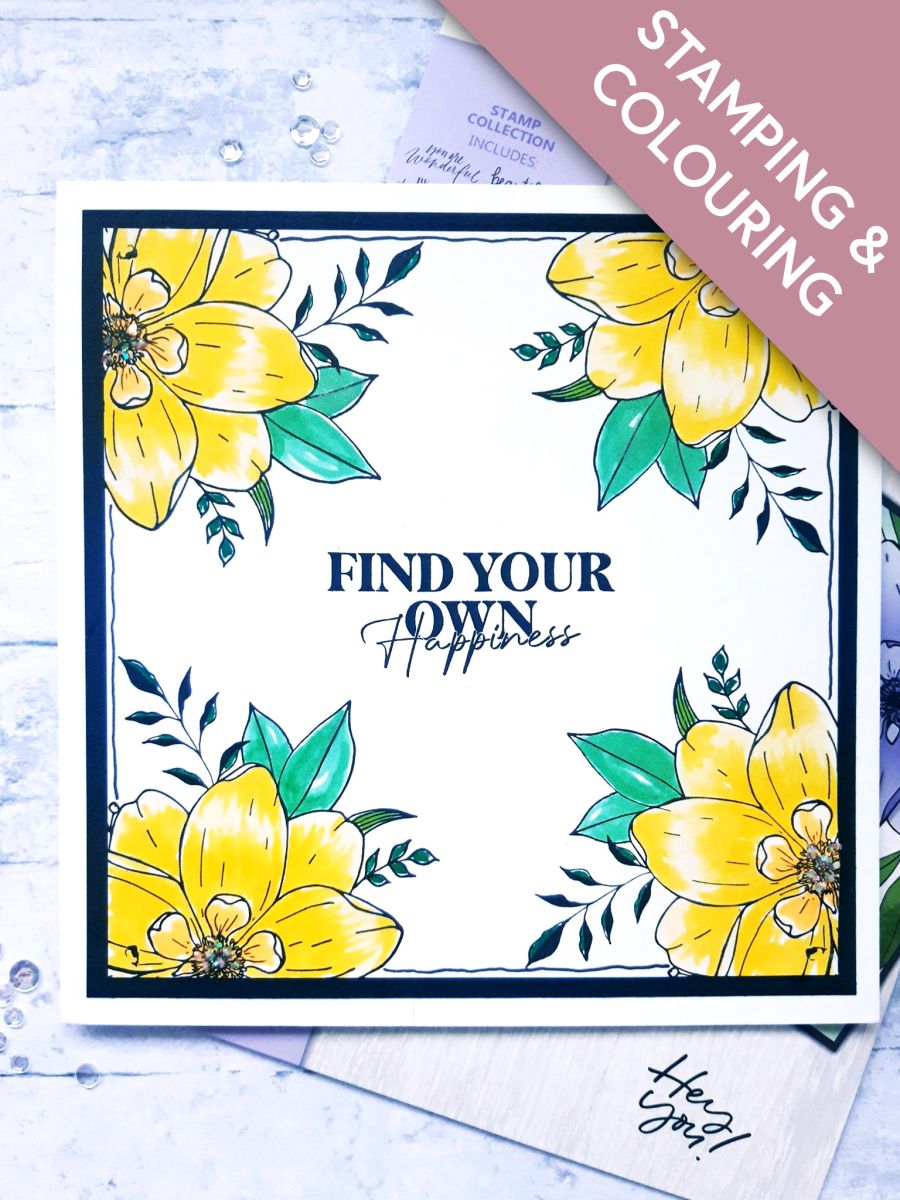
The result will be as shown here.
You can now remove your card and stamp, from the Eureka.
Use a black pen to draw a decorative, wiggly frame, to connect the 4 corner images.
Use your Gossip Glitter Colouring Pens, and a water brush, to paint your stamped images.
By using the water brush, to blend out the ink, you can bring light and shade to your images.
Ink up the sentiment stamp, from the same stamp set, with the Versafine, and stamp in the centre of your artwork.
Once the artwork is dry, adhere on to the black card.
Adhere this on to the front of your card blank.
To finish your card, add a little Midas Glitter to the centre of each of the flowers.
Share your make with the Stamps By Me community - and keep this guide for next time.
Prefer the previous layout? Open the old page.



