


Step 1 of 8
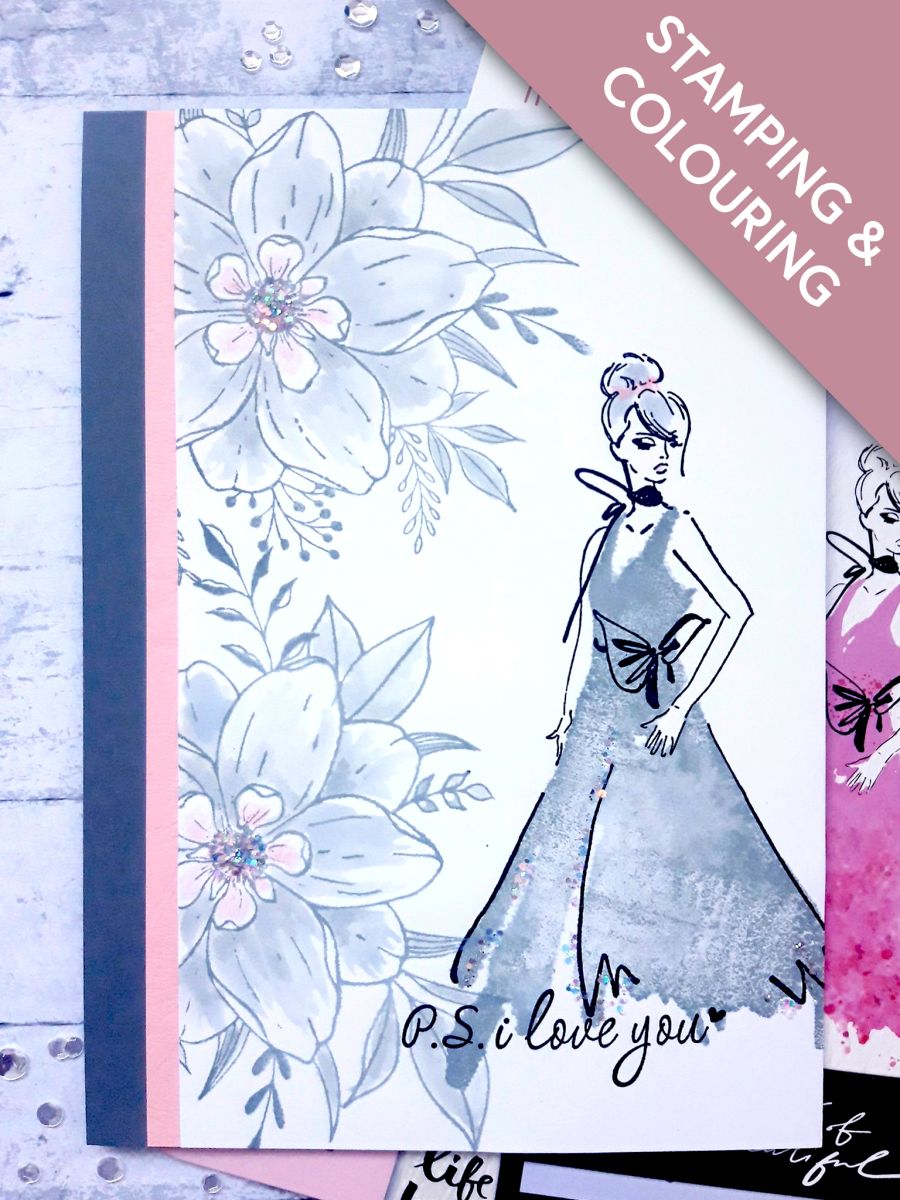
Ink up the solid stamp, from It's Time To Glow Stamp Collection, with the Iced Spruce Distress Oxide.
Spritz the stamp with water, and stamp just off the right hand bottom edge of the white card.








Prices change straight away. Every language is our own translation, not Google.
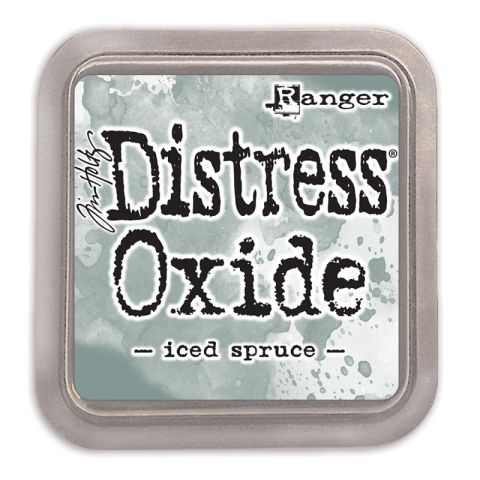 Tim Holtz - Distress - Oxide Pad Iced SpruceDistress Oxide: Iced Spruce
 Eureka 101 Replacement Bar MagnetsEureka 101€10.99BUY✓ ADDED
Ink up the solid stamp, from It's Time To Glow Stamp Collection, with the Iced Spruce Distress Oxide.
Spritz the stamp with water, and stamp just off the right hand bottom edge of the white card.
Ink up the coordinating, detailed stamp, with the Onyx Black Versafine.
Stamp it in position, over the top of the dress. If you're not sure how to line it up, the images on the packaging will help.
Ink up the floral stamp from Beautiful Soul Stamp Collection, with the Iced Spruce Oxide. Stamp off the bottom left side edge of your card.
Ink it up again, and stamp just above the first image, to achieve this floral border down the left hand side of your card.
Pop some of the Iced Spruce Oxide on to a glass or craft mat, add a little water and paint the petals.
Use your HIMI oil pencil to add a hint of colour to the centre of the flowers, on her lips, and across the base of her hair bun.
Ink up the sentiment stamp, from It's Time To Glow, with the Onyx Black Versafine, and stamp just below the bottom of her dress.
Once your artwork is dry, adhere it to the pink card, ensuring the top, bottom and right hand edges of the card are flush. A strip of the pink card should only be visible down the left hand side, as seen here in the photo.
Adhere this on to the front of the top folding, grey card blank, in the same way, so a strip of the card blank is only visible down the left hand edge.
To finish off your card, add Midas Glitter to the centres of the flowers, and down the folds of her dress, where required.
Share your make with the Stamps By Me community - and keep this guide for next time.
Prefer the previous layout? Open the old page.



