


Step 1 of 14
Apply masking tape flush, along the top and right hand edges, of the white card.This will create a panel for you to work within.
Place your circle mask just to the top left, of your masked off panel.








Prices change straight away. Every language is our own translation, not Google.
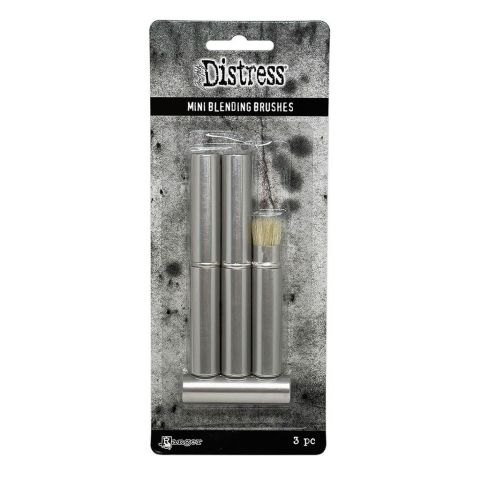 Time Holtz Distress Mini Blending Brushes 3pkBlending brushes€25.55BUY✓ ADDED
 Eureka 101 Replacement Bar MagnetsEureka 101€10.99BUY✓ ADDED
Apply masking tape flush, along the top and right hand edges, of the white card.This will create a panel for you to work within.
Place your circle mask just to the top left, of your masked off panel.
Blend the Salvaged Patina and Shaded Lilac Distress Oxides within your panel, blending out the colour towards the base of the card.
Place the Distressed Woodgrain stencil over the inked panel, and randomly blend areas with the Faded Jeans Oxide.
Splatter droplets of water over the inked panel, leave a few seconds and lift up the ink with a paper towel.
Dry your background off thoroughly.
Remove the circle mask from your background, and replace with a circle stencil, so the inner area of the circle can now be worked on.
Blend the Salvaged Patina and Shaded Lilac Oxides within the circle, but keeping the colours more muted.
Splatter water droplets on to the ink, leave a few seconds and lift off the ink with a paper towel.
Remove the stencil and dry your artwork.
Carefully remove the masking tape to reveal your inked panel.
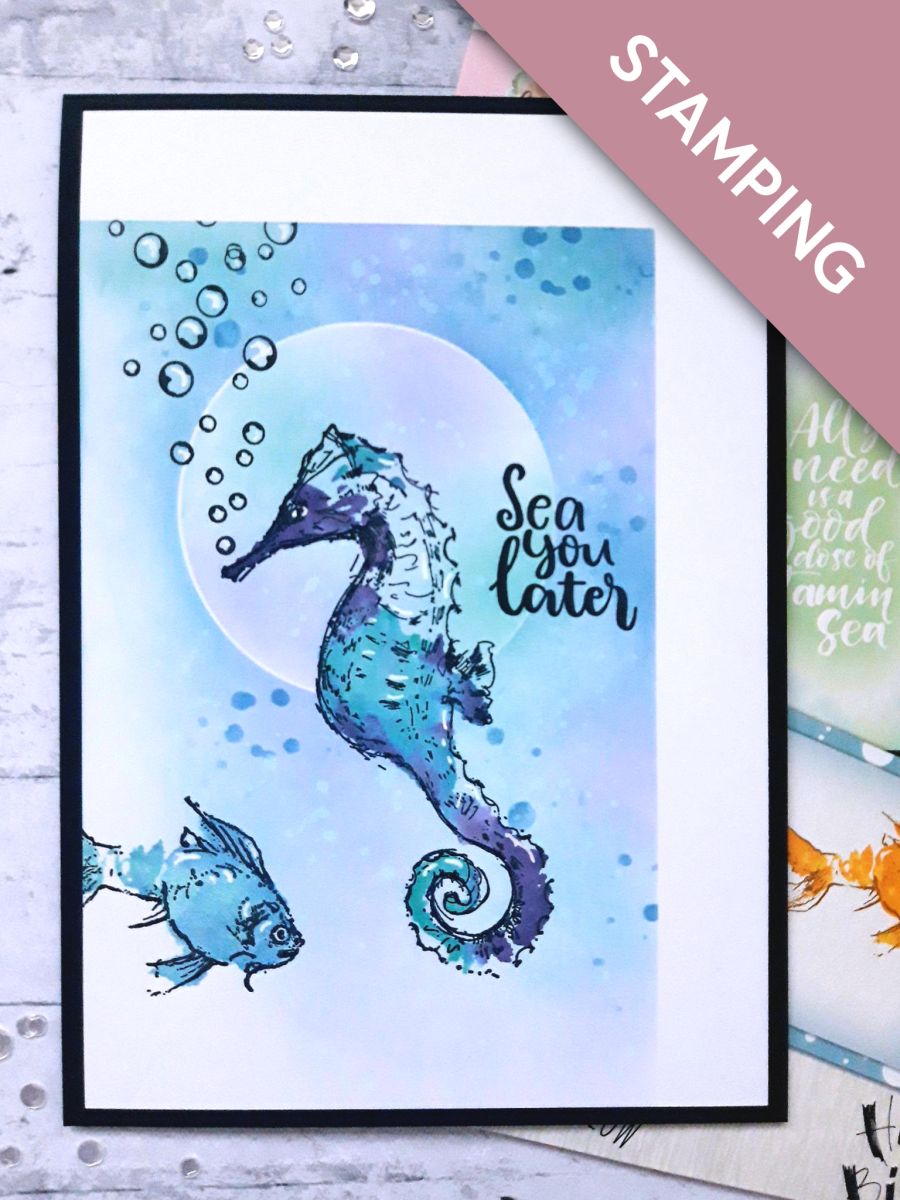
Ink up the solid stamp, from the Go With The Flow Lamination Stamp Collection, with the Peacock Feathers and Villainous Potion Distress Oxides.
Spritz with water and stamp on to your background, so the head is within the inked circle.
Ink up the coordinating detailed stamp, with the Onyx Black Versafine and stamp over the solid image. If you are unsure how to line it up, the packaging will help.
Ink up the bubbles stamp from the Imala Cheers stamp set, with the Versafine, and stamp them rising up from the Seahorse's mouth. You can take the bubbles up to the edge of the inked panel, or the edge of the white card.
Ink up the solid fish stamp, from the same set, with the Salvaged Patina and Faded Jeans Oxides.
Spritz with water and stamp just coming on to the bottom, left edge of your background.
Ink up the coordinating detailed stamp with the Versafine, and stamp over your solid image.
Ink up the sentiment from the same set, with the Versafine, and stamp to the right of your Seahorse.
Adhere your artwork on to the front of your black, top folding card blank.
To finish, use a white gel pen to add accents and highlights to your artwork.
Share your make with the Stamps By Me community - and keep this guide for next time.
Prefer the previous layout? Open the old page.



