Geef je vrienden € 10 korting op hun eerste bestelling!
Nodig een VRIEND uit








Prijzen worden meteen aangepast. Talen worden vertaald door Google.
Een project uit onze liveshow Thirsty Brush - Lekker kliederen met Emma, uitgezonden 11 feb · 11/02/2022
Create dimensional paper flowers using die-cut elements and layer them onto a decorated candle with ribbon and stamped embellishments. This technique transforms simple die cuts into sculptural flowers by twisting and shaping the pieces.
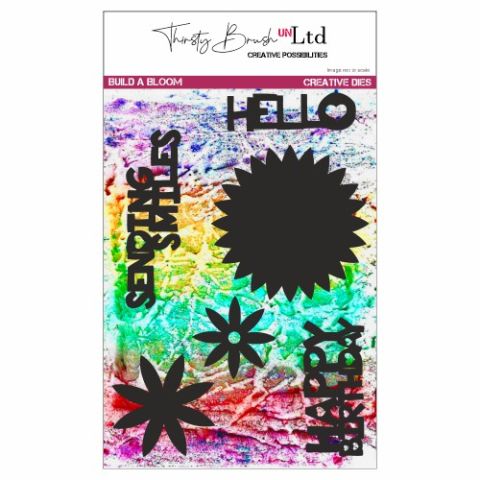
Die-cut the build a bloom flower elements three times each to create multiple layers.
Twist and shape each die-cut layer to create a dimensional, three-dimensional flower form.
Remove the stamen or wire elements from the centre of each flower.
Wrap ribbon or twine around the candle to create a decorative band.
Use a hot glue gun to attach the dimensional flowers to the ribbon on the candle.
Die-cut the fancy flowers design and fold it in half to create a decorative accent.
Stamp words or sentiments onto white card and layer them onto black card for contrast.
Attach the stamped sentiment to the candle decoration using glue.
Deel je project met de Stamps By Me community - en bewaar deze handleiding voor de volgende keer.
Rechtstreeks uit de show uitgeschreven. Bekijk alle handleidingen uit onze shows · gratis handleidingen · kijk live op My Telly · de vorige weergave