Geef je vrienden € 10 korting op hun eerste bestelling!
Nodig een VRIEND uit








 Hidden Gemswo 4 nov 5:00 uur
 The Thursday Dropdo 5 nov 13:00 uur
 The Friday Final Cutvr 6 nov 5:00 uur
Prijzen worden meteen aangepast. Talen worden vertaald door Google.
Een project uit onze liveshow KIJK TERUG met Simon naar MONDAY MADNESS in de HTCN-studio, uitzending van 15 nov 21 · 15/11/2021
A striking monochrome card featuring a printed repeating 'thank you' sentiment as the background, enhanced with stencilled starburst patterns in black and charcoal grey, and topped with a hand-coloured elephant character. The layered stencil technique creates depth and draws attention to the focal point.
Print a full page of 'thank you' sentiment onto cardstock using your computer printer.
Trim the printed page to 6.5 by 5 inches using a paper trimmer to fit your card blank.
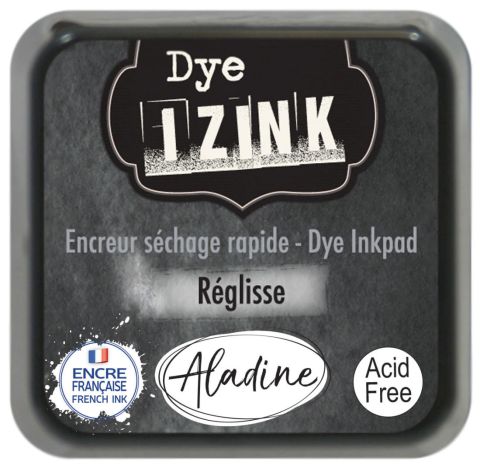
Place a starburst stencil in the bottom corner of the printed panel and lightly tap black ink through it using a circular motion.
Apply the stencil again in the same corner with darker, heavier pressure to create a two-tone effect with charcoal grey and black.
Reposition the stencil to the top corner and repeat the light and dark tapping technique to create a secondary focal point.
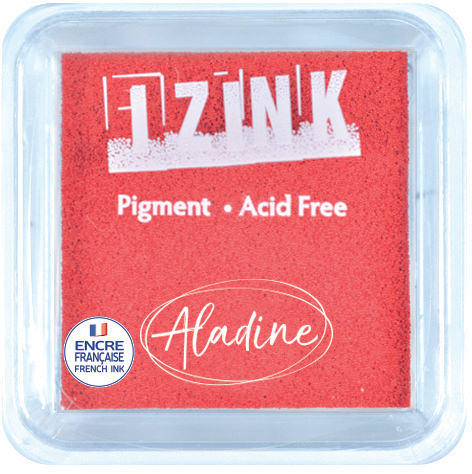
Edge the card with red ink by dragging the ink pad along all four edges to soften the harshness and introduce colour.
Adhere the printed and stencilled panel to your card blank using double-sided tape.
Stamp the elephant character onto separate cardstock using black ink and a stamping block.
Colour the stamped elephant with watercolour techniques, adding grey to the body, red to the ears and cheeks, and darker black to the trunk and details.
Heat-set the coloured elephant with a heat gun to prevent smudging during die-cutting.
Die-cut the coloured elephant using the complementary die to create a crisp outline.
Mount the die-cut elephant onto the card using foam pads to raise it above the surface.
Add decorative heart stickers around the card to break up the background and tie the design together.
Deel je project met de Stamps By Me community - en bewaar deze handleiding voor de volgende keer.
Rechtstreeks uit de show uitgeschreven. Bekijk alle handleidingen uit onze shows · gratis handleidingen · kijk live op My Telly · de vorige weergave