Geef je vrienden € 10 korting op hun eerste bestelling!
Nodig een VRIEND uit








 Hidden Gemswo 4 nov 5:00 uur
 The Thursday Dropdo 5 nov 13:00 uur
 The Friday Final Cutvr 6 nov 5:00 uur
Prijzen worden meteen aangepast. Talen worden vertaald door Google.
Een project uit onze liveshow TERUGKIJKEN: de Create Together Club - Inspiratievideo 6 voor de stempelset A NOTE TO SAY - UITZENDING 30 okt 21 · 30/10/2021
Create a delicate, elegant card by stamping a typewriter image onto vellum with gold embossing ink and clear embossing powder. The heat-set result gives a subtle, sophisticated look that works beautifully on translucent vellum.
Place a piece of vellum on your work surface and position the typewriter stamp in the centre using a magnet to hold it steady.
Apply anti-static powder to the vellum to prevent static cling.
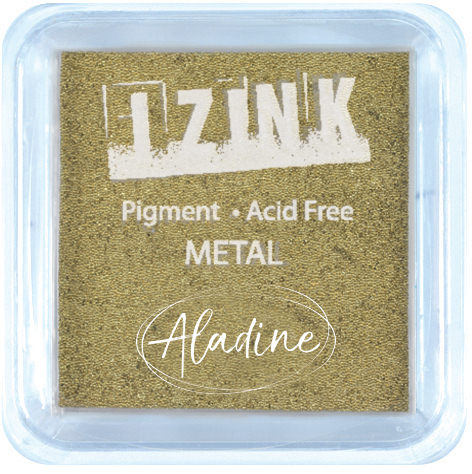
Ink up the typewriter stamp thoroughly with the gold embossing ink pad, tapping all over for even coverage.
Press the stamp firmly onto the vellum, applying good pressure to capture all the detail.
Lift the stamp carefully away from the vellum.
Sprinkle clear embossing powder over the wet gold ink to seal it.
Heat set the embossing powder with a heat gun, moving it steadily across the vellum to avoid warping.
Mount the embossed vellum onto a card base to complete the project.
Deel je project met de Stamps By Me community - en bewaar deze handleiding voor de volgende keer.
Rechtstreeks uit de show uitgeschreven. Bekijk alle handleidingen uit onze shows · gratis handleidingen · kijk live op My Telly · de vorige weergave