Give your friends €10 off their first order!
Refer a FRIEND








A project from our live show HOBBYMAKER TV - Join us for the latest show - Broadcast 2 p.m. (UK) 7th May 2026 · 07/05/2026 · watch it from 54:00
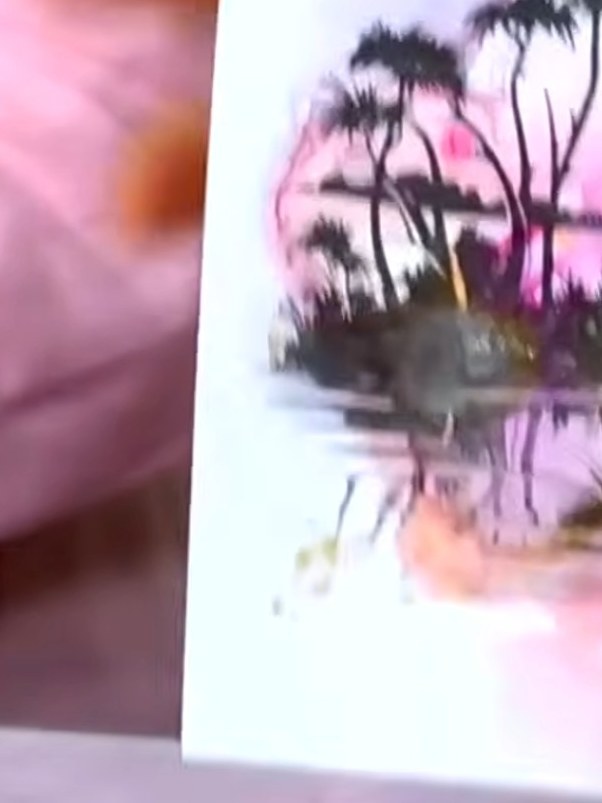
Create a stunning shaped bird card using a six-stencil layering system with vibrant watercolour effects in pinks, purples, and golds. This project features a three-dimensional bird design with silhouetted foliage and architectural elements that can stand freely on a table or be mounted on a card base. The main techniques include layered stencilling, watercolour blending, and die-cutting to achieve a striking dimensional effect.
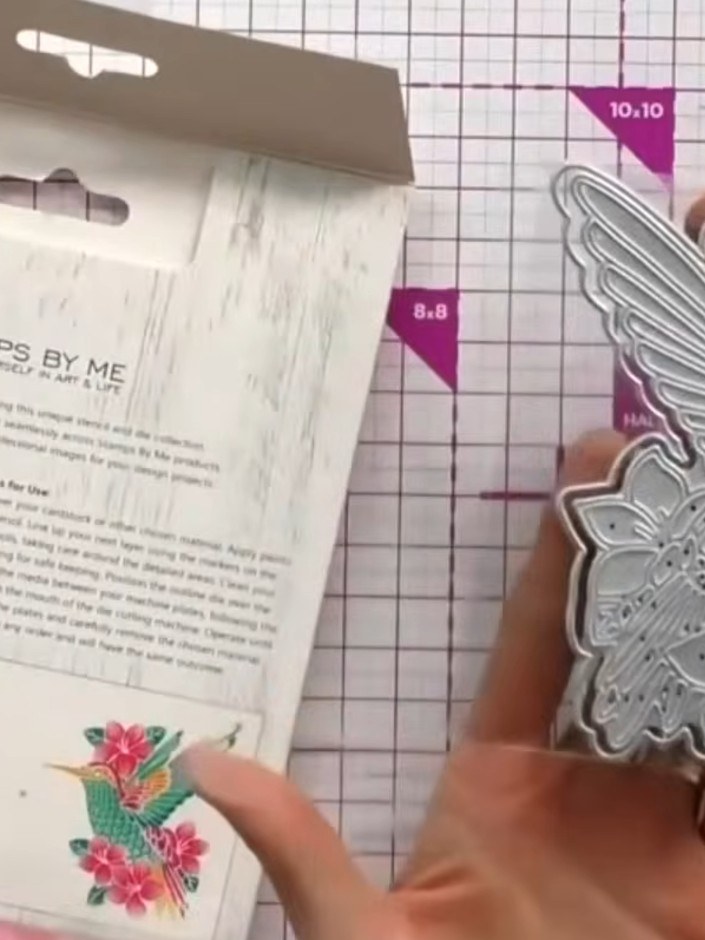
Prepare your card stock and follow the six-stencil system numbered 1-6 on the back of the die. The system includes coordinating dies and stencils for layering floral designs.
▶ watch this step (54:00)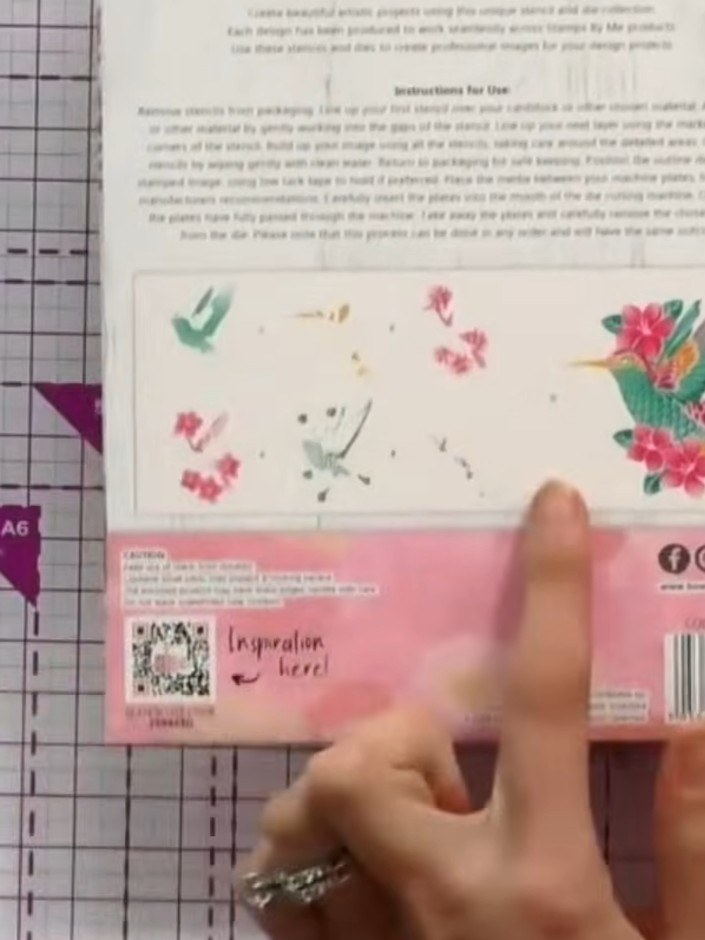
Apply stencil one to your card stock using your chosen colours, following the system guide on the back of the packaging.
▶ watch this step (54:30)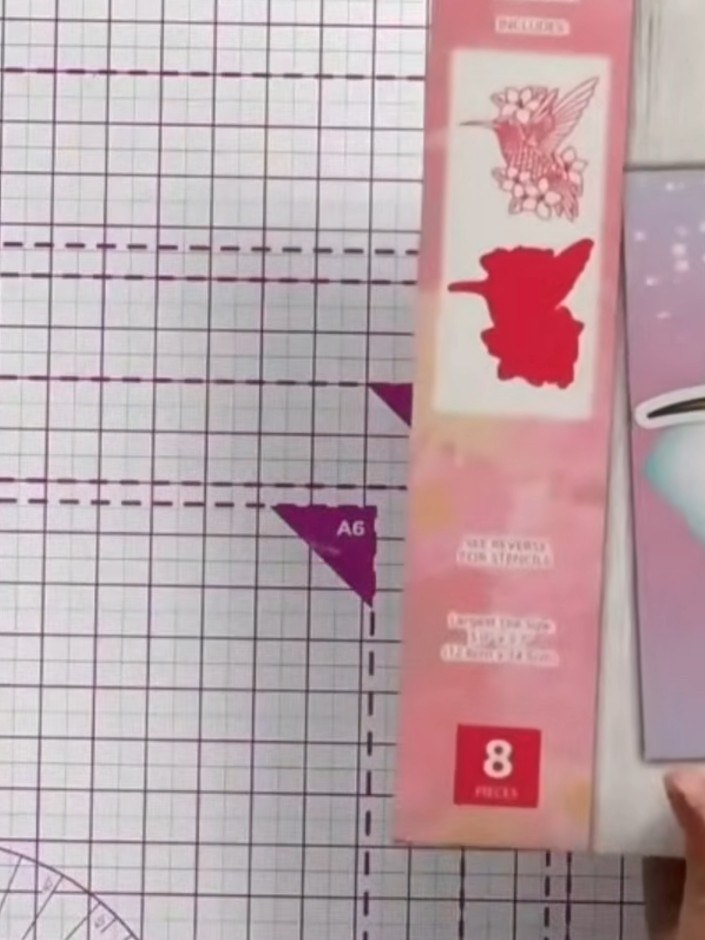
Work through stencils two through six in sequence, layering the colours to gradually build up the hummingbird and floral design on your card panel.
▶ watch this step (54:45)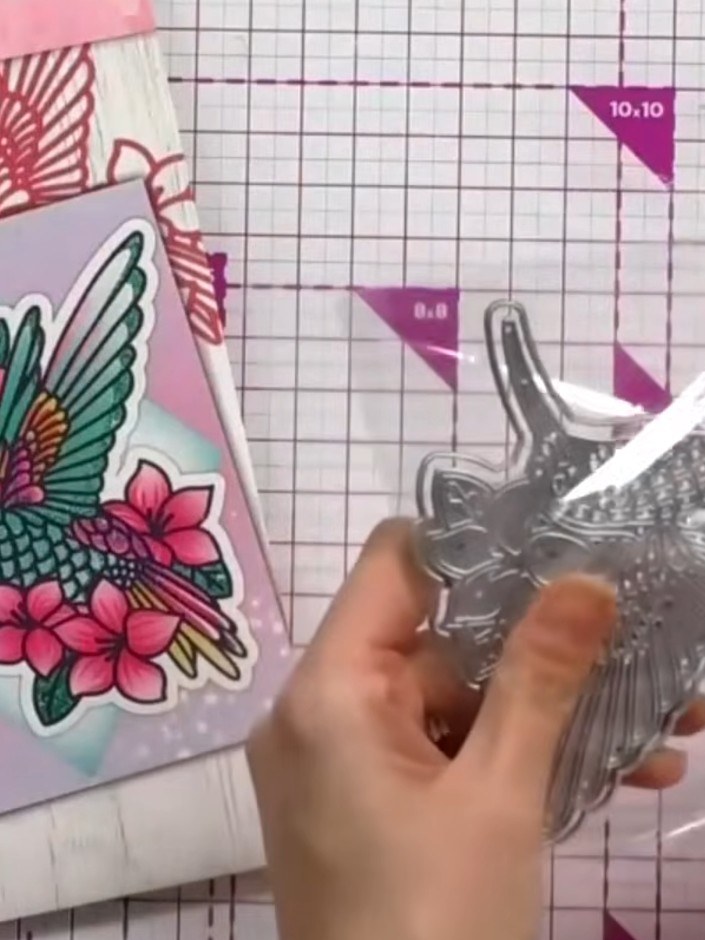
Use the detailed bird die from the stencil and die set to cut out the coloured bird image. Carefully remove the die-cut bird shape from the card.
▶ watch this step (55:00)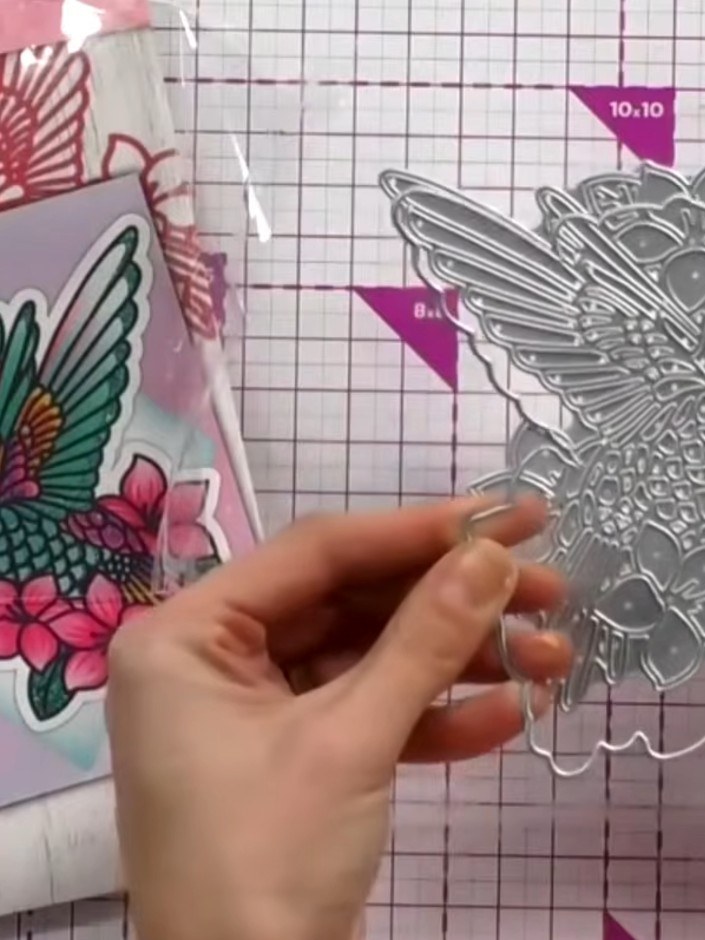
Use the exterior die from the Set Me Free stencil and die set to cut the outer shape of your card. This creates a shaped card that will stand upright on a table.
▶ watch this step (55:15)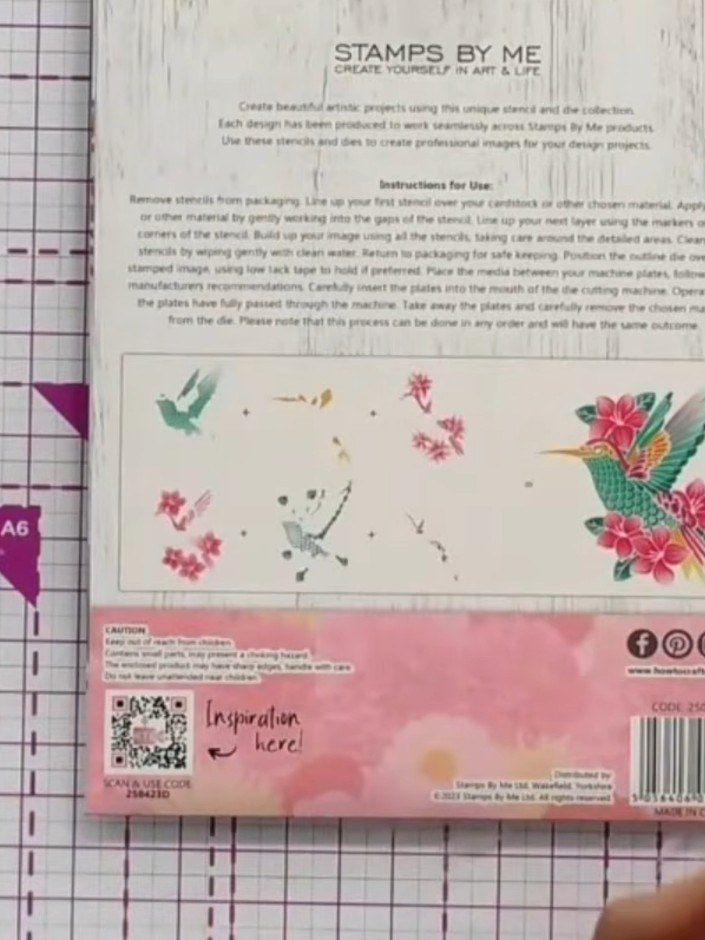
For a flat card design, use only the stencils from the Stamps By Me set without cutting. The stencils can create beautiful images on their own when used with inks or other colouring mediums.
▶ watch this step (55:30)Written up from the show itself. See every guide from our shows · free how-to guides · watch live on My Telly