Give your friends €10 off their first order!
Refer a FRIEND








A project from our live show Create and Craft Show 12th JAN - Product Preview - Join Toni for her latest inspirations - Broadcast 10th JAN 22 · 10/01/2023 · watch it from 35:45
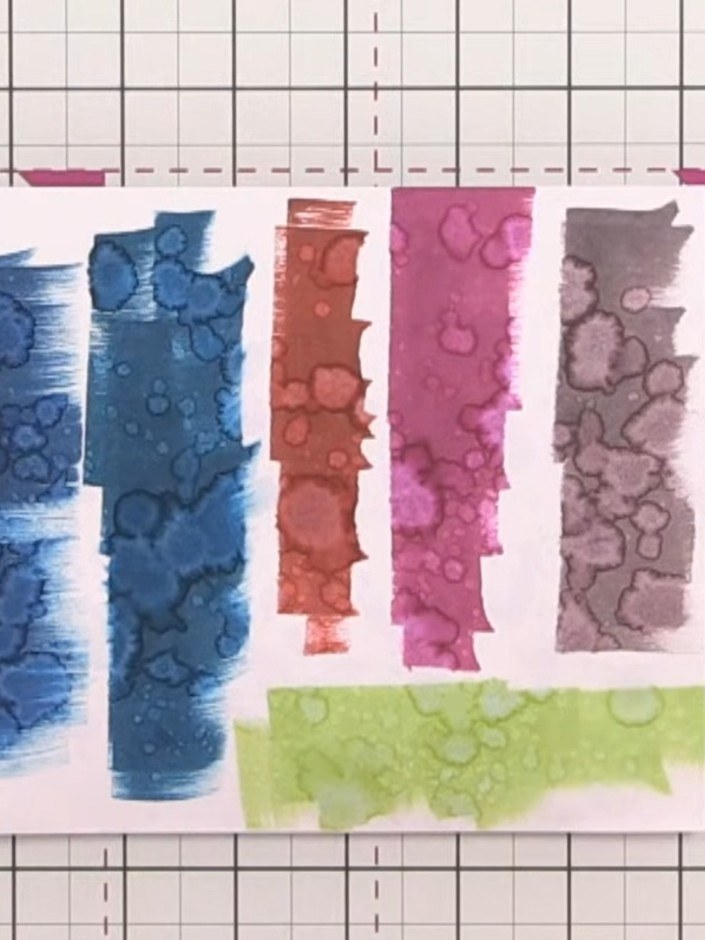
Create stunning watercolour backgrounds using water-reactive ink pads in vibrant blues, pinks, coral, and lime green. This technique demonstrates how spraying water onto stamped patterns creates beautiful organic textures and flowing colour gradients. The result is a collection of artistic strips with unique watercolour effects, perfect for card making and mixed media projects.
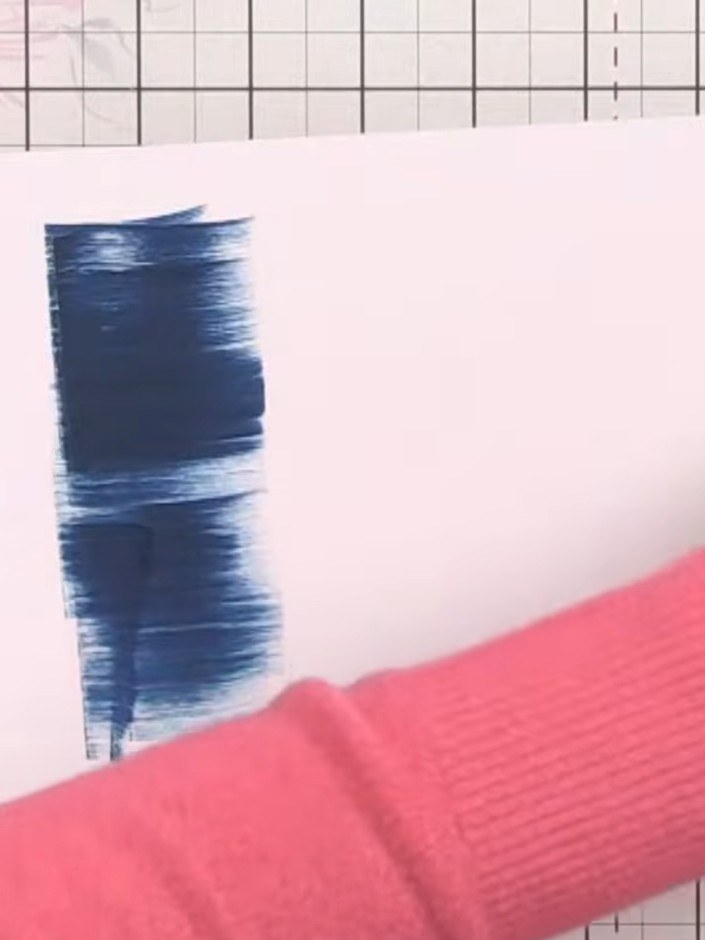
Apply blue ink directly onto white card stock using light tapping motions with the ink pad. Build up the colour by applying multiple layers in different areas to create variation in tone and texture.
▶ watch this step (36:00)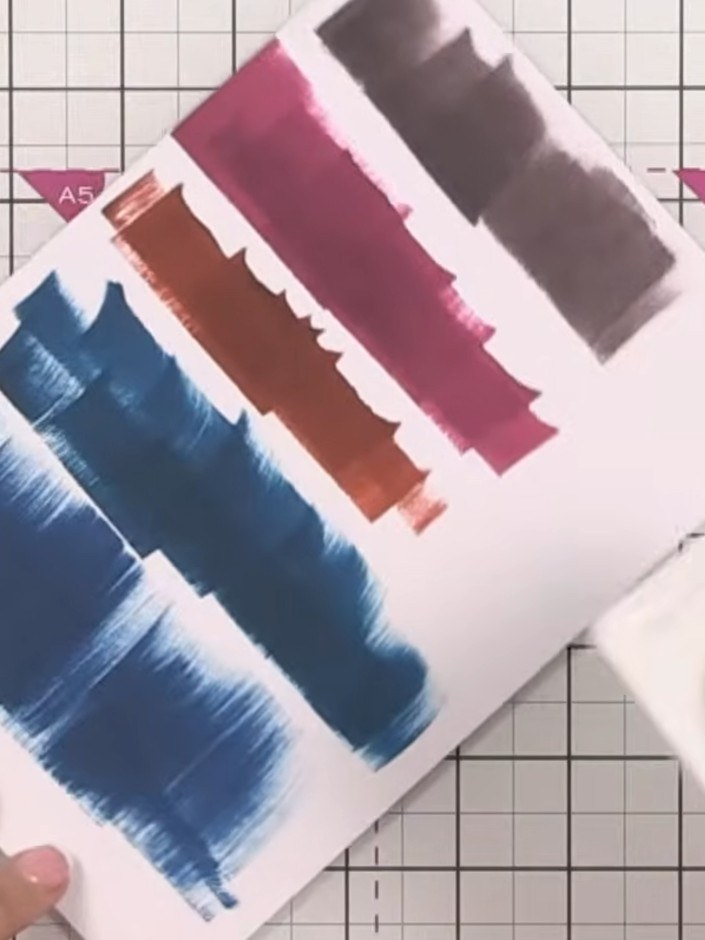
Allow the ink to dry slightly so the colours begin to lighten naturally. The blue, brown, pink and black ink strokes will fade as they dry on the white card.
▶ watch this step (36:30)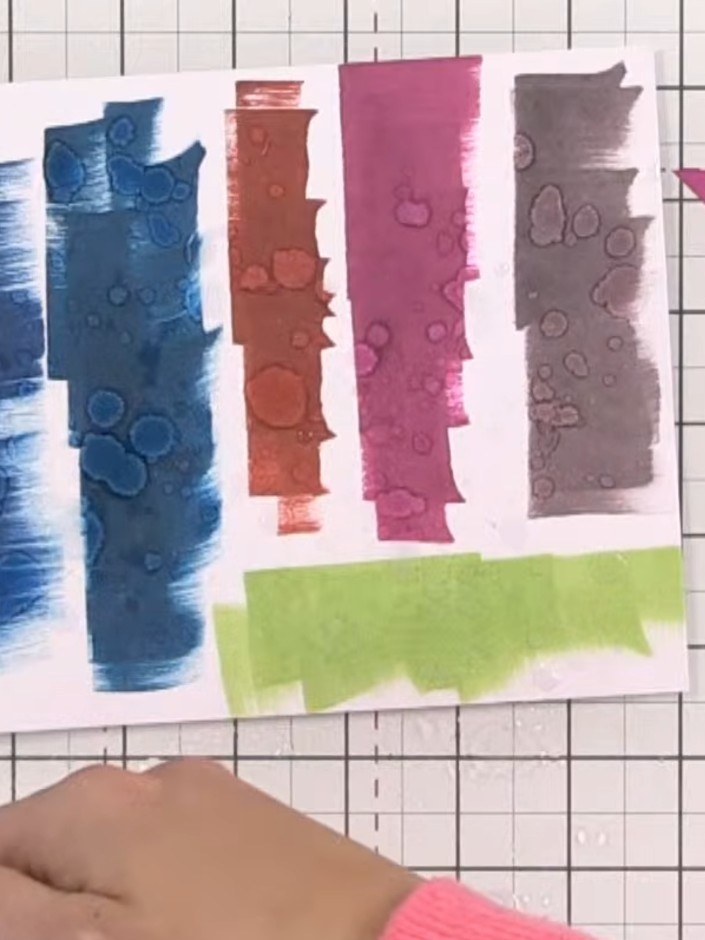
Spray water generously onto your hand to create a large puddle. Get plenty of water on so you'll see the texture you're wanting.
▶ watch this step (38:15)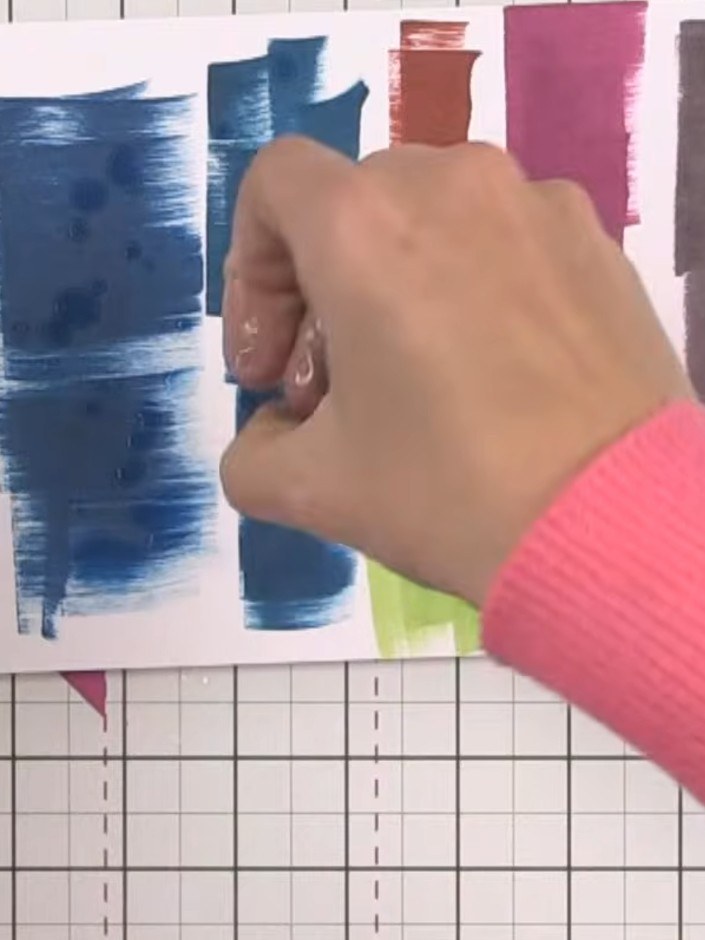
Apply water to the inked card using a water-soaked hand or spray bottle to activate the reactive ink. Create a puddle of water on the surface to allow the colours to blend and react together.
▶ watch this step (38:30)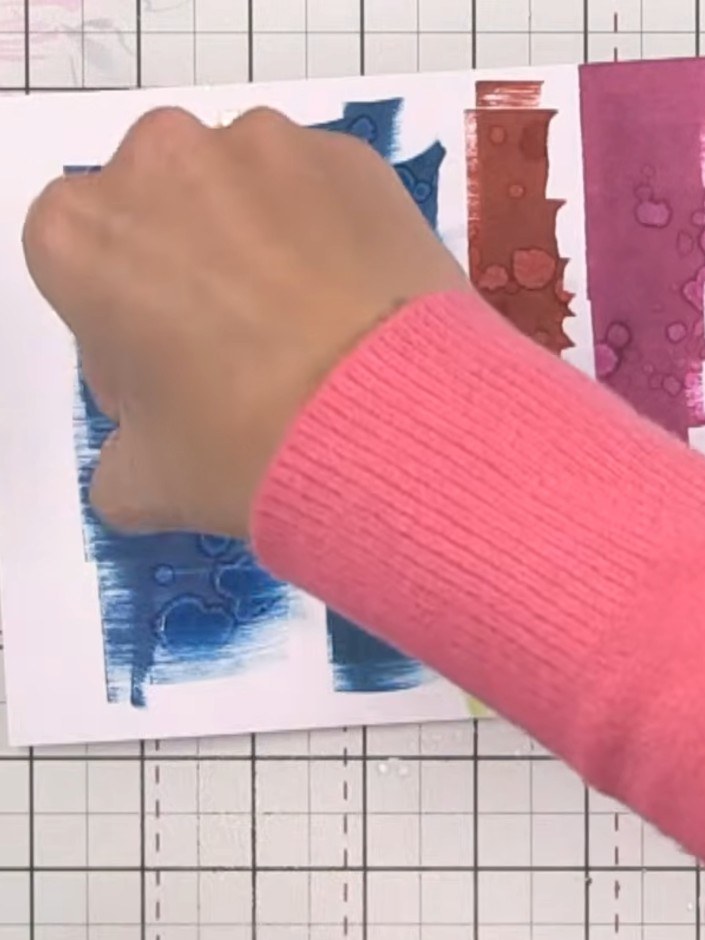
Wet the stamped areas with plenty of water using a wet wipe or damp cloth. Watch as the colours pull out to lighter shades, creating texture and movement across the card.
▶ watch this step (39:00)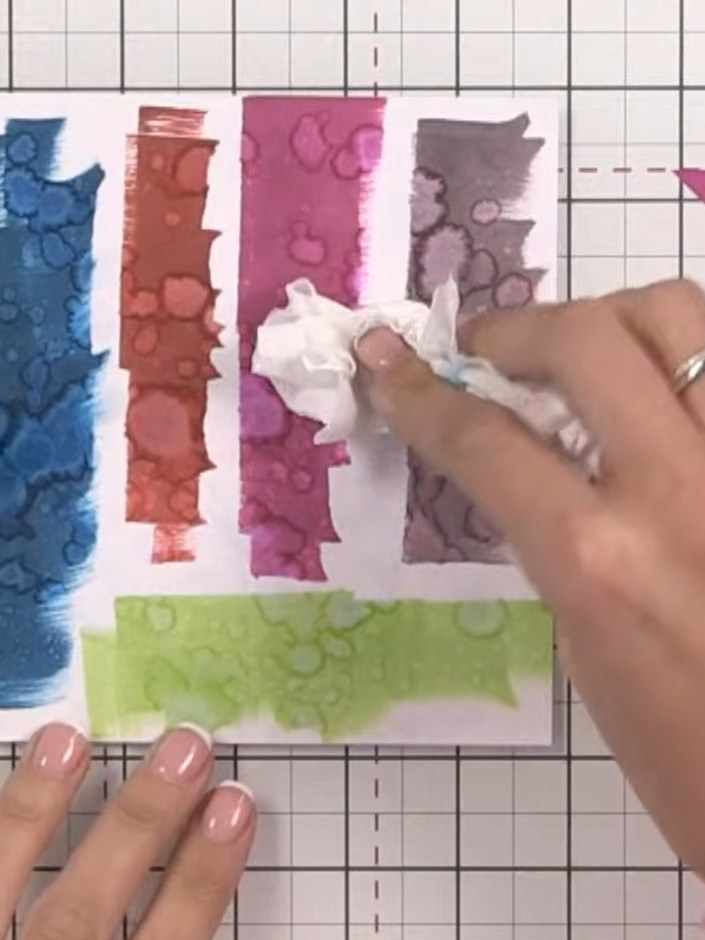
Gently dab the watercoloured paper with tissue to remove excess water and help blend the colours together for a smooth finish.
▶ watch this step (39:30)Written up from the show itself. See every guide from our shows · free how-to guides · watch live on My Telly