Give your friends €10 off their first order!
Refer a FRIEND








A project from our live show MY PODCAST - Catch my latest updates broadcast 16th February 2026 · 16/02/2026 · watch it from 25:00
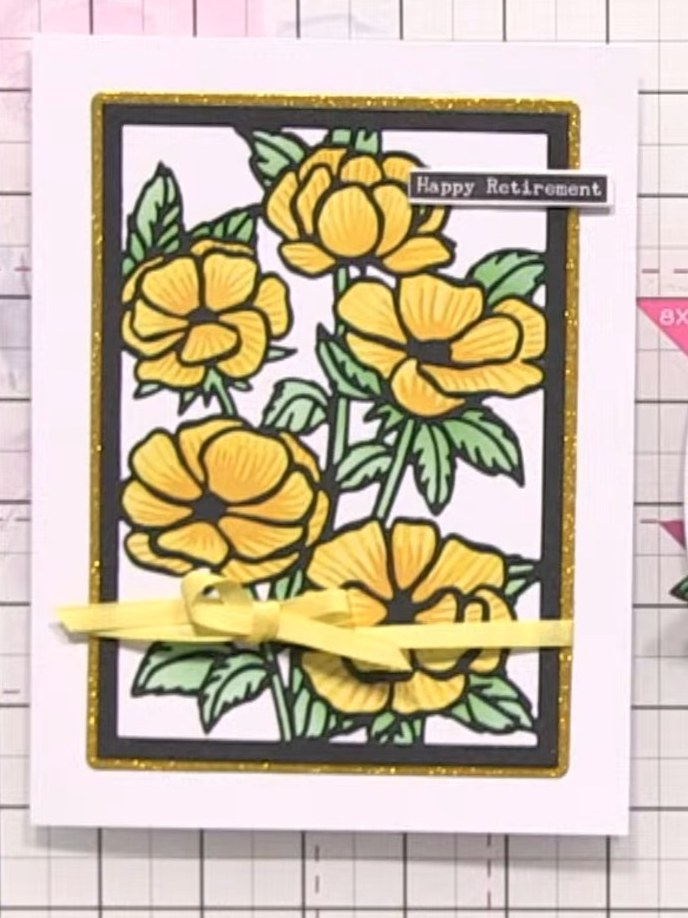
Create a stunning layered flower card featuring beautiful buttercup blooms in vibrant yellows with green foliage. The design is framed with an antique gold glitter border and finished with a yellow ribbon accent and sentiment banner. This dimensional botanical card combines stamping, die-cutting, and ink blending techniques for a professional finish.
 Stamps By Me - Stencils and Die Set - Beautiful Buttercups - 080824BSEE IT
 Pearl Wheel Bundle X 5 - 010126ASEE IT
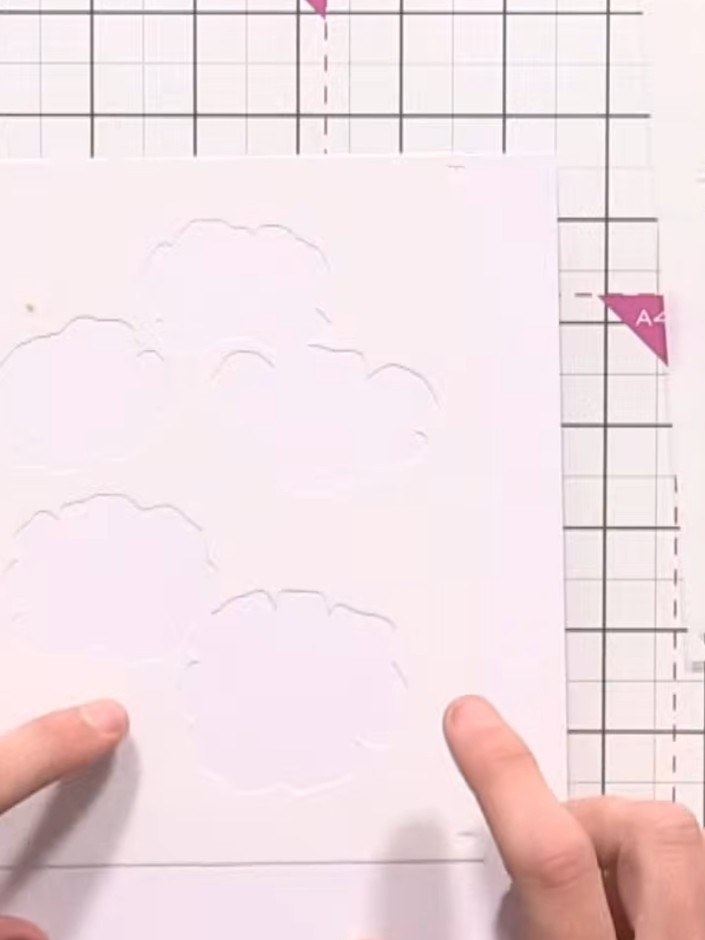
Place white card stock on your craft mat. Position the first layering stencil from the Beautiful Buttercups set on the card stock.
▶ watch this step (25:00)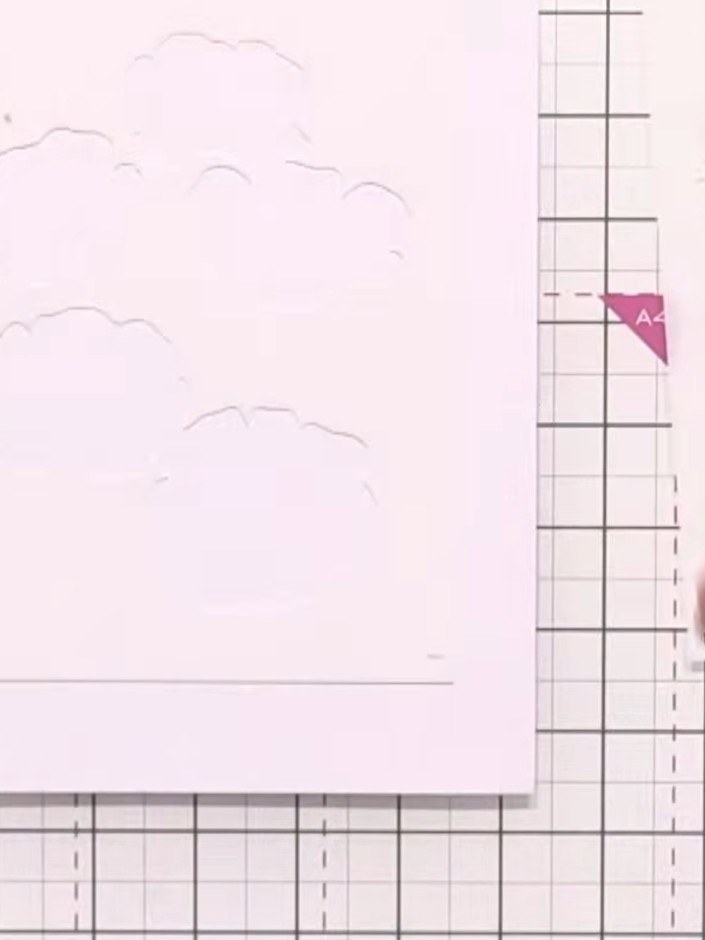
Ink the first stencil layer using light pink ink, pressing the ink pad gently and evenly across the stencil to transfer the floral design onto the white card.
▶ watch this step (28:45)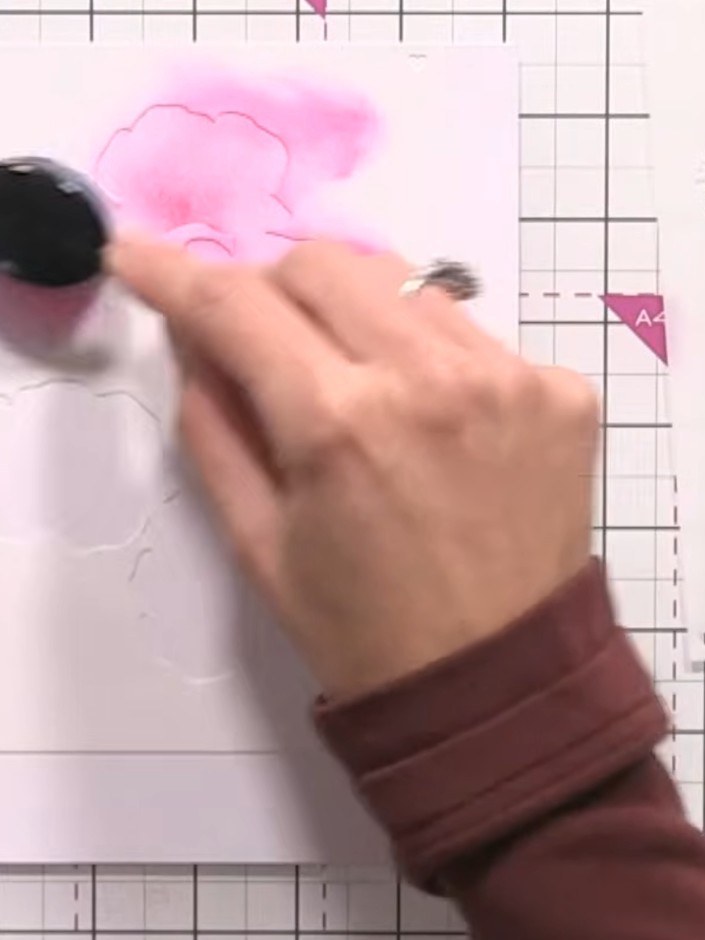
Position the second stencil layer over the stamped image and apply dark pink ink using a blending tool. Press slightly harder to build colour depth and create dimension in the flower petals.
▶ watch this step (29:30)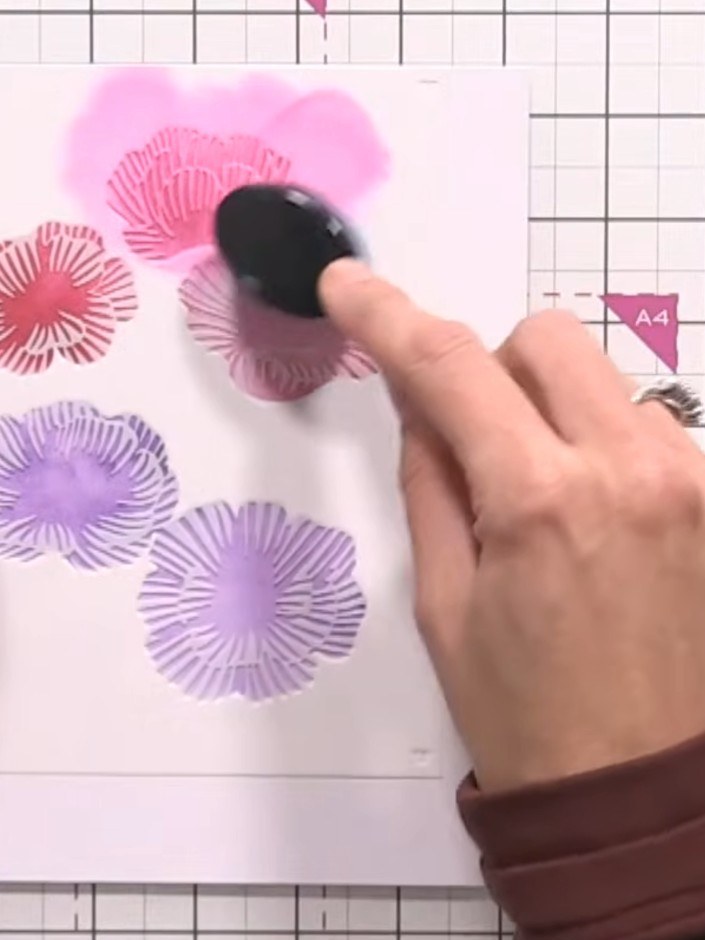
Apply purple ink through the third stencil layer, blending it slightly with the pink areas to create a reddish tone where the colours meet.
▶ watch this step (31:00)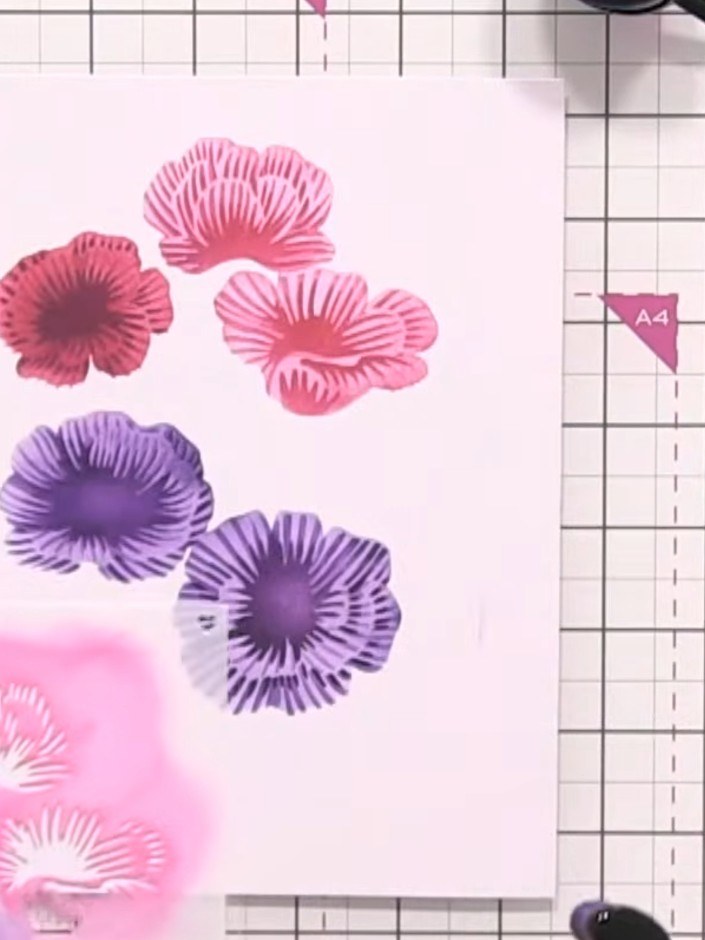
Apply the green ink through the fourth stencil layer to add the foliage details to your flowers. Keep the green ink application light and delicate overall.
▶ watch this step (34:30)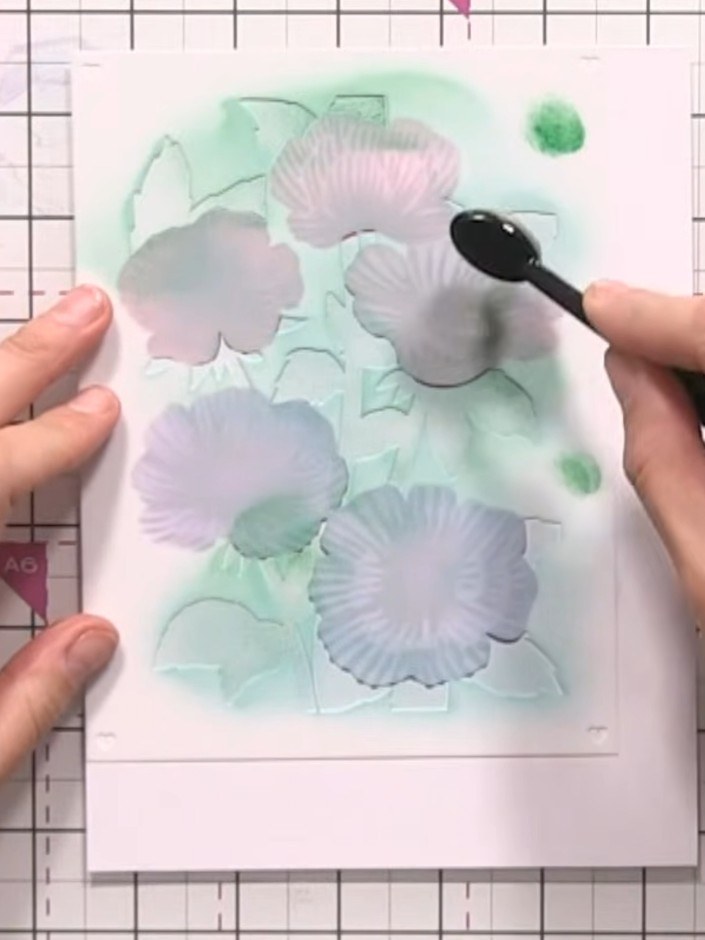
Using a smaller brush, add darker green shadow detail to the leaves. Drag the colour from the stencil outward to create an ombré effect on each leaf.
▶ watch this step (36:15)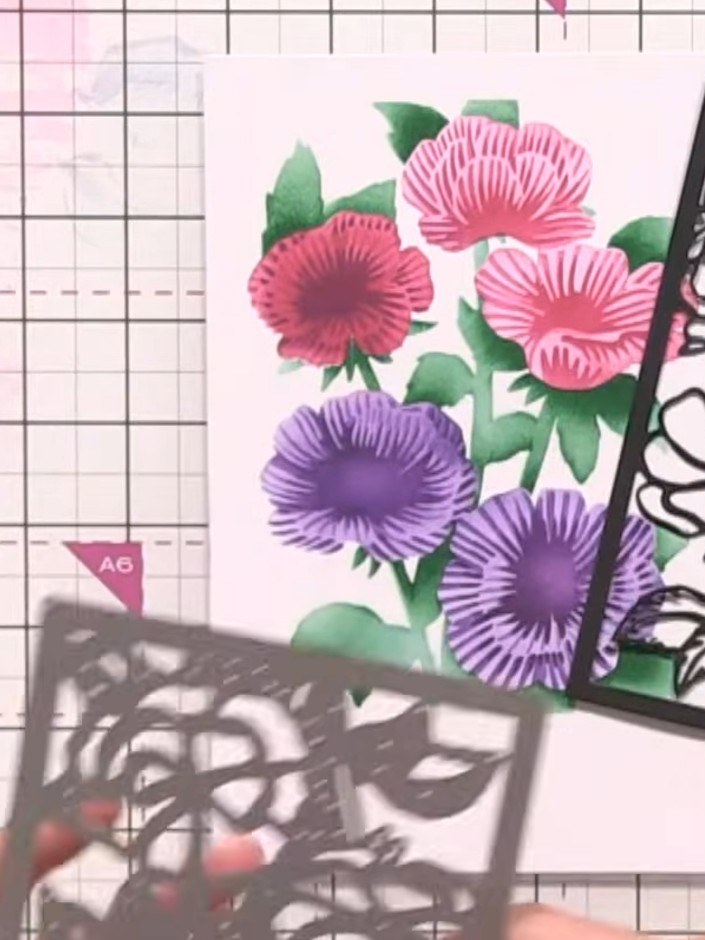
Die-cut the floral frame from black card stock. Place a piece of card underneath to protect your die-cutting machine plate.
▶ watch this step (39:00)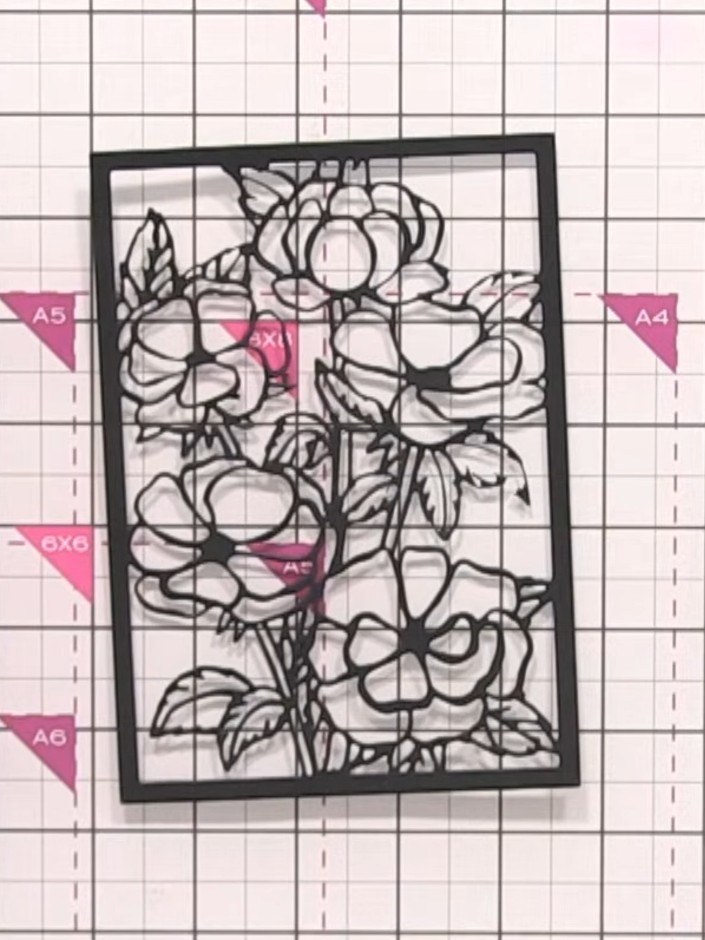
Apply antique gold finger wax to the black die-cut frame. Rub it on selectively to create a vintage, brushed metal effect, leaving some of the black showing through.
▶ watch this step (39:45)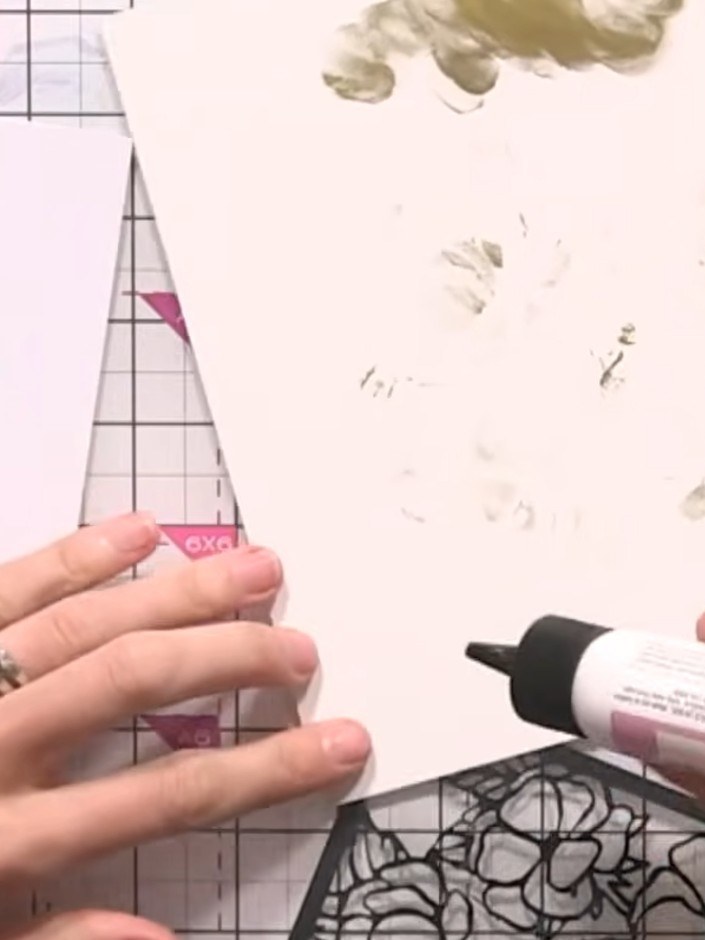
Apply glue to the back of the black floral frame piece. Position and adhere it onto your layered flower panel, ensuring it's centred over the coloured flowers.
▶ watch this step (42:00)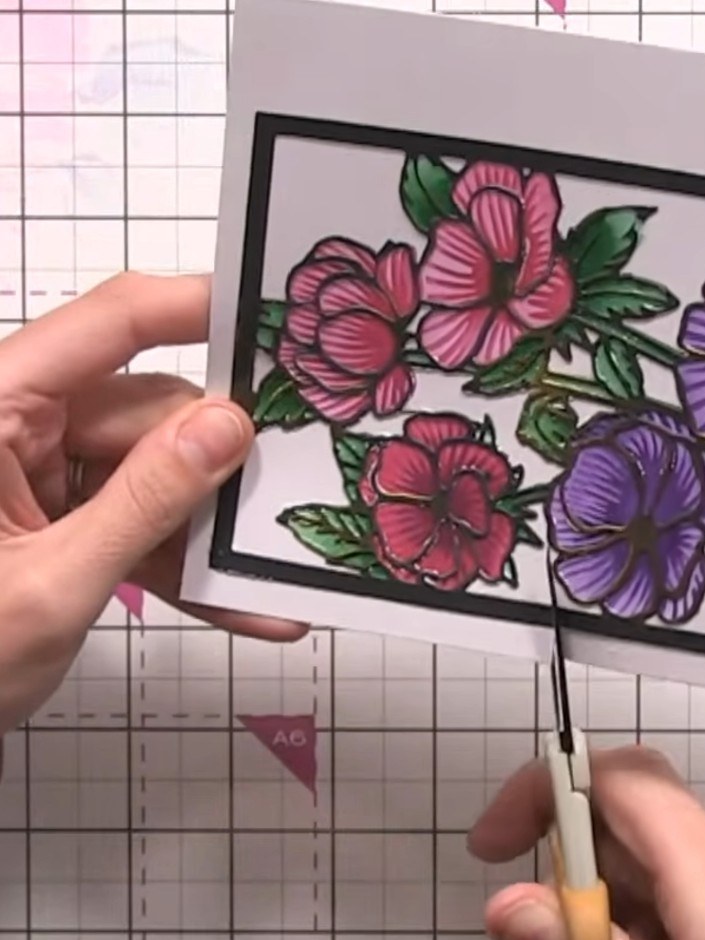
Carefully cut around the die-cut flowers with scissors to separate them from the plate format. Trim away any unwanted leaves and stalks to isolate the individual flower groups.
▶ watch this step (44:00)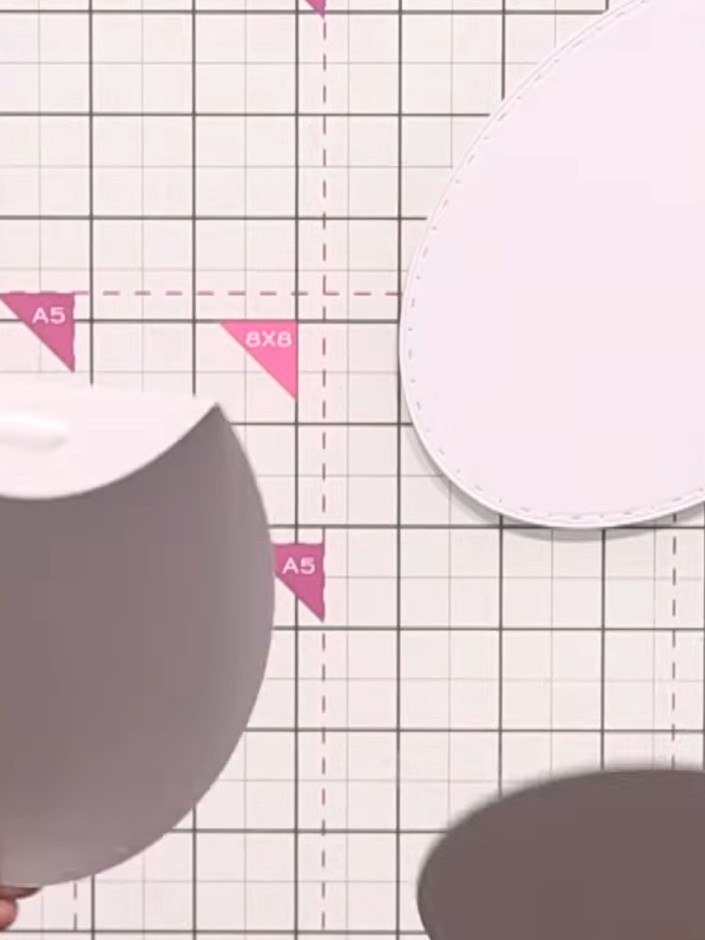
Die-cut two large oval shapes from grey card stock using the waste-free oval stencil die. Score along the top edge of one oval piece to create a hinge for the shaped card base.
▶ watch this step (51:00)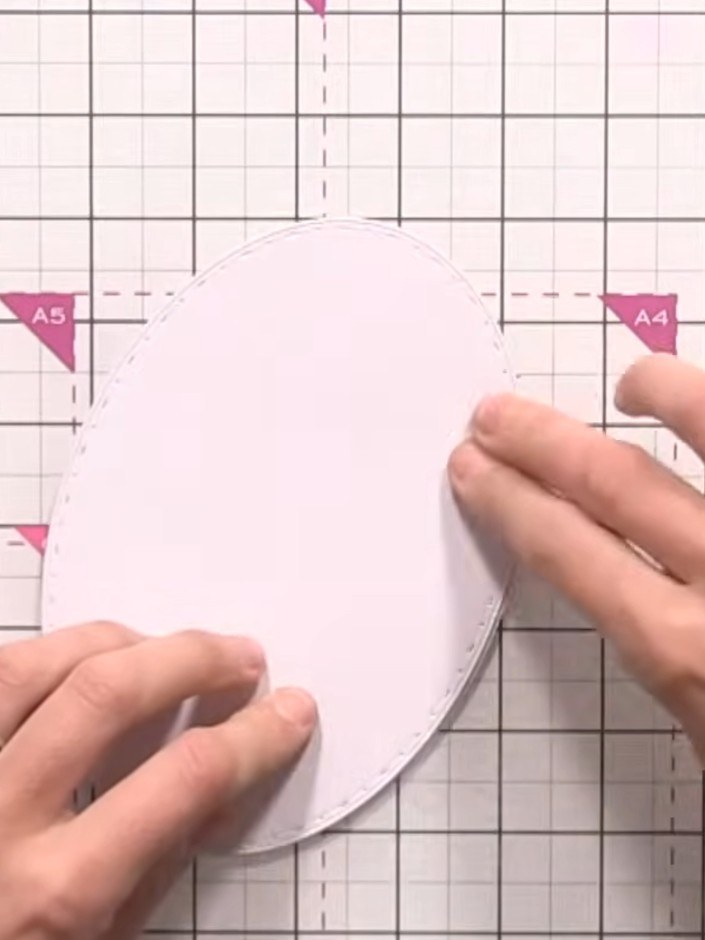
Score a line across the top of one oval piece to create a hinge. This will allow the card to open and close.
▶ watch this step (51:15)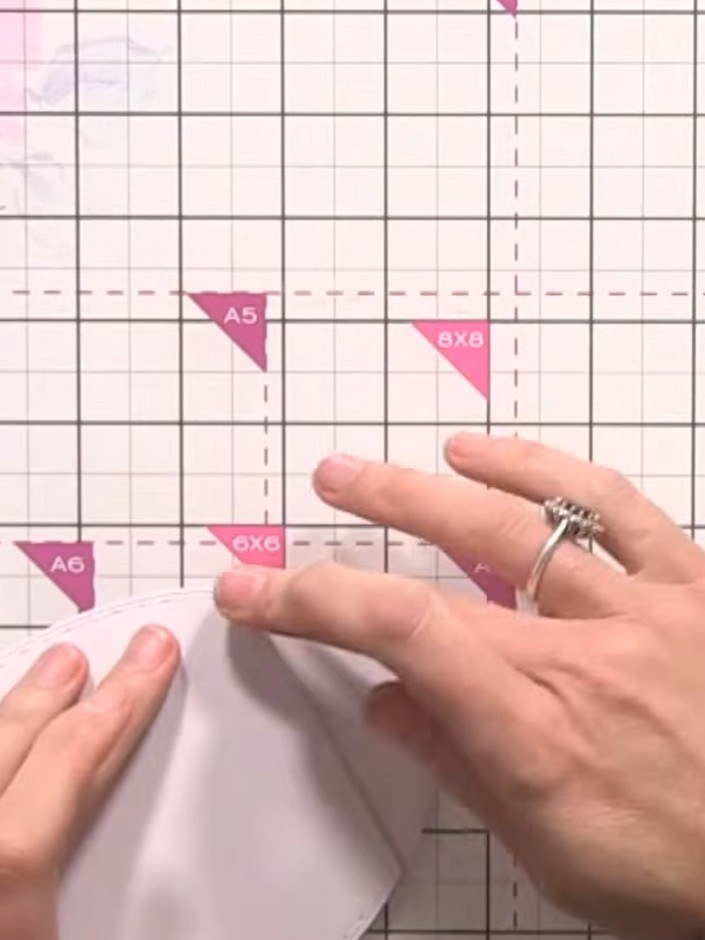
Apply glue along the scored hinge line on the back of the second oval. Attach it to the back of the first oval, aligning the edges carefully to create a folding card.
▶ watch this step (51:30)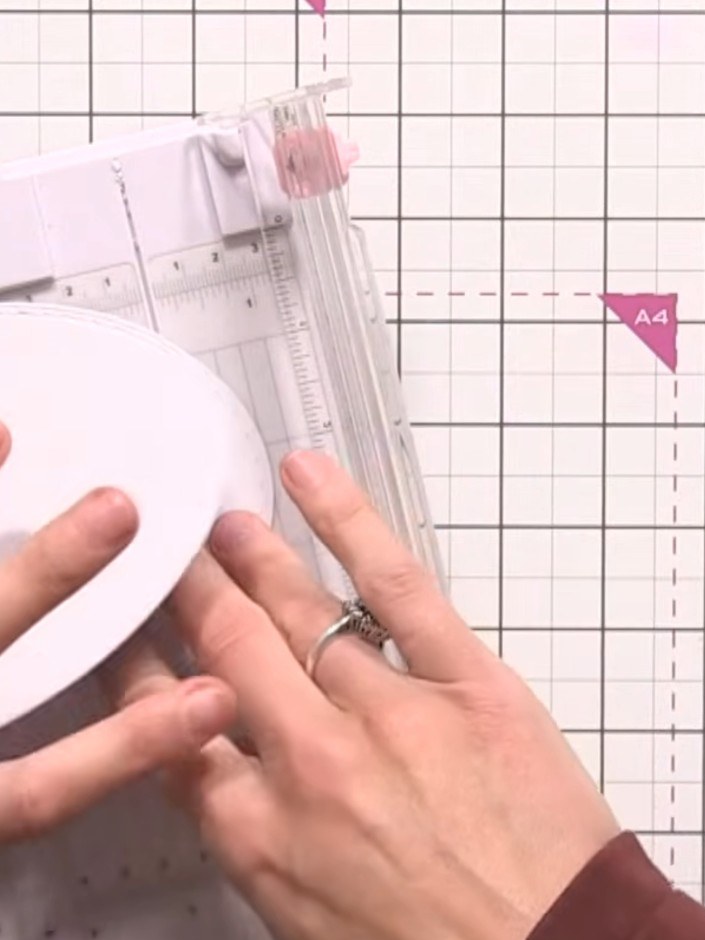
Using your paper trimmer, trim a small notch from the bottom edge of the back oval piece. This allows the card to stand slightly proud when closed.
▶ watch this step (52:30)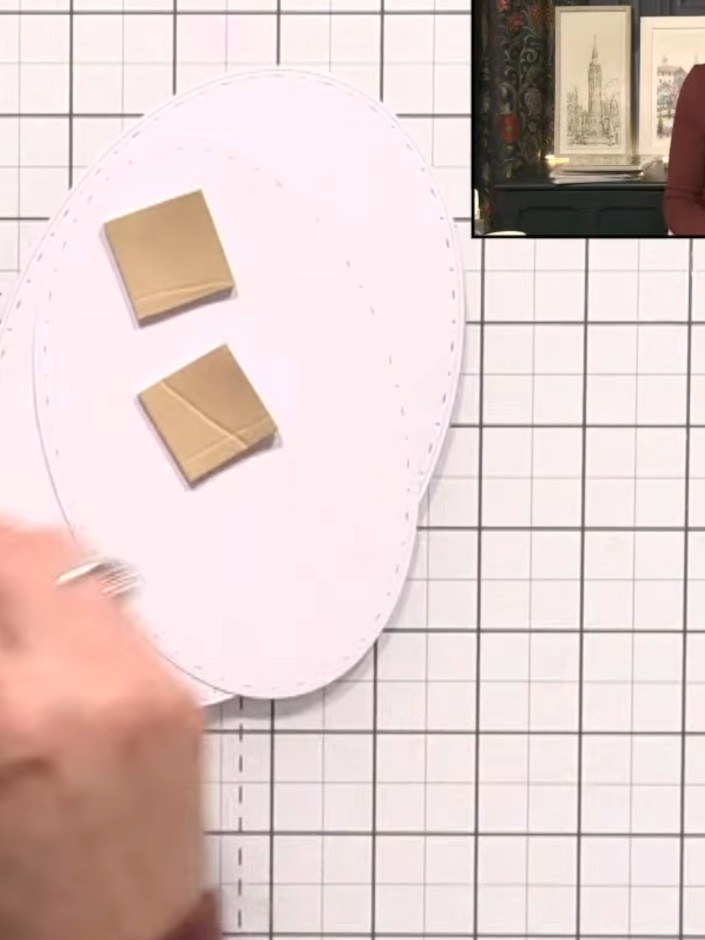
Apply 2mm foam pads to the back of your separated flower elements. The foam pads fold easily and are of a good thickness for creating dimension.
▶ watch this step (53:30)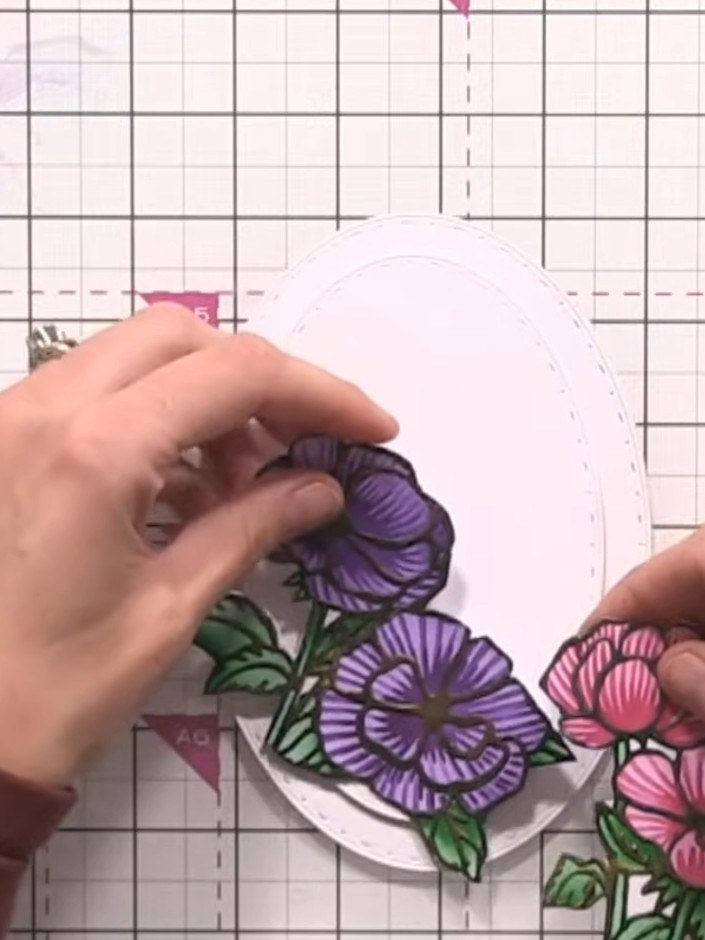
Arrange and adhere the padded flower pieces onto the front of your oval card, building up a dimensional floral bouquet arrangement with the purple and pink flowers.
▶ watch this step (54:00)Written up from the show itself. See every guide from our shows · free how-to guides · watch live on My Telly