Give your friends €10 off their first order!
Refer a FRIEND








Prices change straight away. Every language is our own translation, not Google.
A project from our live show HSN PRODUCT INSPIRATION - Join me for a fun filled show broadcast 8th September 2026 · 08/09/2026 · watch it from 36:45
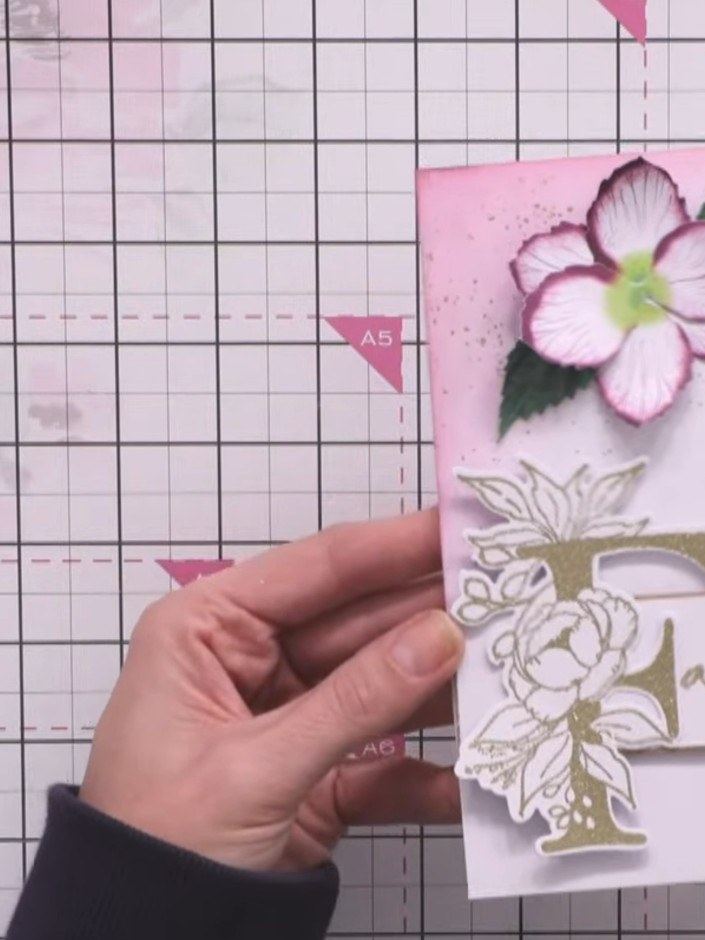
Create a striking card featuring a large embossed gold 'F' initial paired with a beautifully layered chrysanthemum flower. The design combines elegant heat-embossed lettering with dimensional floral elements in soft pinks and whites against a delicate watercolour background. This sophisticated project uses die-cutting, heat embossing, and dimensional layering techniques to create a personalised greeting card perfect for any special occasion.
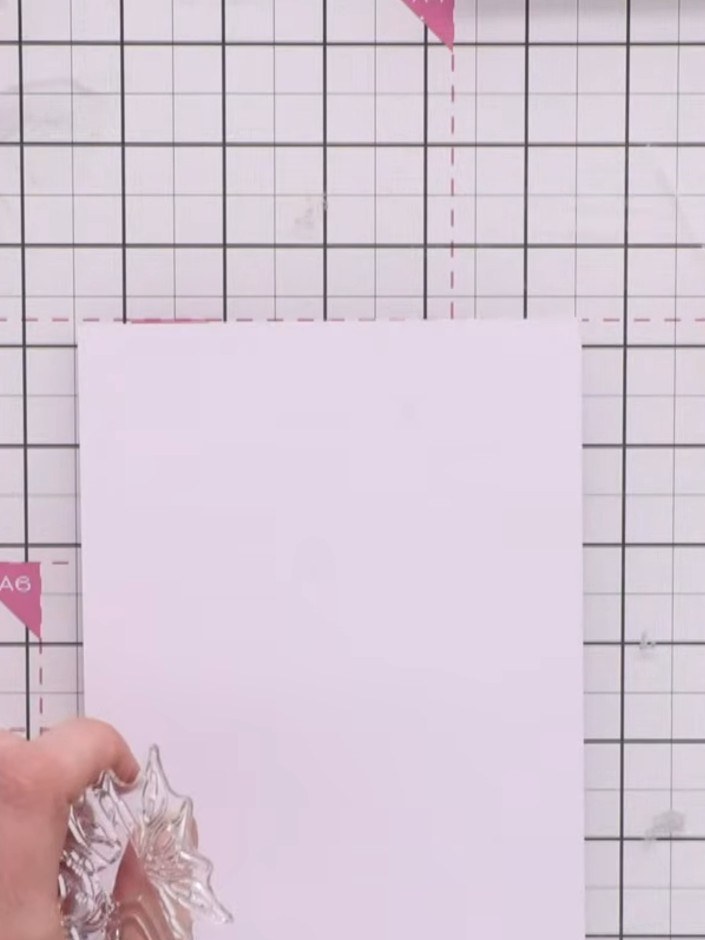
Select a white card stock as your base. Prepare your anti-static bag to prevent embossing powder from scattering across your work surface.
▶ watch this step (37:00)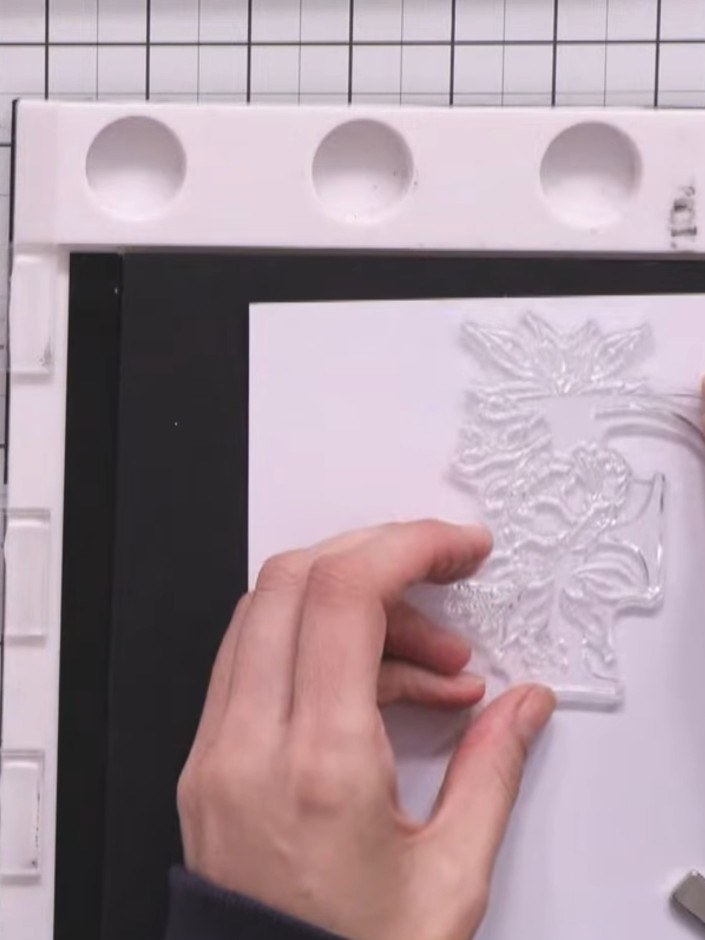
Place your large F stamp face-up on the Eureka 101 stamping tool. Apply sticky ink evenly across the entire stamp surface, ensuring full coverage of the design.
▶ watch this step (38:00)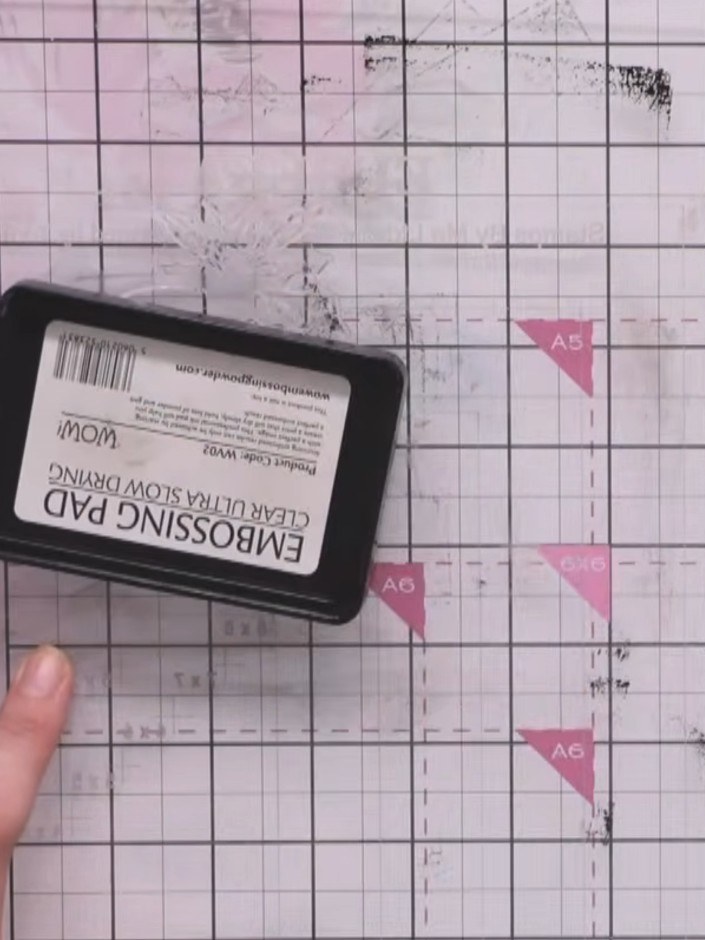
Stamp the letter F onto white card stock using the embossing pad. Press firmly to transfer the complete image, including the chrysanthemum flower detail in the centre.
▶ watch this step (39:00)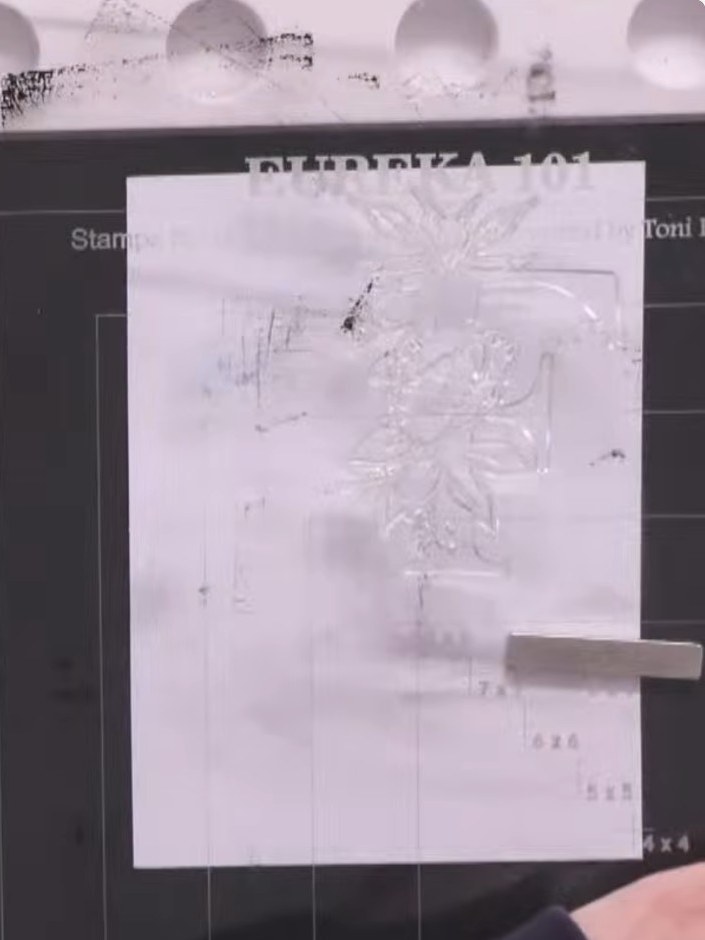
Apply metallic gold embossing powder over the wet ink, coating the entire stamped design. Tap off any excess powder back into the container.
▶ watch this step (39:15)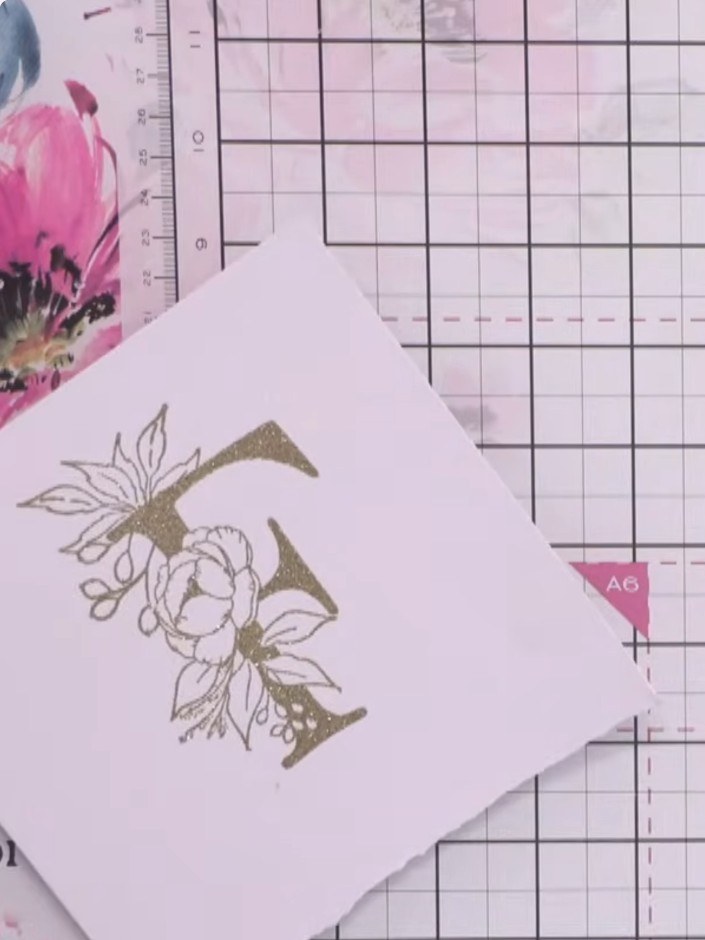
Heat set the embossed gold F using a heat gun, holding it at a safe distance from the card until the embossing powder melts and becomes glossy.
▶ watch this step (43:45)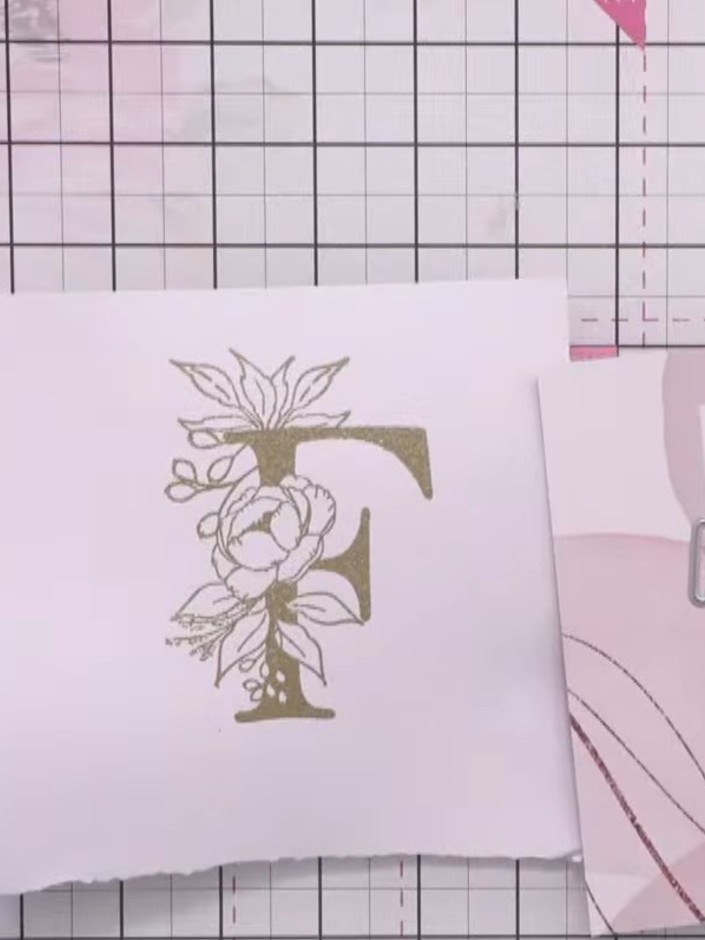
Die cut the embossed F using the coordinating die. Run it through your die-cutting machine to create a clean, precise shape with the floral design.
▶ watch this step (45:45)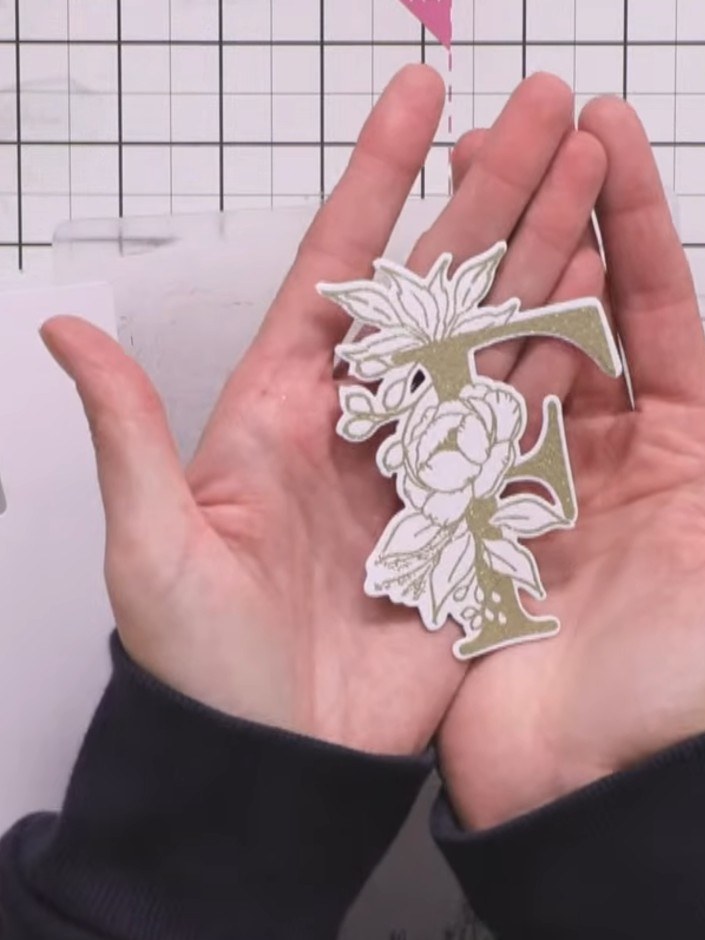
Cut a white card panel and a thin craft card border. Layer the craft card border beneath the embossed letter F to create dimension and contrast.
▶ watch this step (48:00)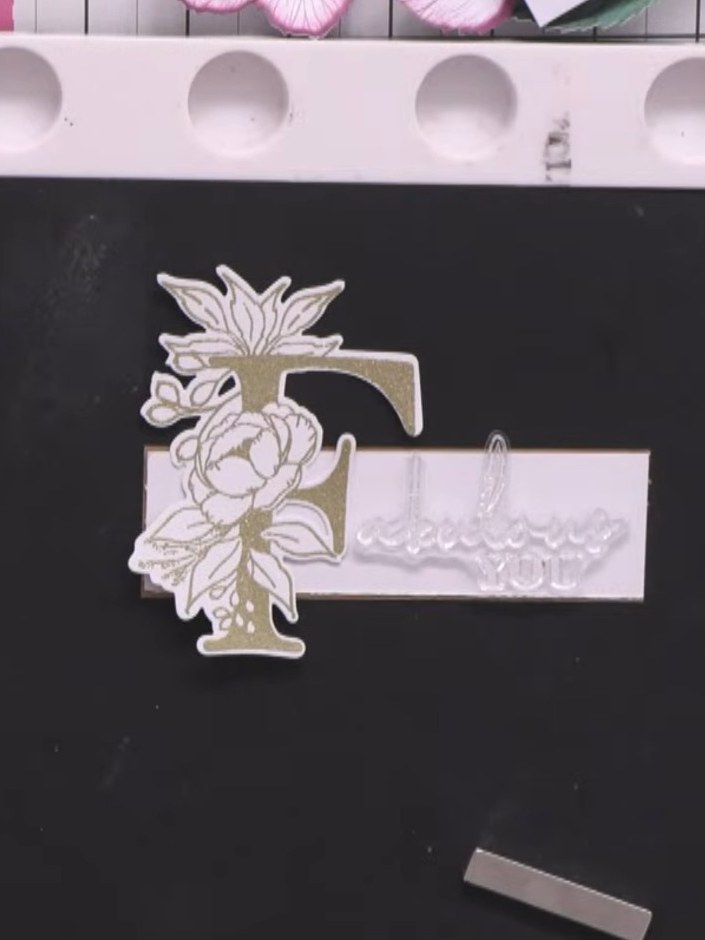
Stamp the word 'Fabulous' in gold embossing powder at the top of the white craft border strip, positioning the 'F' upwards. Stamp the 'U' at the bottom of the strip, positioning it downwards to frame the floral arrangement.
▶ watch this step (52:00)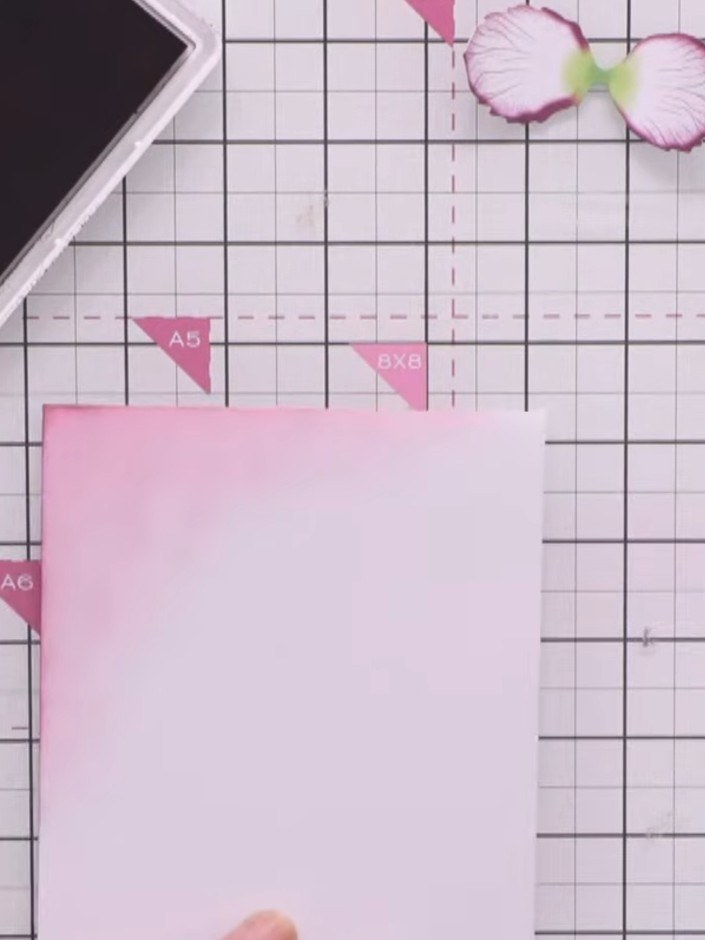
Adhere the pink craft border panel to the white card base, ensuring a thin white border is visible around the edges.
▶ watch this step (56:00)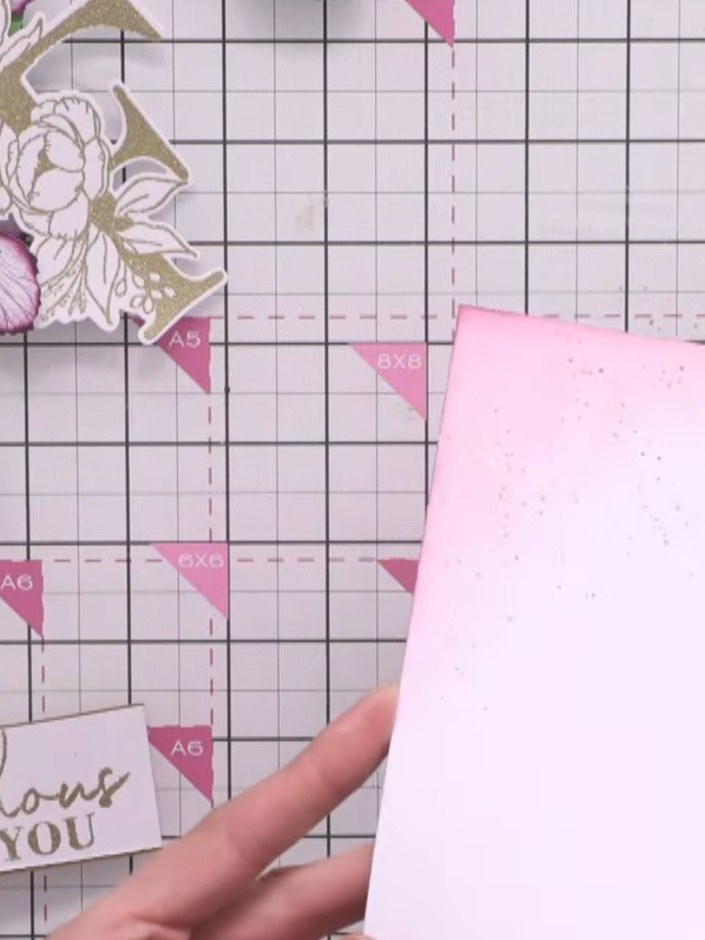
Position and adhere the embossed gold F panel onto the pink speckled card base, placing it towards the upper portion to leave space below for the floral embellishment.
▶ watch this step (57:00)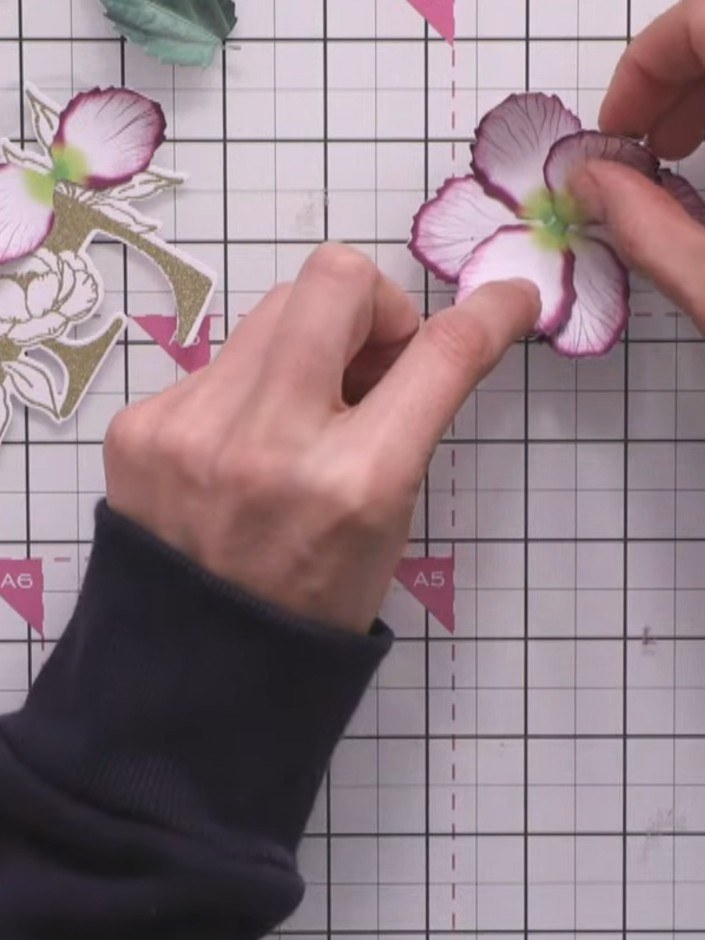
Glue a small pink and white chrysanthemum flower into the lower portion of the card. Gently curl and twizzle the petals to add dimension and create a natural, three-dimensional appearance.
▶ watch this step (57:45)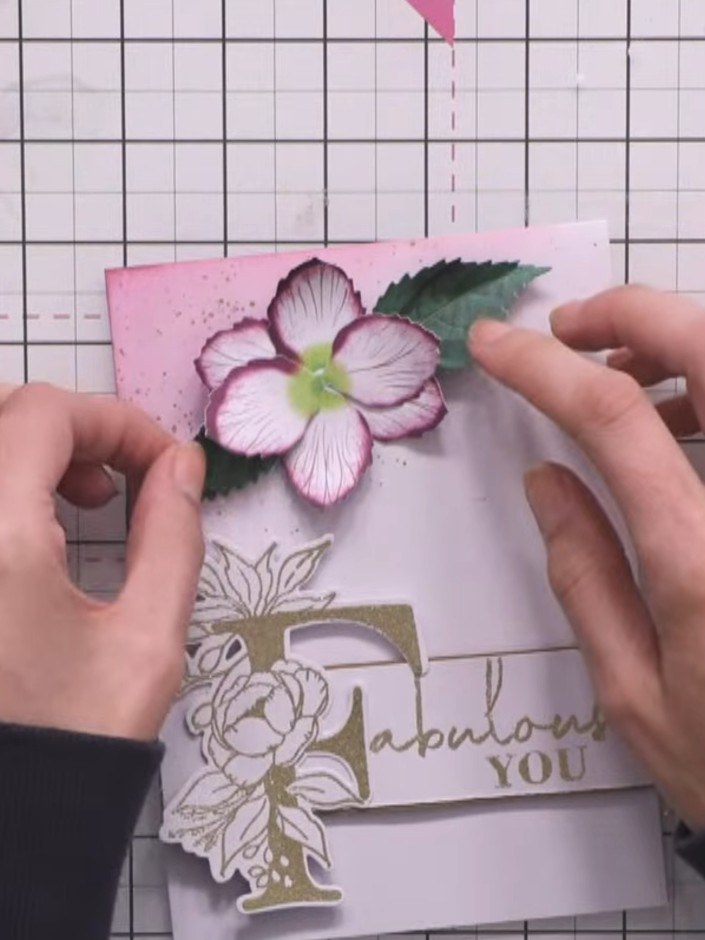
Add a small sparkly gem or jewel to the centre of the flower to complete the card.
▶ watch this step (1:02:00)Written up from the show itself. See every guide from our shows · free how-to guides · watch live on My Telly


