Give your friends €10 off their first order!
Refer a FRIEND








A project from our live show HOBBYMAKER TV - Join Toni for her latest show - Broadcast 29th January 2026 · 29/01/2026 · watch it from 15:00
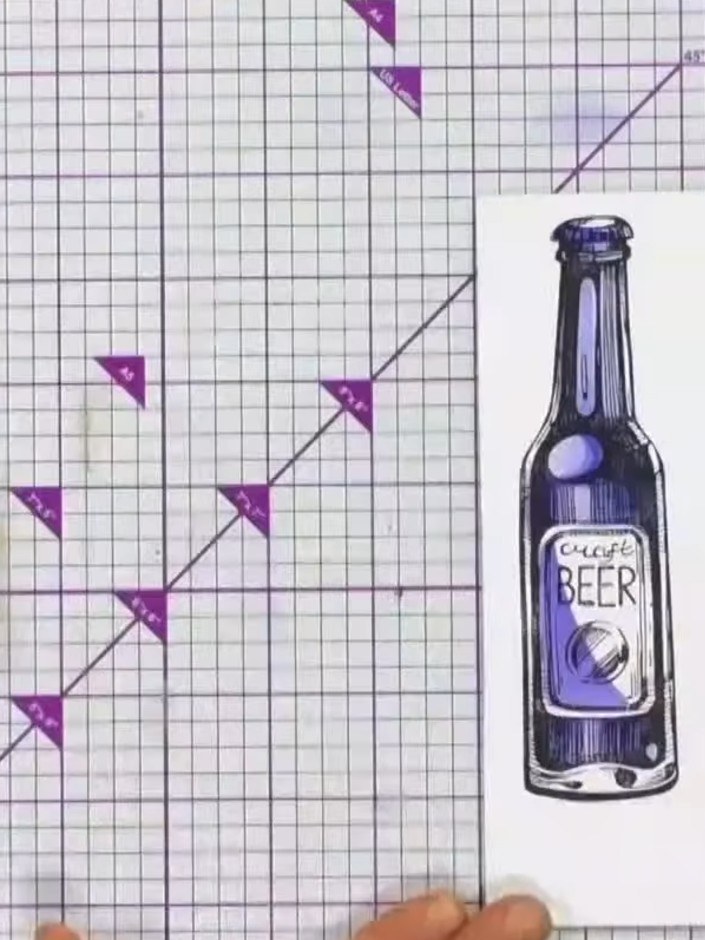
Create a sophisticated beer bottle design using layered stencils and stamps to build depth and dimension. This technique produces a realistic, screen-printed effect with light and shadow that looks professional and gallery-worthy. The finished card features beautiful watercolour-style bees and florals in natural tones of yellow, green and cream.
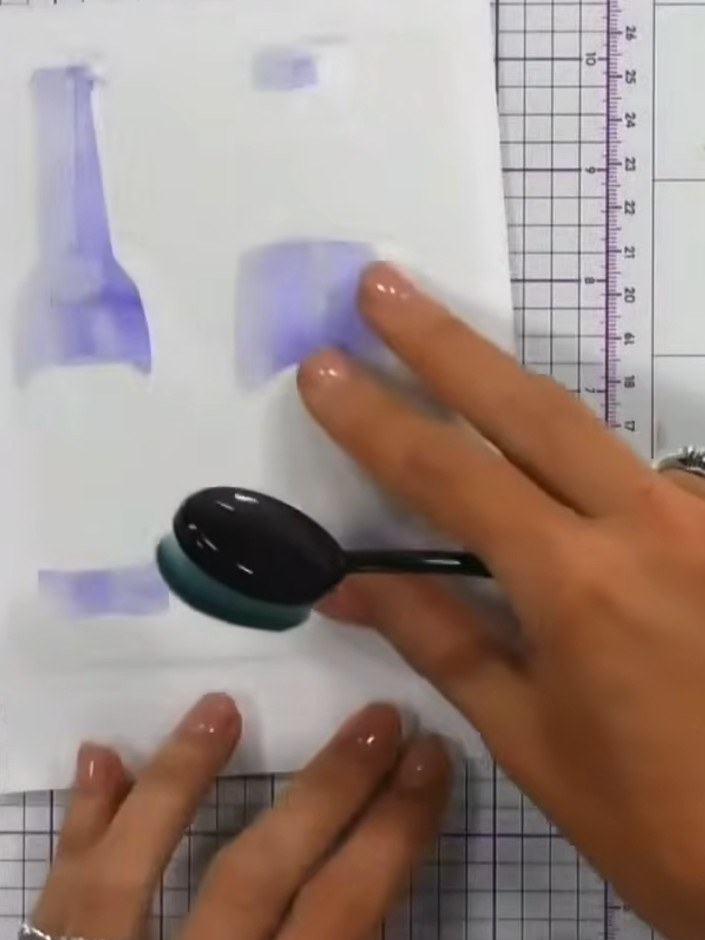
Position your beer bottle stencil on white card stock. Using a blending tool or sponge, apply purple ink through the stencil, working from the edges inward to create depth and shading on the bottle shapes.
▶ watch this step (15:15)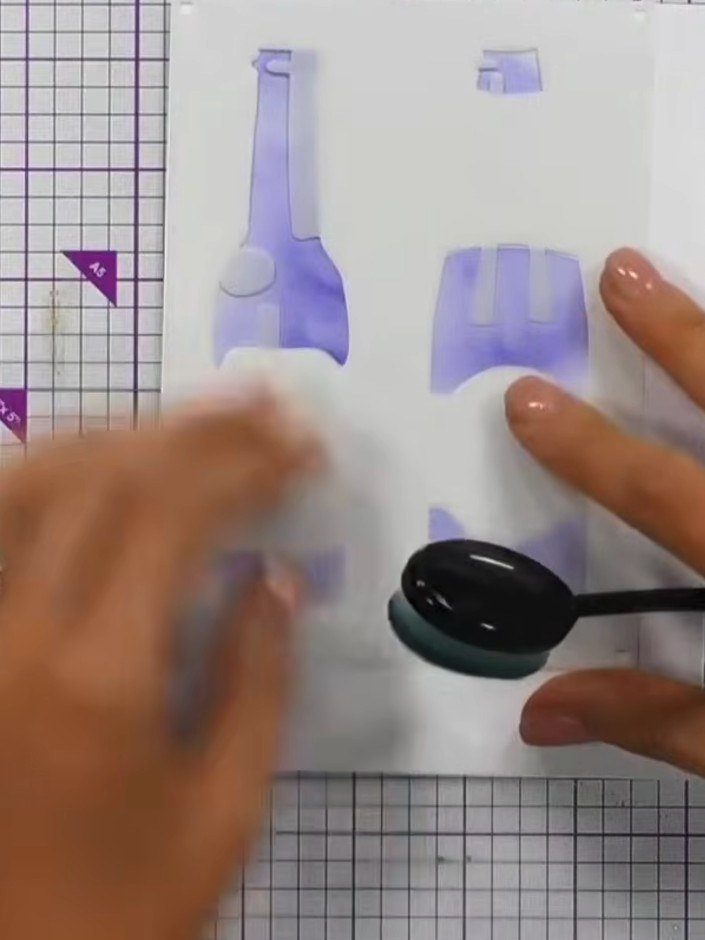
Position the second stencil over the first, carefully aligning the registration marks at the top and left edges. Apply purple ink through the stencil to add additional detail and dimension to the bottle design.
▶ watch this step (15:30)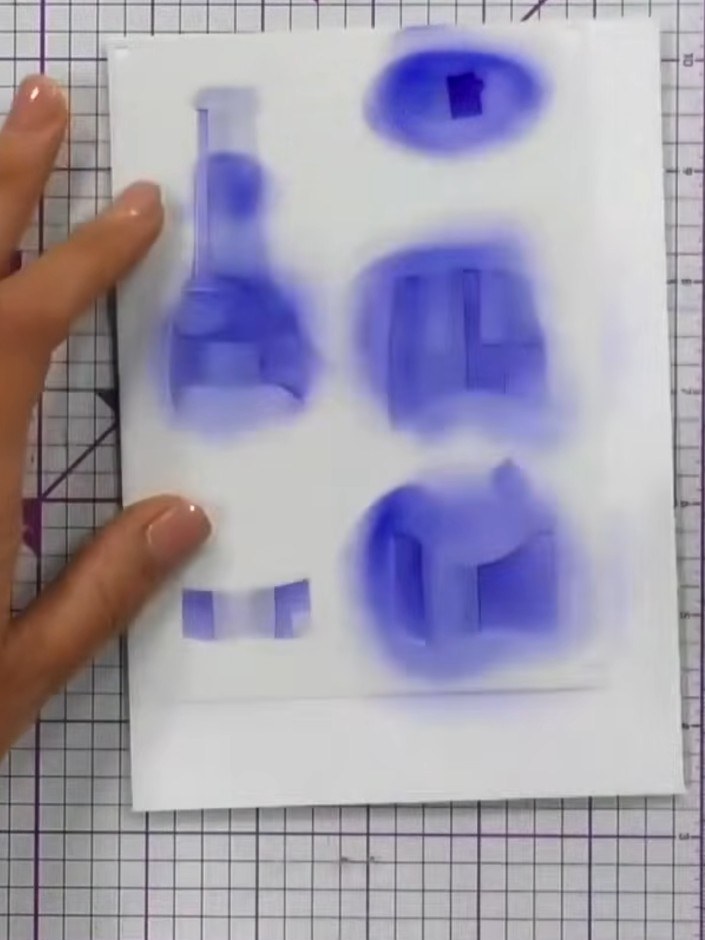
Continue layering additional stencils in sequence over the bottle area, applying purple ink through each layer. Allow each layer to build up the reflective quality and realistic appearance of the craft beer bottle.
▶ watch this step (16:30)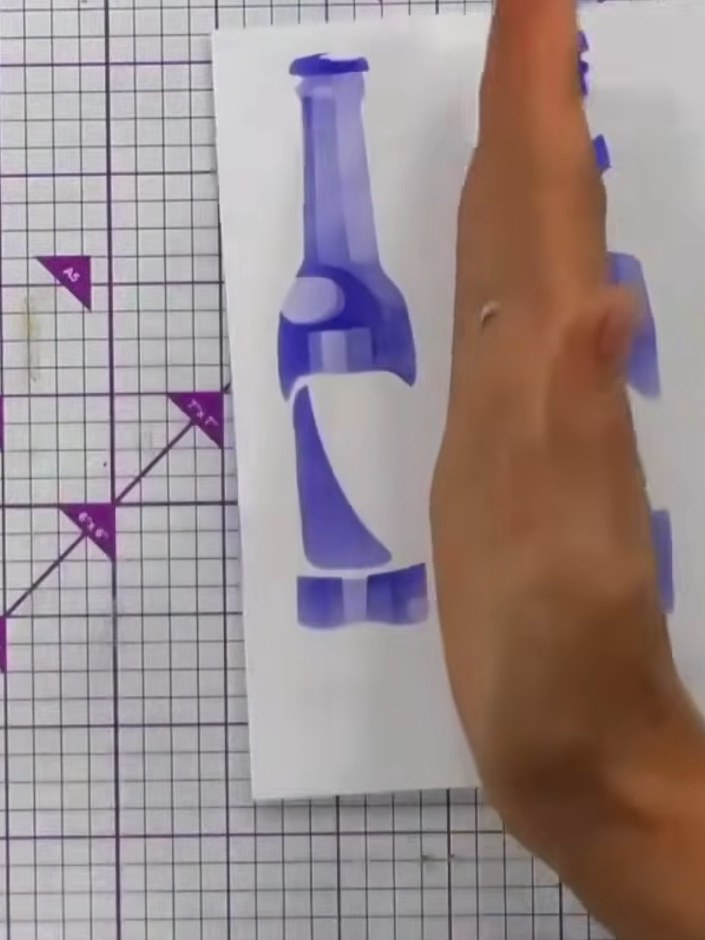
Ink up your beer bottle stamp with black dye-based ink and stamp it onto the stencilled background, positioning it to complement the shaded areas you created earlier.
▶ watch this step (17:45)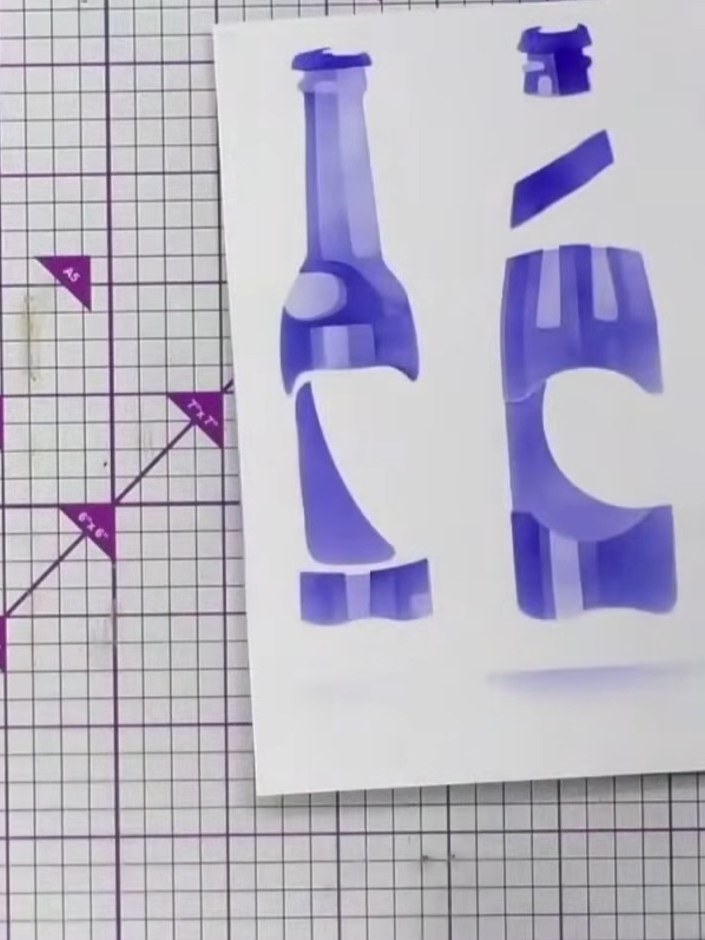
Stamp the beer bottle design a second time over the first impression to ensure all the details are clear and crisp. This will give you a bold, well-defined image ready for embossing.
▶ watch this step (18:00)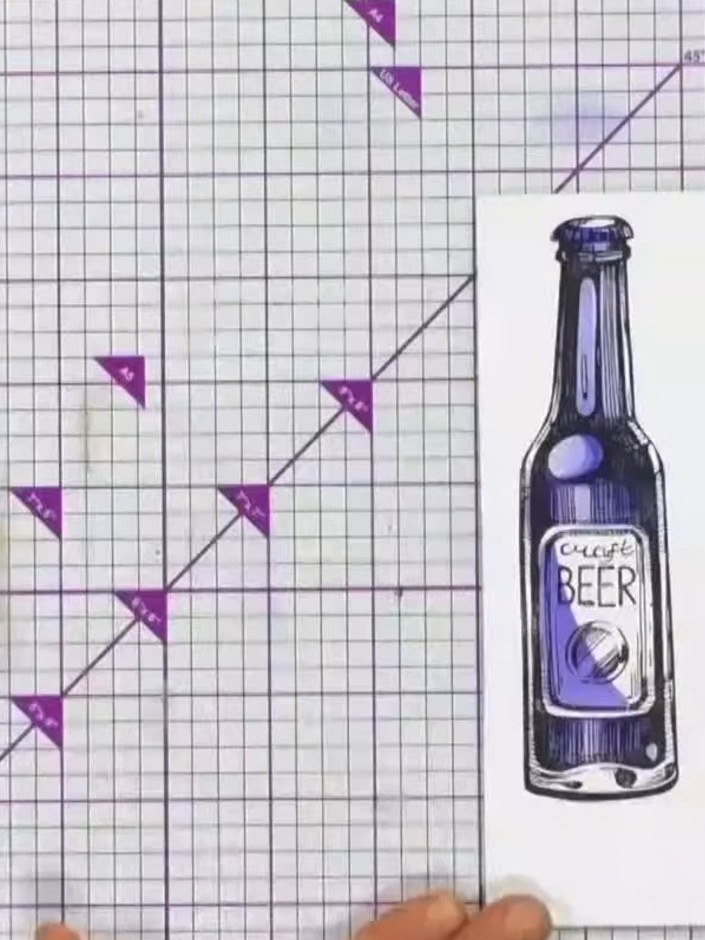
Use the coordinating dies to cut around the stamped beer bottle designs. Carefully cut out the outline shapes to create your die-cut bottle embellishments.
▶ watch this step (21:00)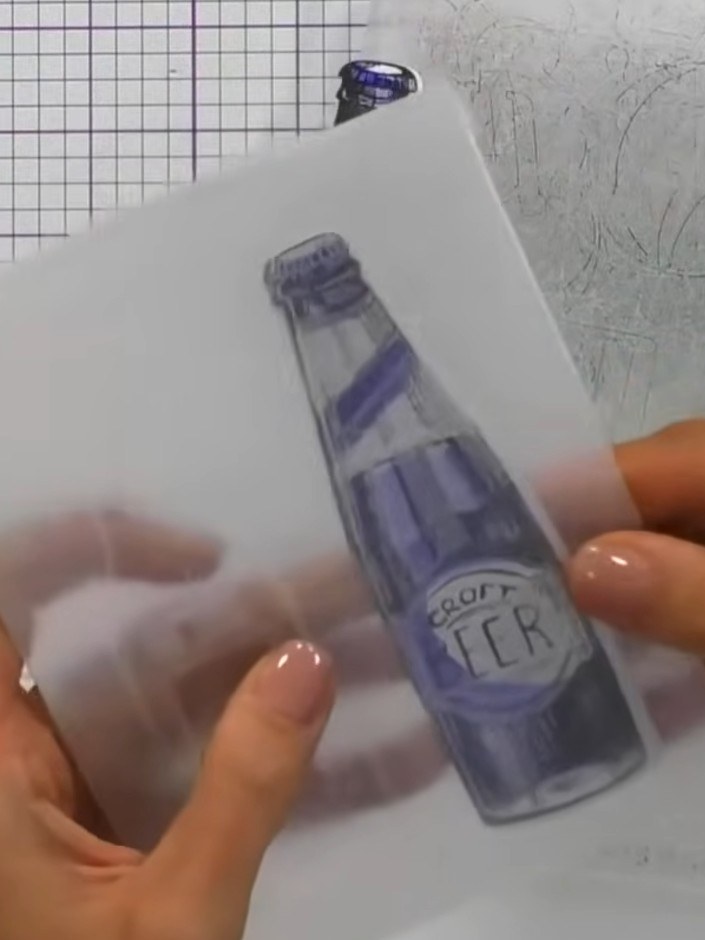
Place your die-cut craft beer bottle into the embossing folder, ensuring it is positioned correctly with the raised side facing up.
▶ watch this step (22:45)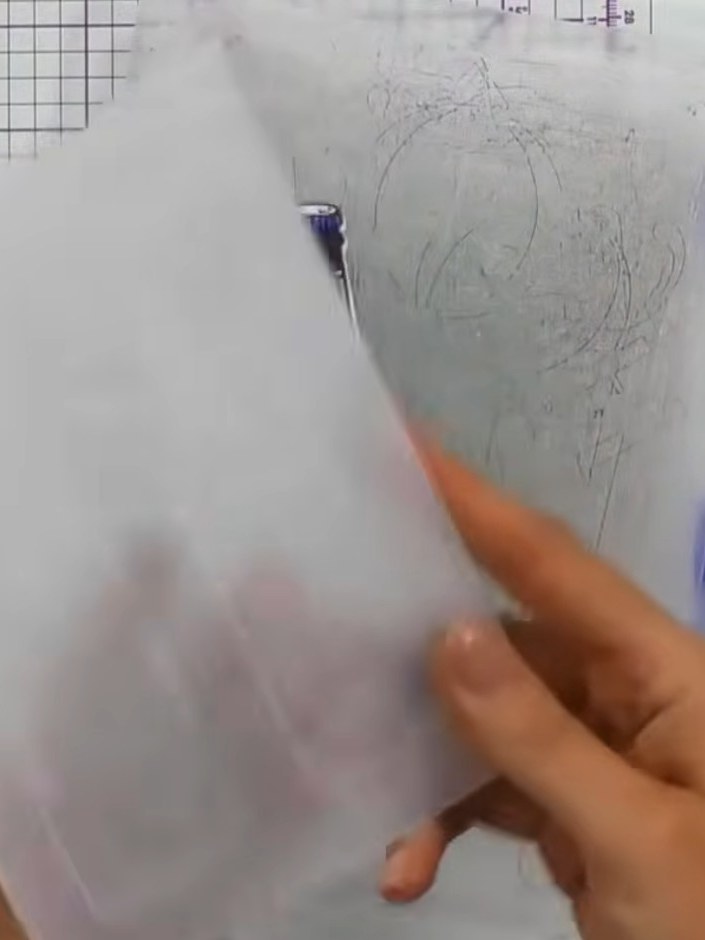
Place your stamped card front into the embossing folder and run it through your die-cutting machine to add embossed detail and dimension to the bottle cap and label areas.
▶ watch this step (23:00)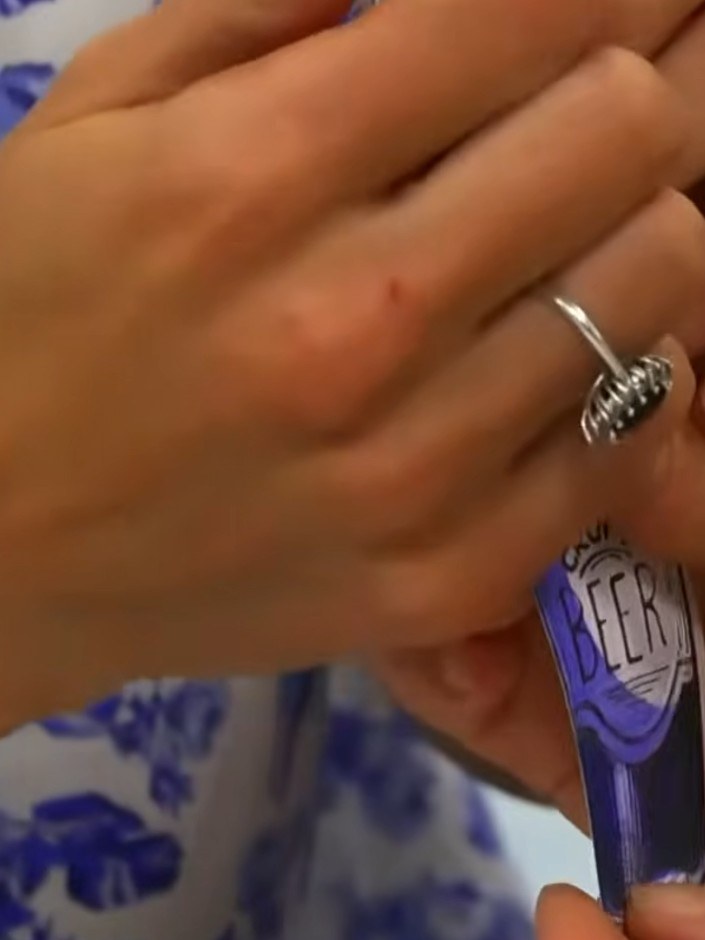
Turn the embossed piece over to check that the detail has been pushed through properly, creating a raised dimensional effect on the reverse side.
▶ watch this step (23:30)Written up from the show itself. See every guide from our shows · free how-to guides · watch live on My Telly