QUICK LINKS

info@howtocraftnetwork.com
We just got smarter - shop and watch with the SBM appGET THE APPWatch us live on your smart TVSEE HOWDiscover our dedicated IPTV channel - go to my-telly.comWATCHCollect loyalty points on every orderFIND OUT MORE
Welcome to the How to Craft Network
 
SBM SHOP
FOLLOW US
GIVE YOUR FRIENDS €10 OFF REFER A FRIEND › DISCOVER MY-TELLY.COM › WE JUST GOT SMARTER GET THE APP › AWARD WINNING CHANNEL ON YOUR TV › JOIN THE CLUB FOR SAVINGS ›
 

Watercolour Painted Stamp Portrait with Blended Colours

A project from our live show CREATE AND CRAFT - Join Carley Duff for her brand new IMALA 22 Launch show 1 - Broadcast 4th OCT 22 · 04/10/2022 · watch it from 52:00
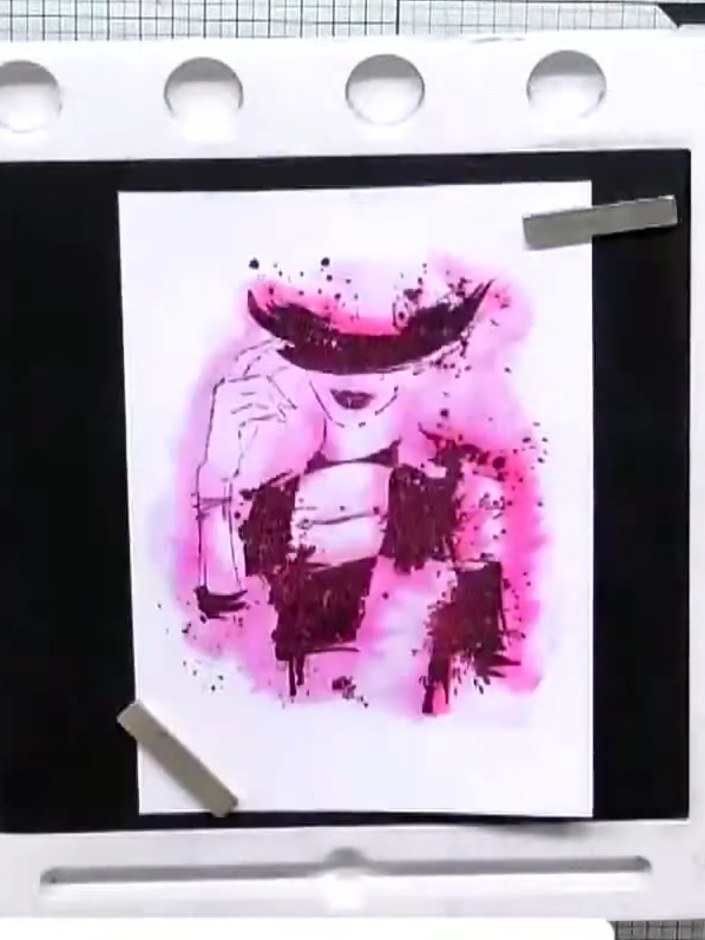
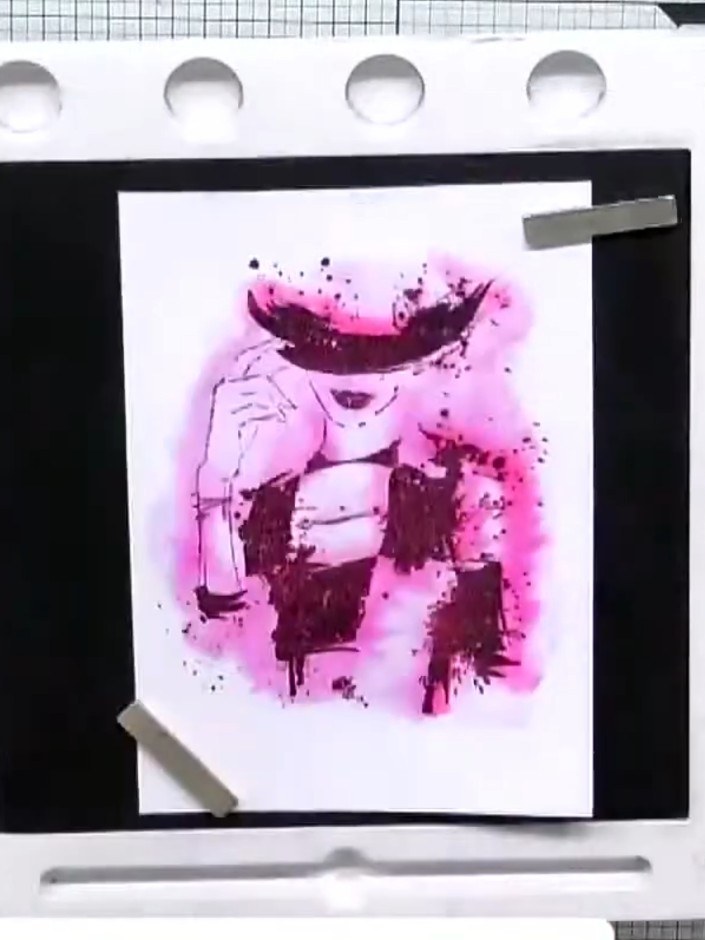
Watercolour Painted Stamp Portrait with Blended Colours - the finished project
The finished project

Create a stunning portrait card using watercolour techniques with alcohol-based marker pens to achieve beautifully blended skin tones and vibrant hair colours. This project demonstrates how to add dimension and highlights using white gel pen details, bringing your stamped portrait to life. The finished piece features a detailed face with soft colour transitions and professional-looking depth.
DOWNLOAD THIS GUIDE (PDF)

Step by step

  1. Step 1: Stamp the selfie portrait image onto white watercolour cardstock using black ink, ensuring good contact with n

    Stamp the selfie portrait image onto white watercolour cardstock using black ink, ensuring good contact with no air bubbles.

    ▶ watch this step (52:00)
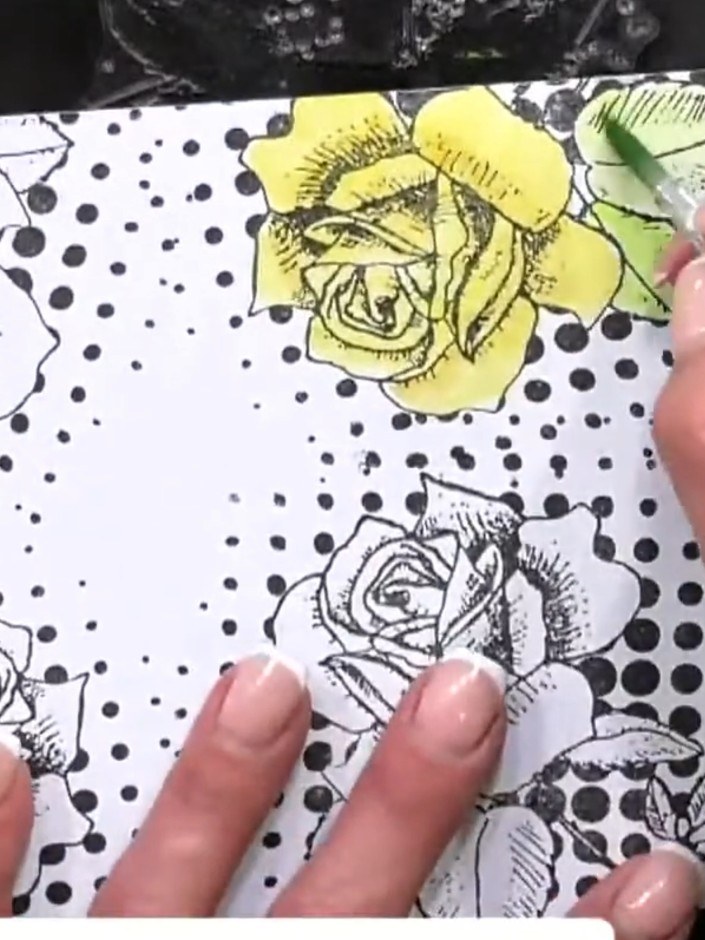
  2. Begin colouring the face using a soft peach marker pen, focusing on the darker areas indicated by the black stamp lines. Work gently to build up colour in the shadowed parts of the face. ▶ watch 53:00
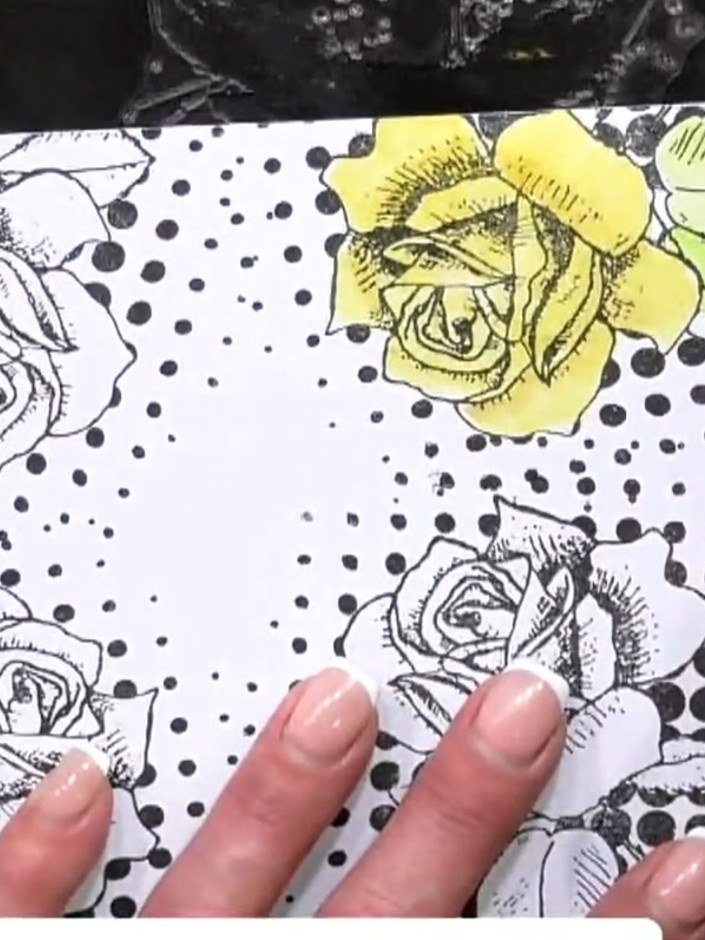
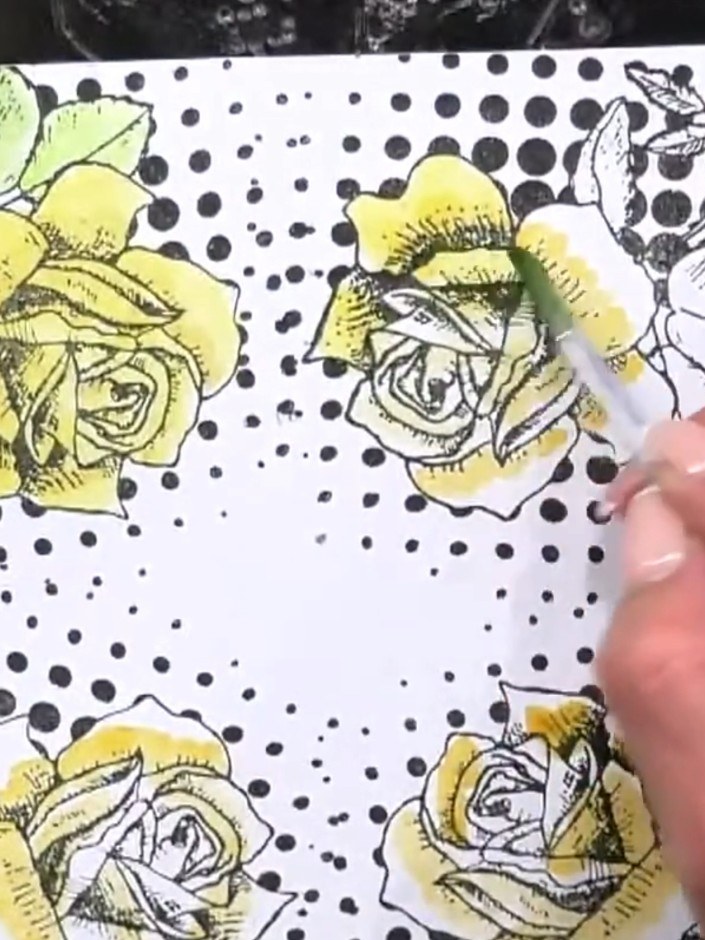
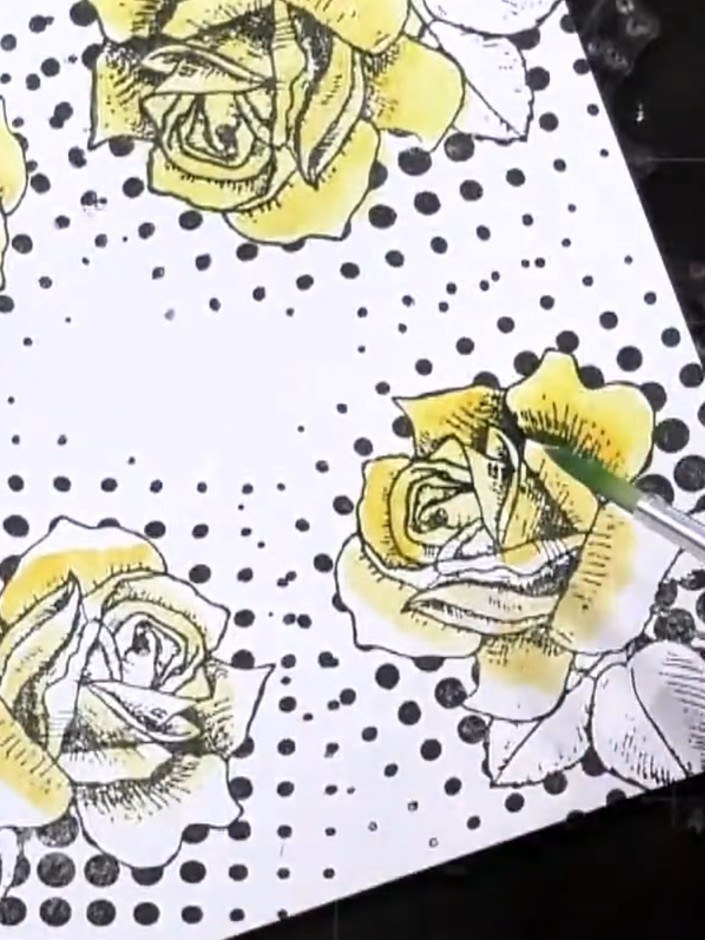
  3. Step 3: Using a lighter shade on your palette, blend outwards from the darker areas of the yellow rose to create natur

    Using a lighter shade on your palette, blend outwards from the darker areas of the yellow rose to create natural colour gradation. Work gently to soften the transitions between the deeper and lighter tones.

    ▶ watch this step (53:15)
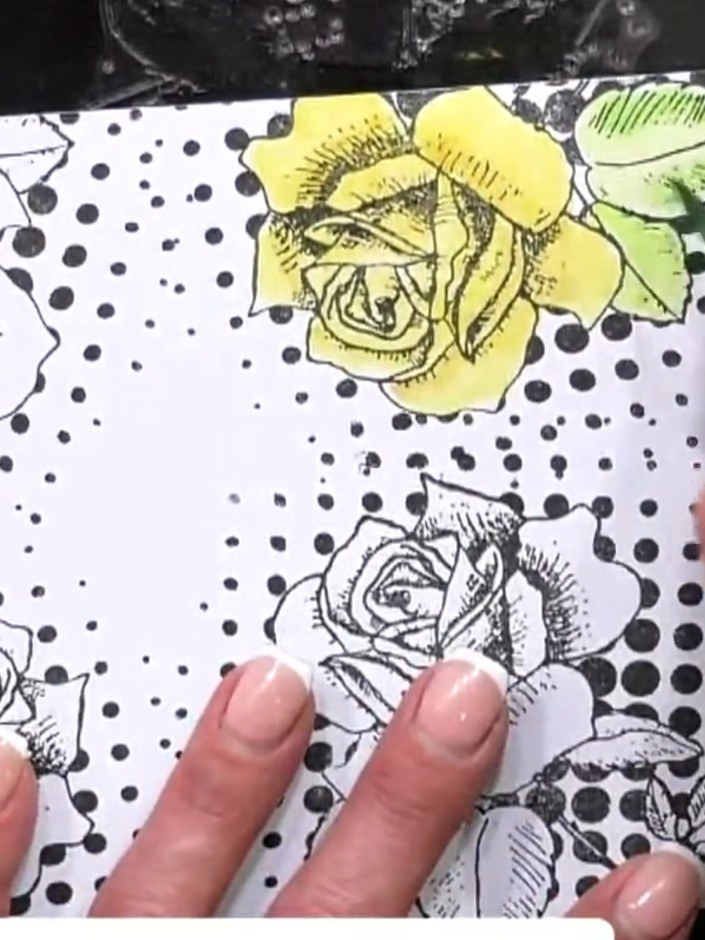
  4. Colour the hair using orange and ginger tones. Layer darker shades first, then blend lighter tones over the top for depth and dimension. ▶ watch 54:00
  5. Step 5: Use the chiselled end of the marker pen to follow individual hair strands and add definition to the stamped im

    Use the chiselled end of the marker pen to follow individual hair strands and add definition to the stamped image. Work carefully along the lines to enhance the detail and create depth in the hair.

    ▶ watch this step (54:45)
  6. Step 6: Use a black ballpoint pen to add fine detail and definition around the eyes. Start with the darker areas and b

    Use a black ballpoint pen to add fine detail and definition around the eyes. Start with the darker areas and build up the detail gradually to create depth and dimension.

    ▶ watch this step (55:00)
  7. Step 7: Use a white gel pen to add highlights to the eyes and face, creating light and dimension on the portrait.

    Use a white gel pen to add highlights to the eyes and face, creating light and dimension on the portrait.

    ▶ watch this step (55:30)
  8. Step 8: Mount your completed watercolour portrait onto black cardstock to create a backing frame for your artwork.

    Mount your completed watercolour portrait onto black cardstock to create a backing frame for your artwork.

    ▶ watch this step (56:00)
  9. Create a triangular stand by folding a 6 by 4 inch piece of black cardstock into thirds. Secure the folded stand with a tape runner to hold the shape. ▶ watch 56:30

Tips from the show

More from this show

Written up from the show itself. See every guide from our shows · free how-to guides · watch live on My Telly







