Give your friends €10 off their first order!
Refer a FRIEND








A project from our live show CREATE AND CRAFT - Join Carley Duff for her brand new IMALA 22 Launch show 1 - Broadcast 4th OCT 22 · 04/10/2022 · watch it from 49:00
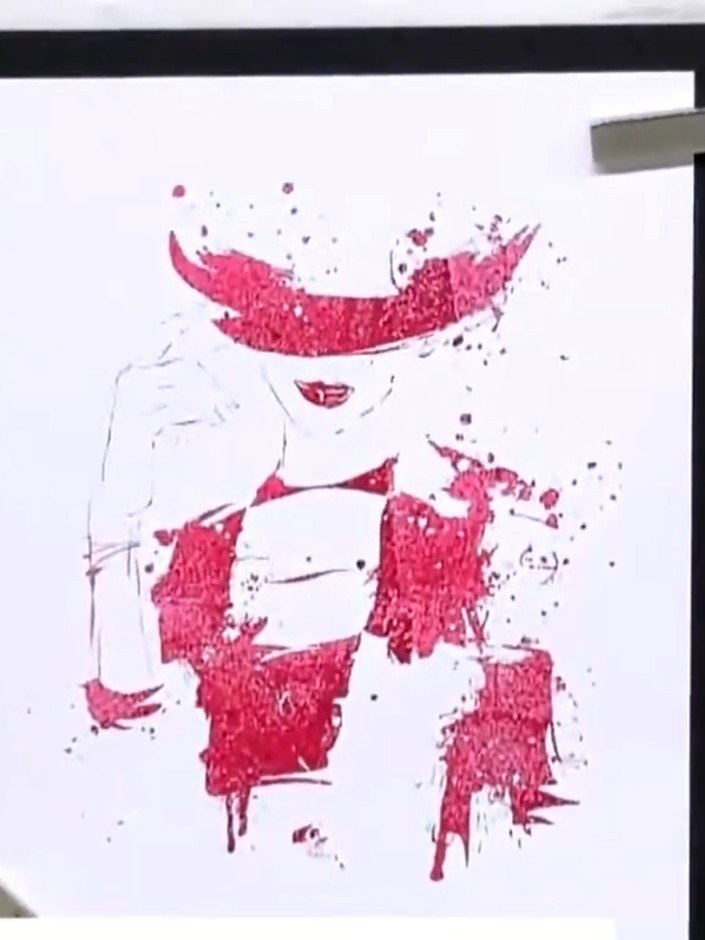
Transform a bold stamped image into a soft, artistic focal point using ink blending and watercolour wash techniques. This project features a delicate floral and dot pattern in romantic pink and purple hues, creating a dreamy watercolour effect. The technique is quick to master and produces an elegant, hand-painted look perfect for cards and paper crafts.
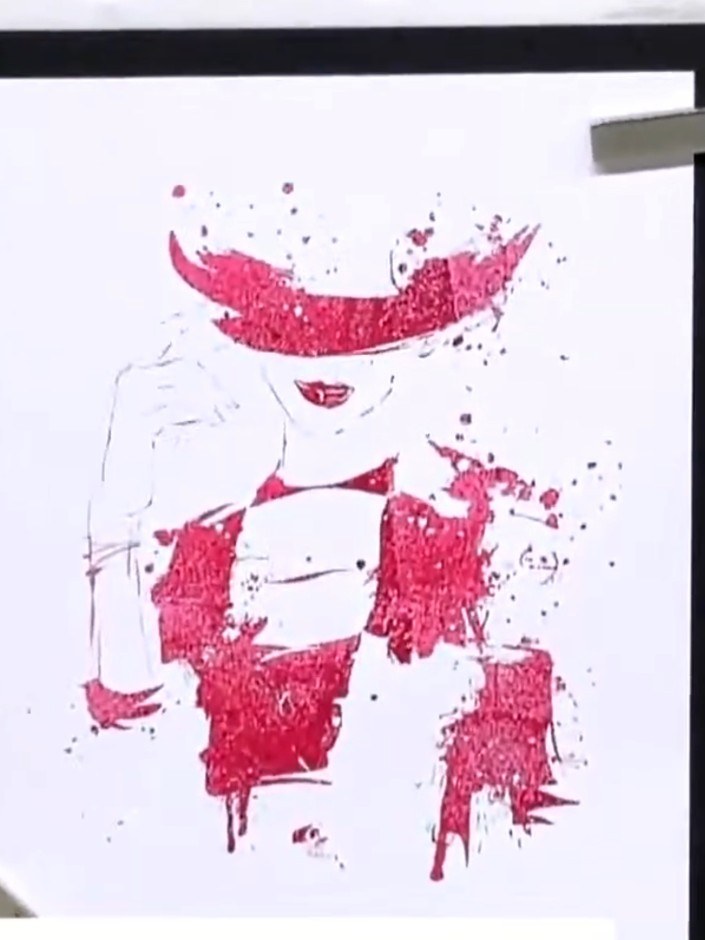
Stamp the 'Strike a Pose' image onto white watercolour cardstock using magenta ink. Position the stamp centrally on your card and press firmly for a clear impression.
▶ watch this step (49:00)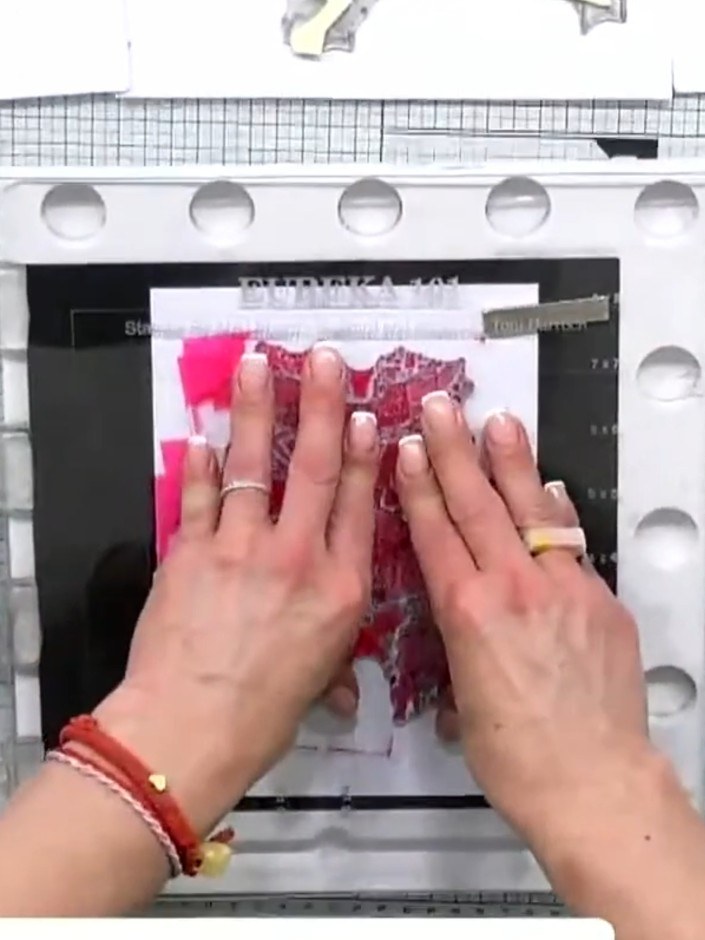
Using a water brush, apply clean water over the stamped image. Work gently to cover the entire stamped area with water.
▶ watch this step (49:15)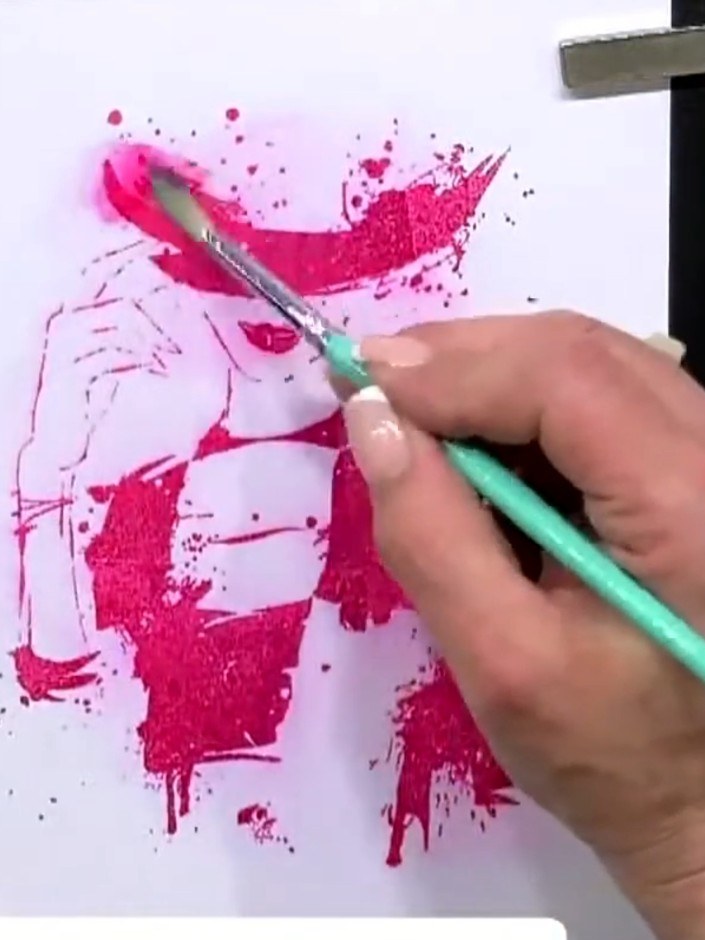
Using a wet brush, blend the magenta ink outward from the stamped lines to soften and diffuse the colour across the image.
▶ watch this step (49:30)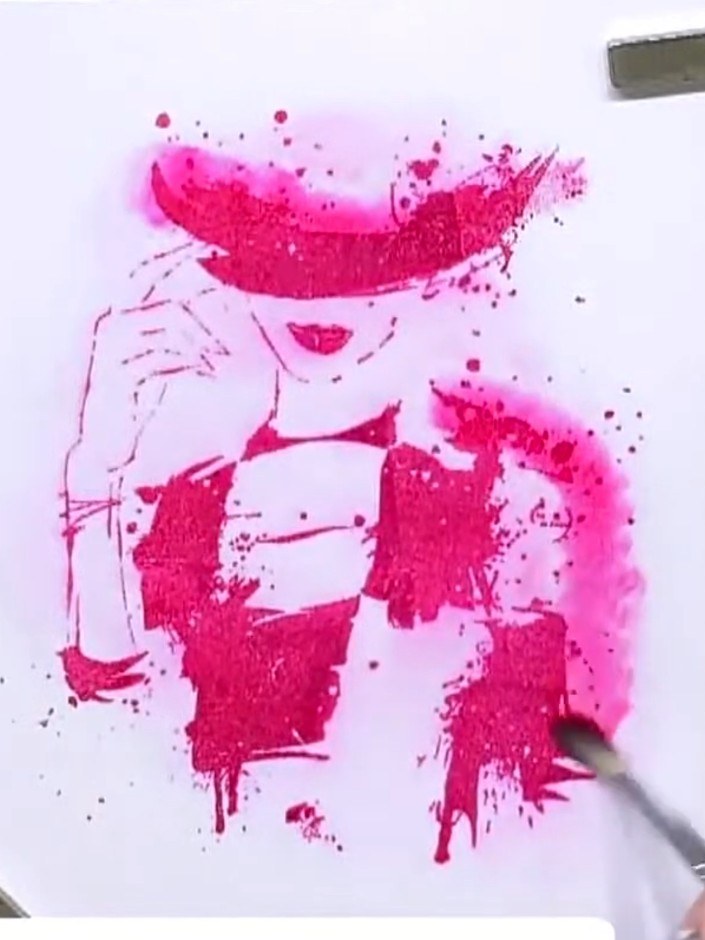
Allow the pink colour to diffuse naturally into the water on the stamped image, creating a soft watercolour wash effect over the figure.
▶ watch this step (49:45)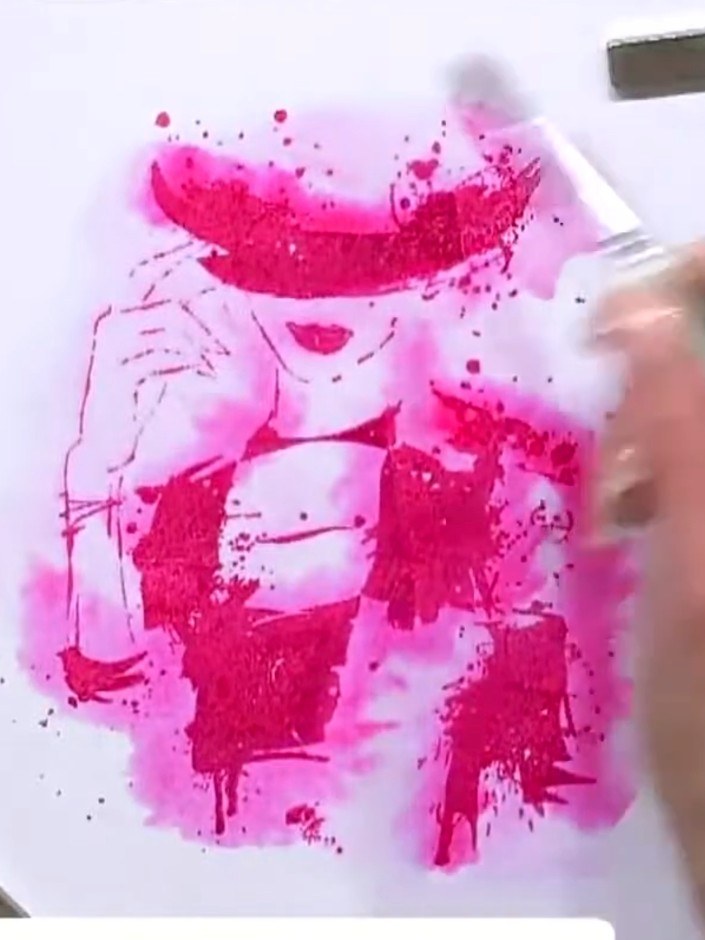
Use a heat tool to dry the blended pink areas on the stamped image. Move the heat tool over the wet ink until completely dry.
▶ watch this step (50:00)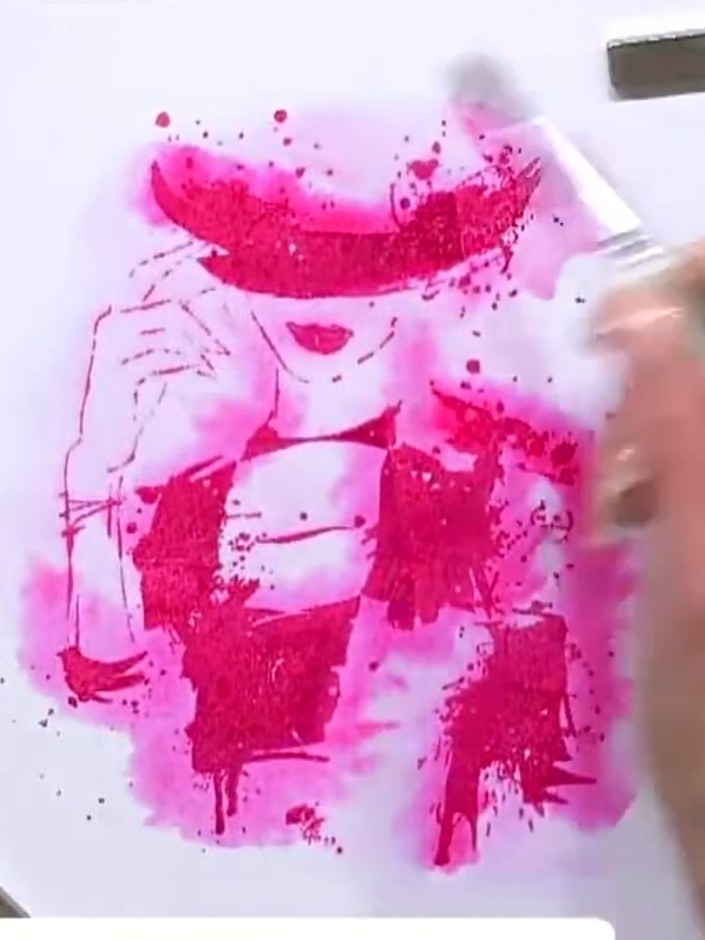
Using a water brush or damp paintbrush, gently blend and soften the edges of the stamped image to create a watercolour wash effect over the dried ink-blended background.
▶ watch this step (50:15)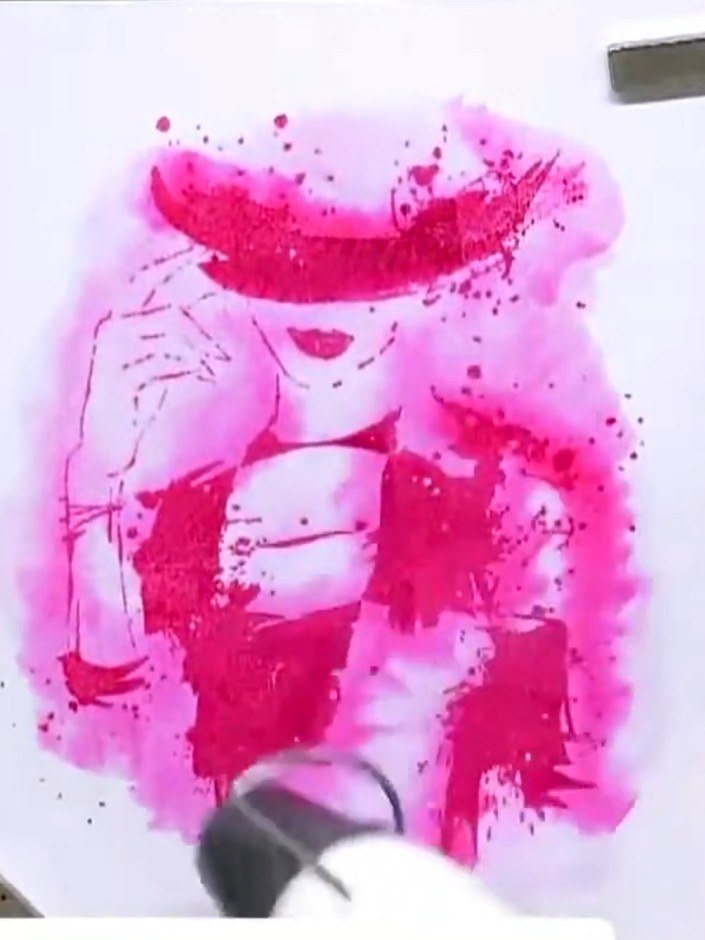
Mount the finished watercolour piece onto a coordinating cardstock base to complete your card.
▶ watch this step (50:30)Written up from the show itself. See every guide from our shows · free how-to guides · watch live on My Telly