Give your friends €10 off their first order!
Refer a FRIEND








A project from our live show ONE DAY SPECIAL - Join Toni for her brand new launch - Broadcast 23rd January 2026 · 23/01/2026 · watch it from 24:15
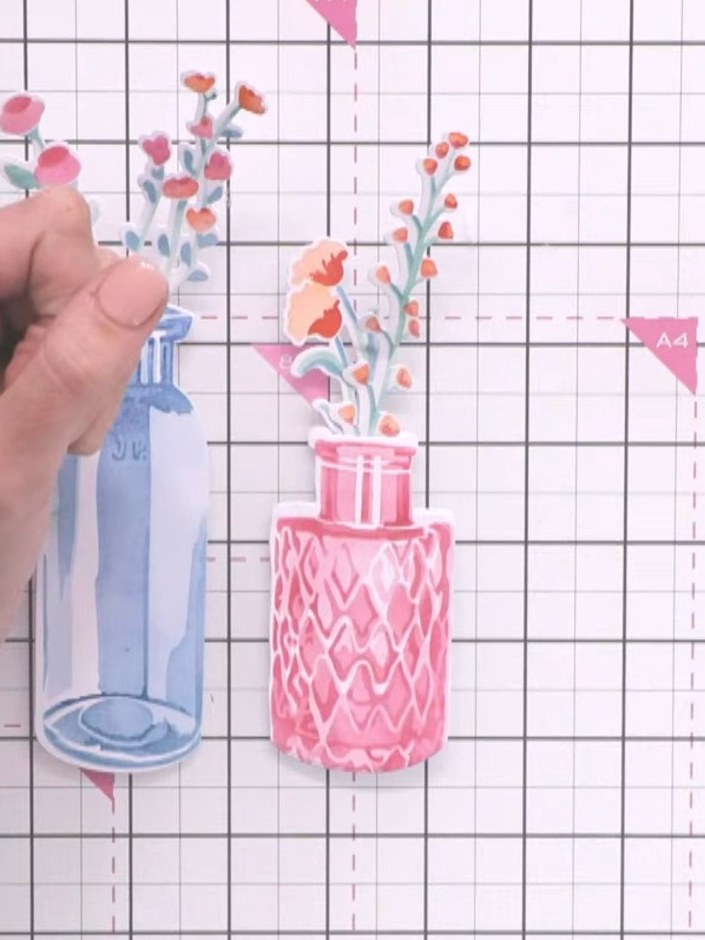
Create an elegant layered vase design with delicate foliage and flowers in soft pink and blue hues. This project uses stencilling and die-cutting techniques to build dimensional vases with a crystal glass effect, enhanced with pretty floral embellishments. The design combines reverse stencil work and careful layering to achieve a beautiful three-dimensional papercraft piece.
 Stamps By Me - Antique Bouquets - Layering Stencils and Dies - 070425BSEE IT
 Stamps By Me - Sparkle Every Day - Stamp Set - 050325CSEE IT
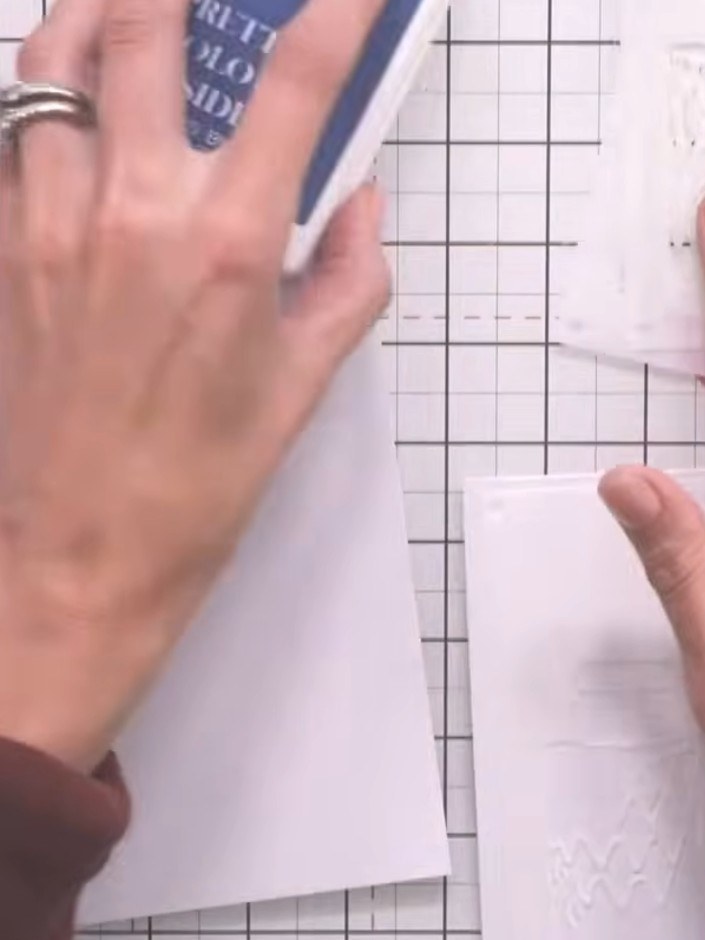
Gather your white card stock and prepare two pieces for creating the two vases in this project.
▶ watch this step (26:00)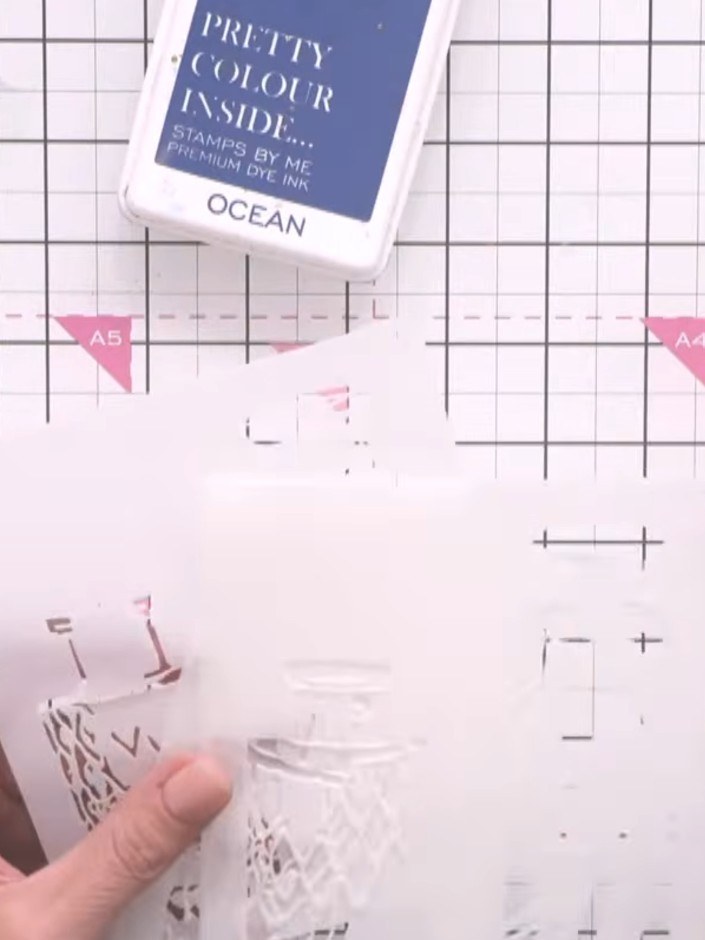
Take the first foliage layering stencil (numbered one) and position it on your white card. Using Ocean ink, gently tap through the stencil onto the card to create the first layer of foliage.
▶ watch this step (26:15)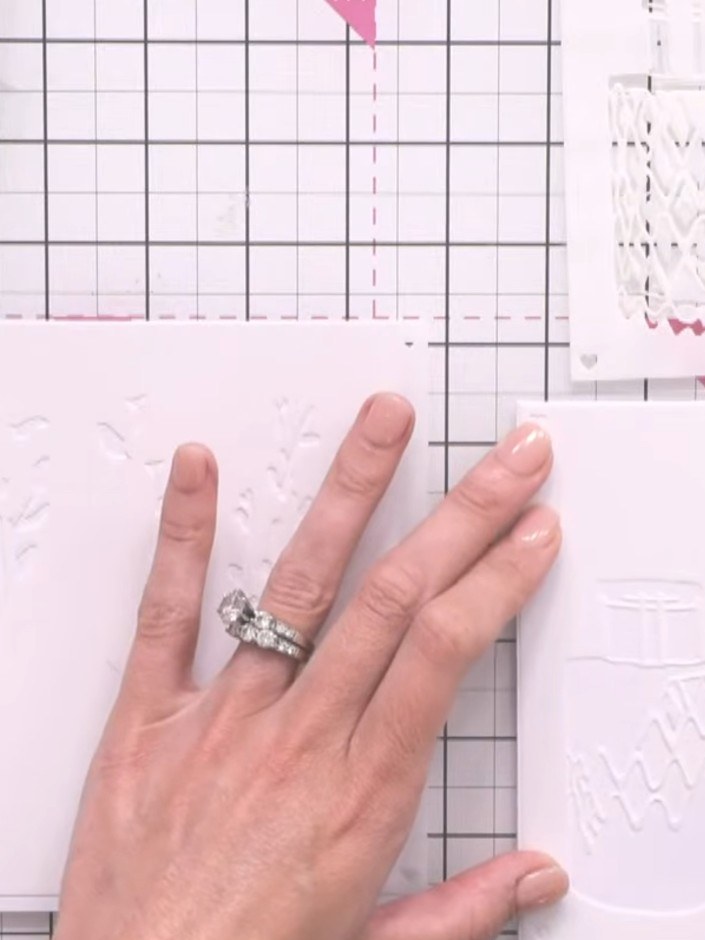
Position your second foliage stencil over the card, aligning it carefully with the first layer. Use the blending tool to apply the second colour through the stencil, creating the next layer of the vase design.
▶ watch this step (27:30)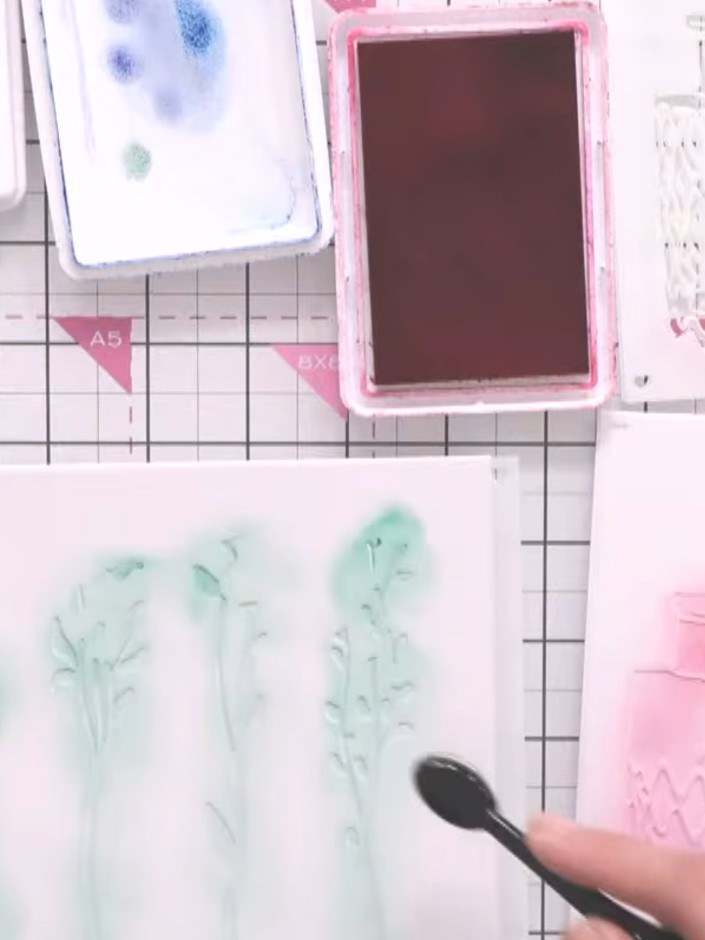
Continue with stencil number three from the set, applying the Hedgerow ink through the foliage areas. Press slightly harder with the blending brush to build up more colour and depth in the stems and leaves.
▶ watch this step (29:30)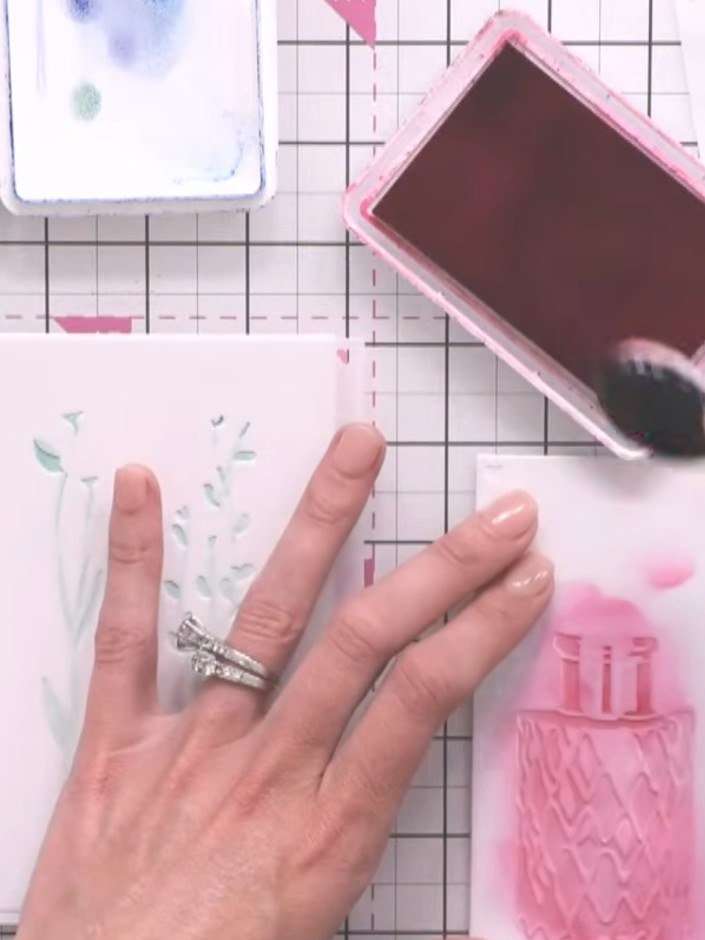
Apply stencil number four using brown ink to add the final layer of foliage detail to your card. Use a blending brush to apply the ink through the stencil, building up the greenery layers.
▶ watch this step (31:00)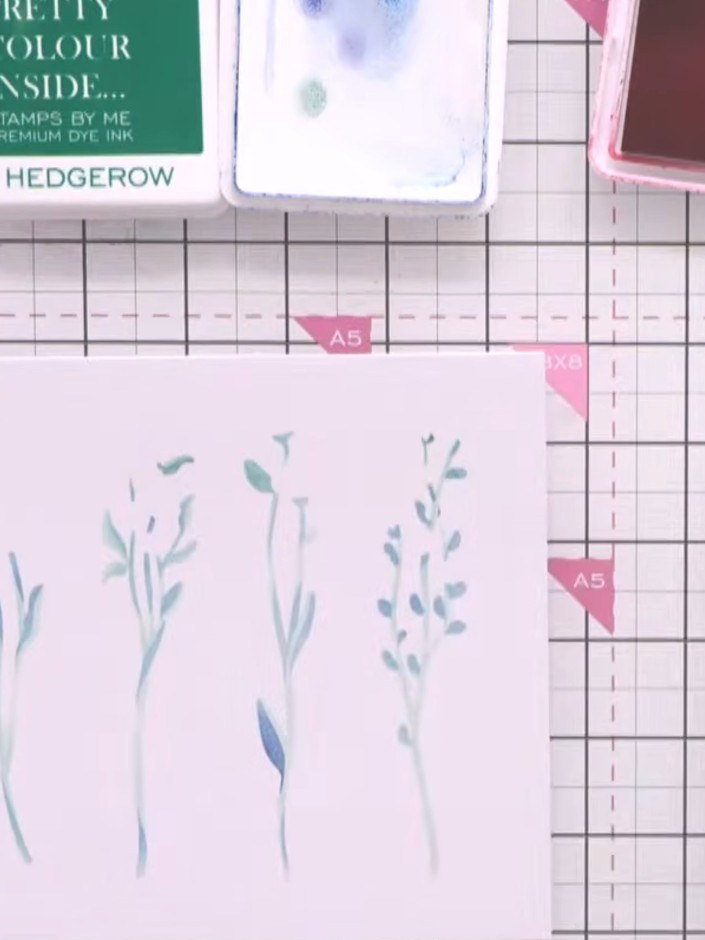
Using the vase layering stencils, position the first stencil over your card and apply teal ink through the stencil to create the first layer of the vase design.
▶ watch this step (33:00)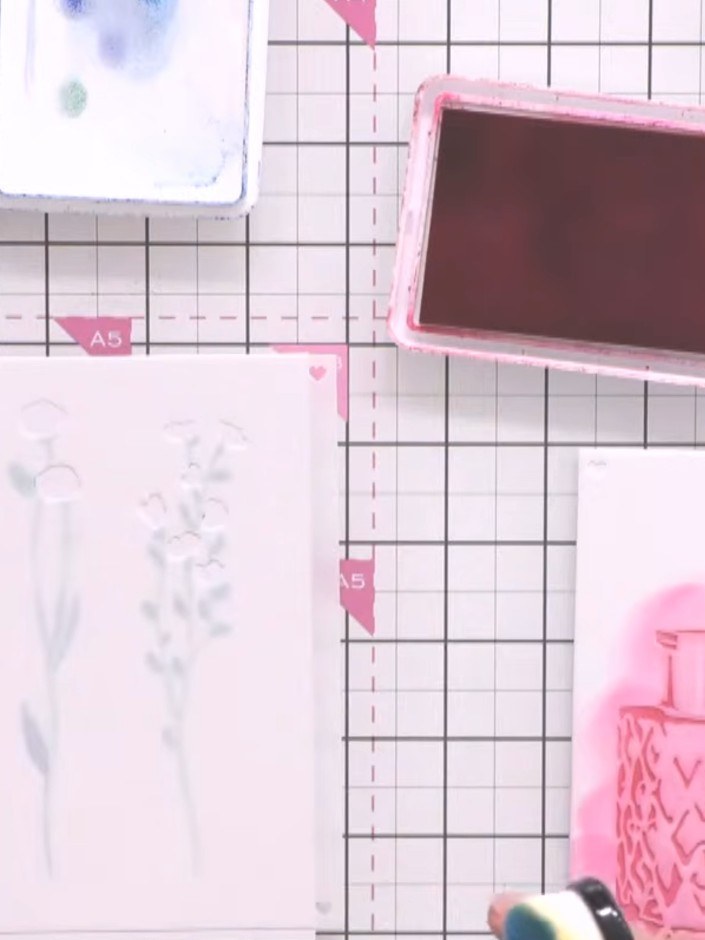
Using the second vase stencil, apply a contrasting colour ink (blue) to create the second vase layer. Position it alongside the pink vase to build dimension in your design.
▶ watch this step (33:45)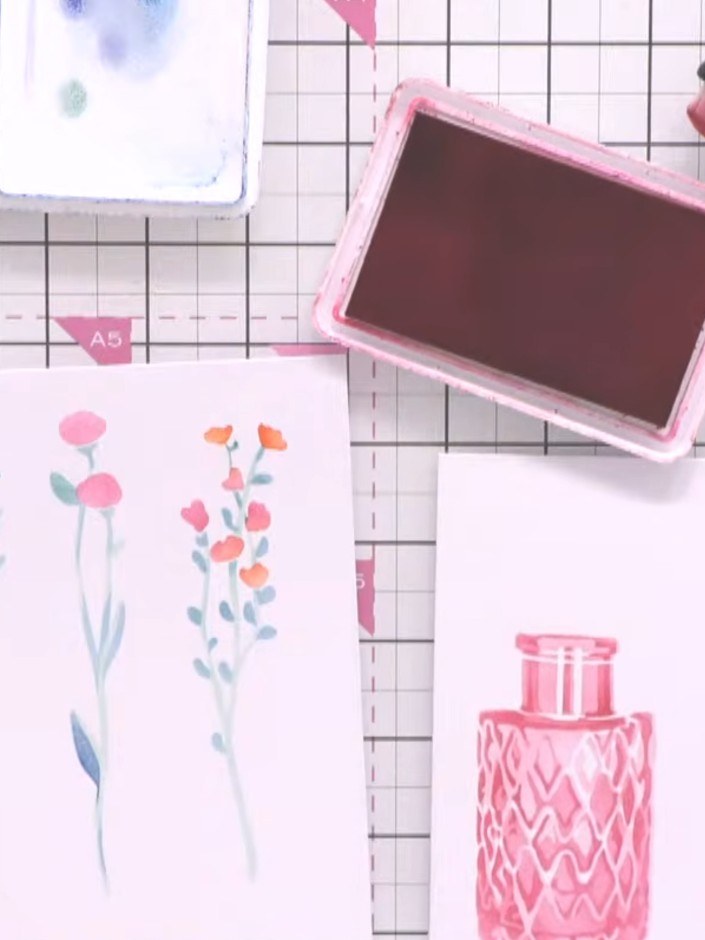
Apply the third vase stencil using your chosen accent colour ink with a blending tool to complete the layered vase design. Build up the colour gradually for depth and dimension.
▶ watch this step (34:30)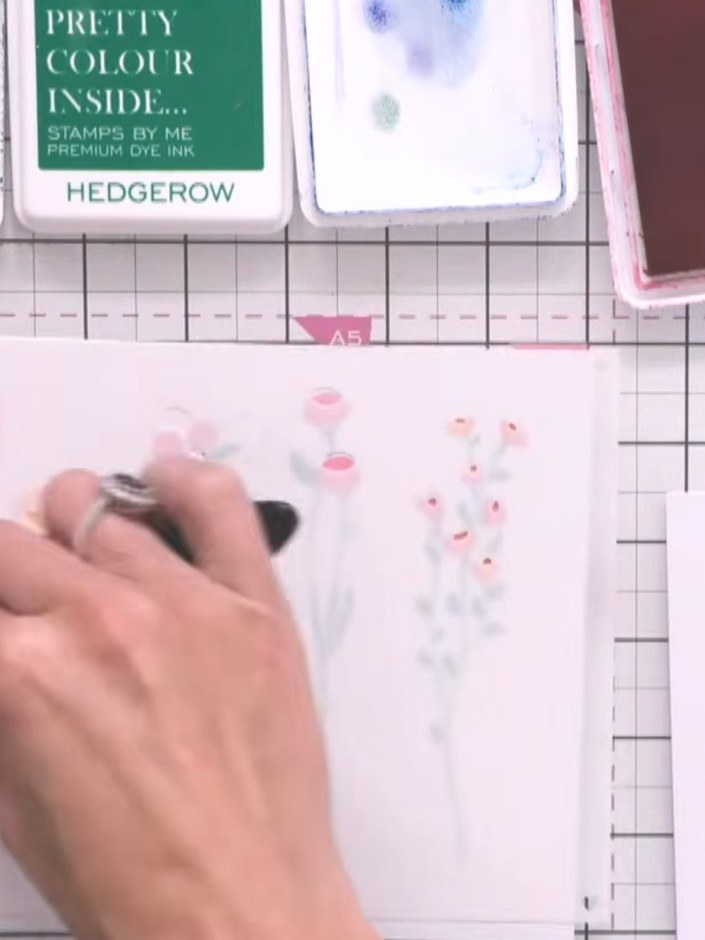
Add flower head details using additional stencils. Apply pink and orange colours to create floral embellishments on the stamped flowers.
▶ watch this step (35:00)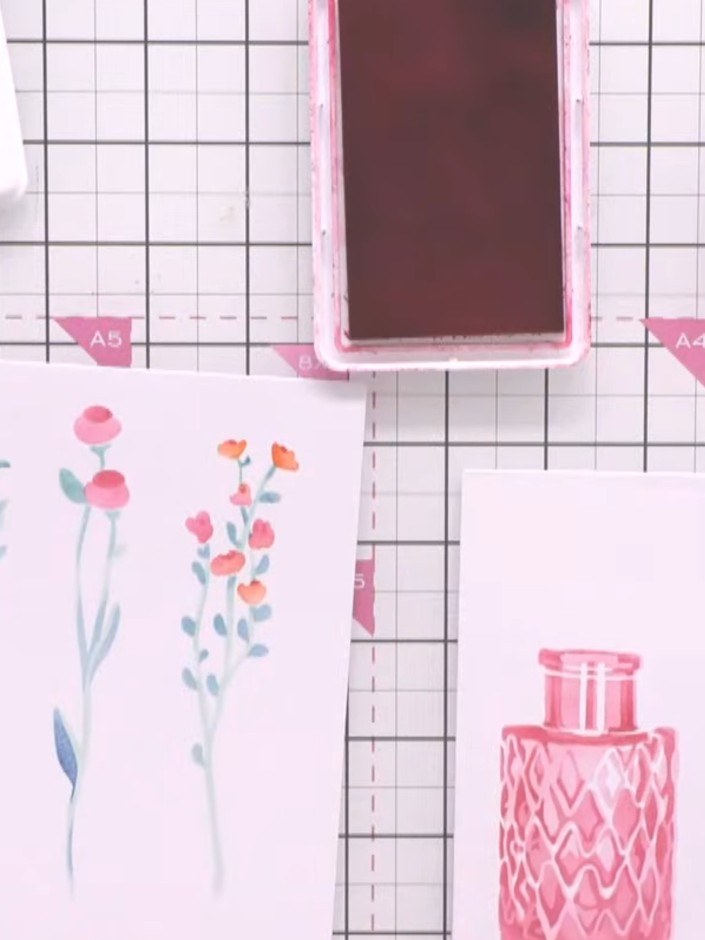
Clean all stencils thoroughly under warm water between colour applications to prevent colours from mixing and to maintain crisp, clear designs.
▶ watch this step (36:00)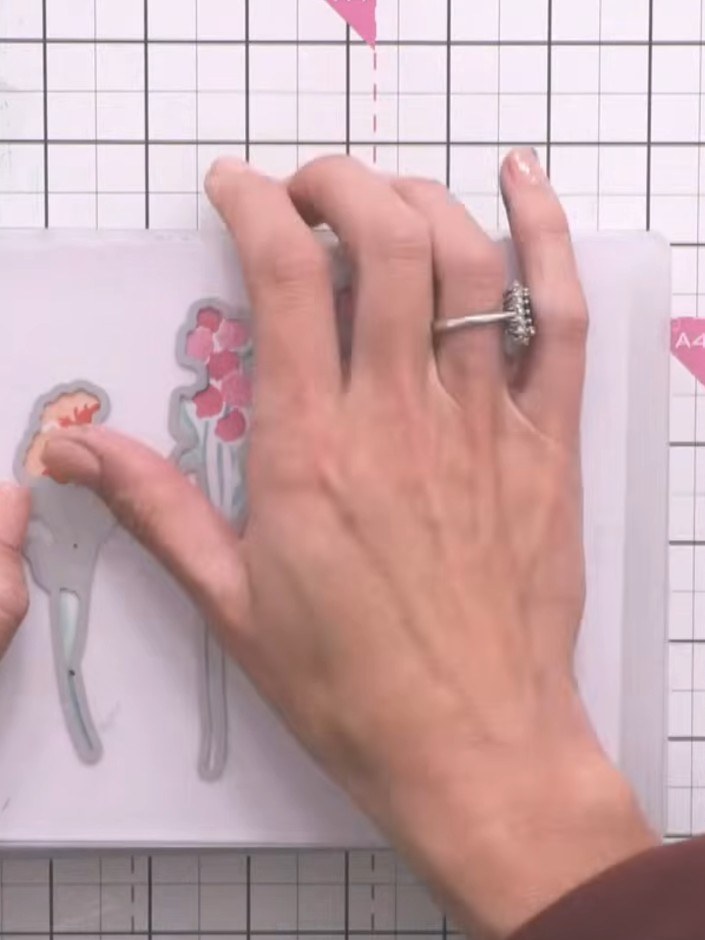
Use the coordinating dies to die-cut all the stamped foliage pieces. Cut them tall so you can trim them to size later when arranging your design.
▶ watch this step (39:15)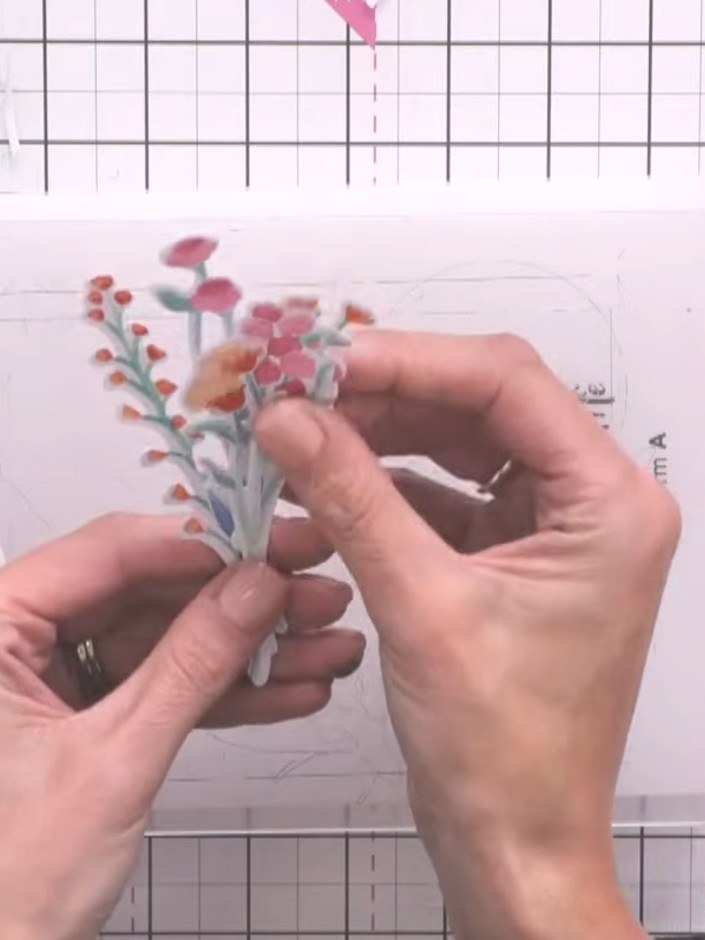
Die-cut the vase pieces and arrange them on your card. Trim the foliage to fit inside the vase opening as needed.
▶ watch this step (40:30)Written up from the show itself. See every guide from our shows · free how-to guides · watch live on My Telly