Give your friends €10 off their first order!
Refer a FRIEND








Prices change straight away. Every language is our own translation, not Google.
A project from our live show HSN PRODUCT INSPIRATION - Join me for a fun filled show broadcast 8th September 2026 · 08/09/2026 · watch it from 22:45
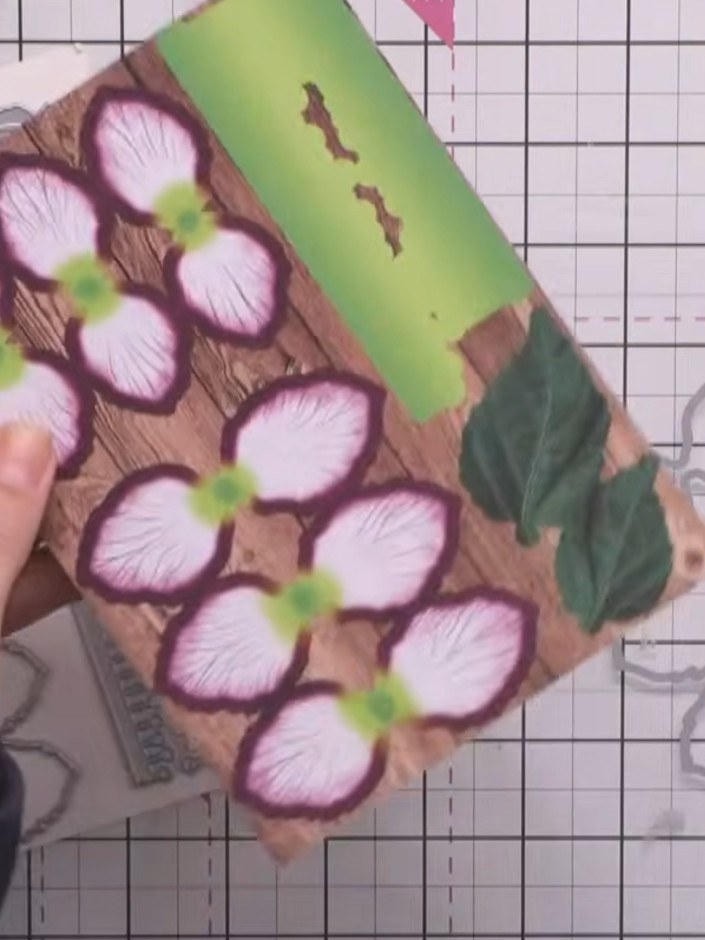
Craft a stunning hellebore flower card with layered pink and white petals edged in deep burgundy tones. Using pre-printed double-sided paper, you'll create realistic depth without colouring by die-cutting, shaping and layering the botanical elements with coordinating green leaves. The technique involves curving petals for dimension and assembling the flowers with embossed details for an elegant, sophisticated finish.
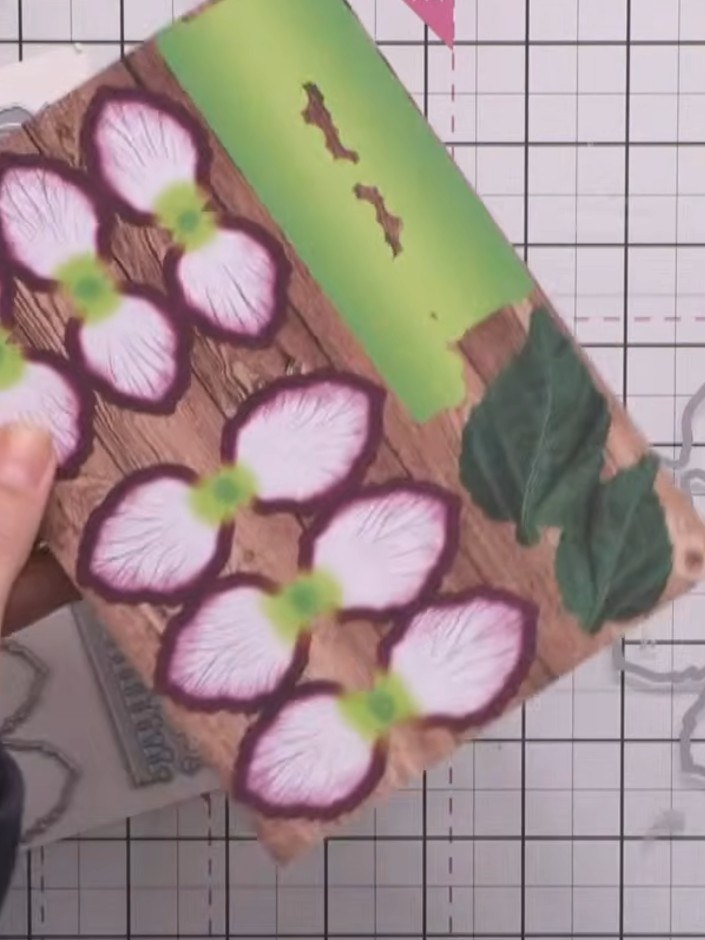
Select a coloured paper from the hellebore collection. Note that the papers feature pre-printed shading and veining on both sides to create realistic flower petals.
▶ watch this step (22:45)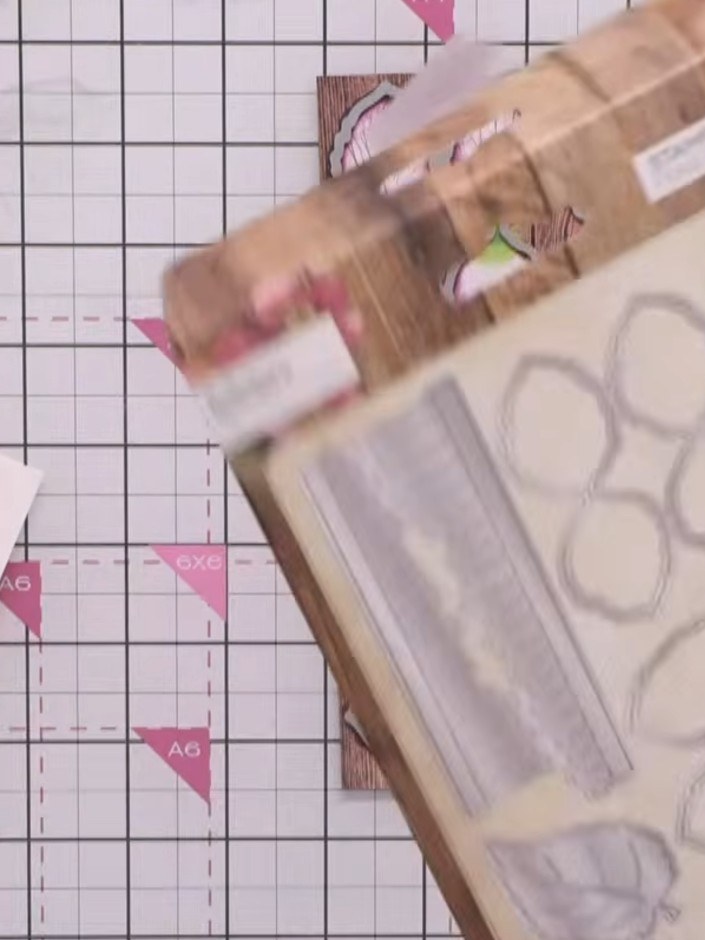
Place the connected die set onto your die-cutting machine, ensuring the paper is positioned correctly with the printed side facing up. Store the dies back in their packaging when finished.
▶ watch this step (23:00)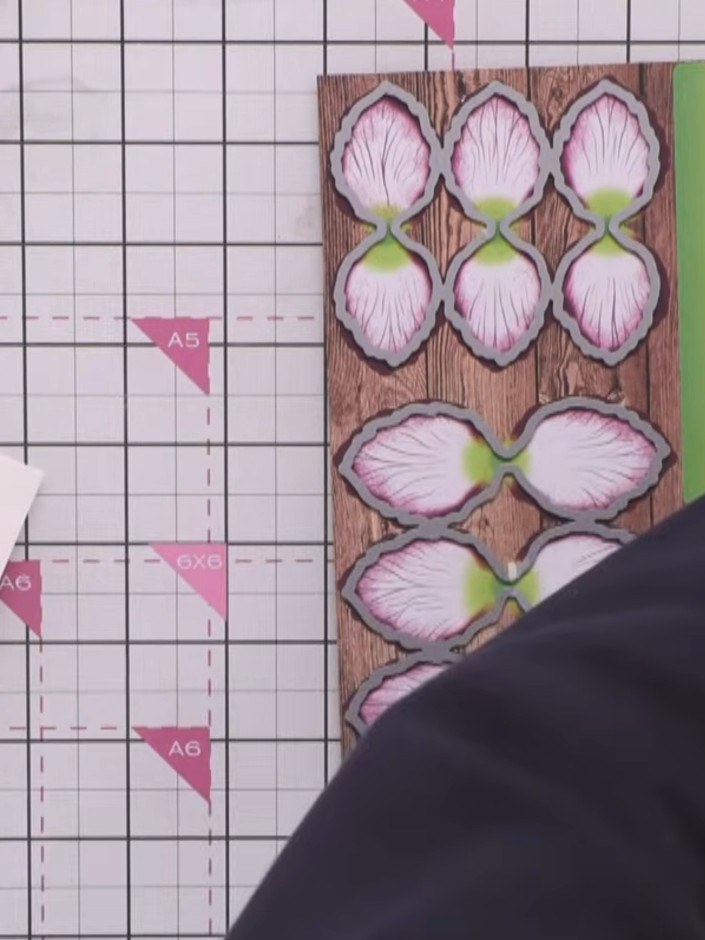
Run the die set through your die-cutting machine in one pass to cut all three flower sizes and the accompanying leaves simultaneously. Store the cut pieces back in the decant packaging to keep them organised.
▶ watch this step (23:15)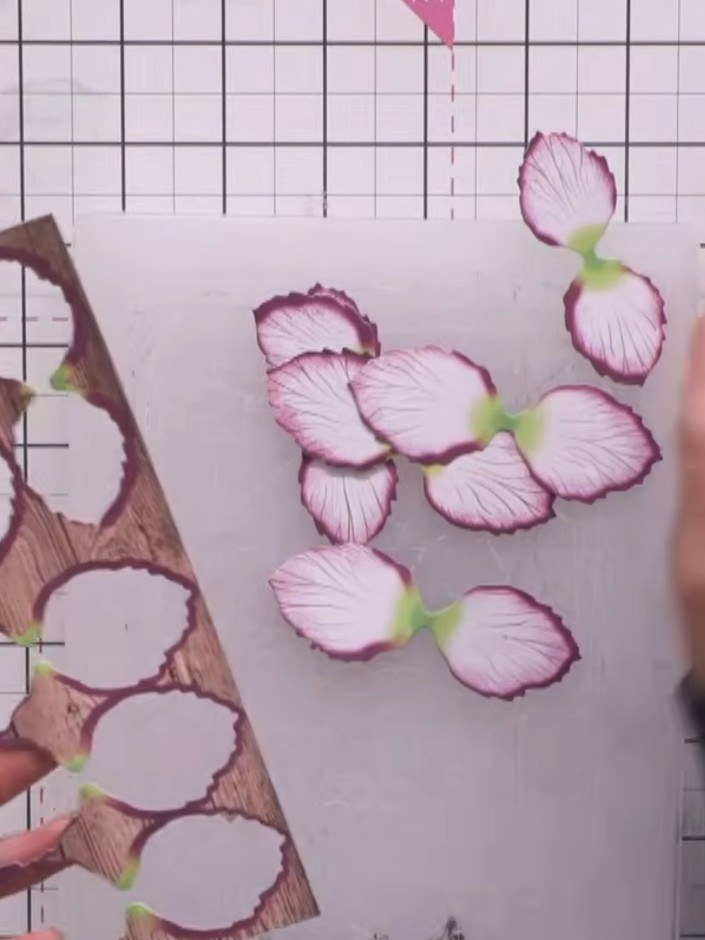
Pop out all the cut pieces from the carrier sheet. Remove the flowers, leaves and other elements carefully, revealing the double-sided printed pieces ready for assembly.
▶ watch this step (27:30)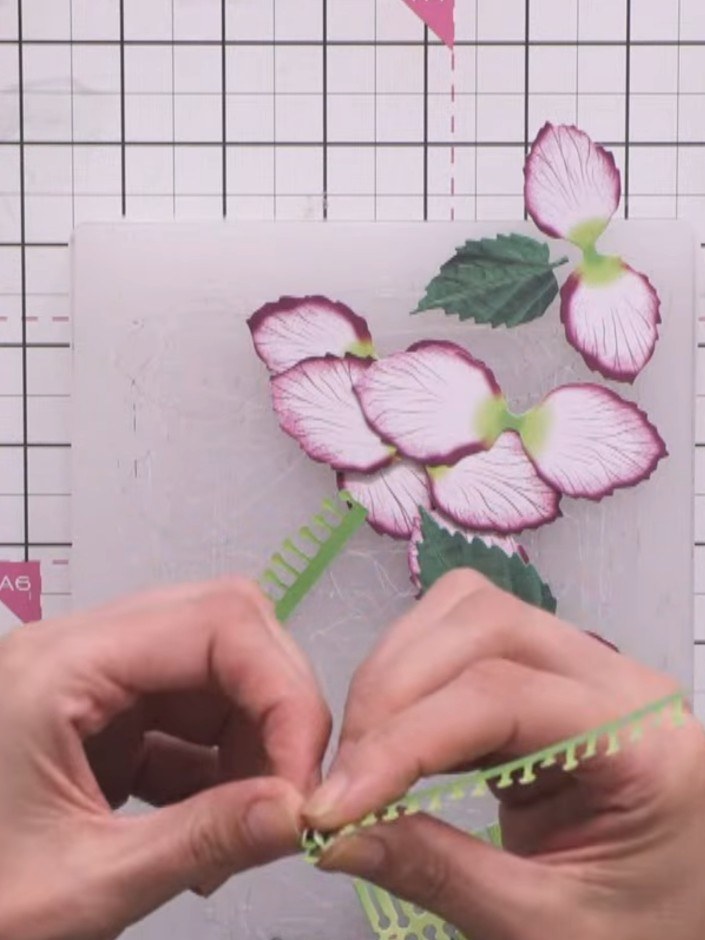
Layer the three flower sizes together, starting with the largest at the bottom, then the medium, and finally the smallest on top. Use a small spot of glue in the centre to secure each layer.
▶ watch this step (28:45)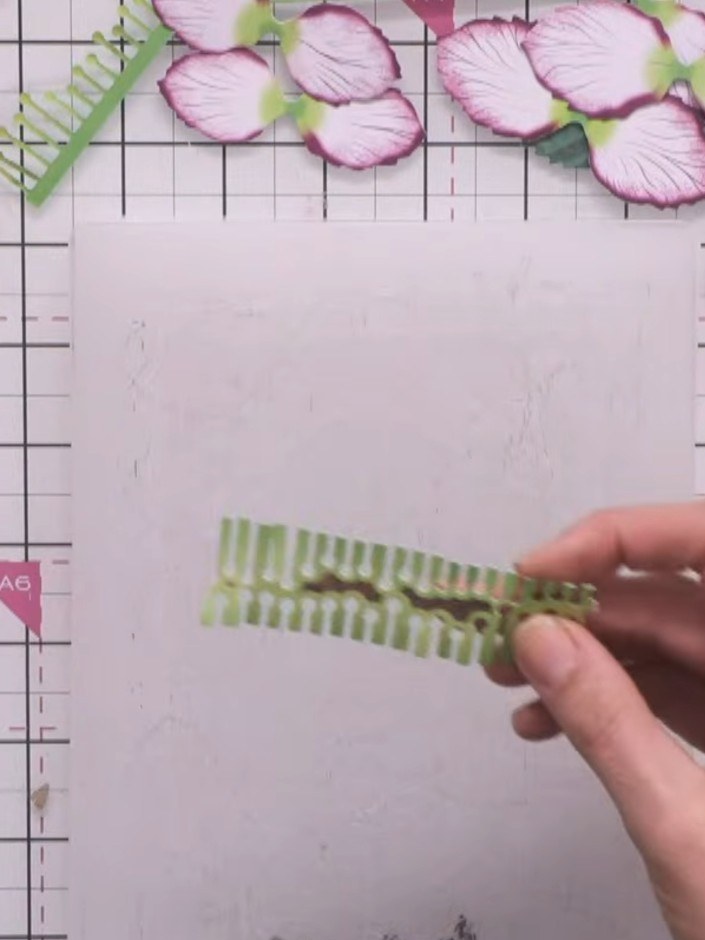
Position the two green leaves beneath the layered flowers, angling them naturally to frame the bloom. Place one leaf on each side of the flower arrangement.
▶ watch this step (29:00)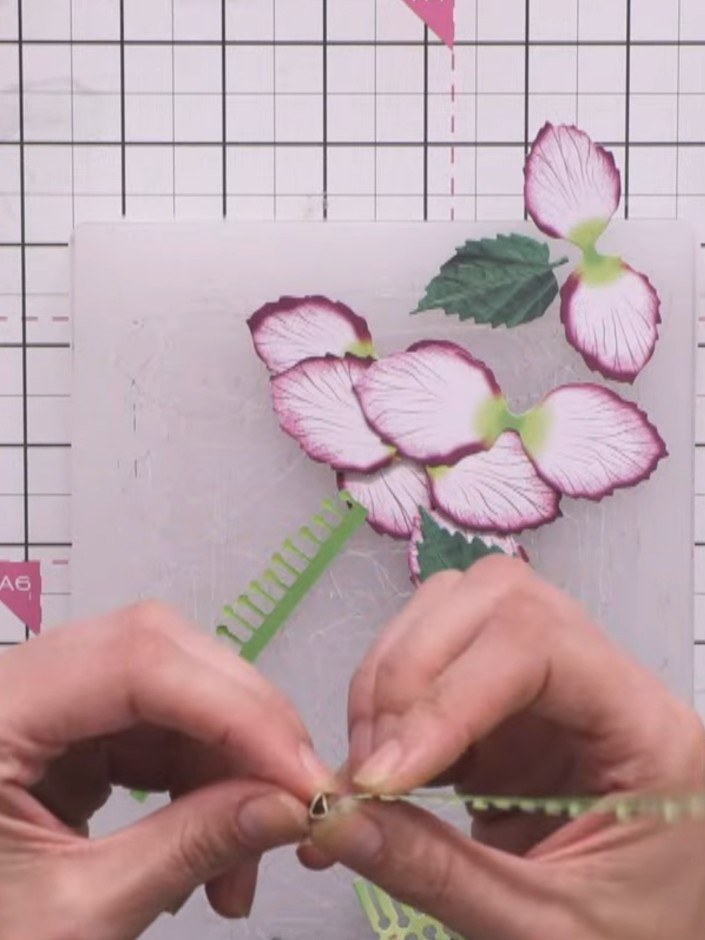
Take the small sprigly element and roll it tightly. Secure the rolled piece in the centre of the hellebore flower using glue to create a 3D centre detail.
▶ watch this step (29:15)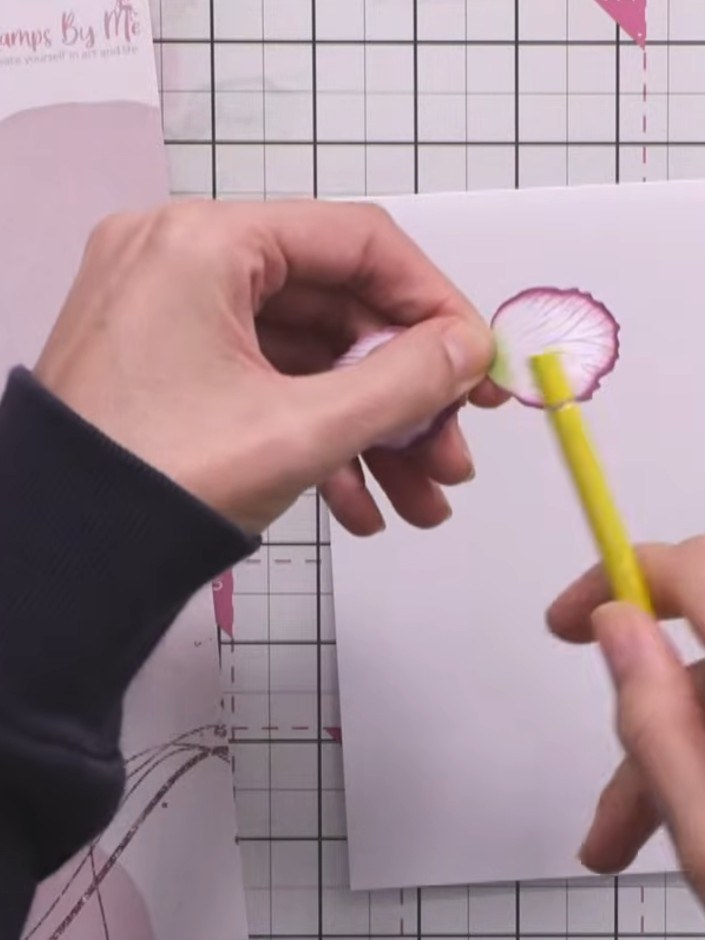
Adhere the completed flower cluster to your card base. Position the pink-edged petals and leaves as desired to create your focal point arrangement.
▶ watch this step (32:00)Written up from the show itself. See every guide from our shows · free how-to guides · watch live on My Telly


