Give your friends €10 off their first order!
Refer a FRIEND








A project from our live show CRAFTY THURSDAY - Join Toni for her latest show - Broadcast 15th January 2026 · 15/01/2026 · watch it from 8:15
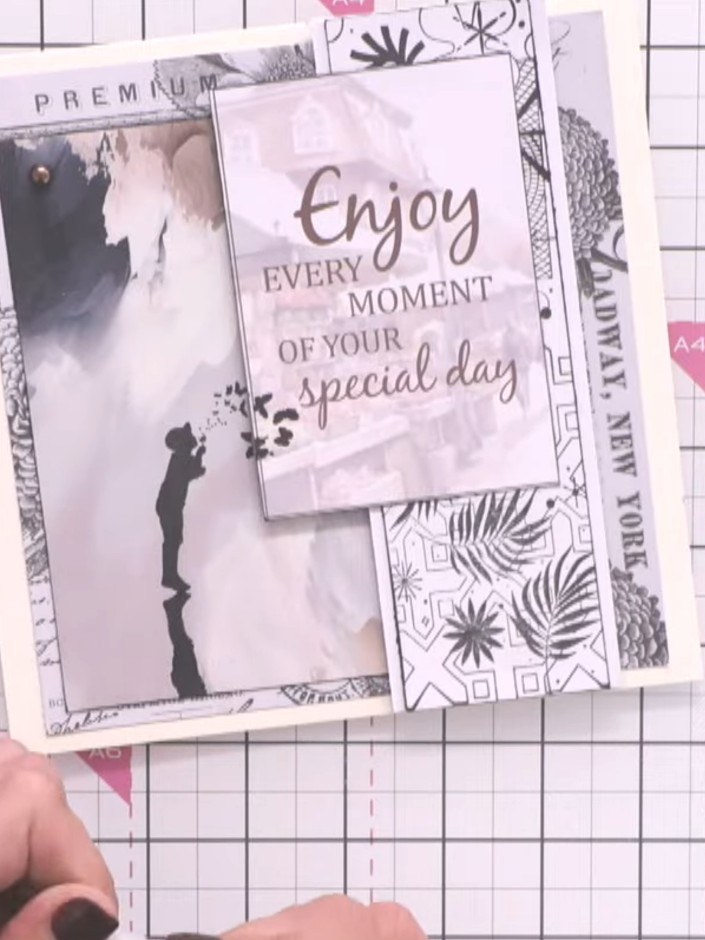
Create an elegant layered card in sophisticated cream and coffee tones featuring a stamped boy figure and sentiment text. This monochromatic design uses black ink edging to define each layer without heavy matting, creating subtle depth and visual interest. The result is a refined, understated card perfect for special occasions.
 Stamps By Me - Mystic Hollow Complete Bundle - 120126ASEE IT
 Inspirational Bookazine Kit - Magazine - 250125ASEE IT
 Stamps By Me - White Blank Cards & Envelopes 7 X 7 - 240323ASEE IT
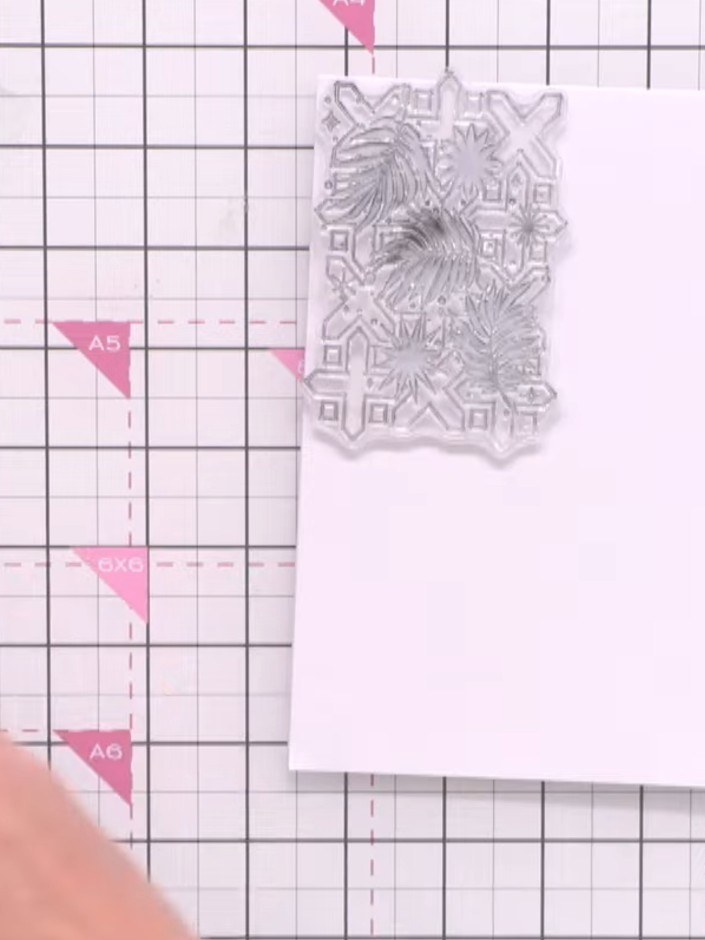
Take a piece of white card stock and stamp background stamps in black ink to create textured panels. Position the stamps on the white card and press firmly to transfer the design.
▶ watch this step (9:00)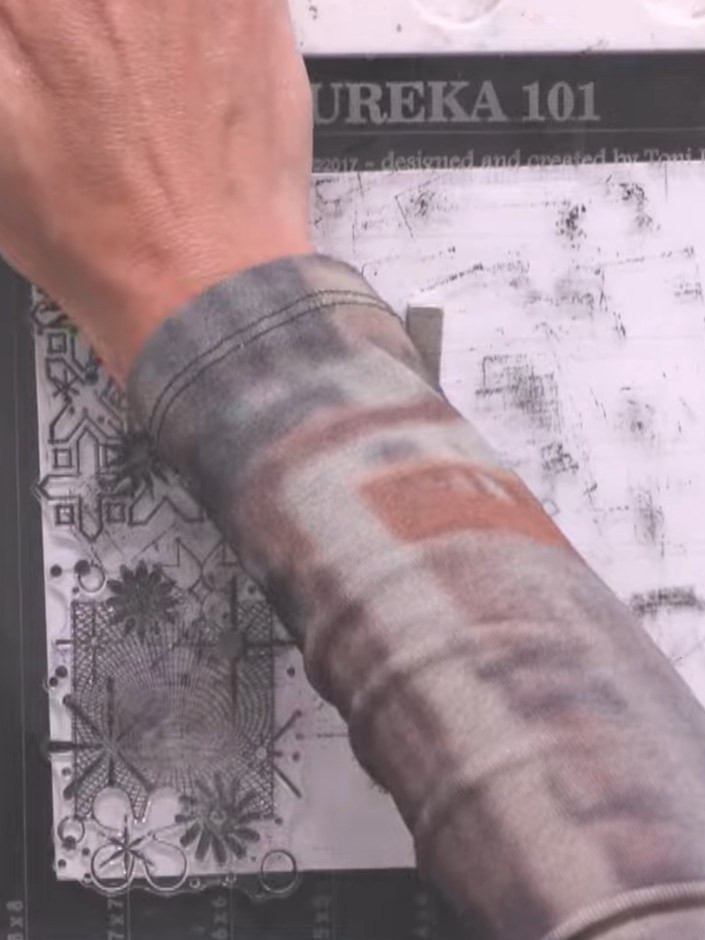
Trim the stamped panel down using a craft cutter to create a smaller, more defined piece.
▶ watch this step (10:30)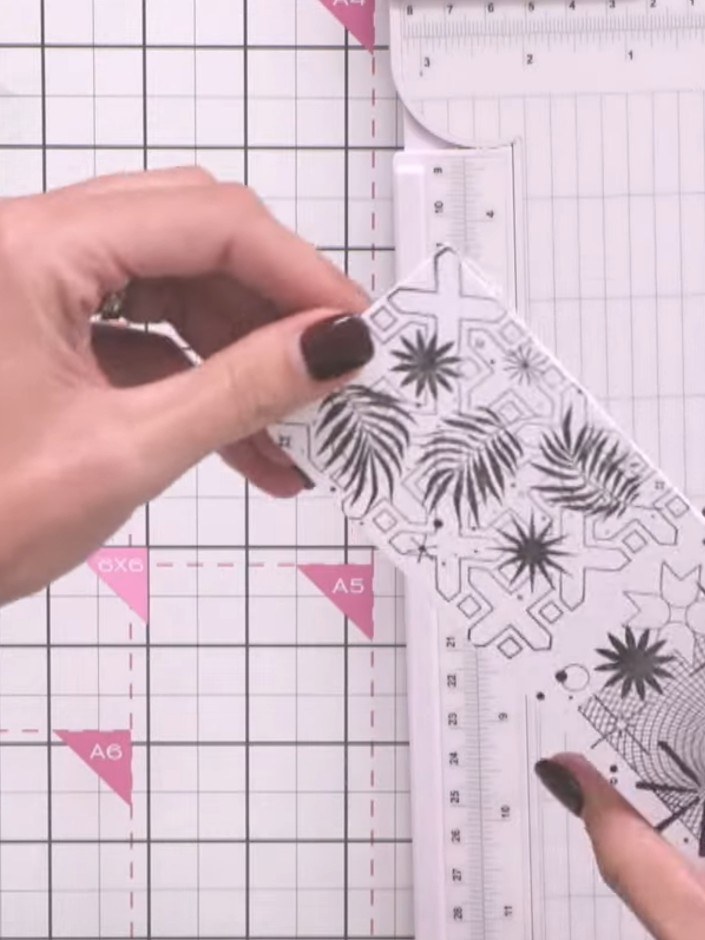
Edge the trimmed panel with black ink pad along all sides to create a border effect.
▶ watch this step (11:30)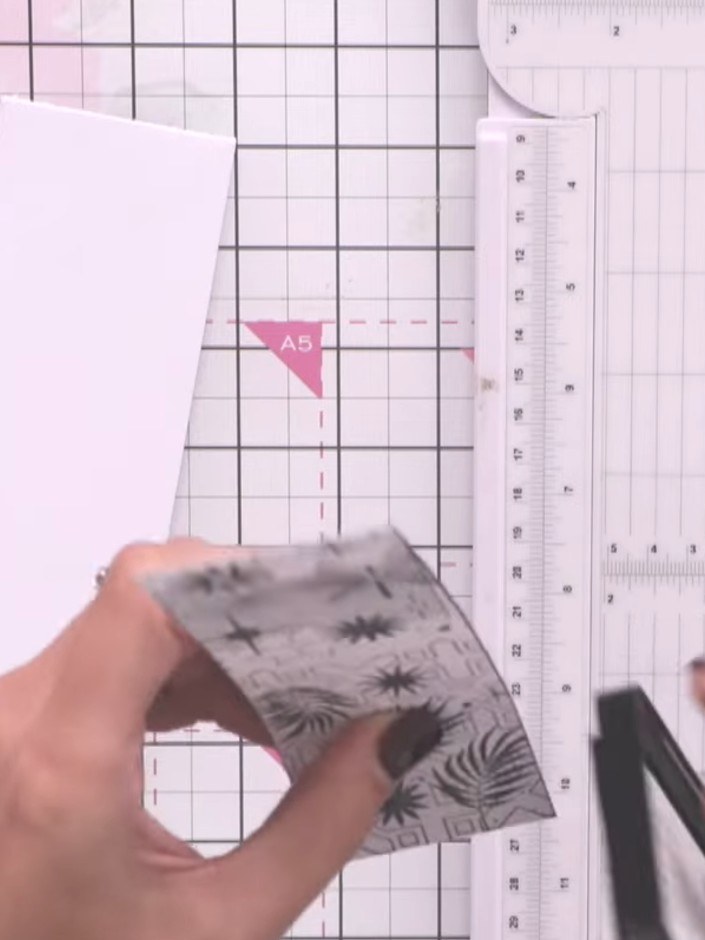
Adhere the stamped and edged panel to your white card base using glue or double-sided tape, ensuring it is centred.
▶ watch this step (12:30)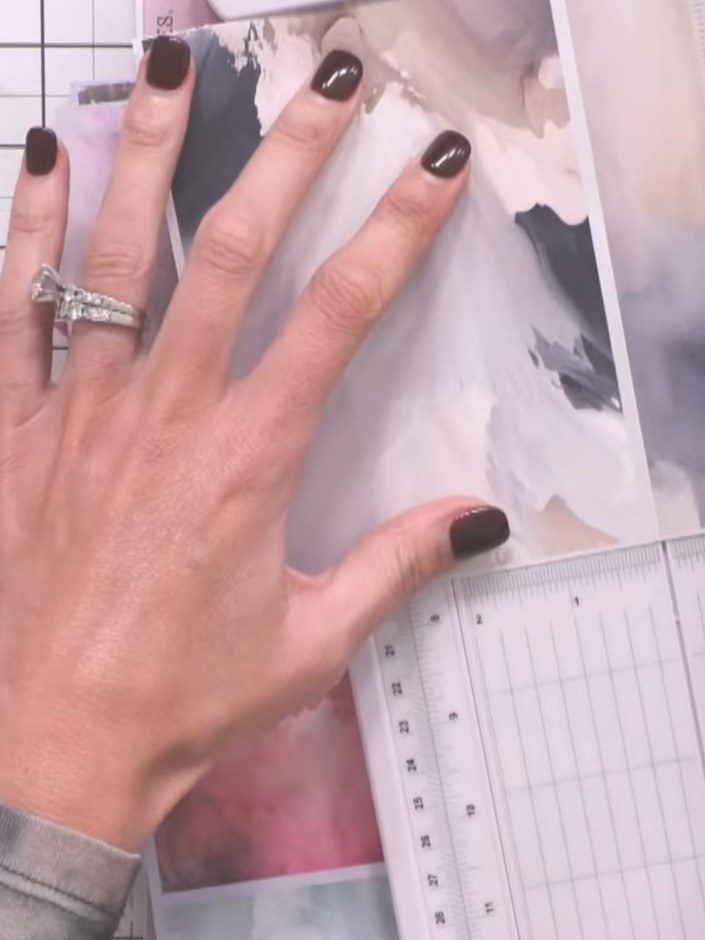
Select patterned papers from the bundle in coordinating cream and coffee tones. Cut them to size using your paper trimmer.
▶ watch this step (14:30)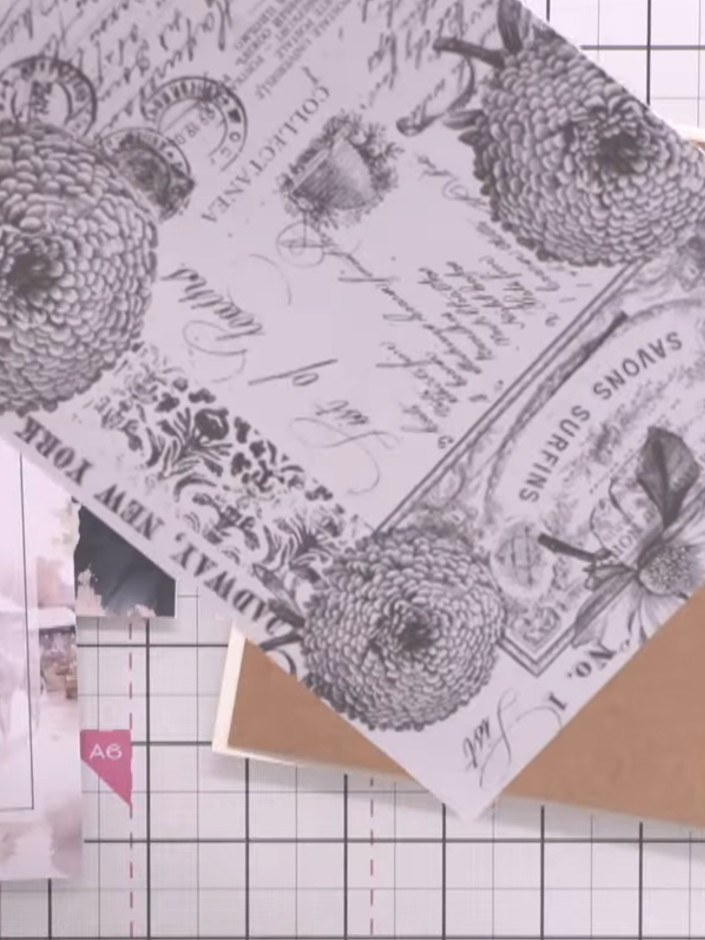
Layer the patterned paper pieces onto your kraft card base, positioning them diagonally to create visual interest. Place the floral vintage-style paper at an angle across the card.
▶ watch this step (17:30)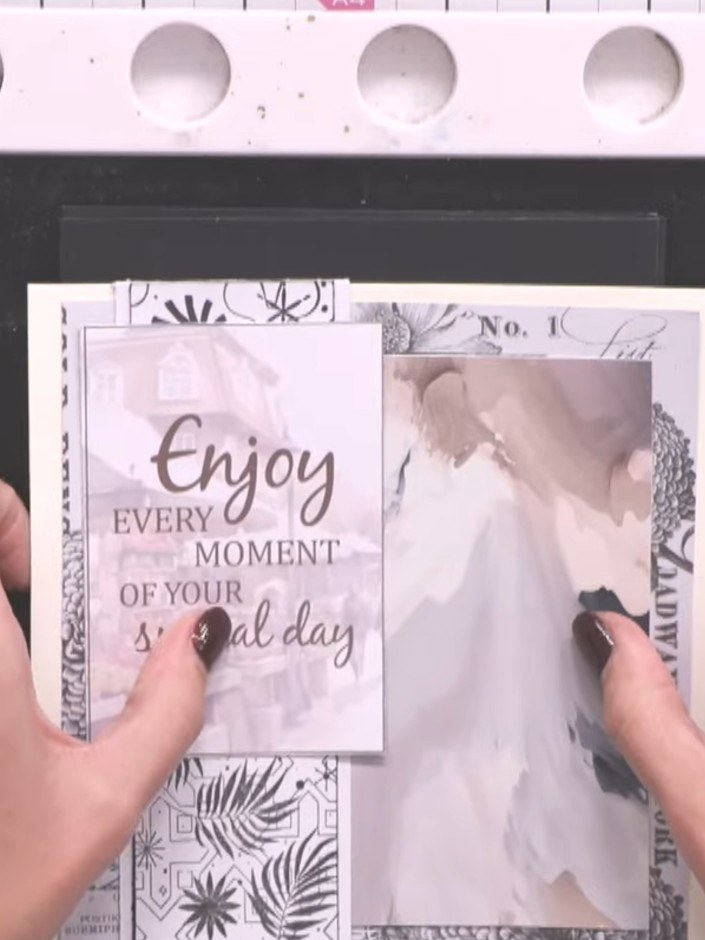
Stamp the boy figure from the stamp set in black ink, positioning it to overlap slightly onto the sentiment paper on the right side of the card.
▶ watch this step (22:45)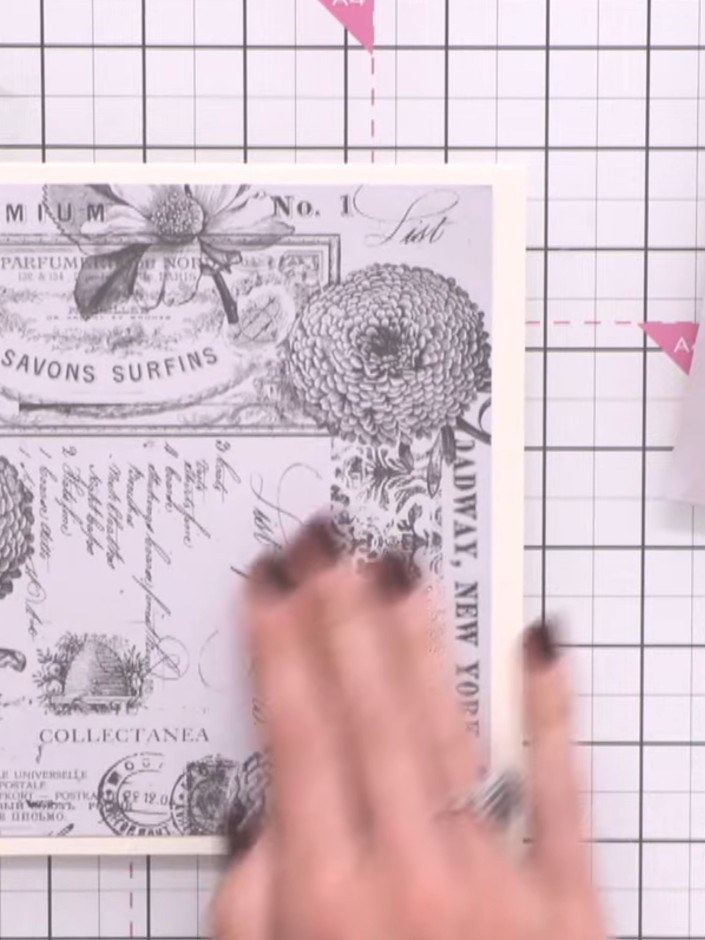
Edge the layered papers with black ink using an ink pad to define the edges and prevent them looking flat.
▶ watch this step (26:30)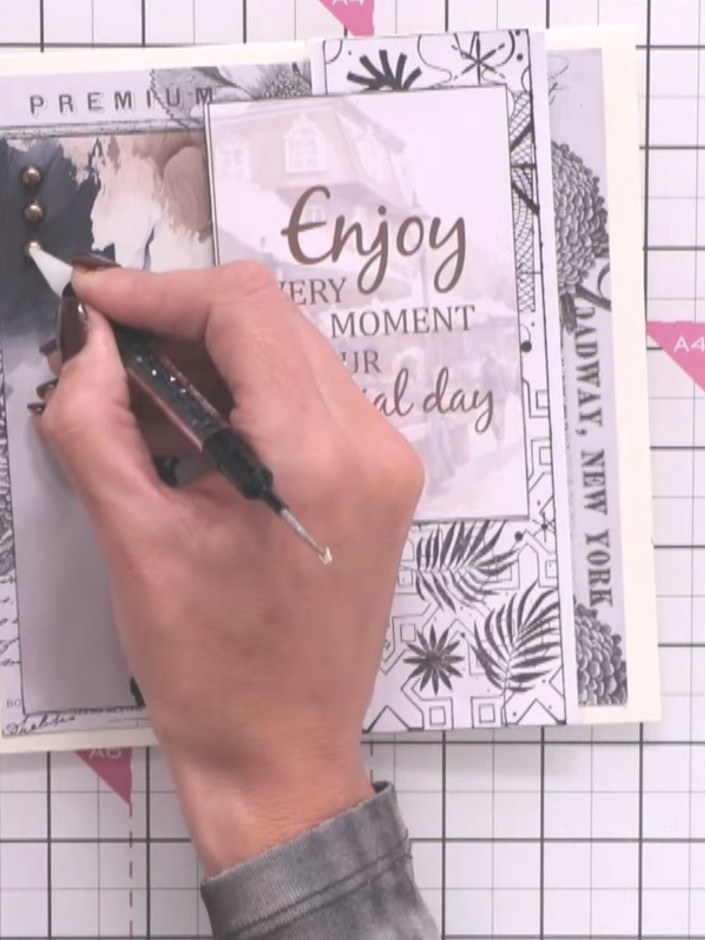
Optionally outline the stamped boy silhouette with a black gel pen to add definition. Add additional sparkle details with the gel pen to finish the card.
▶ watch this step (31:00)Written up from the show itself. See every guide from our shows · free how-to guides · watch live on My Telly