Give your friends €10 off their first order!
Refer a FRIEND








A project from our live show MY PODCAST - Catch my latest updates broadcast 10th November 2025 · 10/11/2025 · watch it from 36:30
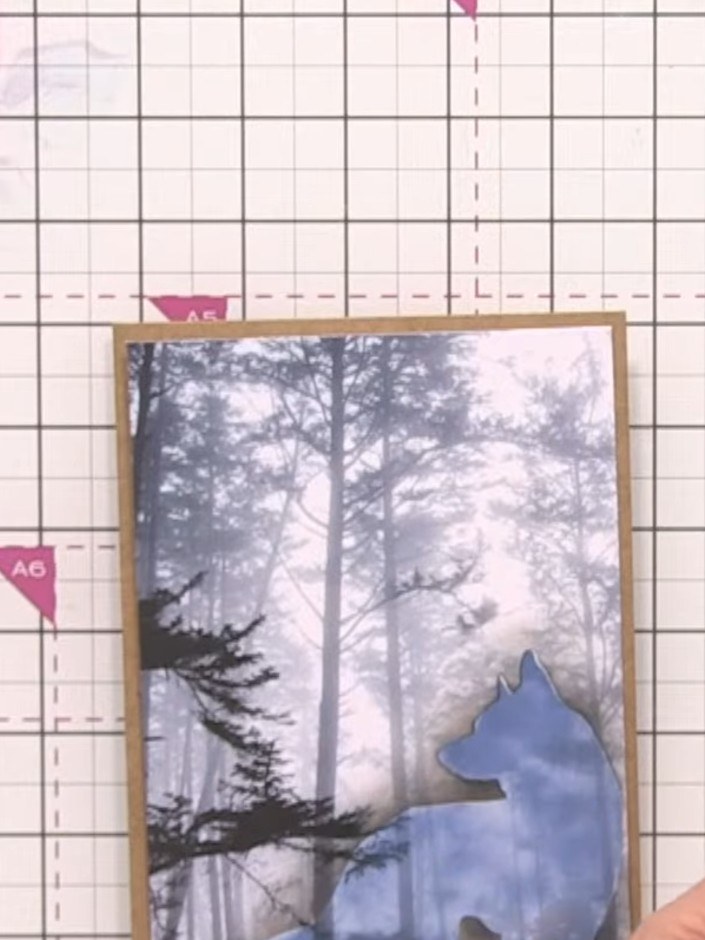
Create a striking layered card featuring a wolf silhouette against an ink-blended forest background. Using stencil and masking techniques with blue ink tones on kraft cardstock, you'll build depth through shadow effects and paw print details. The design is finished with coordinating sentiment stamps for a professional woodland-themed greeting card.
 Stamps By Me - Seek the Extraordinary Collection - 071125ASEE IT
 Stamps By Me - Seek the Extraordinary Paper Pad 12 X 12 - 071223ASEE IT
 Stencil & Die Set - Daffodil Dreams - 081024ASEE IT
 Imala - A5 Stamp - Be Brave - 131022ASEE IT
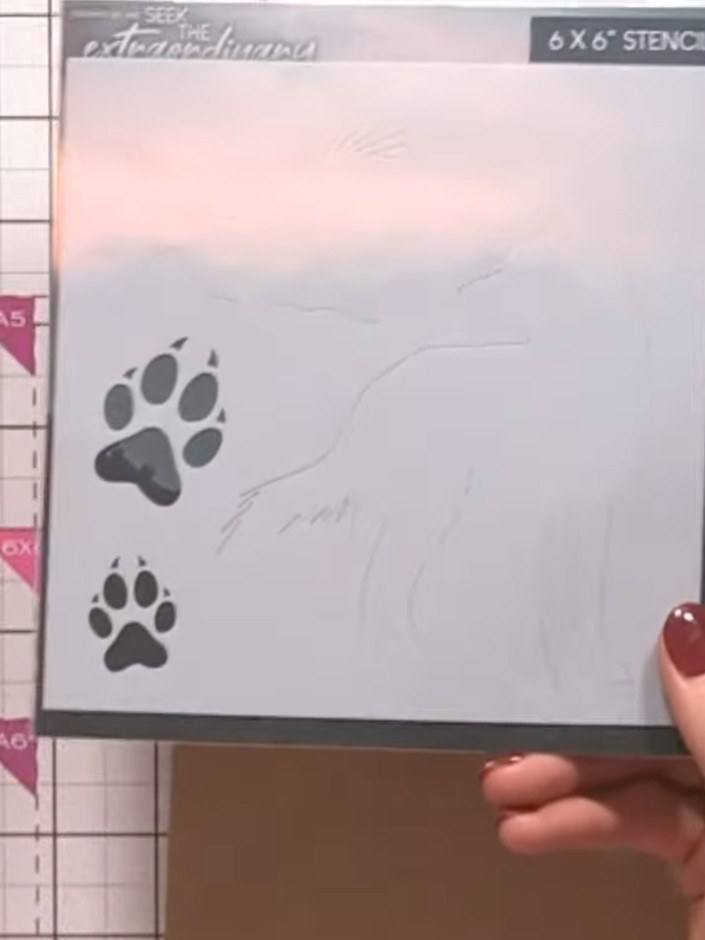
Position the stencil onto your kraft card blank. Use an ink pad to tap through the stencil design, creating the background pattern on the card.
▶ watch this step (36:45)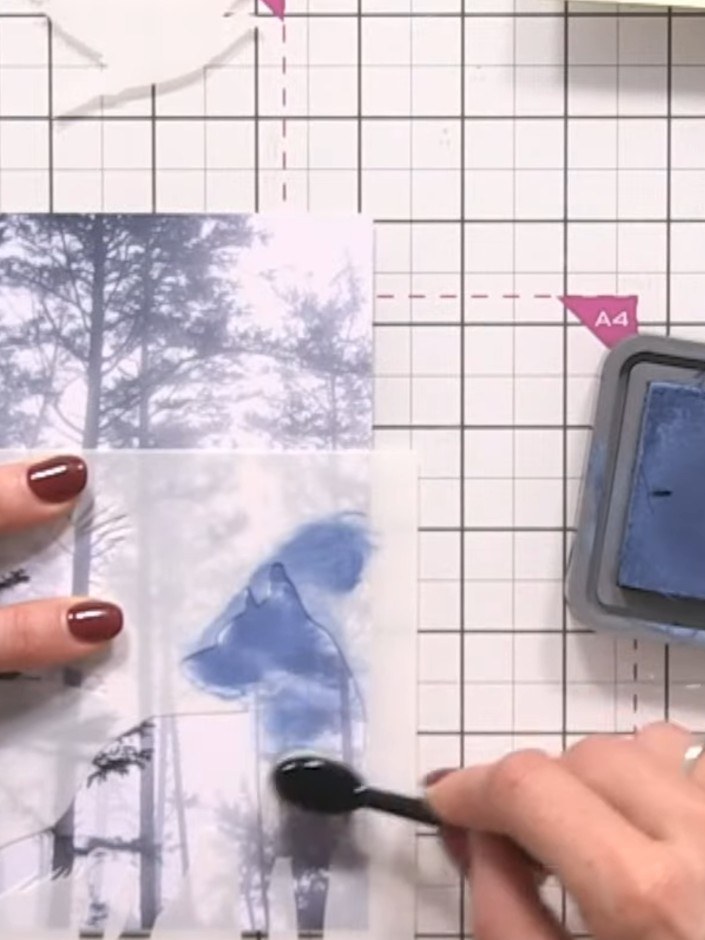
Position the mask over the wolf area on your stencilled paper. Using a blending brush, apply blue ink around the edges of the design to create a shadow effect, working carefully around the masked area.
▶ watch this step (41:30)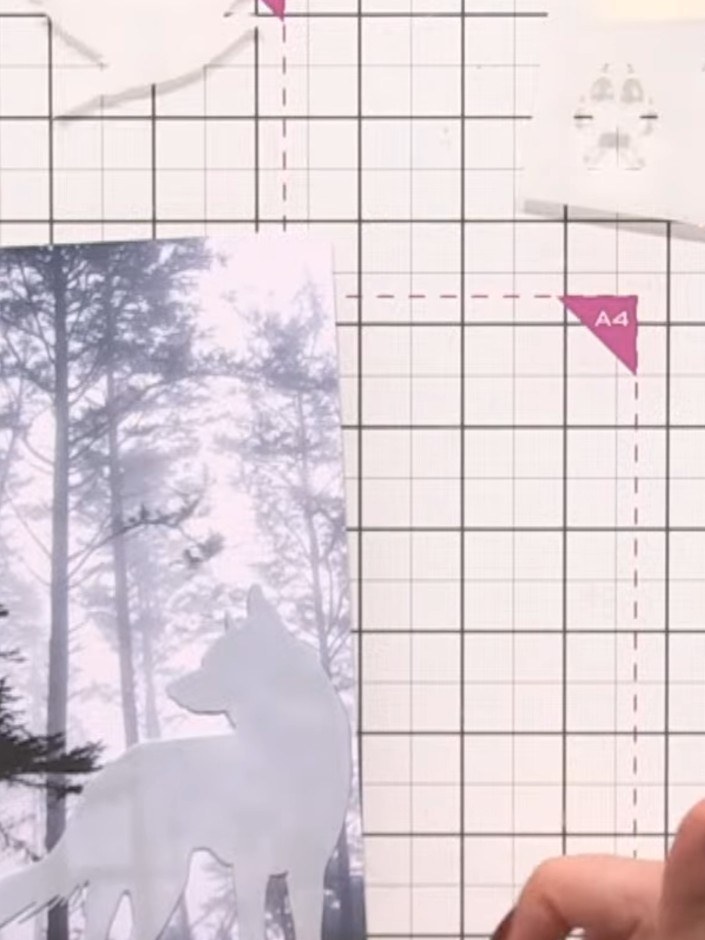
Remove the mask from the wolf silhouette. Using black ink, add a halo shadow around the edge of the wolf to define it and tie the design together with the forest scene.
▶ watch this step (43:00)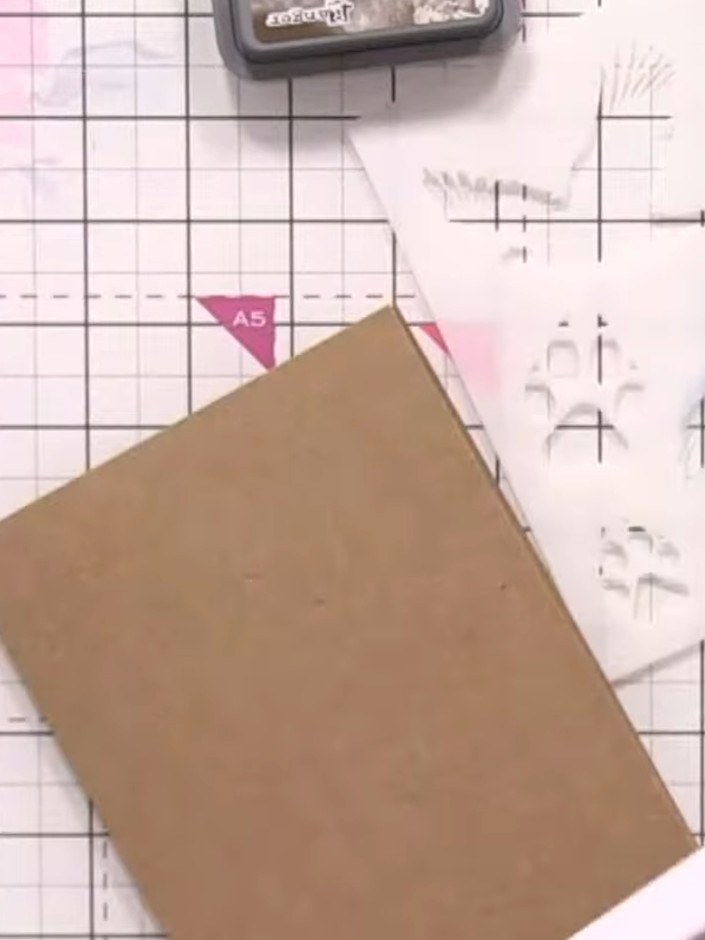
Trim the inked panel down to a smaller size. Edge the panel with black ink using a Distress ink pad to remove the white border and make it stand out.
▶ watch this step (46:30)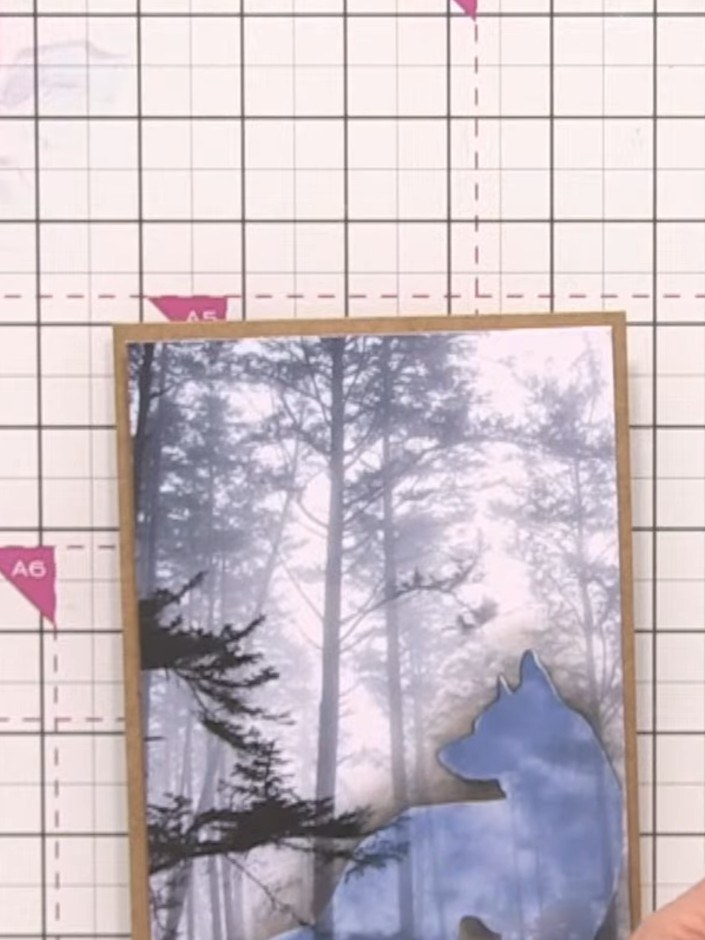
Mount the trimmed panel onto a kraft-coloured card base using adhesive. Ensure the panel is centred on the card base.
▶ watch this step (48:00)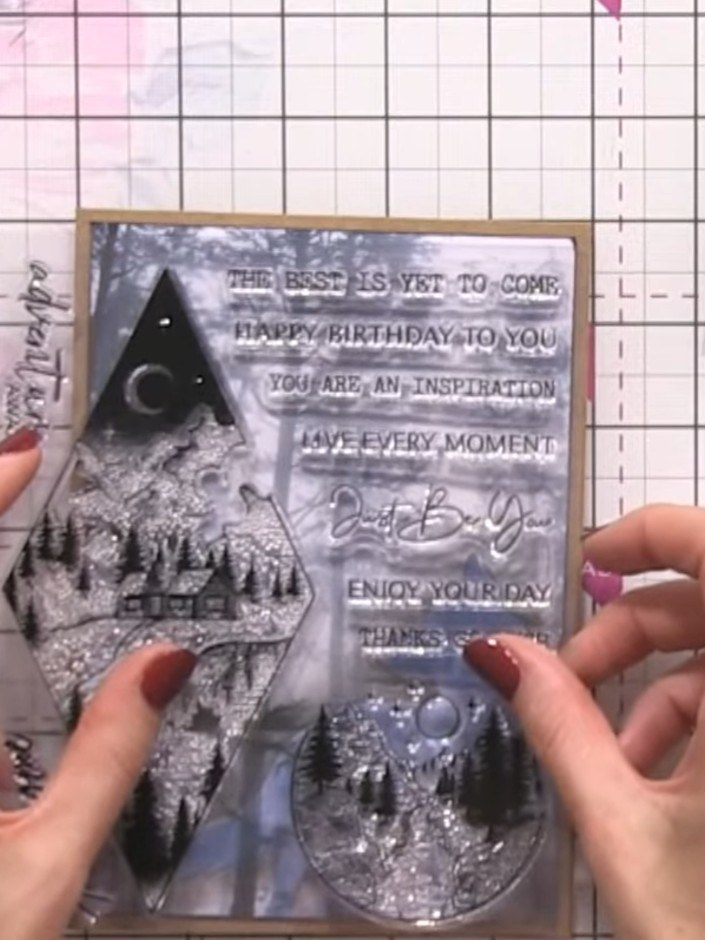
Stamp sentiment text from the stamp set onto separate craft-coloured card strips using black ink.
▶ watch this step (53:30)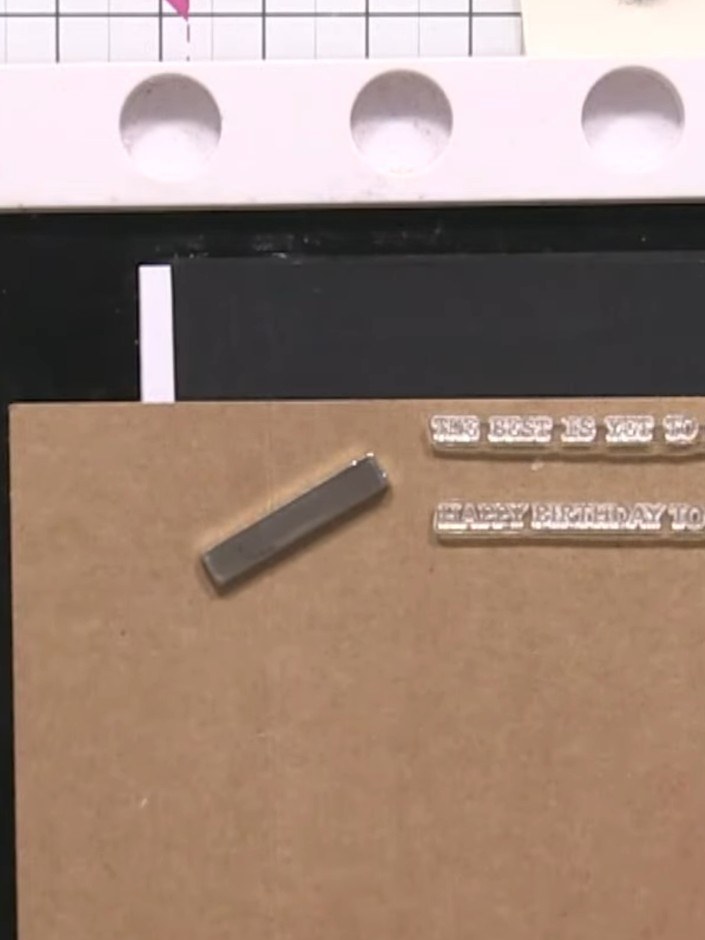
Trim the sentiment strips to size. Adhere one sentiment strip flat to the card front and attach the second strip inside the card for a coordinated finish.
▶ watch this step (54:45)
Decorate the envelope by applying ink through the stencil on both the inside and outside flaps to coordinate with your finished card.
▶ watch this step (58:00)Written up from the show itself. See every guide from our shows · free how-to guides · watch live on My Telly