Give your friends €10 off their first order!
Refer a FRIEND








 The Friday Final CutFri 20 Nov 5am
 Community ShowcaseMon 23 Nov 5am
 Deal HuntersTue 24 Nov 8am
Prices change straight away. Every language is our own translation, not Google.
A project from our live show ONE DAY SPECIAL - Join Toni for her brand new launch - Broadcast 31st October 2025 · 31/10/2025
Create a beautiful layered card featuring a charming hanging basket scene with hand-coloured flowers and foliage. This dimensional design combines die-cut elements including a golden hanging basket, botanical prints, and a peaceful garden window vignette on patterned paper backgrounds. The finished card showcases depth and storytelling through carefully arranged layers in soft greens, corals, and natural tones.
 1
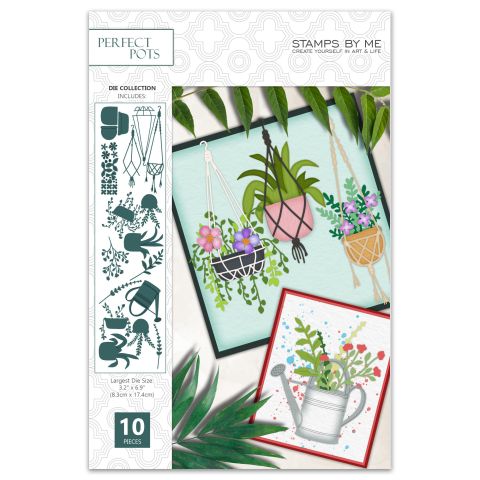
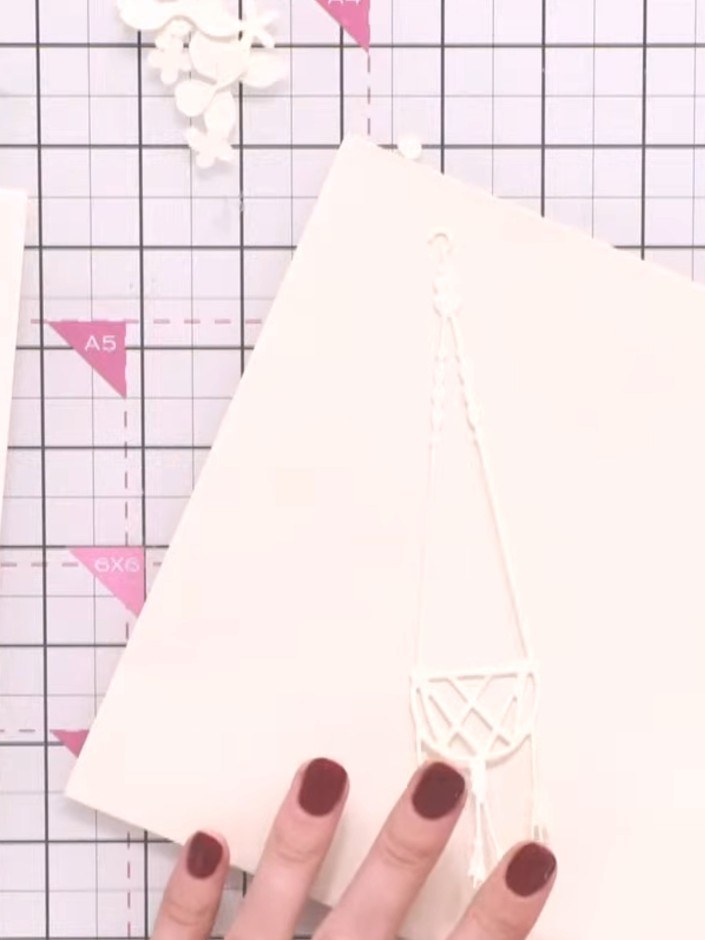
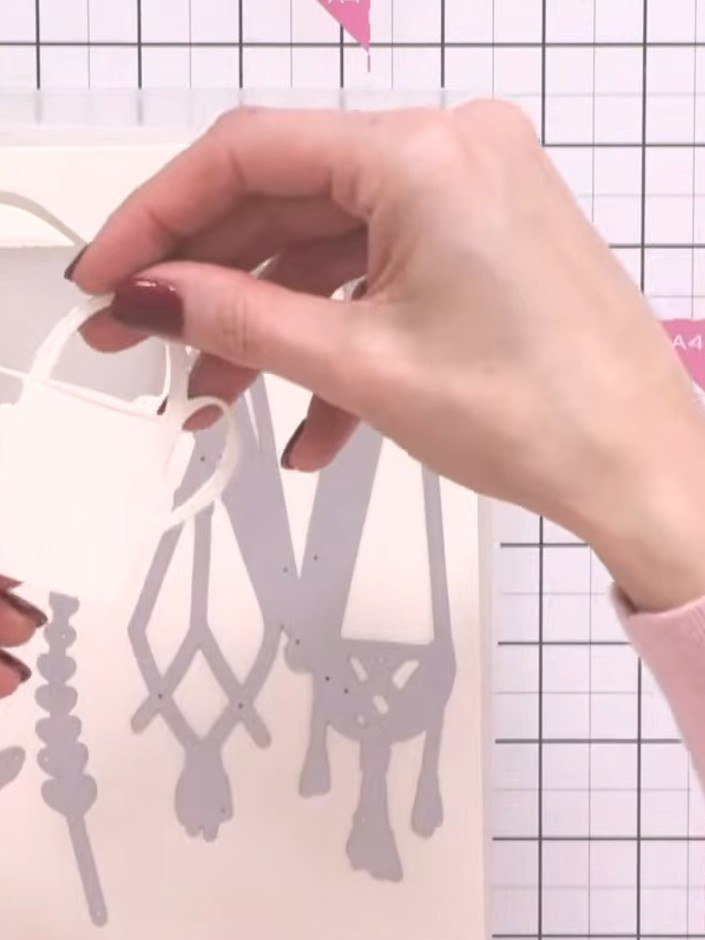
Die-cut the hanging basket shapes from cream card stock using the Perfect Pots die set. Cut multiple pieces including the three hanging formations and the base layers.
 2
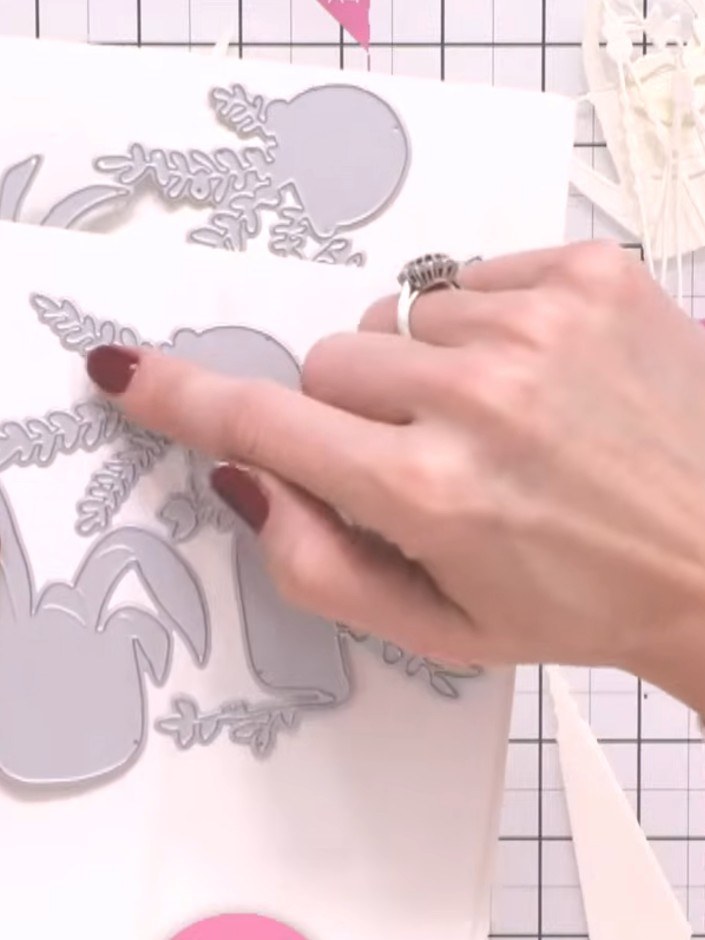
Die-cut the pot shapes and foliage elements from cream card. Note that the base layers are different to create dimension when stacked together.
 3
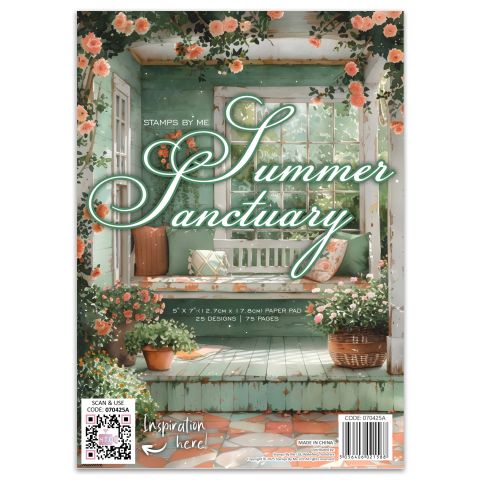
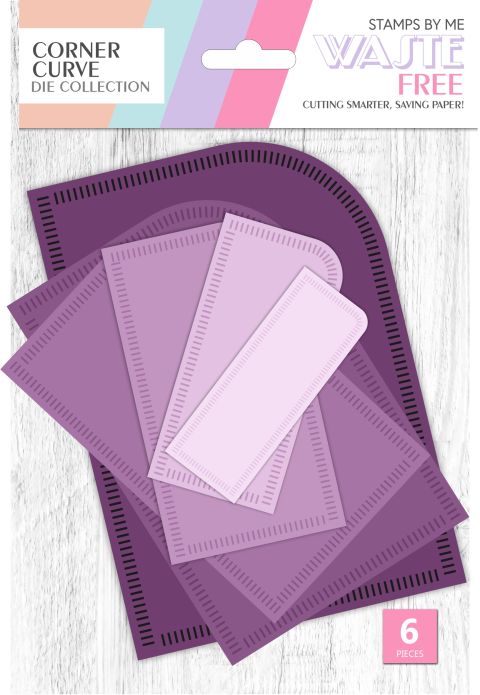
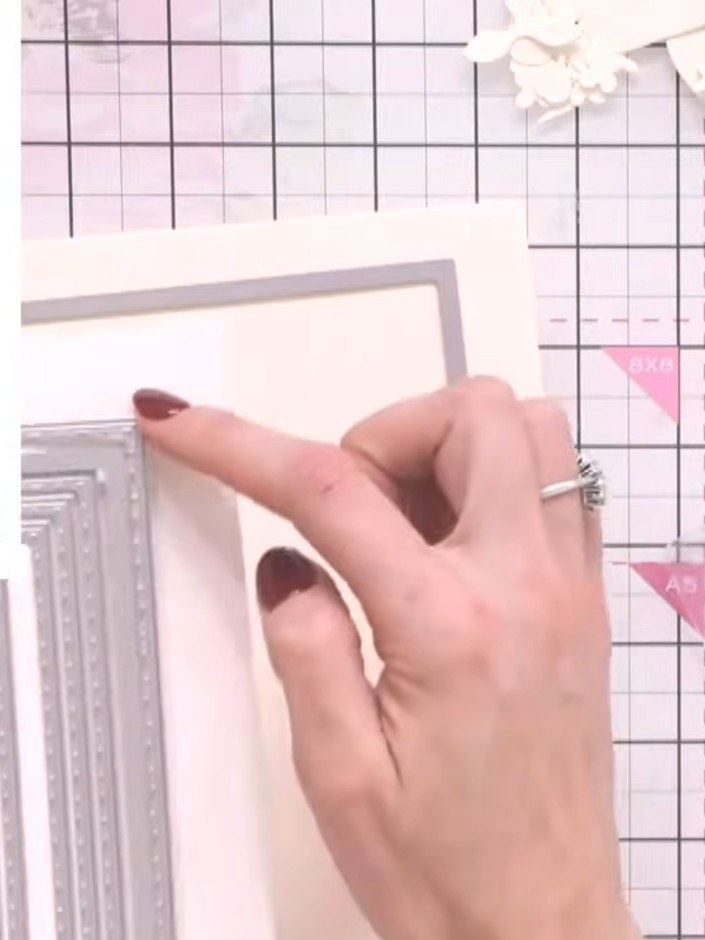
Select a patterned paper from the Summer Sanctuary collection and die-cut using the Stitch Rectangle waste-free die to create your card base layer.
 4
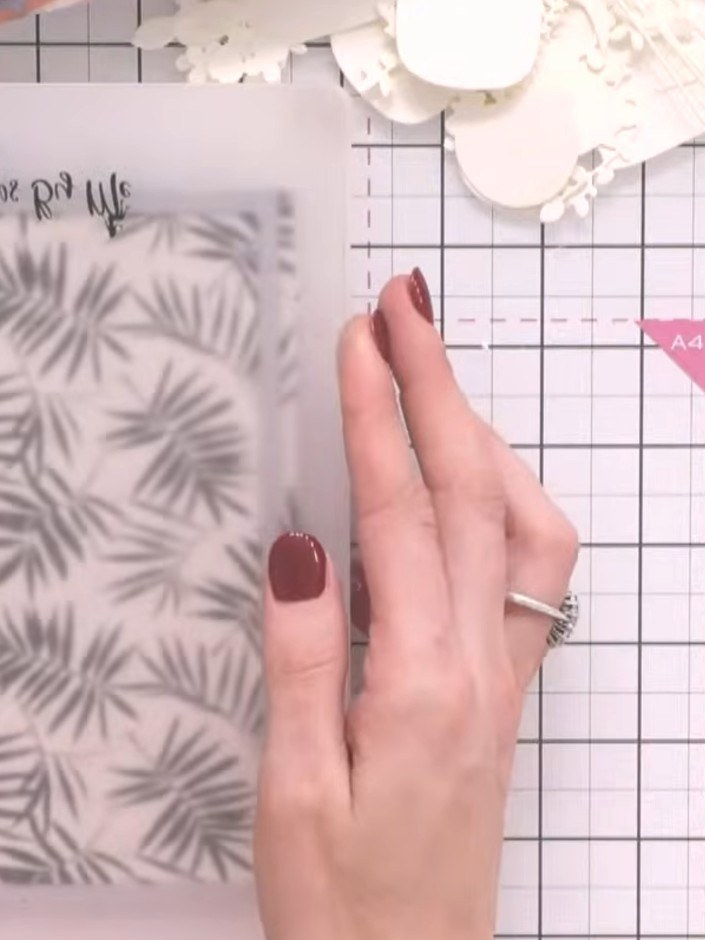
Select a second patterned paper with a decorative scene. Die-cut this paper using the same or a complementary waste-free die shape from your die set.
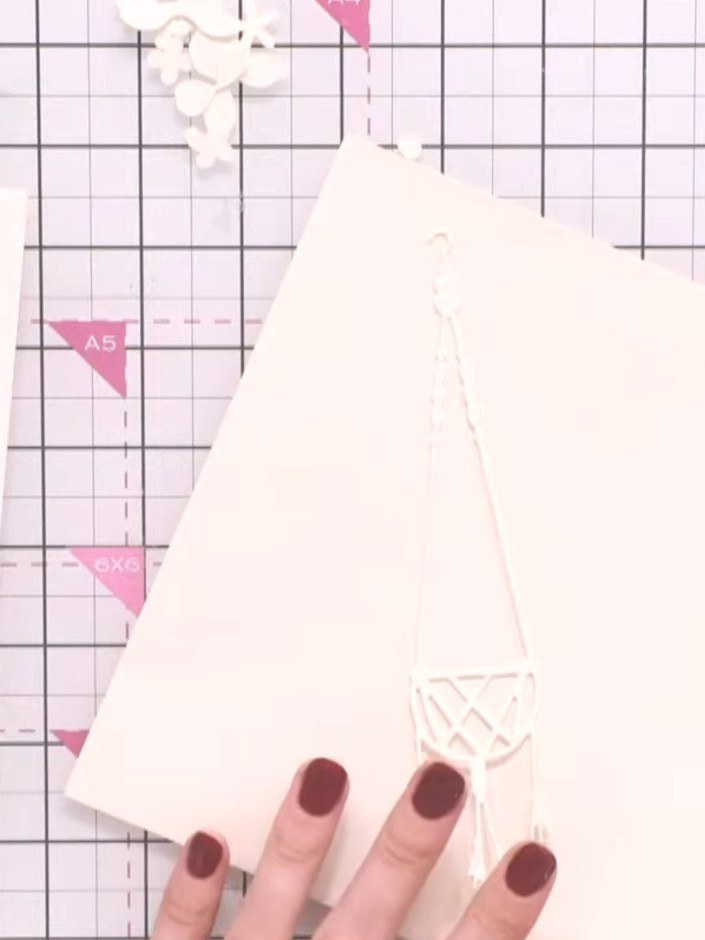 5
Colour the pot piece using alcohol markers or watercolour pens. Shade from the edges towards the centre to create a circular, three-dimensional effect on the pot.
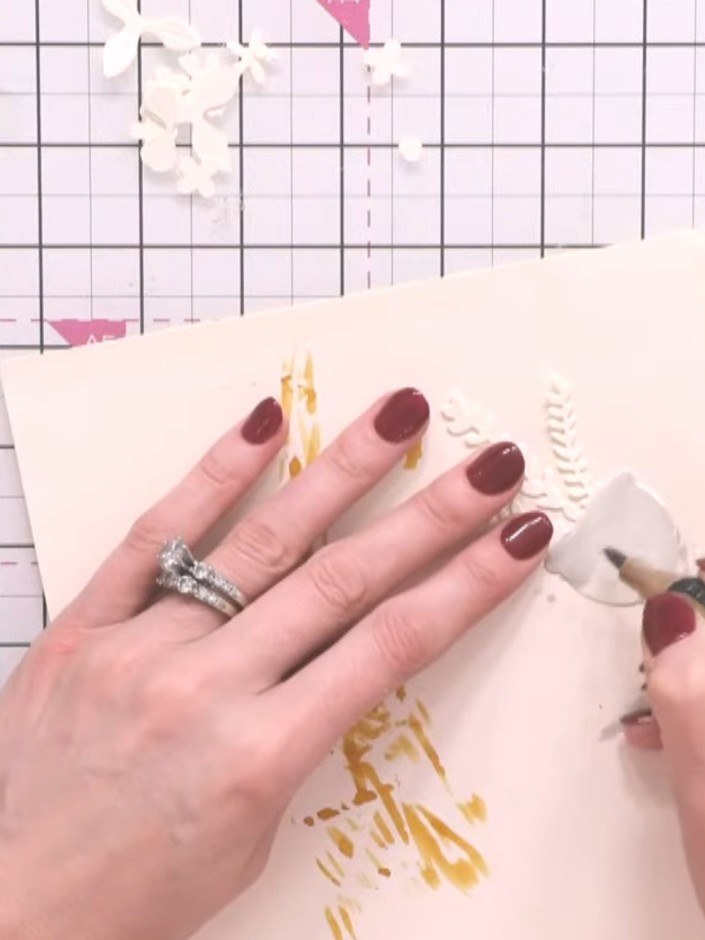 6
Colour the foliage and flower pieces using green and orange alcohol markers or pens. Add depth by layering different shades of the same colour. Allow the alcohol ink time to absorb and dry between applications.
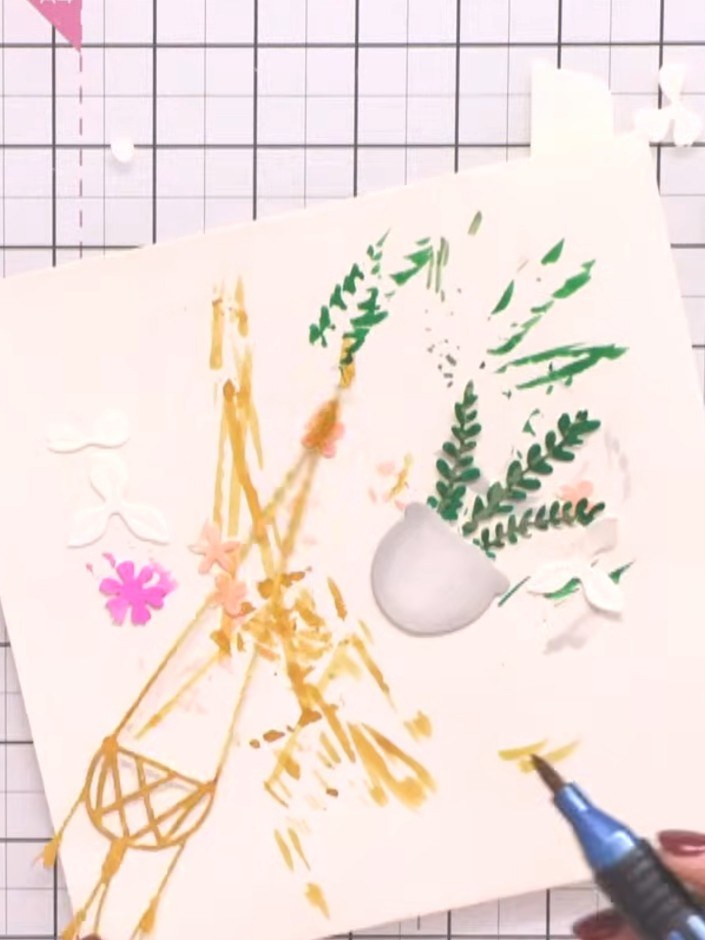 7
Glue the coloured pot piece onto the hanging basket die-cut. Add the foliage and flower embellishments on top using foam pads for dimension.
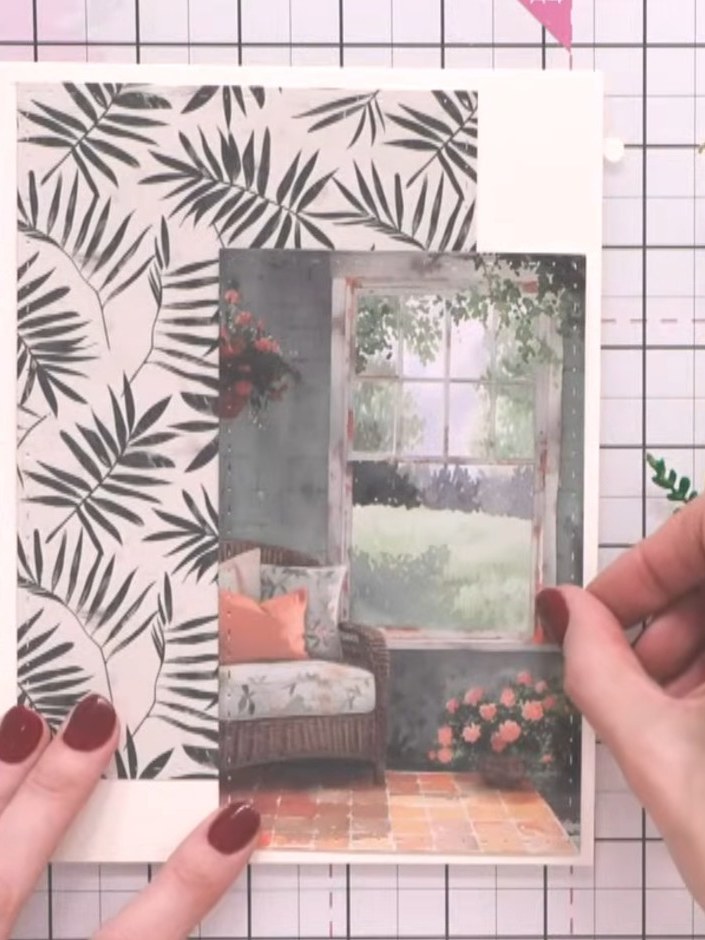 8
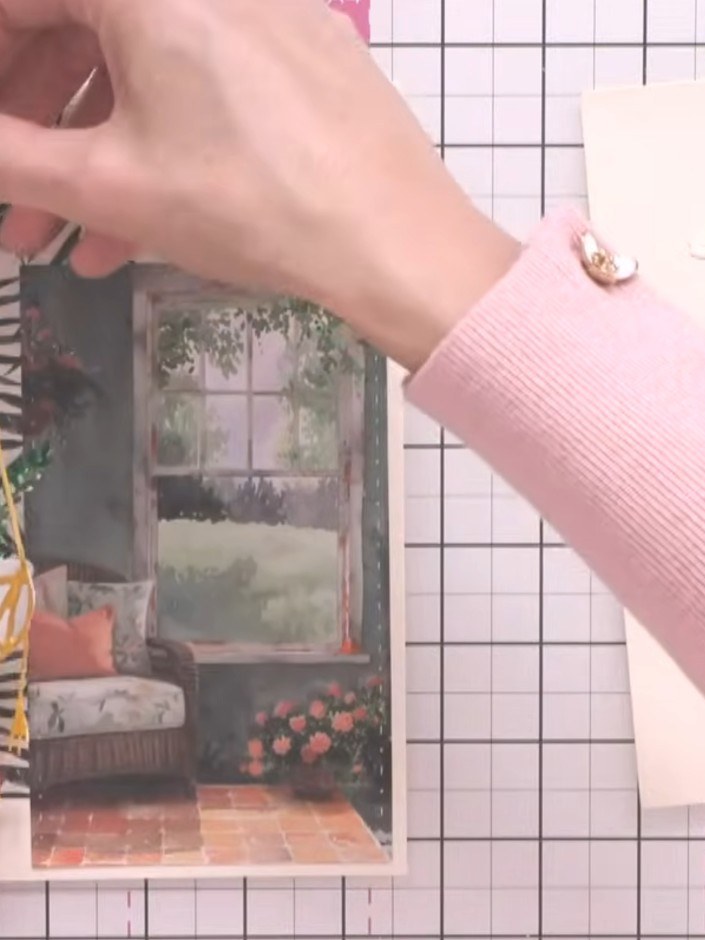
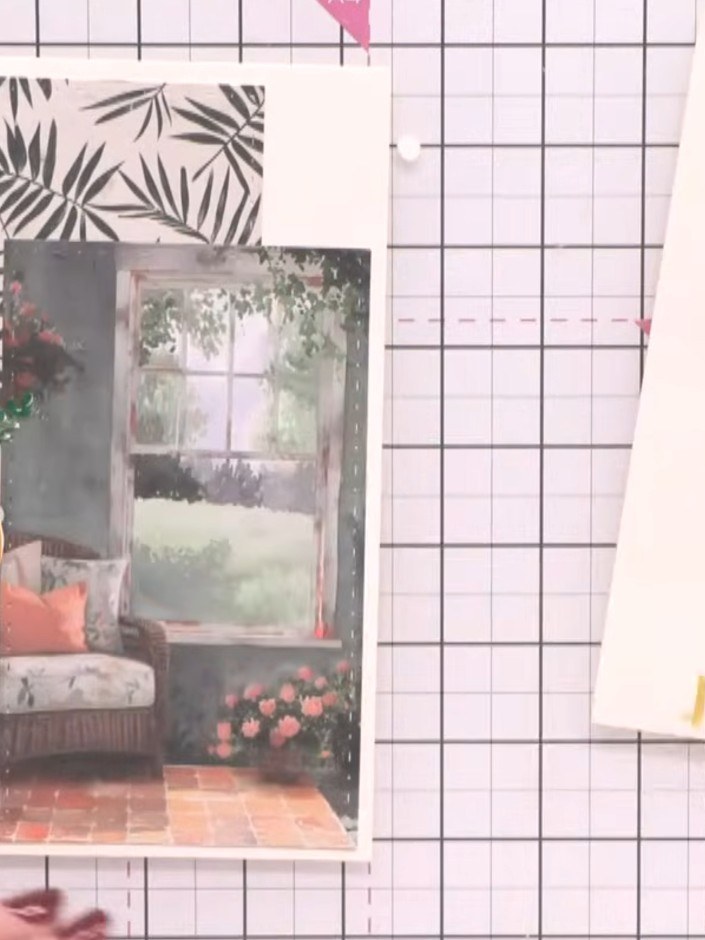
Layer the palm leaf patterned paper onto the cream card base. Position the window scene topper in the centre of the patterned paper, ensuring it is placed in the upper area of the card.
 9
Attach the coloured hanging basket assembly to the card front using foam pads. Position it on the left side of the card to create lift and dimension.
 10
Add the individual flower pieces around the basket, layering them at different heights for a full, realistic appearance.
Share your make with the Stamps By Me community - and keep this guide for next time.
Written up from the show itself. See every guide from our shows · free how-to guides · watch live on My Telly · the previous layout