Give your friends €10 off their first order!
Refer a FRIEND








 The Thursday DropTomorrow 1pm
 The Friday Final CutFri 20 Nov 5am
 Community ShowcaseMon 23 Nov 5am
Prices change straight away. Every language is our own translation, not Google.
A project from our live show ONE DAY SPECIAL - Join Toni for her brand new launch - Broadcast 17th October 2025 · 17/10/2025
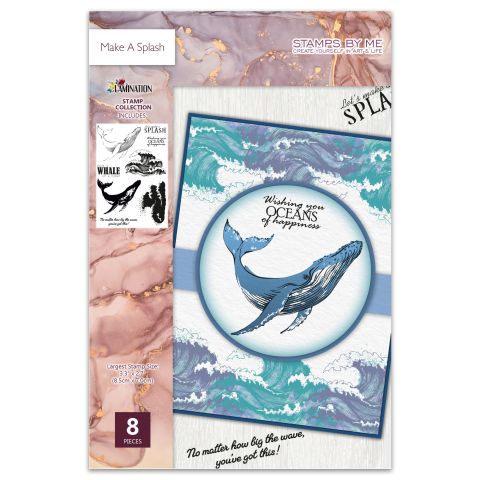
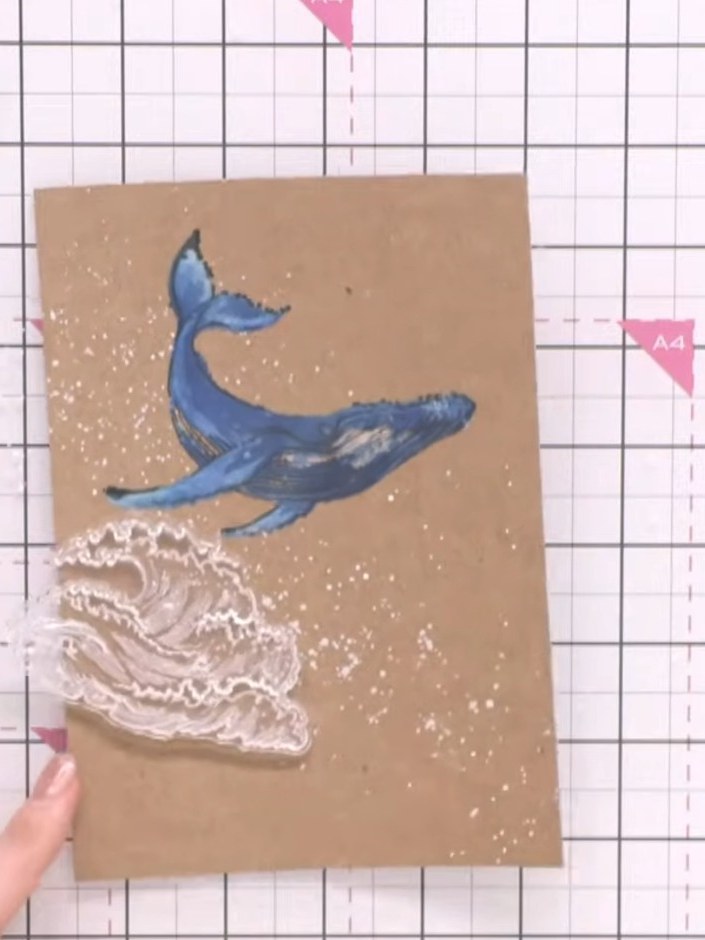
Create a stunning ocean-themed card featuring a majestic blue whale leaping through stylised waves. This project uses the Make a Splash lamination stamp set on kraft card stock, with a white base layer stamped first to make the vibrant blue and grey inks stand out beautifully. The finished design includes delicate white splatter details that add movement and sparkle to this eye-catching maritime scene.
 1
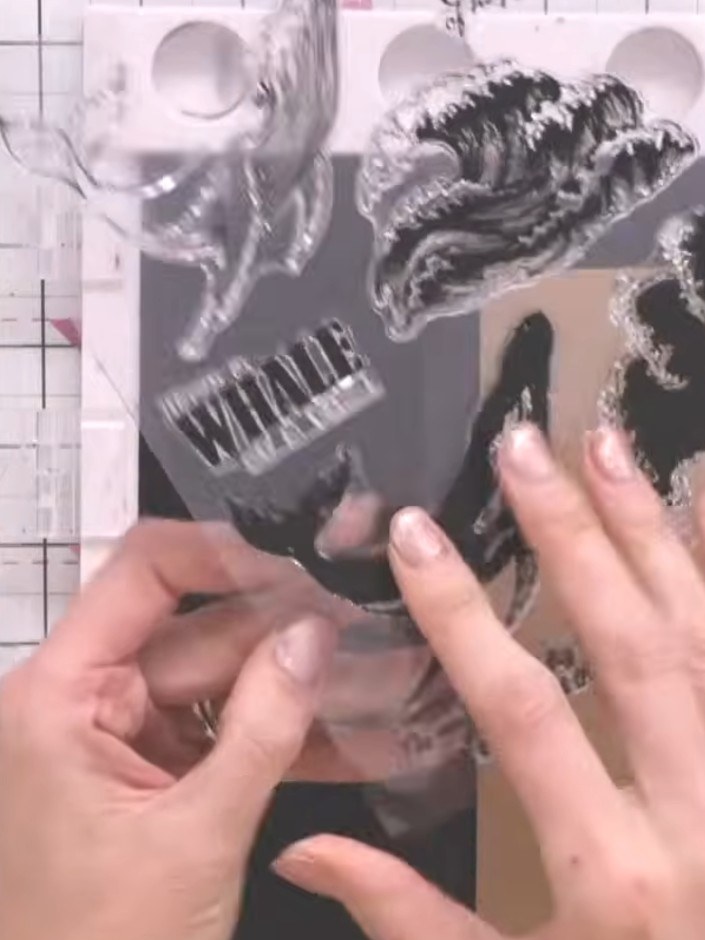
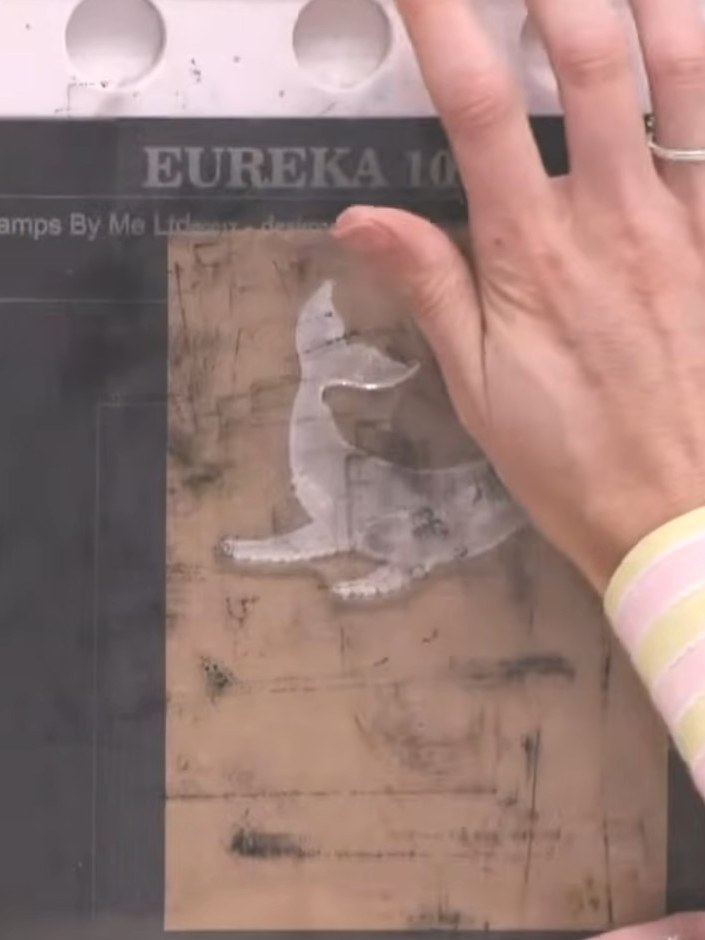
Take the solid whale stamp and ink it thoroughly with white ink pad.
 2
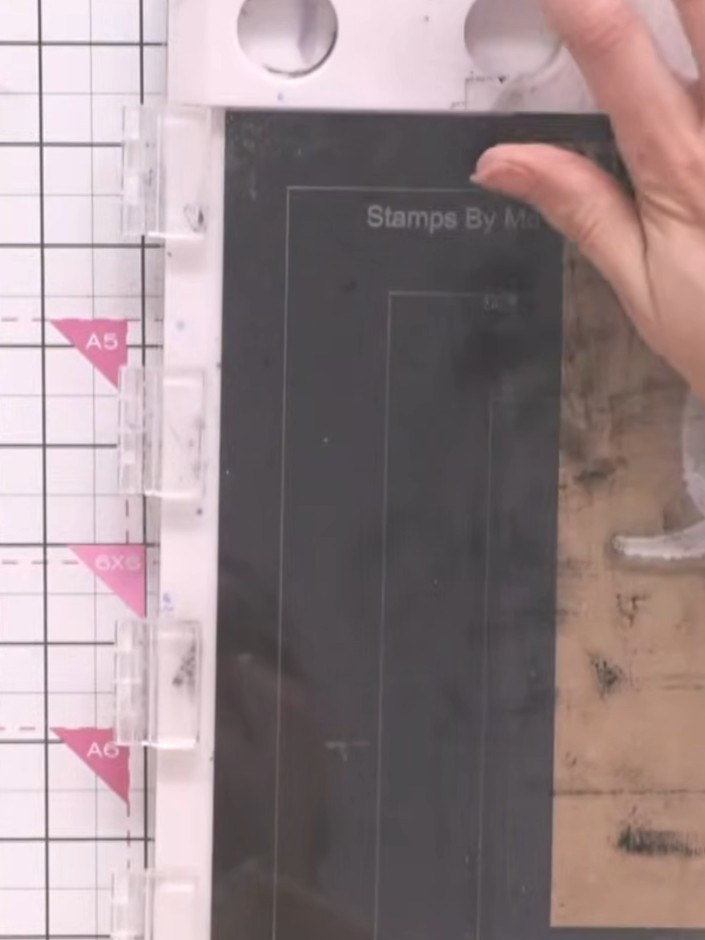
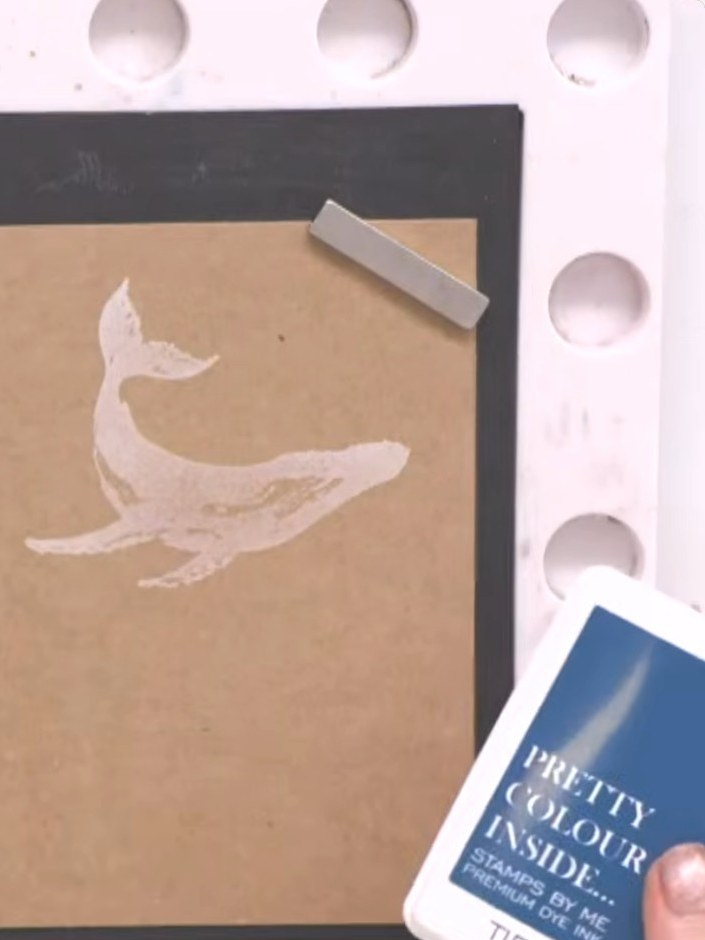
Stamp the whale image from the Make a Splash stamp set in white ink onto craft-coloured card stock to create a base layer.
 3
Clean the whale stamp thoroughly with a tissue to remove all the white pigment ink before using it again.
 4
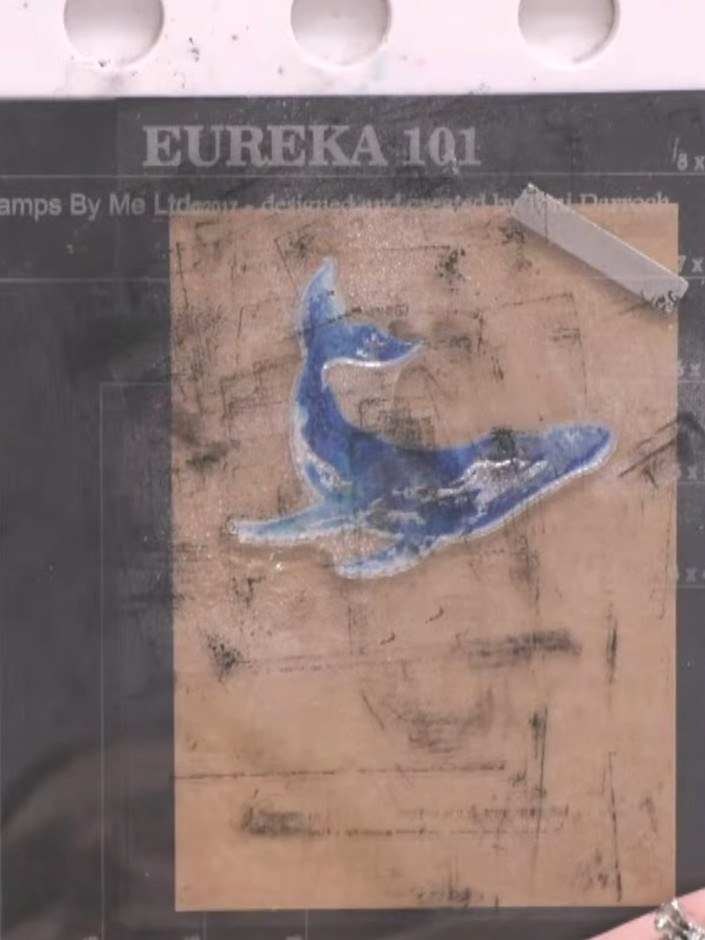
Ink the same solid whale stamp with teal or blue ink. Lightly spray the inked stamp with water to blend the colour.
 5
Stamp the blue whale image directly over the white stamped base layer on the kraft card. The white underneath will show through, creating depth and vibrancy in the final design.
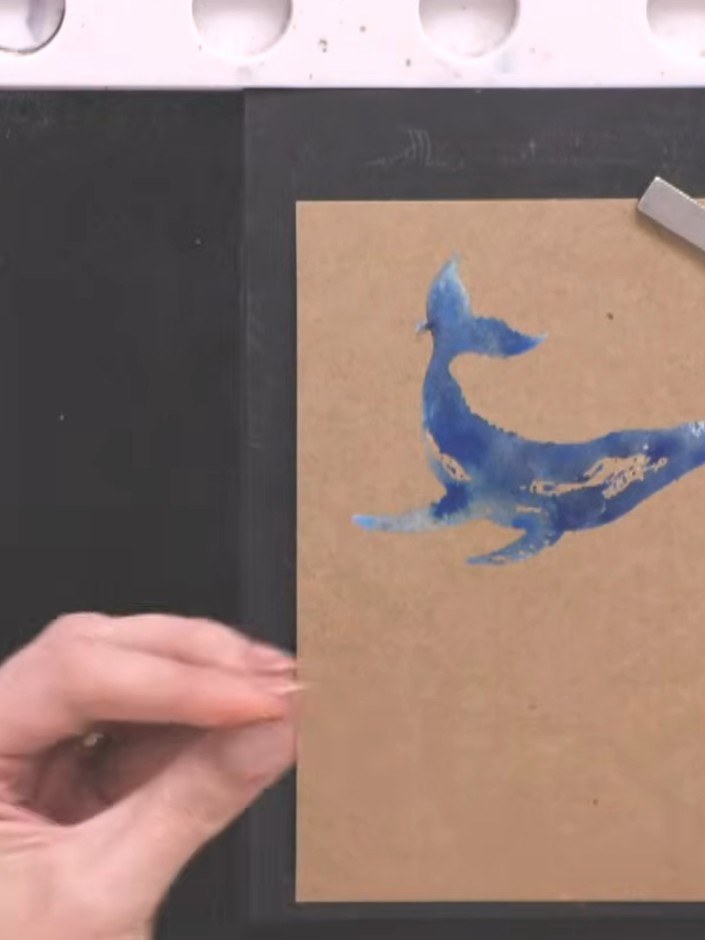 6
Use a heat gun to dry the stamped whale image on the kraft card completely before proceeding to the next step.
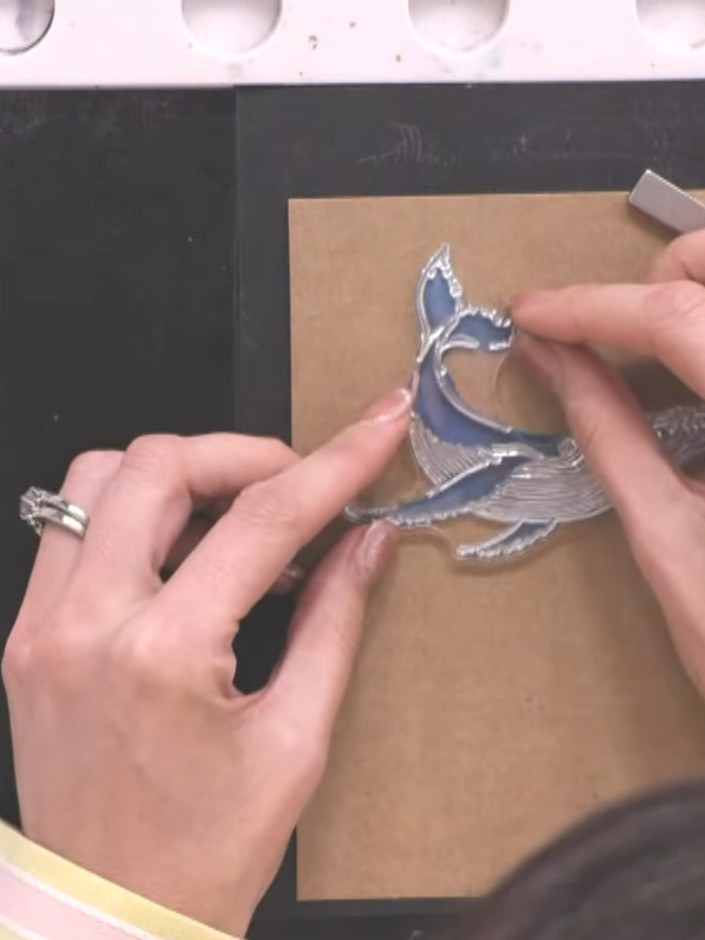 7
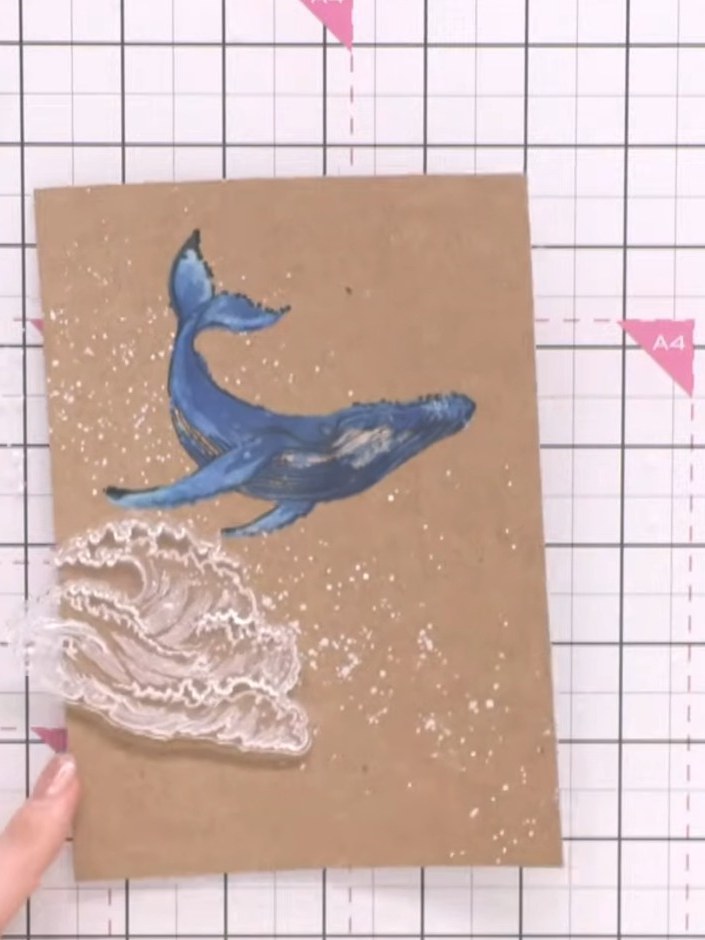
Ink the solid wave stamp with white ink and stamp it onto the kraft card panel to create foam details on the whale.
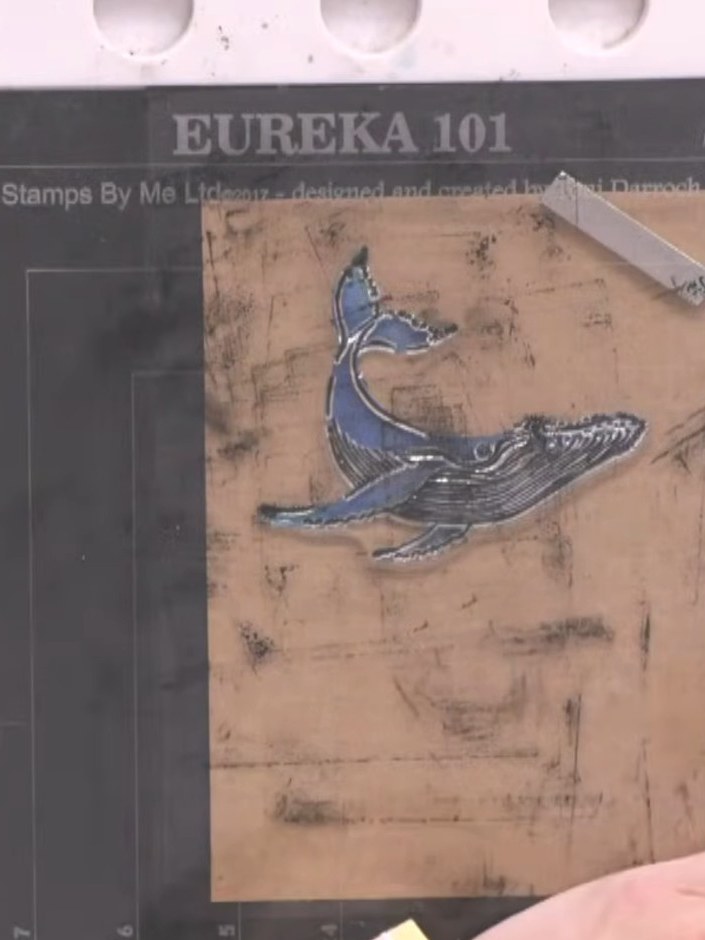 8
Clean the whale stamp and re-ink the wave stamp with a different shade of blue ink. Spray the inked stamp with water to create a watercolour effect.
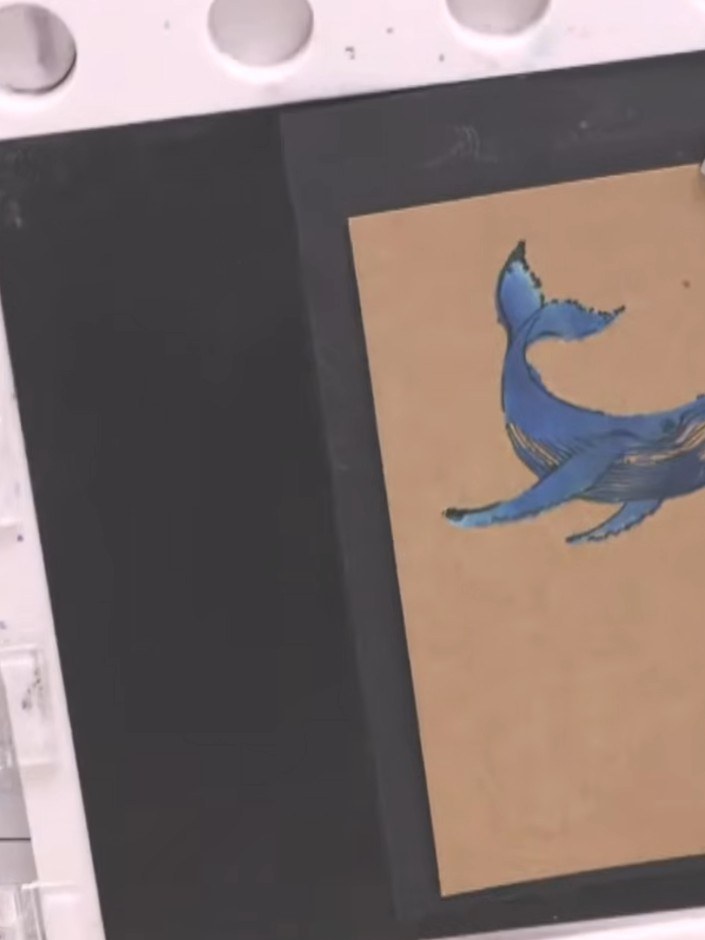 9
Stamp the blue whale image over the white whale base on the kraft card, positioning it to create a layered effect with the white showing around the edges.
 10
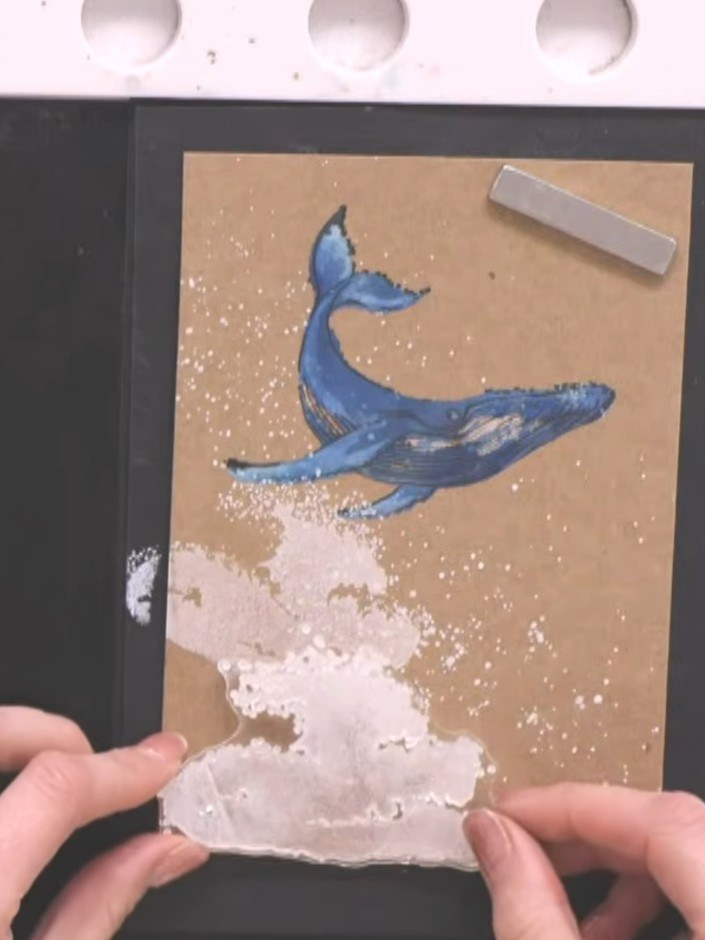
Ink the detail portion of the whale stamp with black ink and carefully stamp it over the coloured whale base to add definition and texture to the image.
 11
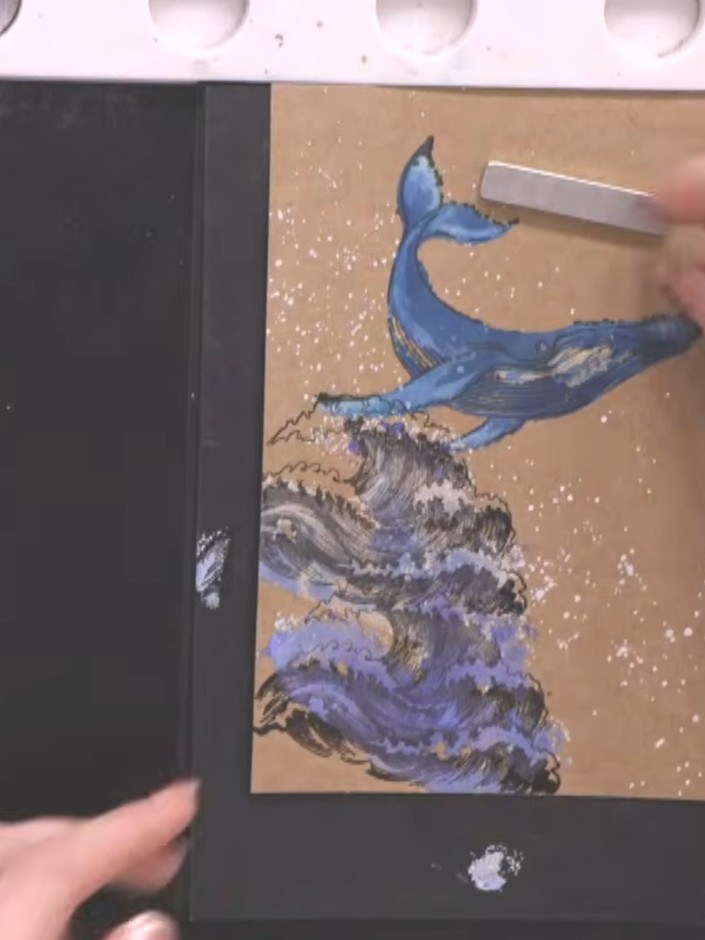
Using black ink, stamp the wave detail from the stamp set over the coloured wave area at the bottom of the card to add texture and definition.
 12
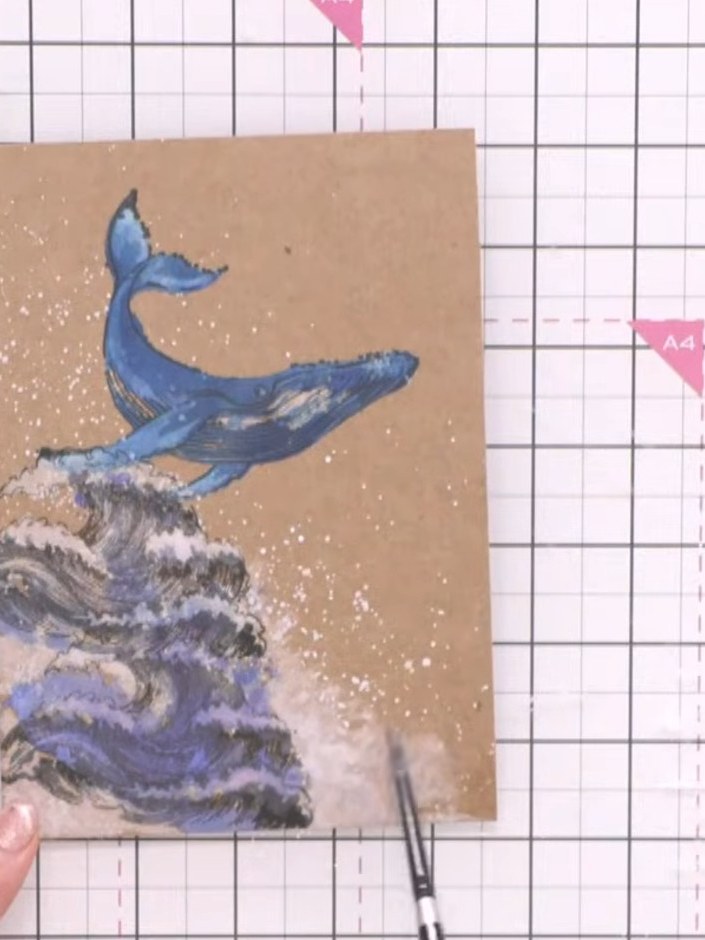
Use a brush with white paint or white ink to add highlights to the wave heads and whale details. Blend the white into the existing colours as needed to create dimension and movement.
 13
Swipe a black ink pad down the side edge of the card to create a defined border and make the design pop.
Share your make with the Stamps By Me community - and keep this guide for next time.
Written up from the show itself. See every guide from our shows · free how-to guides · watch live on My Telly · the previous layout