Give your friends €10 off their first order!
Refer a FRIEND








 The Friday Final CutFri 20 Nov 5am
 Community ShowcaseMon 23 Nov 5am
 Deal HuntersTue 24 Nov 8am
Prices change straight away. Every language is our own translation, not Google.
A project from our live show ONE DAY SPECIAL - Join Toni and Simon for the brand new launch - Broadcast 10th October 2025 · 10/10/2025 · watch it from 1:17:30
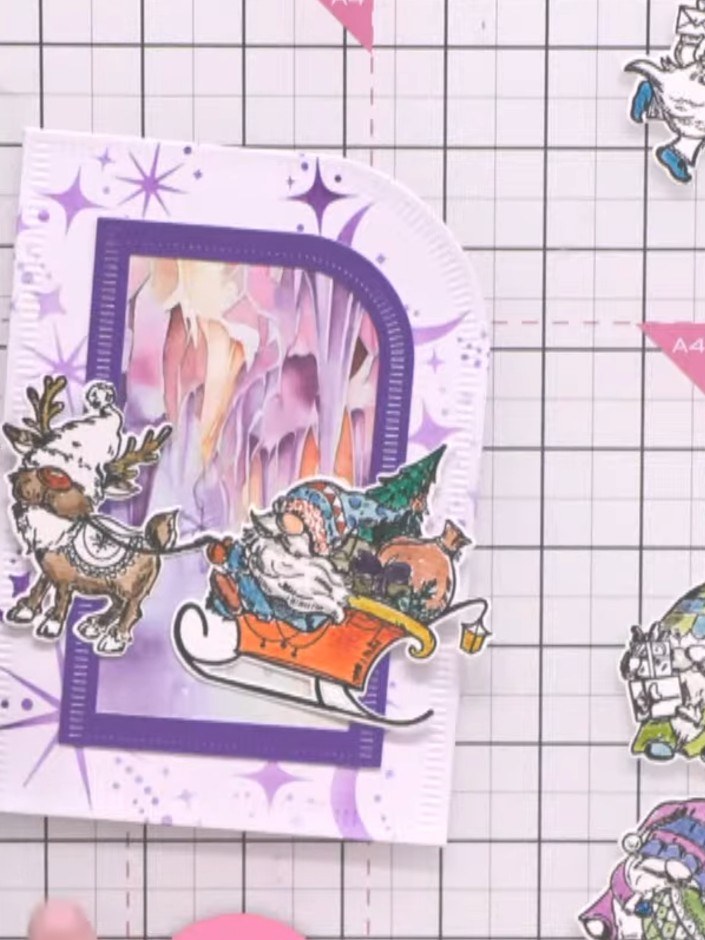
Create a stunning shaped card featuring a festive winter scene with Santa's sleigh and reindeer. Using a waste-free die to create the decorative shaped edge, you'll build up a magical purple and pink background with stencilled candy canes and sparkly details. The finished card combines die-cutting, stencilling and layering techniques to create a dimensional Christmas greeting.
 Avago-ink Designs Paper Collection - Mystical Christmas - 110624ESEE IT
 Stamps By Me Waste Free Die Set- Classic Oval - 040225BSEE IT
 Avago-ink Designs Stamp & Die Set - From Our Gnome to Yours - 110624GSEE IT
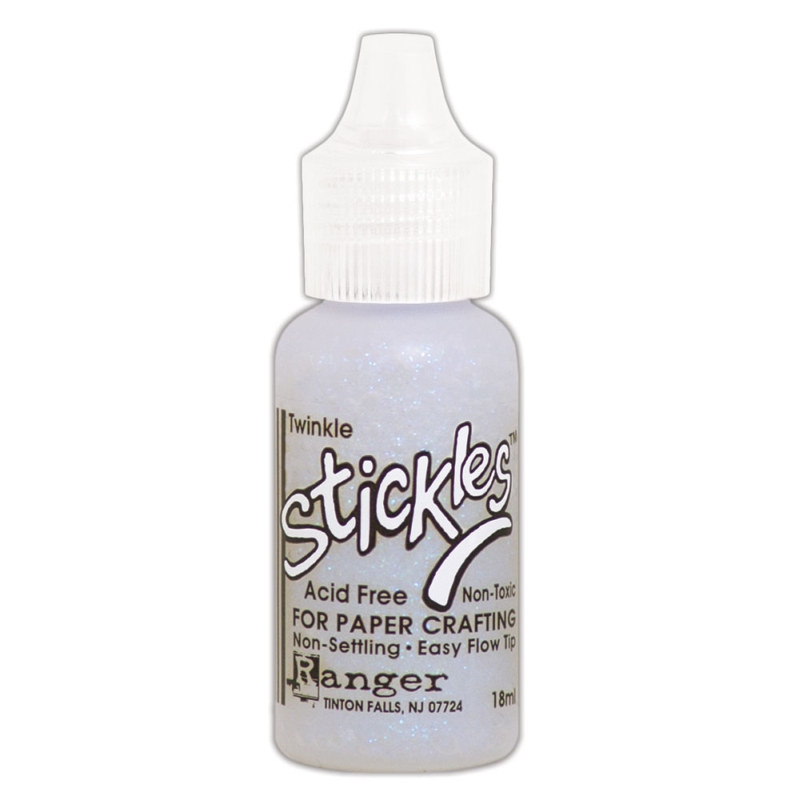 Stickles Glitter Glue TwinkleSEE IT
 Stickles Glitter Glue Frosted Lace - STK-FROSEE IT
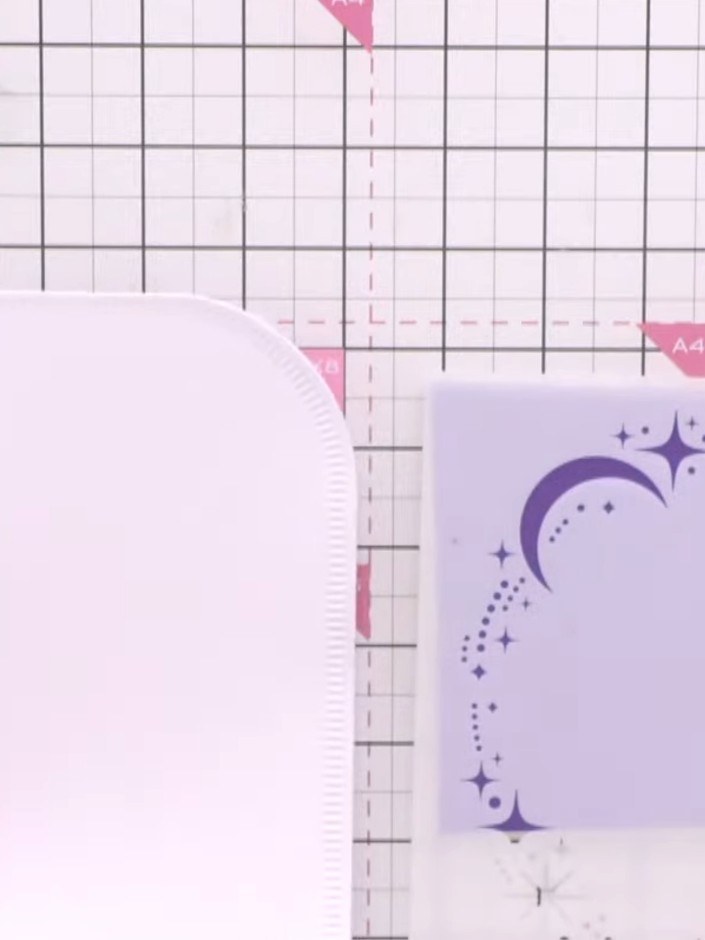
Take a white card blank with a score line down the centre. Position a shaped die (such as a scalloped oval) to overhang the top folded edge of the card blank.
▶ watch this step (1:17:45)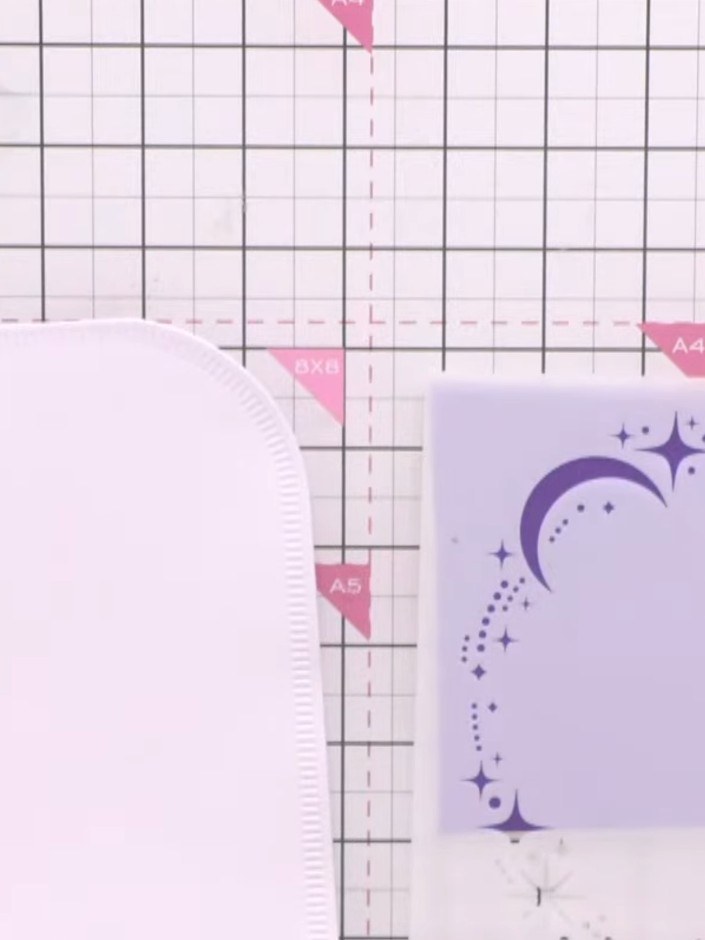
Die-cut the card using the scalloped oval die to create the shaped edge. Position the die on the card front and run through your die-cutting machine.
▶ watch this step (1:18:00)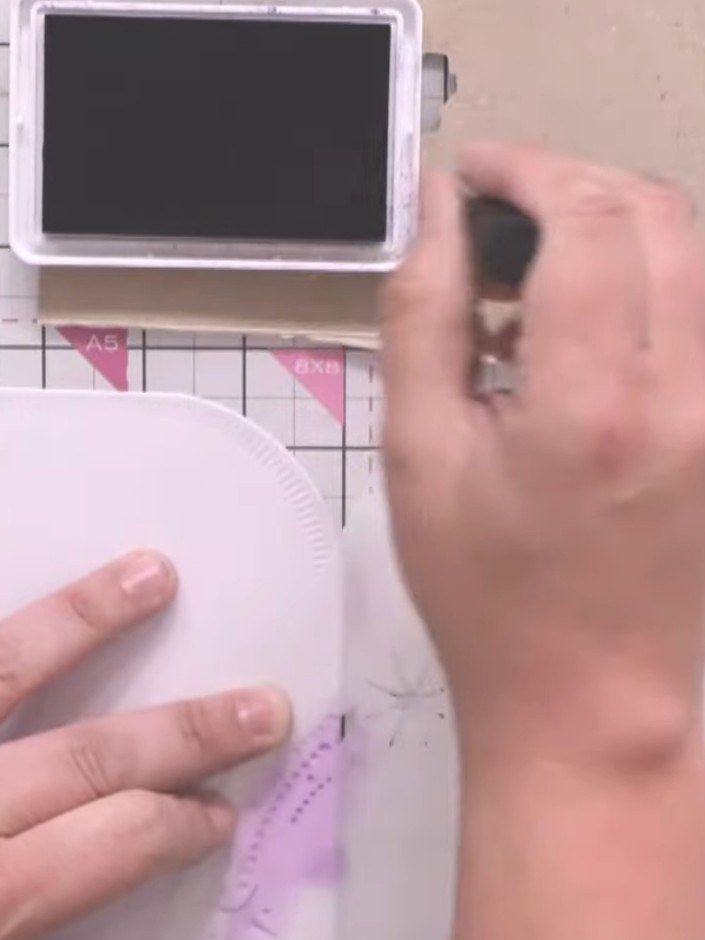
Position the stencil on your card base and apply purple glitter paste through the stencil opening using a palette knife or spatula, creating swirls and patterns. Keep the stencil flat and work the paste evenly across the design.
▶ watch this step (1:18:30)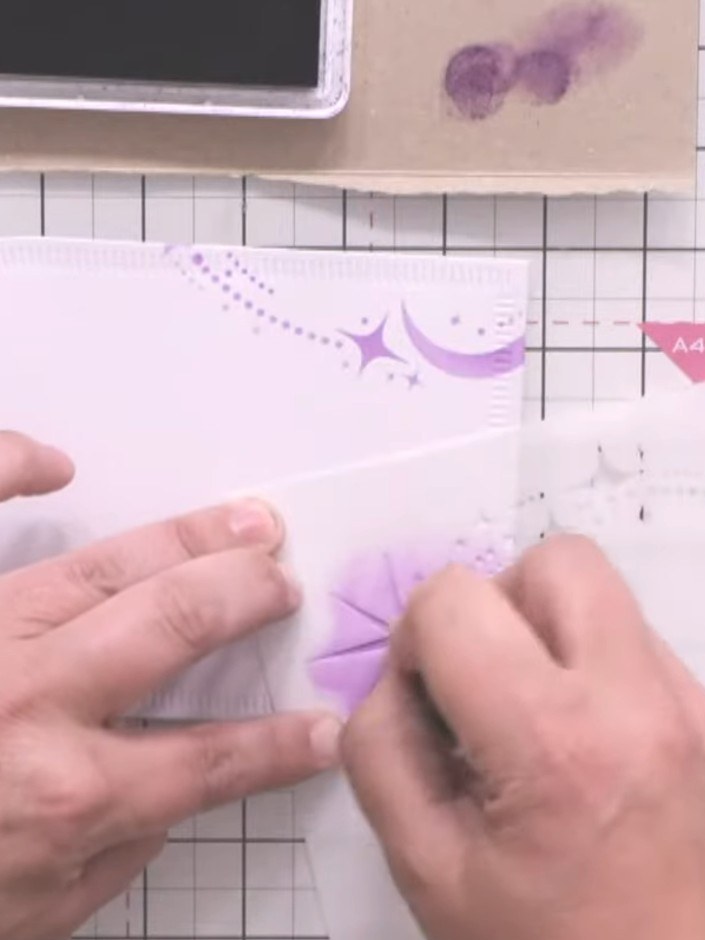
Use the stencil to add purple candy cane and star motifs around the edges of your white card. Position the stencil and apply purple ink through the openings to create festive decorative elements.
▶ watch this step (1:19:00)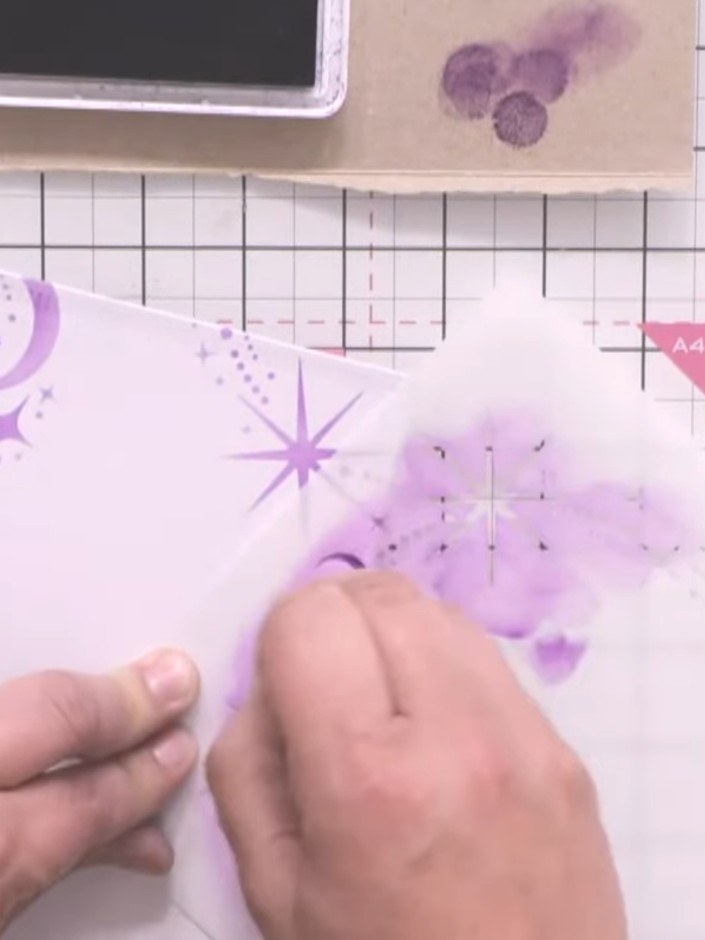
Apply sparkly paste in purple through the stencil onto your card base, creating a festive stencilled background pattern. Use a palette knife or spatula to spread the paste evenly through the stencil openings.
▶ watch this step (1:19:30)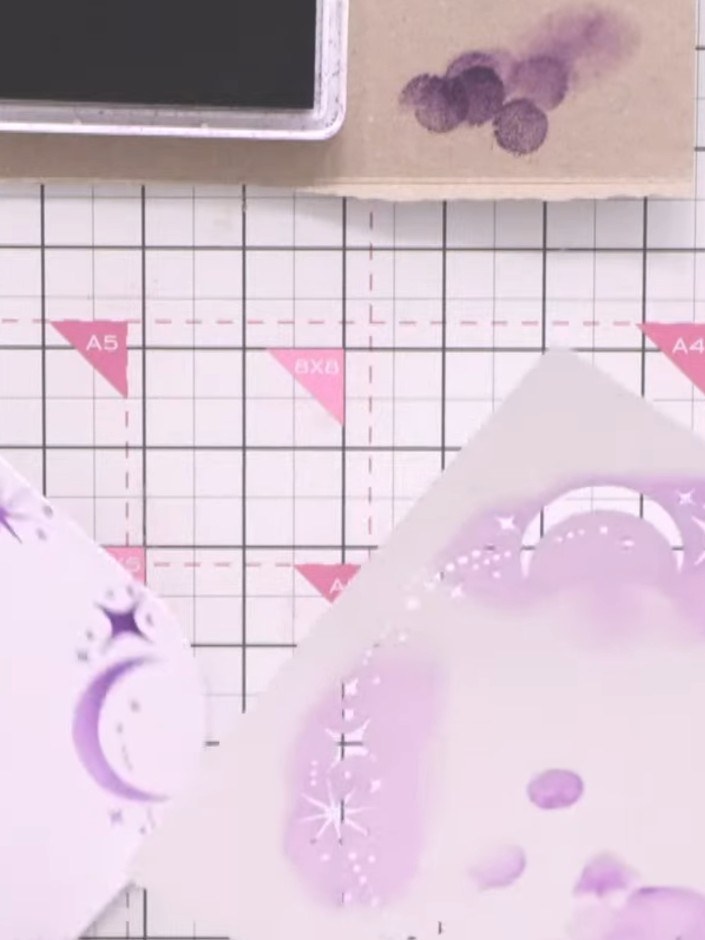
Die-cut a smaller oval from the purple patterned paper using the next size down from the nesting die set. This will create a decorative layer featuring the moon and stars design.
▶ watch this step (1:20:00)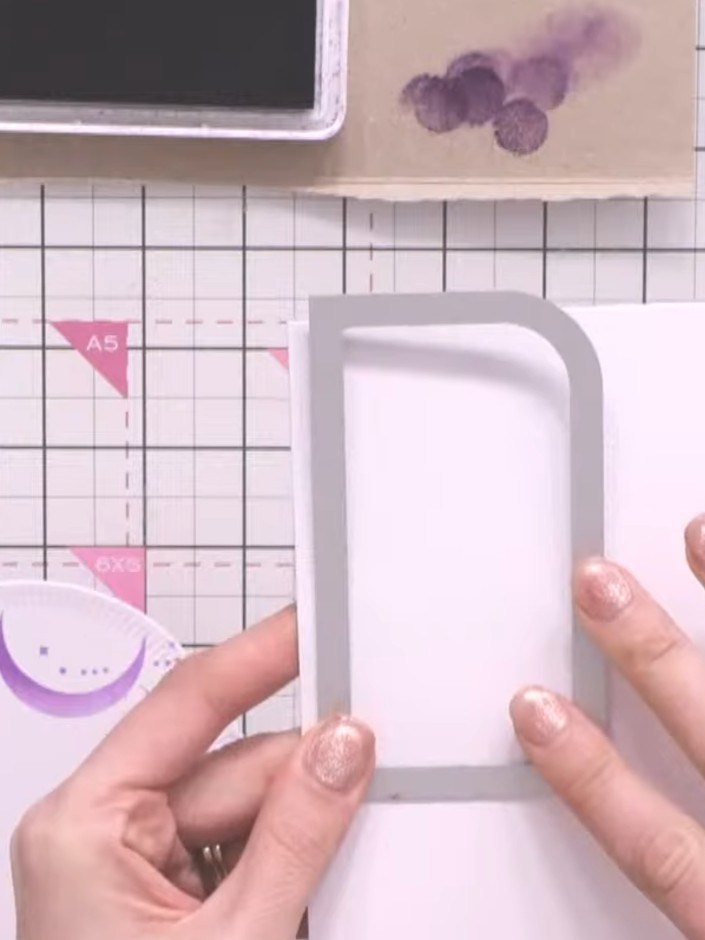
Position the patterned paper panel with the purple celestial design so it hangs slightly over the top of the white oval card base. Secure it in place with adhesive.
▶ watch this step (1:20:30)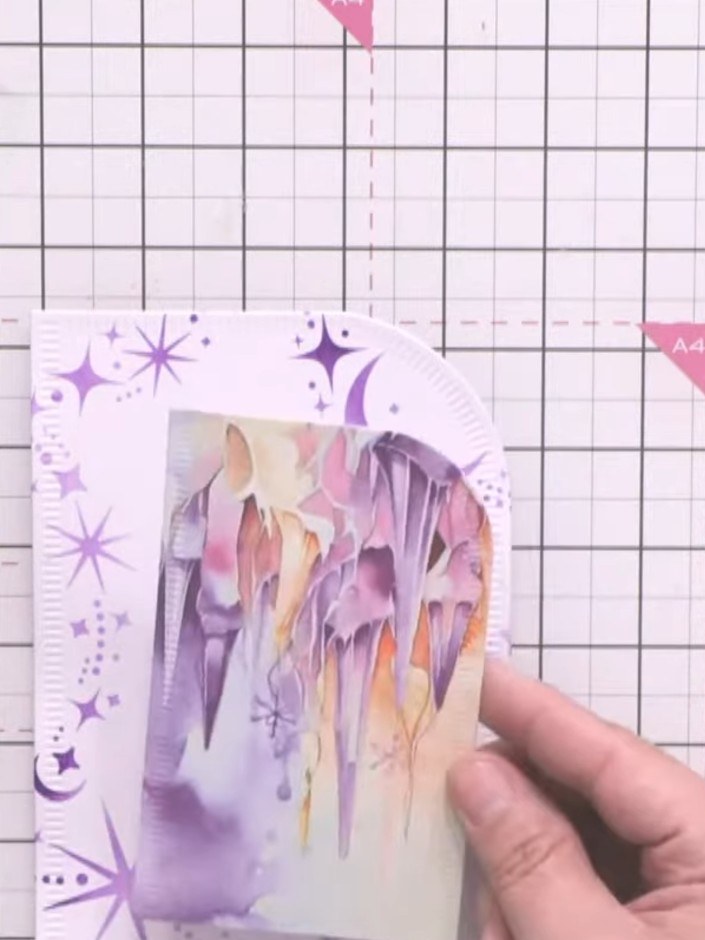
Layer the decorative paper panel onto the card blank, positioning it with the hinge at the top. Use the papers from the Mystical Christmas collection to create your background.
▶ watch this step (1:21:00)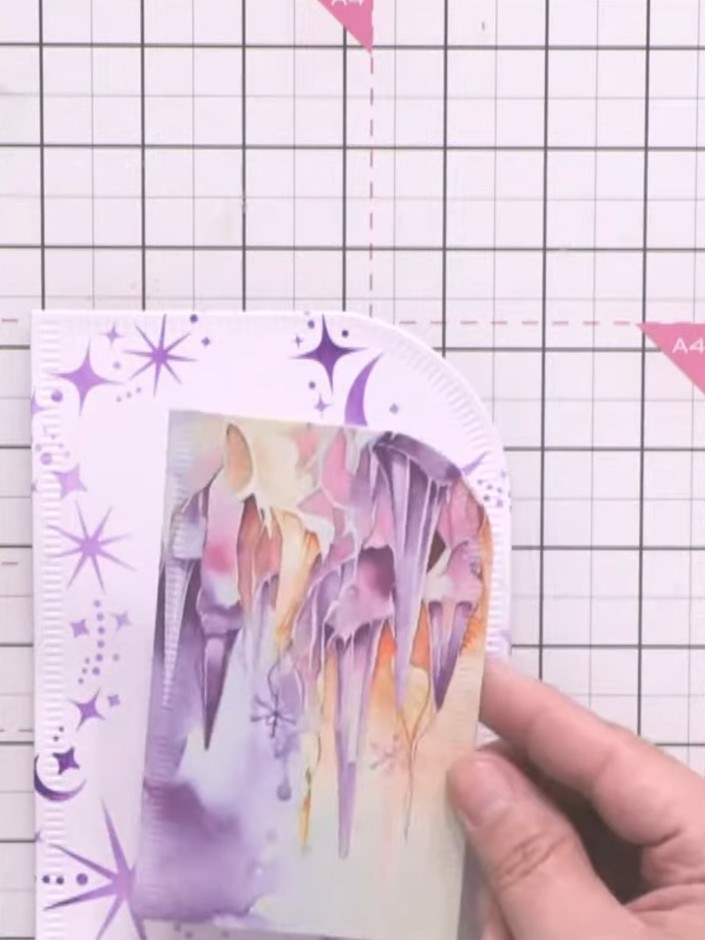
Position the gnome character topper on the card front, overlapping the stencilled background elements. The character should be placed centrally to create a layered, dimensional effect.
▶ watch this step (1:21:30)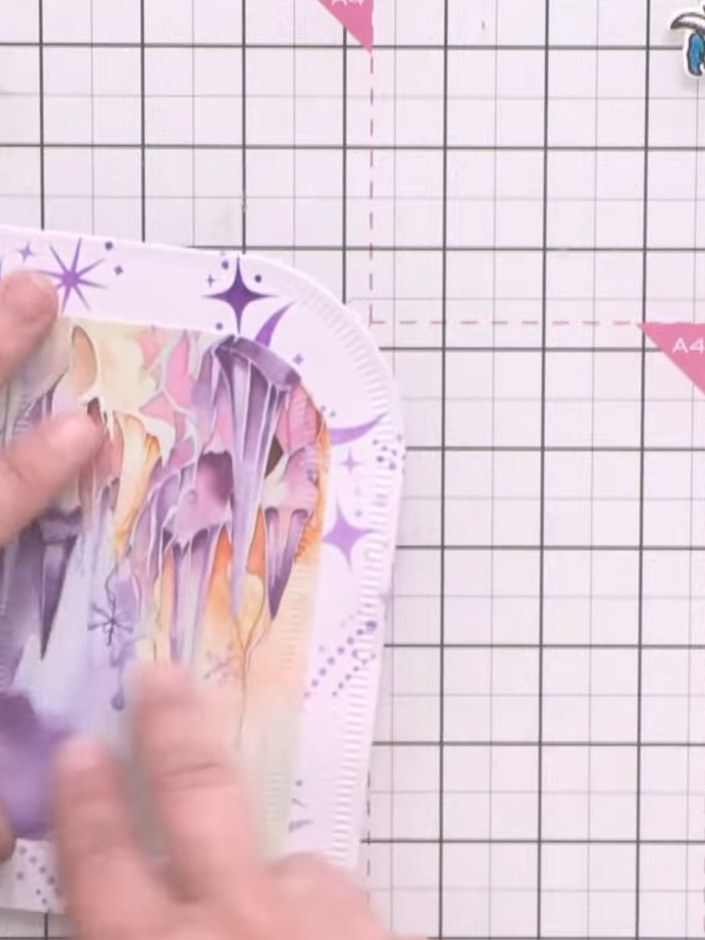
Position a die-cut character or sentiment element at the bottom corner of your card to complete the design. Press firmly to ensure good adhesion to the stencilled background.
▶ watch this step (1:22:00)Written up from the show itself. See every guide from our shows · free how-to guides · watch live on My Telly