Give your friends €10 off their first order!
Refer a FRIEND








 The Friday Final CutFri 20 Nov 5am
 Community ShowcaseMon 23 Nov 5am
 Deal HuntersTue 24 Nov 8am
Prices change straight away. Every language is our own translation, not Google.
A project from our live show ONE DAY SPECIAL - Join Toni for her brand new launch - Broadcast 3rd October 2025 · 03/10/2025 · watch it from 38:30
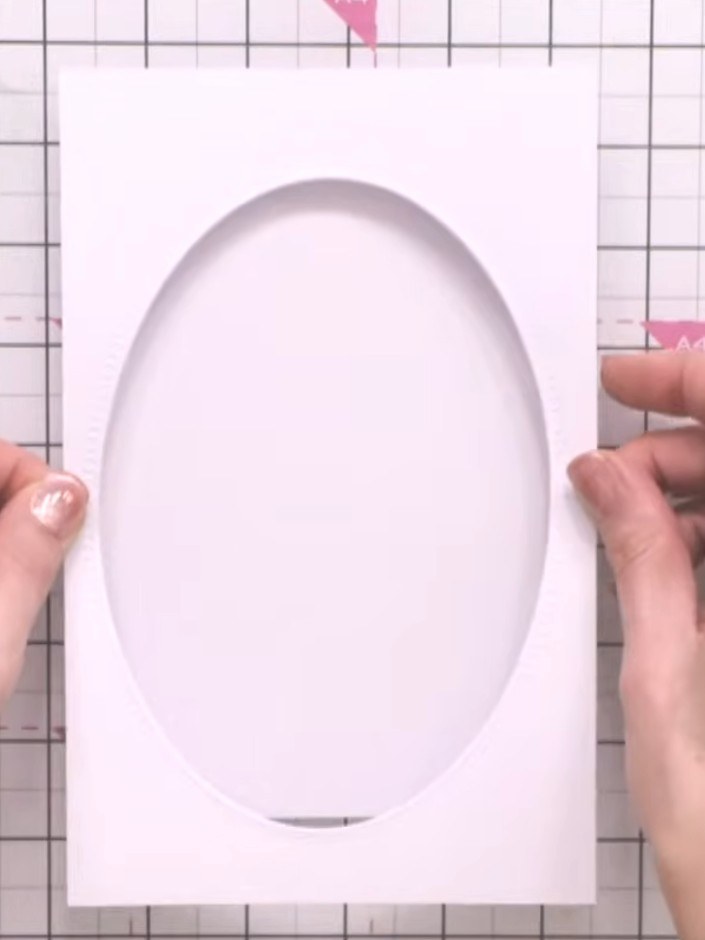
Create an elegant oval floating window card featuring a delicate fairy detail. This layered design uses nested oval dies to create a dimensional frame effect, with the central image appearing to float on acetate or vellum. The soft pink and white colour scheme is enhanced with decorative embellishments that add depth and visual interest to this enchanting handmade card.
 Stamps By Me Waste Free Die Set- Classic Oval - 040225BSEE IT
 Stamps By Me Bumper Pack - Whispering Wings - 090625ASEE IT
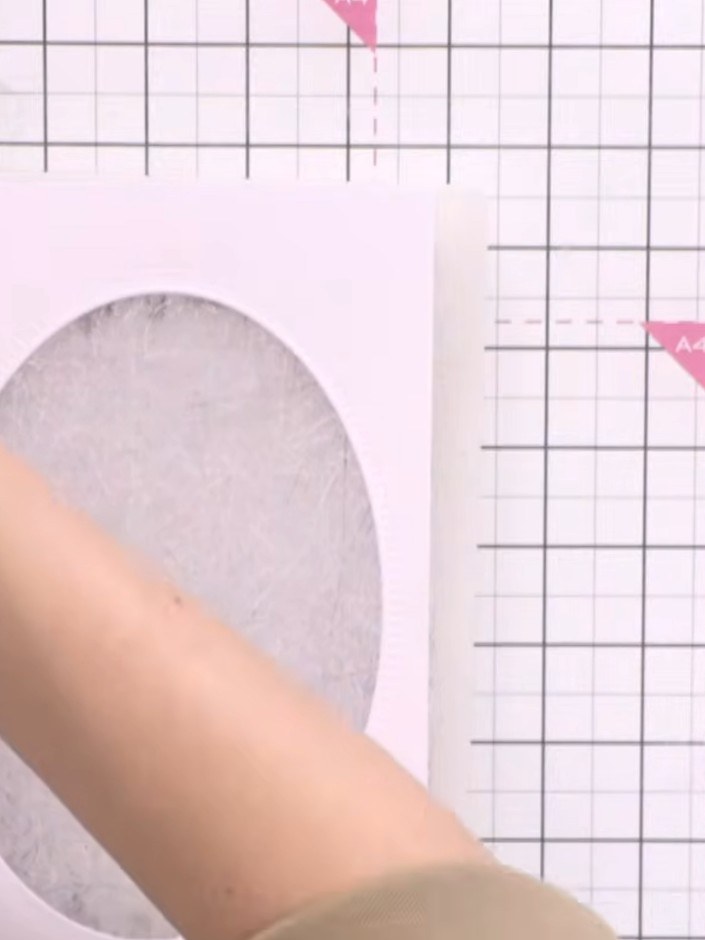
Select the largest oval die from your die set. Cut it from pink cardstock to create the outer frame for your floating window card.
▶ watch this step (38:45)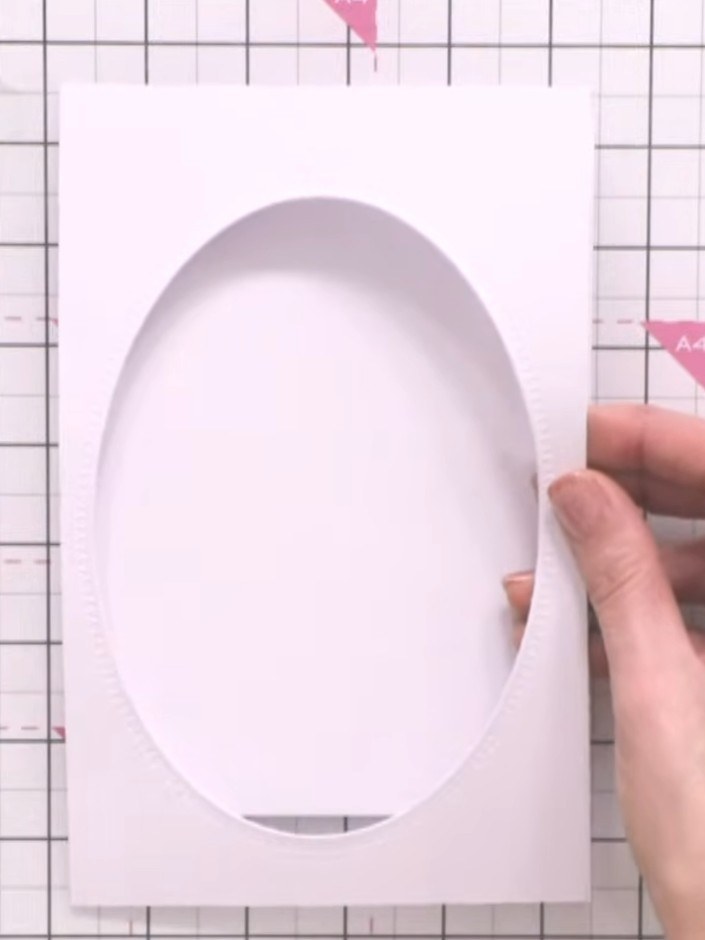
Using the second-size oval die from the Classic Oval die set, cut an oval from white cardstock. This will be your middle layer for the floating window.
▶ watch this step (39:00)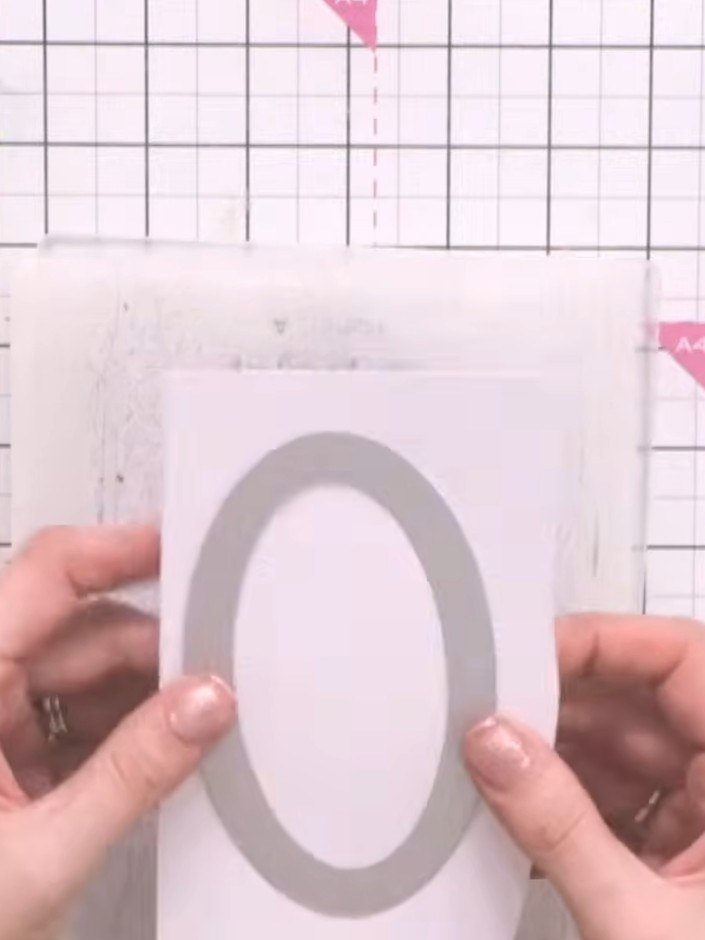
Cut the third-size oval from the die set using acetate or vellum to create a transparent window effect. This will form the see-through panel for your floating window card.
▶ watch this step (39:15)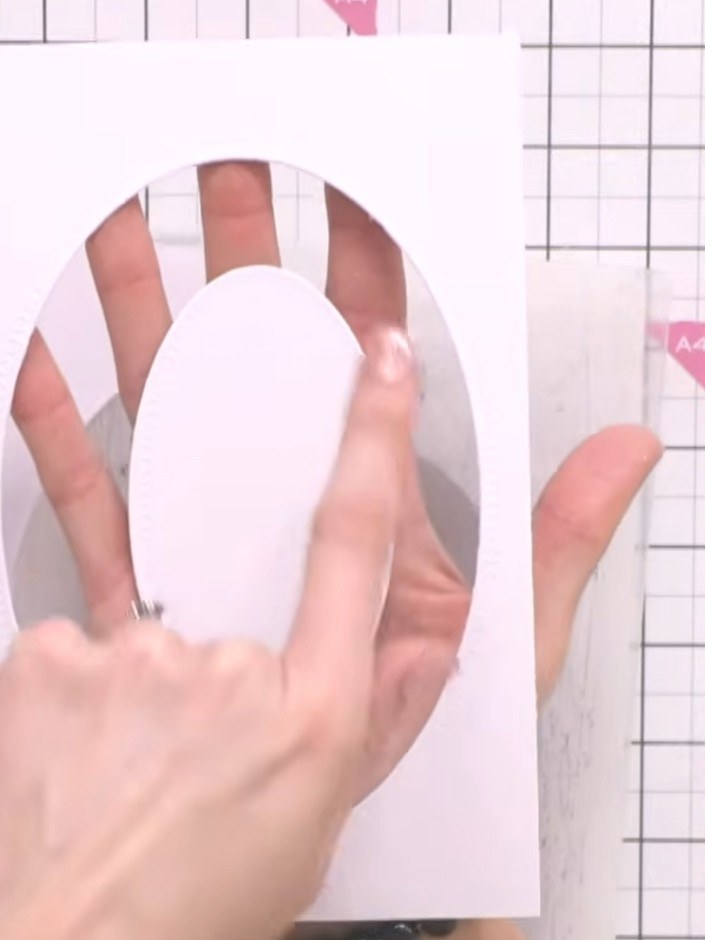
Layer the acetate or vellum between the two cardstock ovals using adhesive foam pads. Position the acetate sheet over the grey oval frame, then place the white oval piece on top to create a sandwich effect.
▶ watch this step (39:30)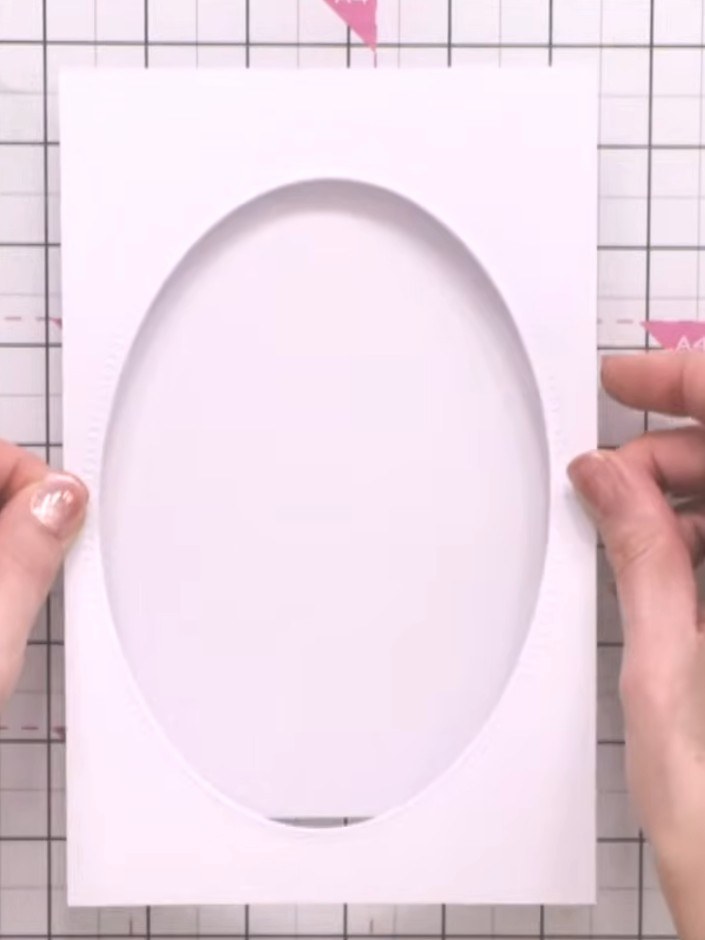
Cut a smaller oval from your patterned paper using the oval die set. This will sit in the centre of your card as a floating element.
▶ watch this step (39:45)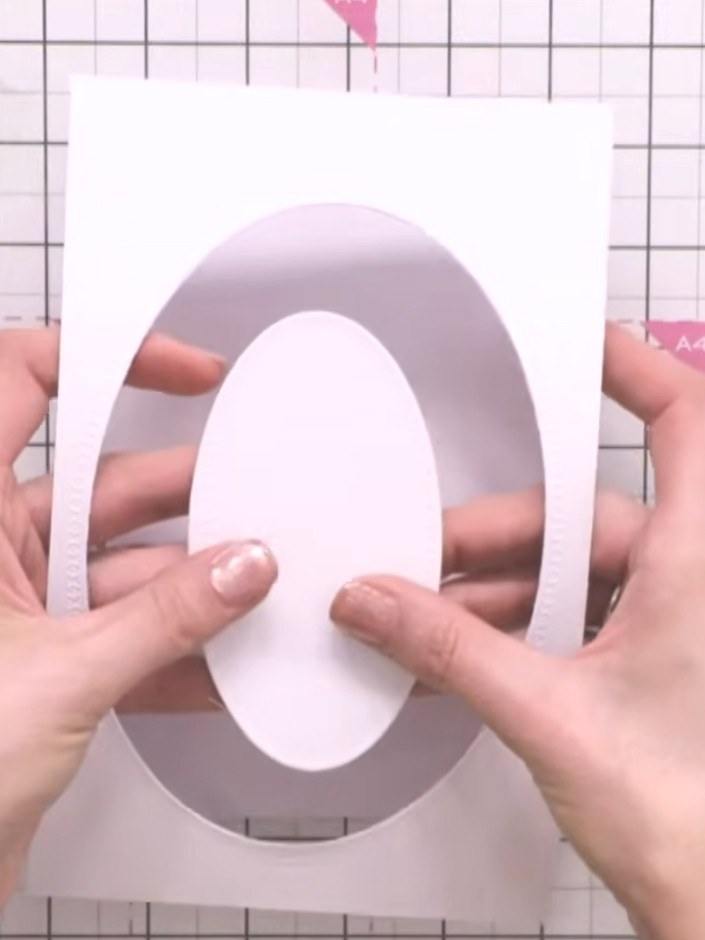
Adhere the centre oval element to the acetate window using foam pads so it appears to float inside the card.
▶ watch this step (40:00)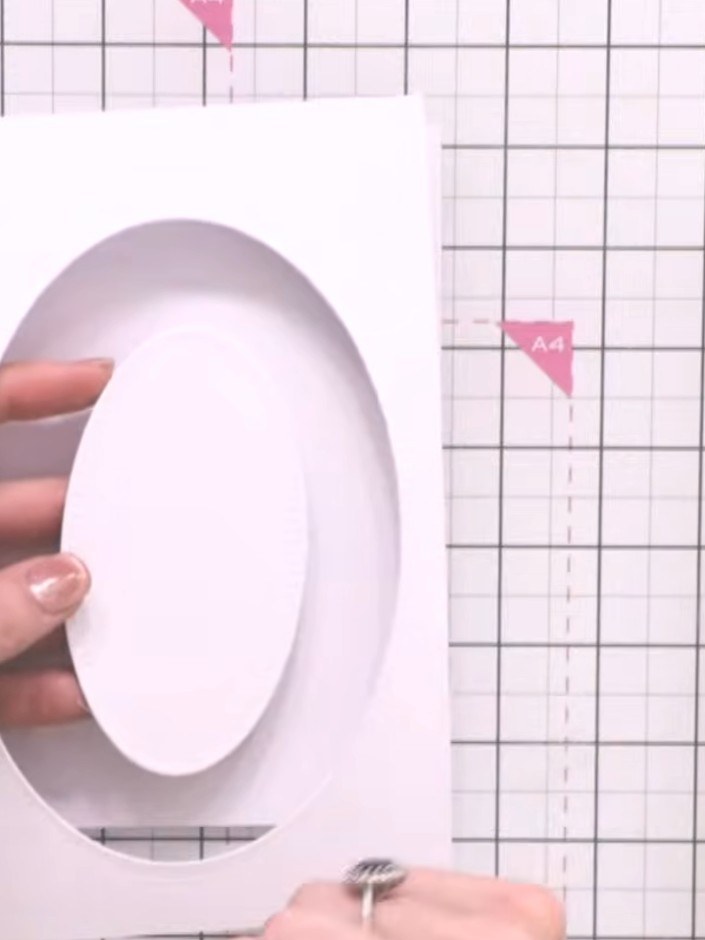
Add embellishments such as baubles, flowers or a banner across the centre of the oval window if desired. Position them to create visual interest within the floating window frame.
▶ watch this step (40:15)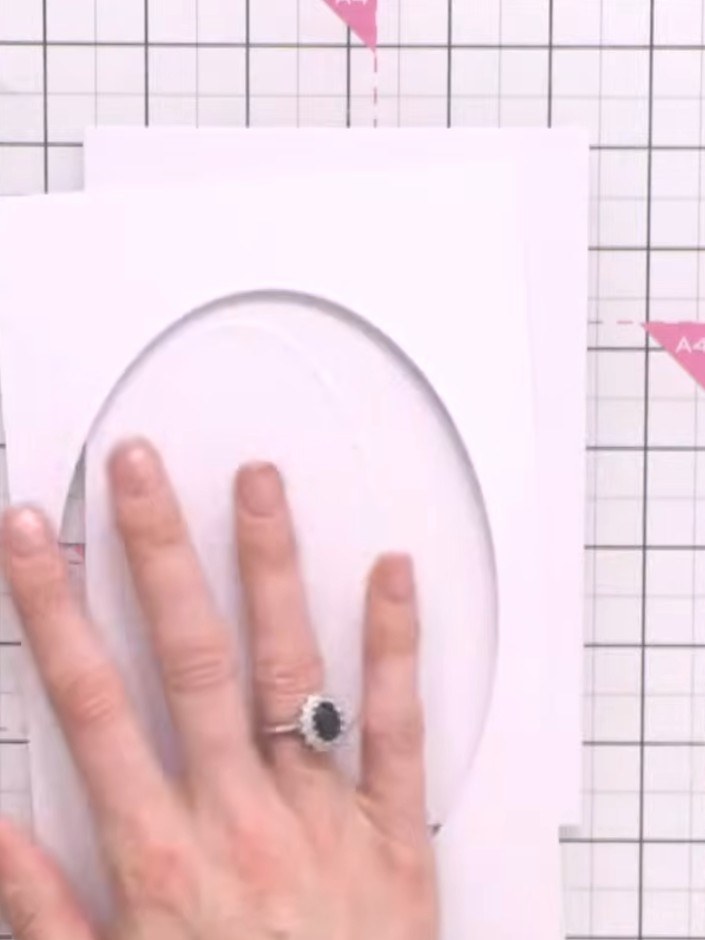
Position the completed oval design onto your card base and smooth it down firmly to secure it in place.
▶ watch this step (40:30)Written up from the show itself. See every guide from our shows · free how-to guides · watch live on My Telly