Give your friends €10 off their first order!
Refer a FRIEND








 The Friday Final CutFri 20 Nov 5am
 Community ShowcaseMon 23 Nov 5am
 Deal HuntersTue 24 Nov 8am
Prices change straight away. Every language is our own translation, not Google.
A project from our live show MY PODCAST - Catch my latest updates broadcast 29th September 2025 · 29/09/2025 · watch it from 35:00
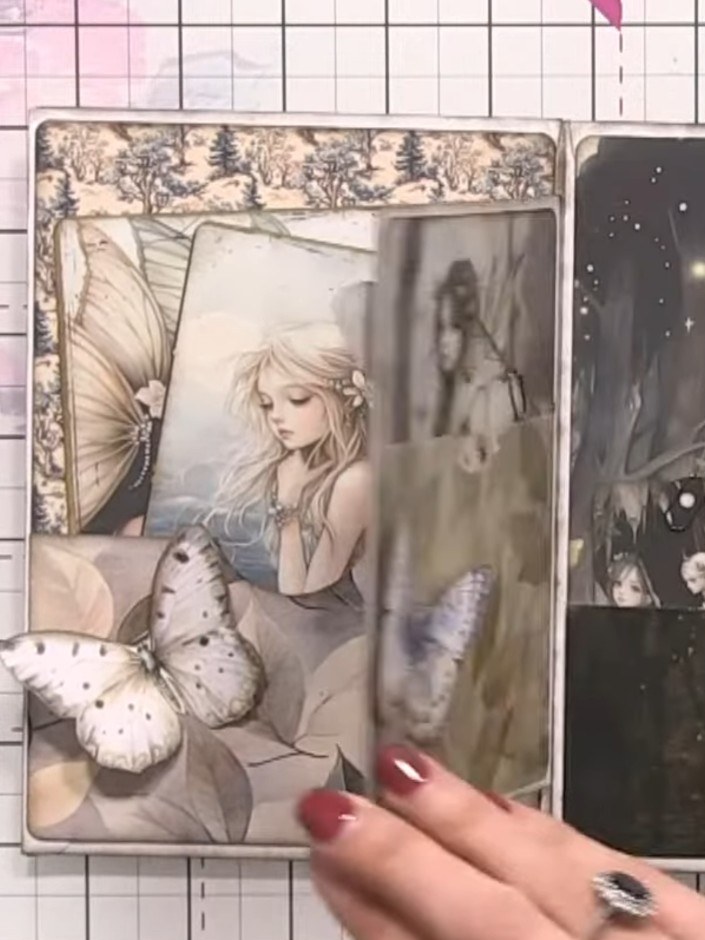
Create a beautiful multi-page envelope album using the enchanting Whispering Wings paper collection featuring delicate fairy and butterfly imagery in soft, muted tones. This charming keepsake features multiple pockets, fold-out pages, and decorative layered panels perfect for holding cards, photographs, or gift cards. The project demonstrates creative upcycling techniques by transforming ordinary envelopes into an elegant memory album with intricate detailing.
 Stamps By Me - Whispering Wings Complete Bundle - 090625DSEE IT
 Stamps By Me Stamp & Die Set - Whispering Wings - 090625BSEE IT
 Stamps By Me Bumper Pack - Whispering Wings - 090625ASEE IT
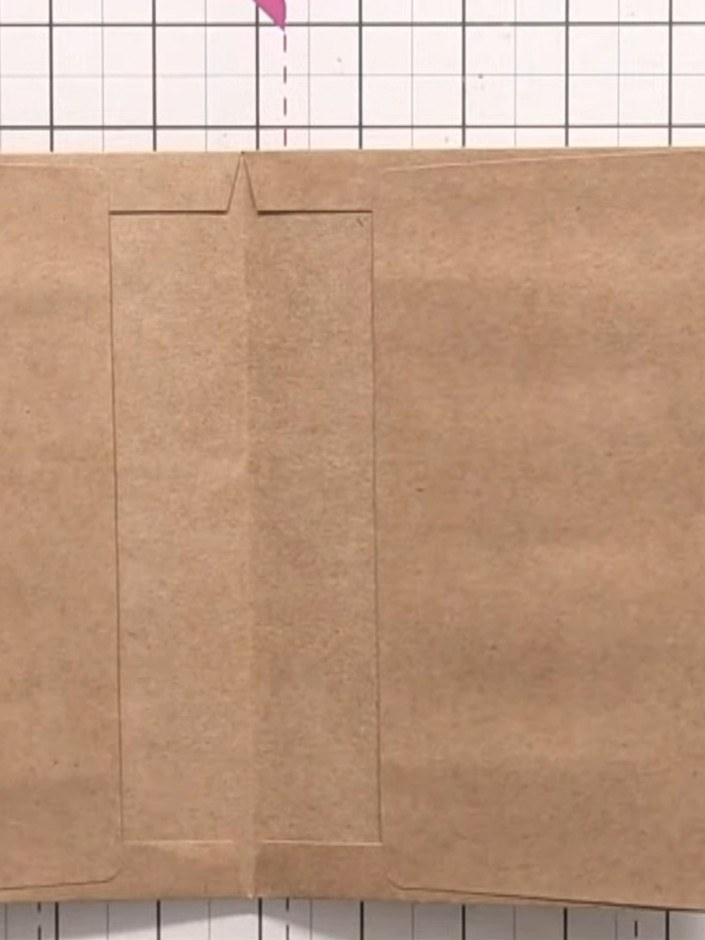
Take two envelopes and apply glue to the flaps. Press the flaps together to create your first page, forming a double-sided envelope page.
▶ watch this step (36:15)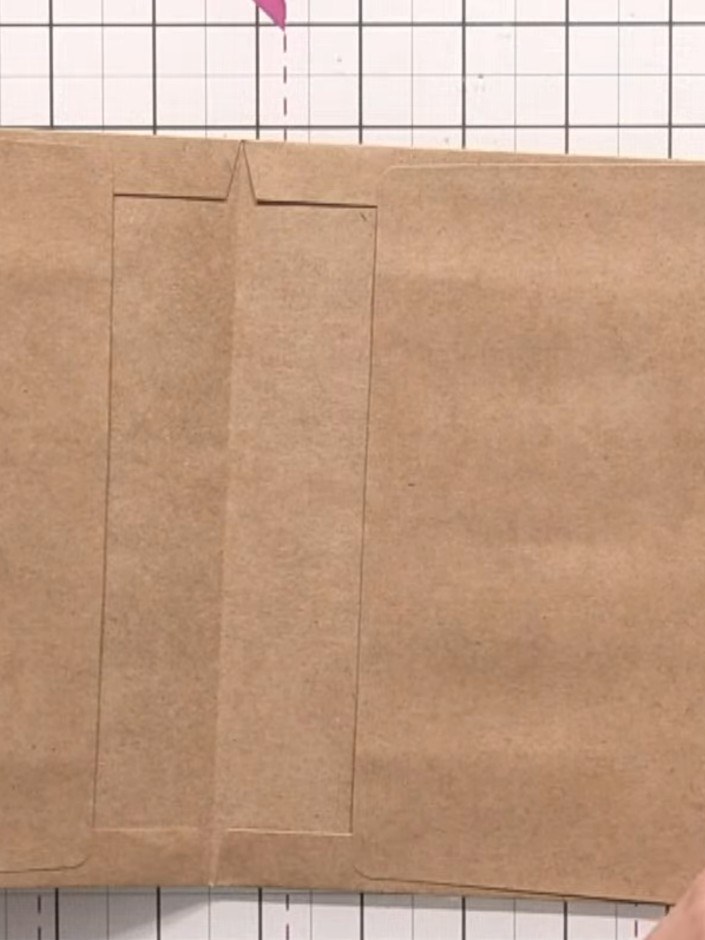
Insert a second envelope inside the first envelope, aligning it with the scored lines. The second envelope should sit within the frame created by the first envelope's fold lines.
▶ watch this step (36:45)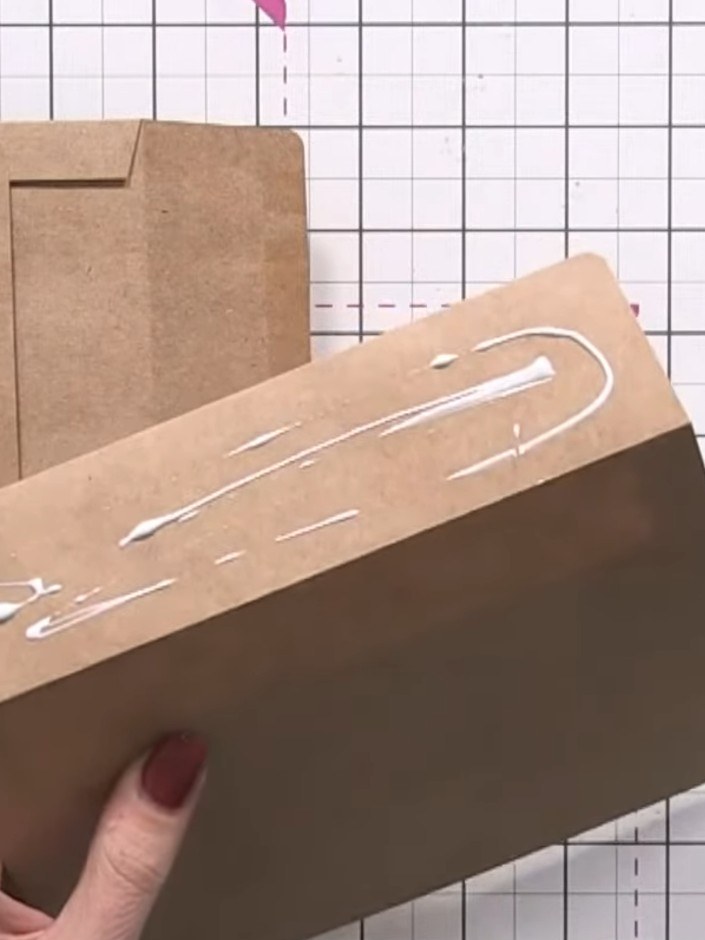
Take a third envelope and seal it shut to create a pocket. Apply glue to the back of the sealed envelope and adhere it inside the album base.
▶ watch this step (37:30)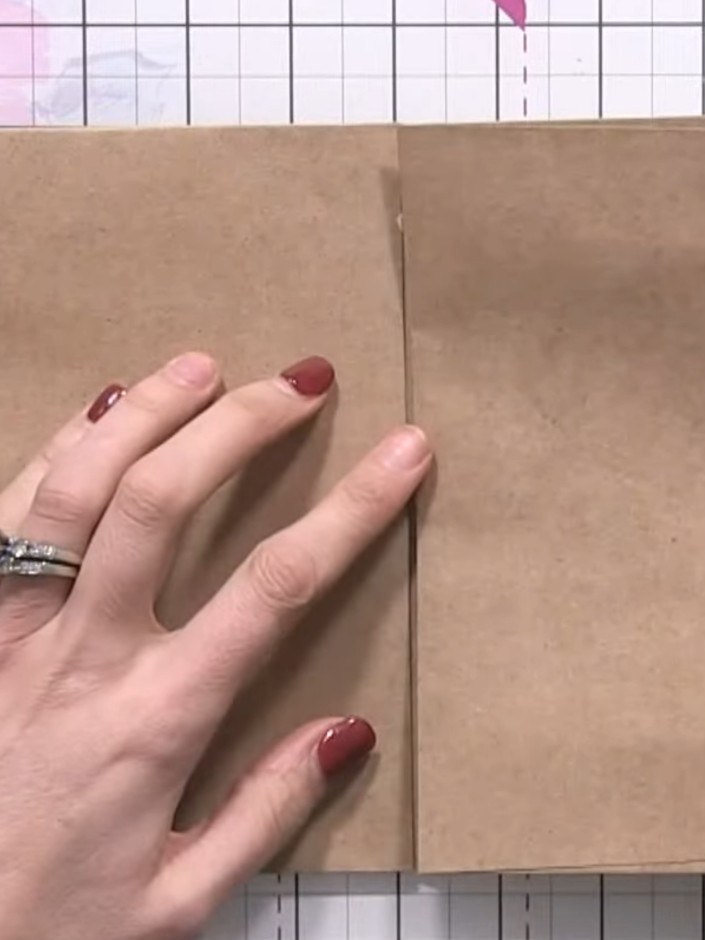
Score one side of an envelope to create a hinge. Fold the scored envelope over and glue it inside a pocket to create a tab closure.
▶ watch this step (38:00)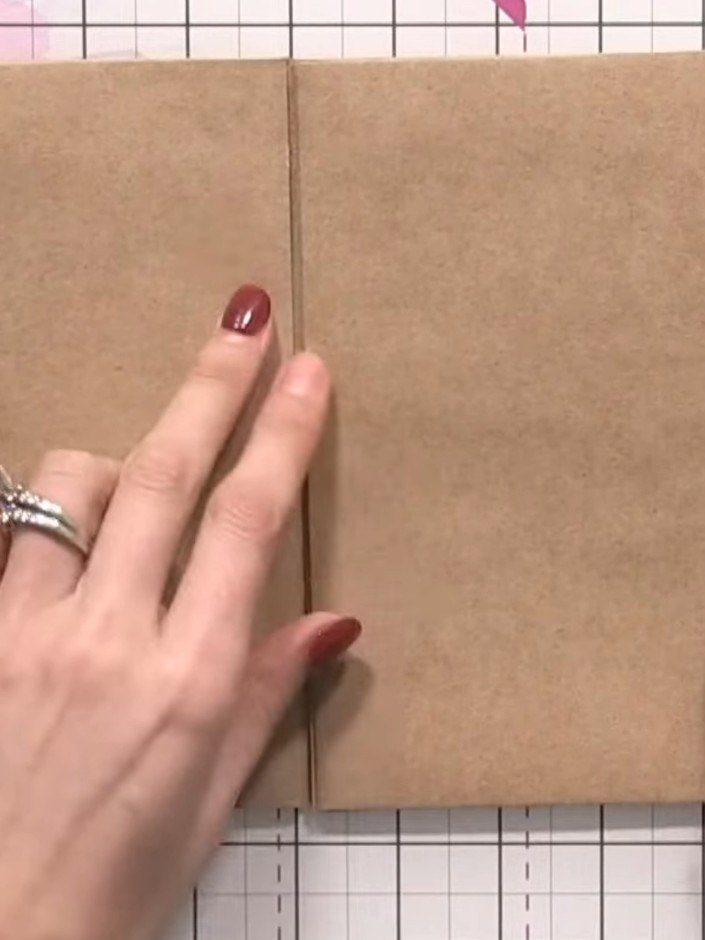
Apply glue to the front of your envelope and adhere your chosen Whispering Wings paper to create the album cover. Ensure the paper sits flat and smooth on the 5x7 mount.
▶ watch this step (39:00)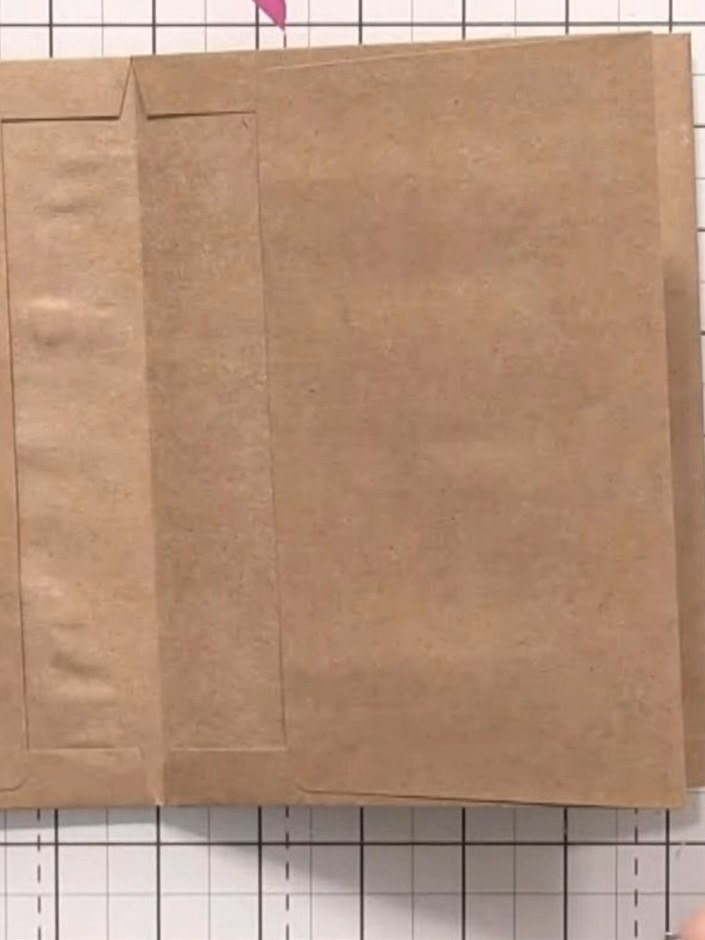
Cut coordinating paper down the centre to create belly bands for the inside pages.
▶ watch this step (46:00)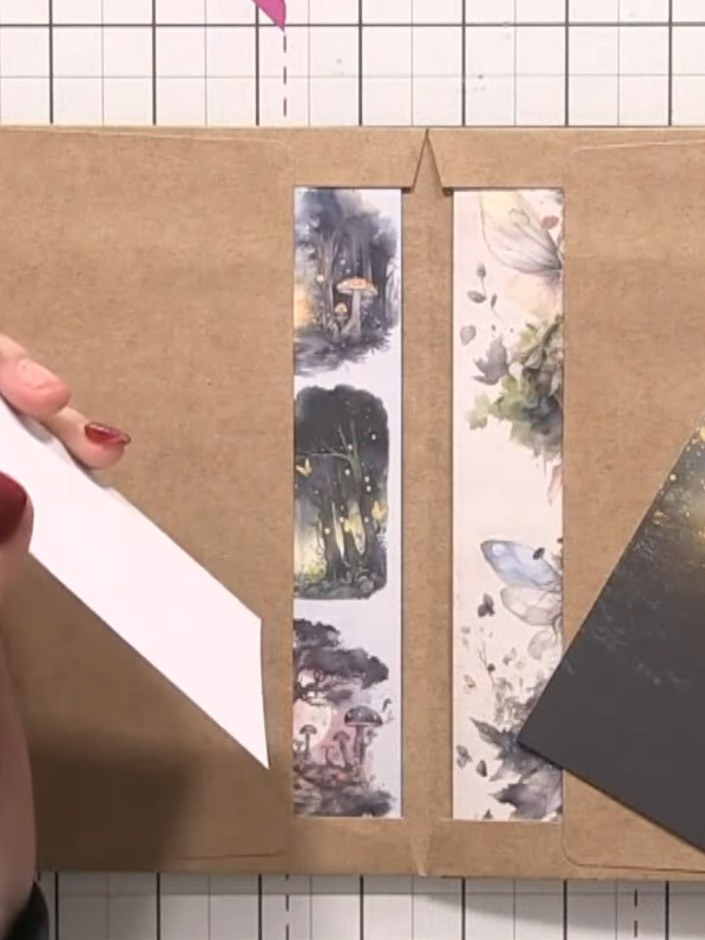
Apply glue to the back of a belly band strip and position it horizontally across the card base, placing it near the bottom to frame the decorative pockets.
▶ watch this step (48:00)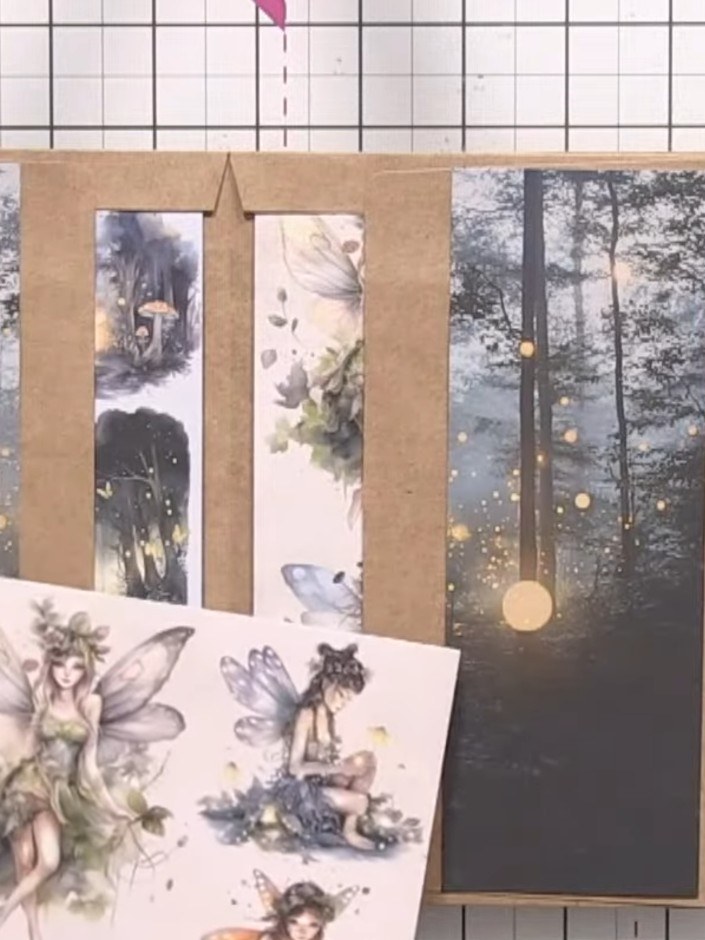
Fussy cut fairy toppers and other embellishments from the Whispering Wings paper collection. Layer them over the envelope pages using foam pads to add dimension.
▶ watch this step (49:15)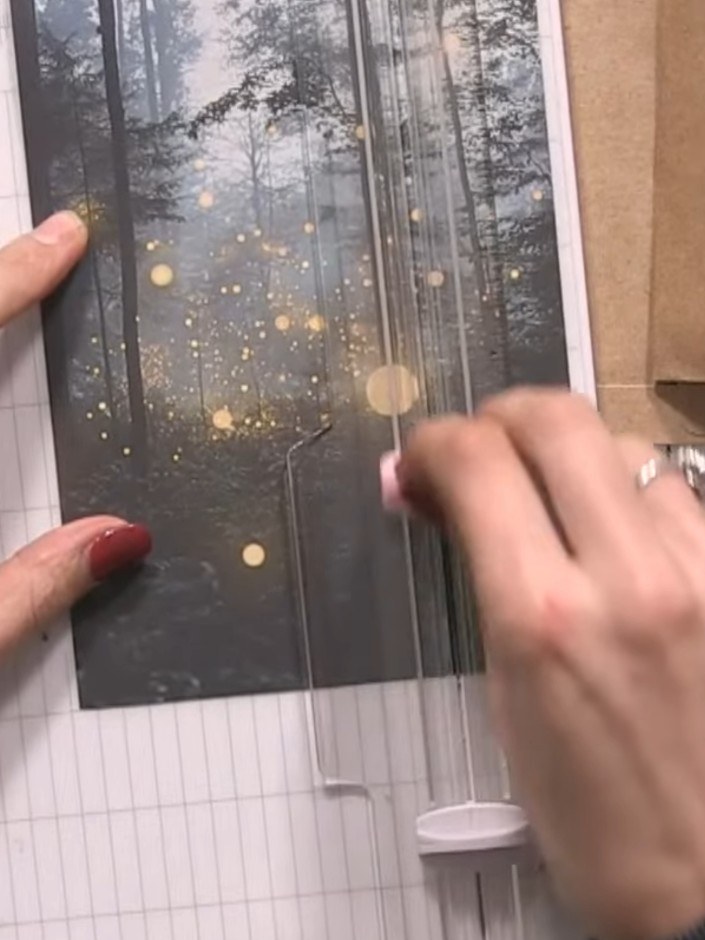
Insert decorative cards or photos into the pockets you've created throughout the album. Slide the cards gently into each envelope pocket to complete your album.
▶ watch this step (51:30)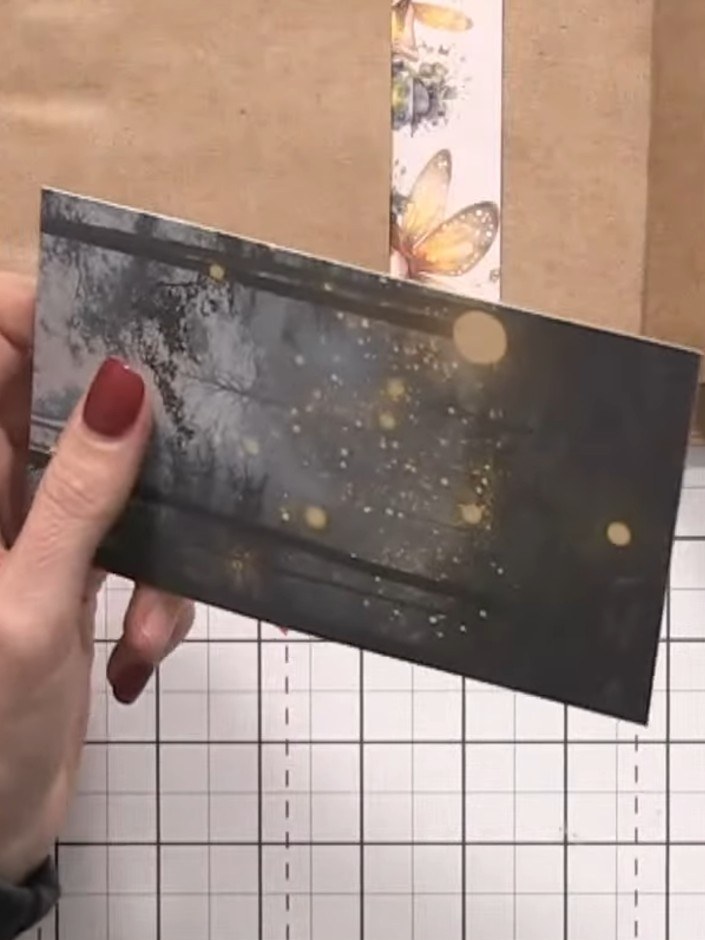
Insert a decorative card or gift card into the top tab pocket, allowing it to extend above the edge of the album for easy access.
▶ watch this step (52:00)Written up from the show itself. See every guide from our shows · free how-to guides · watch live on My Telly