Give your friends €10 off their first order!
Refer a FRIEND








 The Friday Final CutFri 20 Nov 5am
 Community ShowcaseMon 23 Nov 5am
 Deal HuntersTue 24 Nov 8am
Prices change straight away. Every language is our own translation, not Google.
A project from our live show Create Together Club - 5 Days of Creativity - Broadcast Tuesday 23RD September 2025 · 23/09/2025 · watch it from 14:45
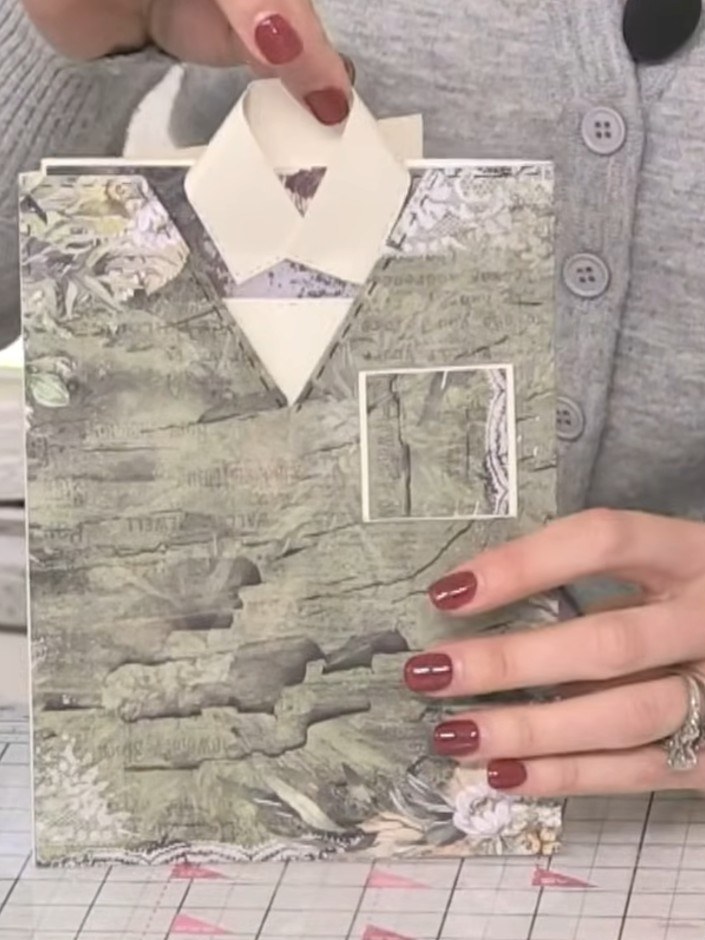
Create a charming masculine card featuring a shirt design with a pull-out insert mechanism. The card showcases a folded collar detail in cream, a layered shirt effect in grey patterned paper, and a functional pocket on the front. This project uses paper layering, die-cutting, and clever construction techniques to create a unique interactive card perfect for Father's Day or men's occasions.
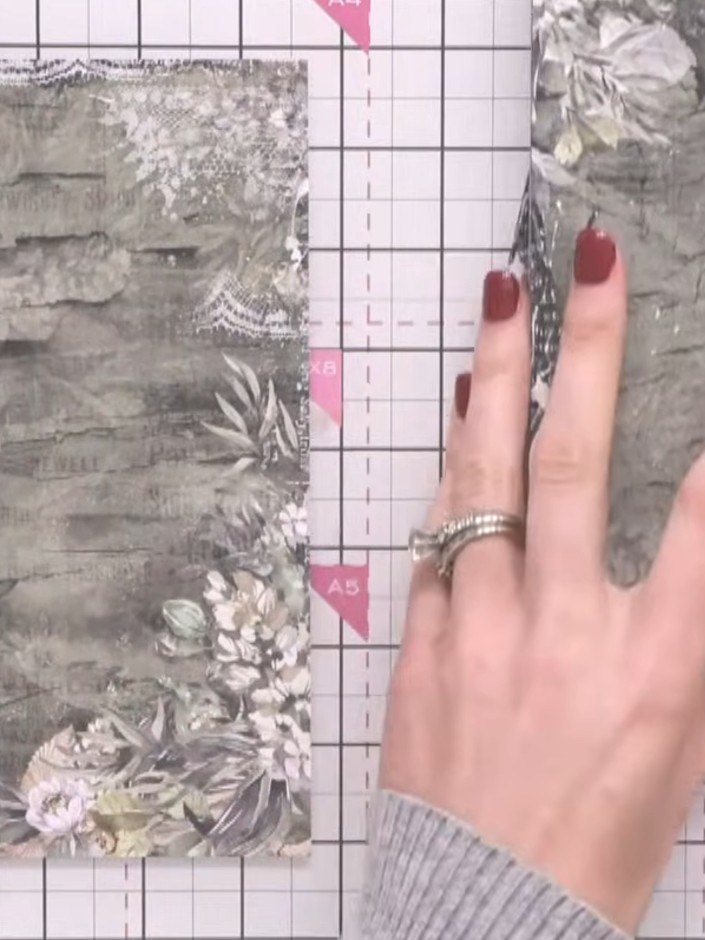
Select a piece of patterned or plain paper from your collection and cut it to 8 by 8 inches (20 x 20 cm).
▶ watch this step (15:15)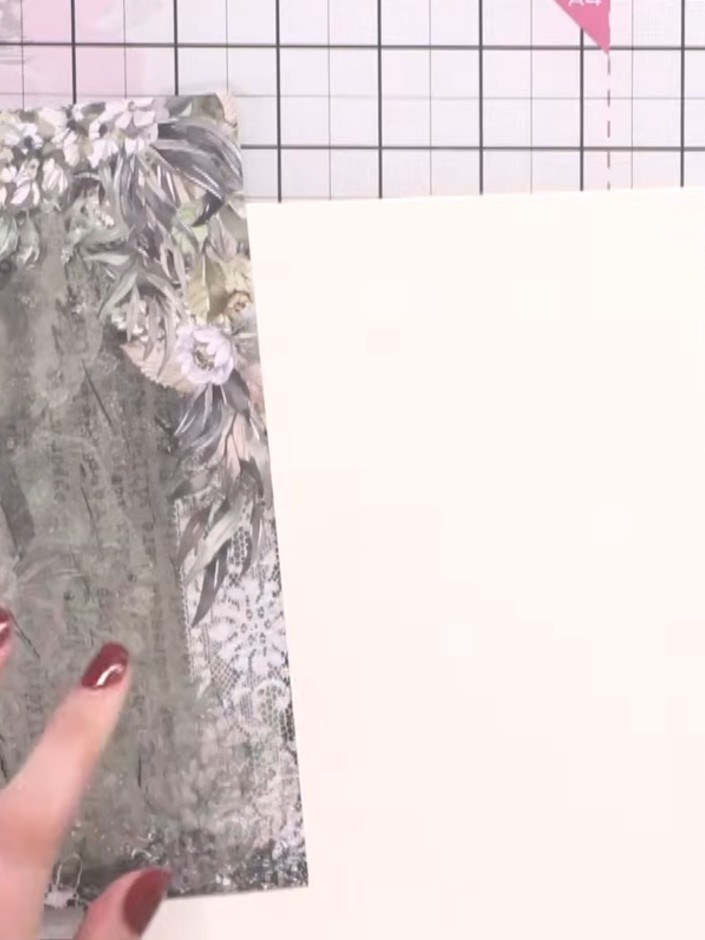
Place your 8x8 inch decorative paper on the cutting mat with a plain piece of card on top. Using a ruler and scoring tool, score the paper 1 inch from each long edge to create fold lines for the shirt sides.
▶ watch this step (17:00)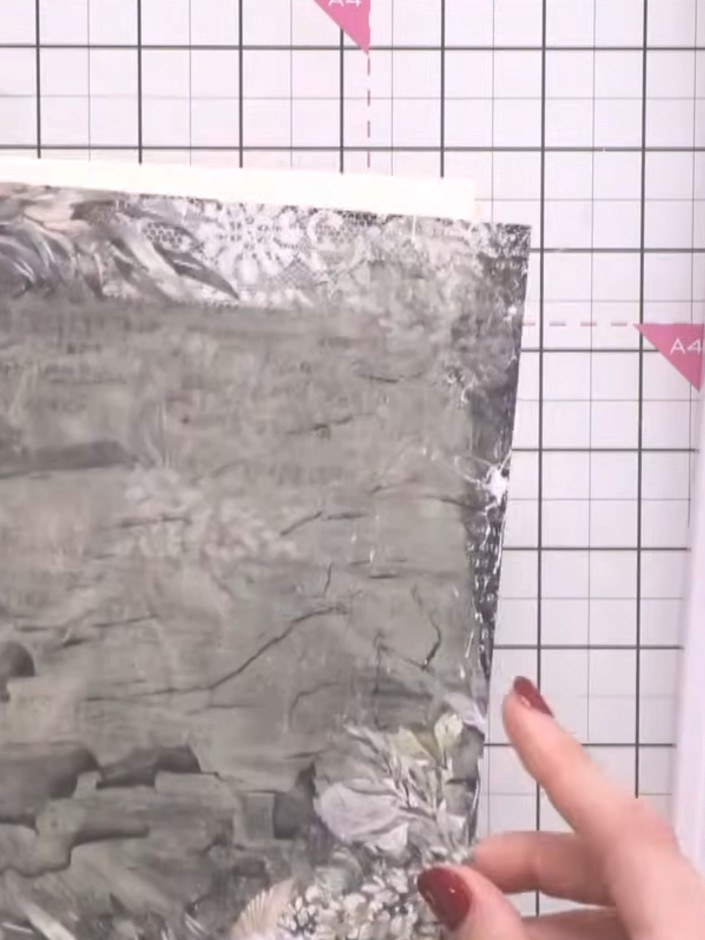
Fold the scored edges of the 8x8 card inward to create a shirt-like shape. The folded sides should be visible, forming the structure of the shirt with the decorative floral pattern showing on the edges.
▶ watch this step (17:45)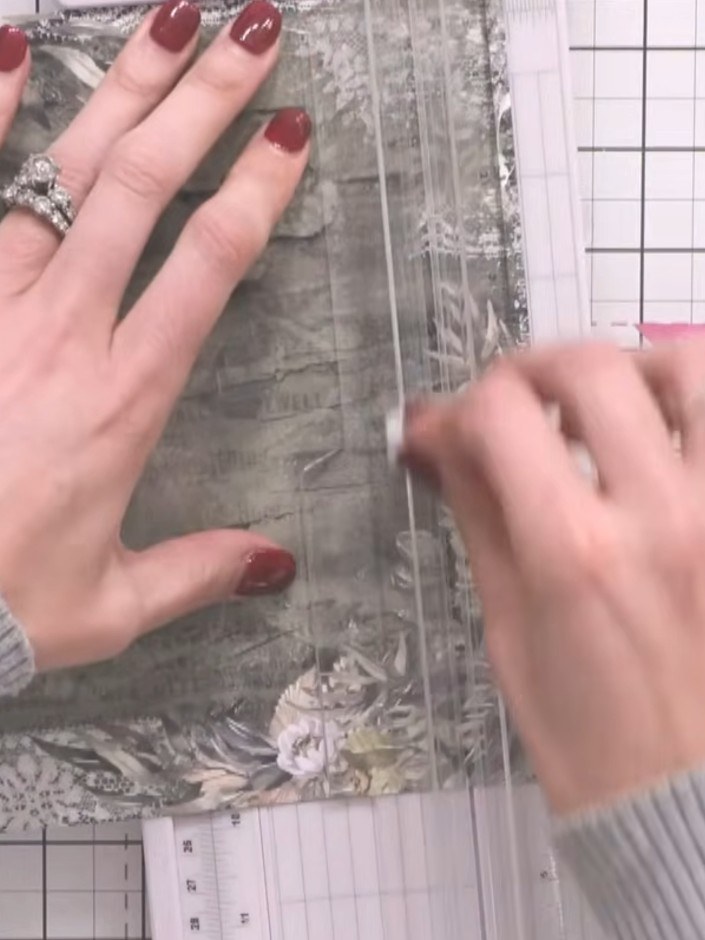
Cut down the centre of the folded piece approximately 3 inches to create an opening for the collar.
▶ watch this step (18:30)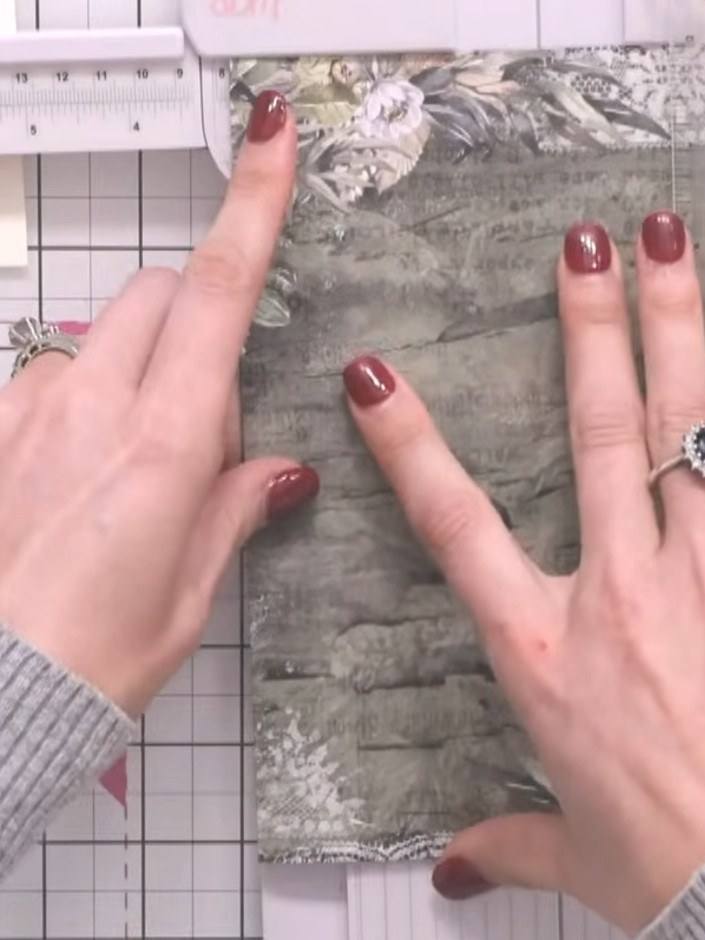
Fold the cut edges of the decorative paper back towards the centre to create the shirt collar effect. Press the folds firmly to create crisp creases.
▶ watch this step (19:00)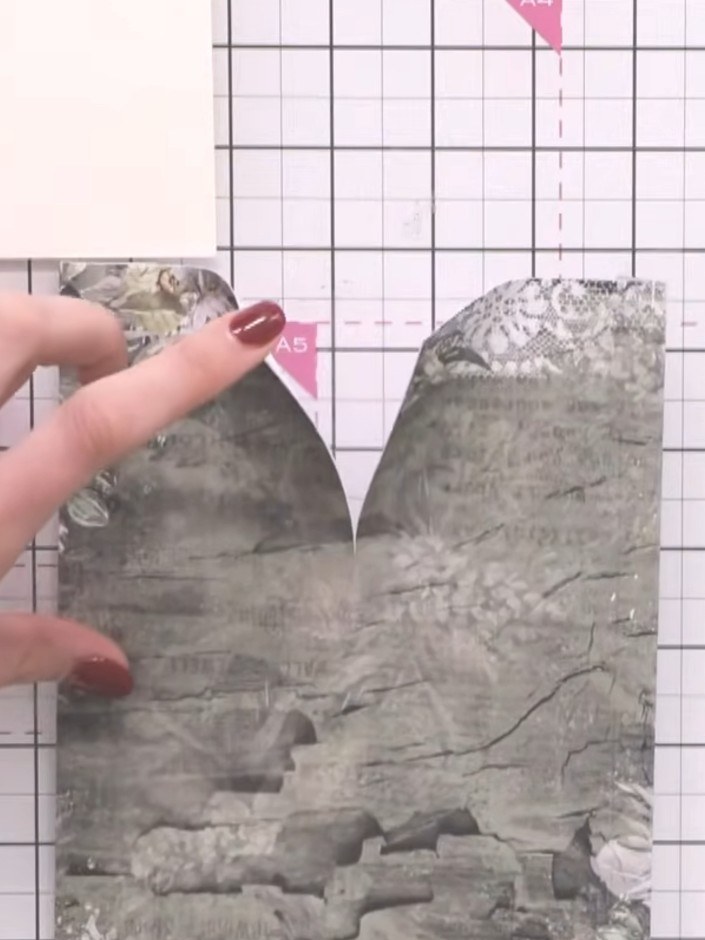
Adhere a contrasting patterned paper to the inside of the collar to add colour and detail. Position the decorative paper so the pattern shows when the collar is folded.
▶ watch this step (20:15)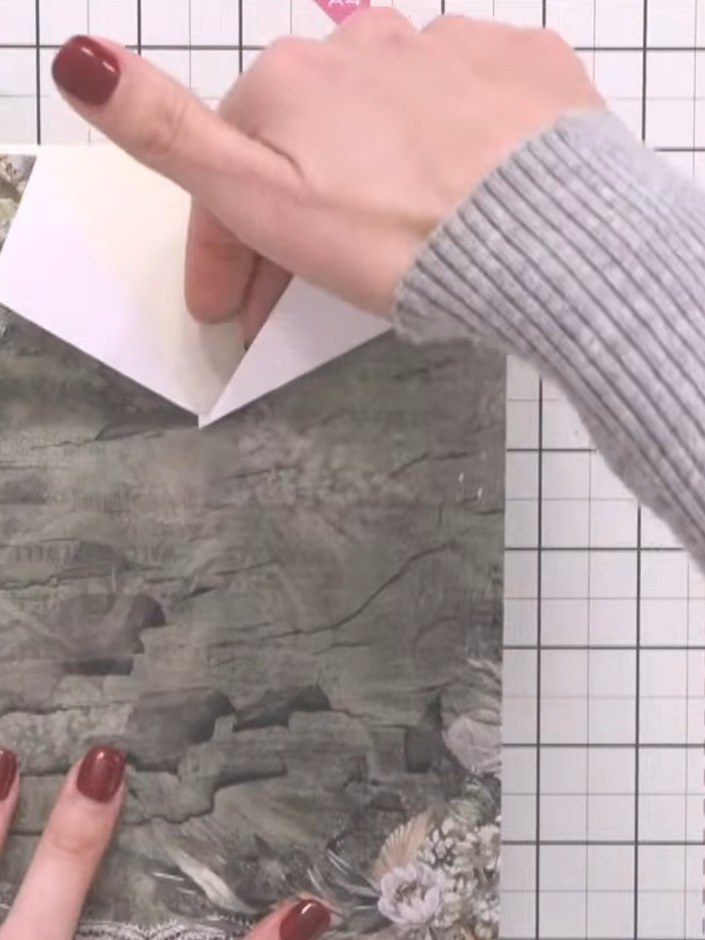
Position the white insert piece at the top of the shirt front. Secure the shirt front to your card blank using adhesive hinges along the bottom edge, allowing the insert to slide in and out freely.
▶ watch this step (21:45)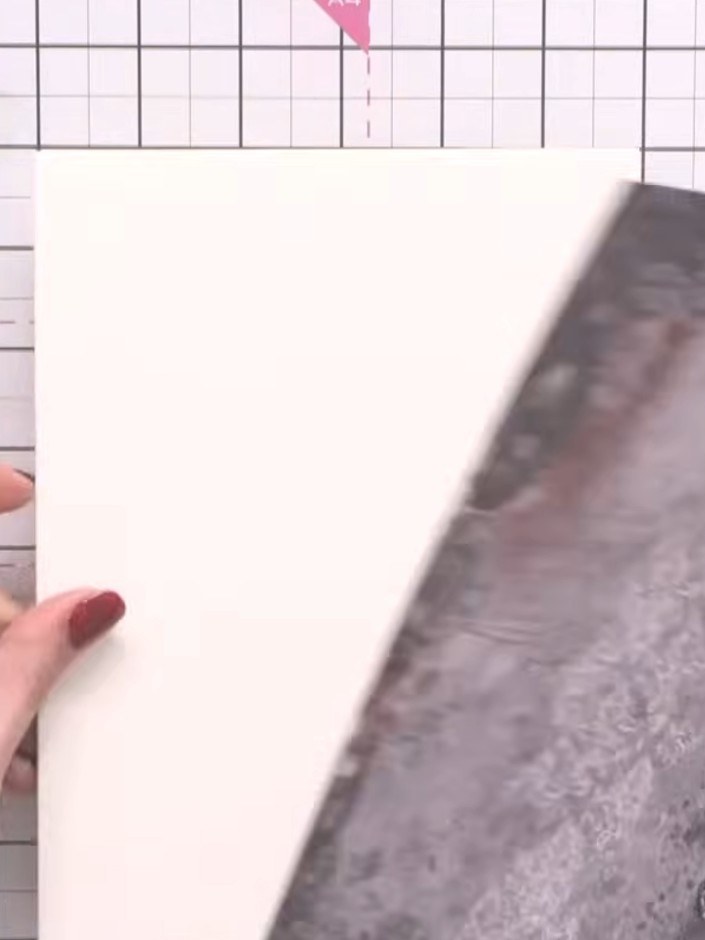
Create a second layered shirt from contrasting patterned paper. Position this insert inside the first shirt opening so it can be pulled out to reveal the alternative design.
▶ watch this step (25:00)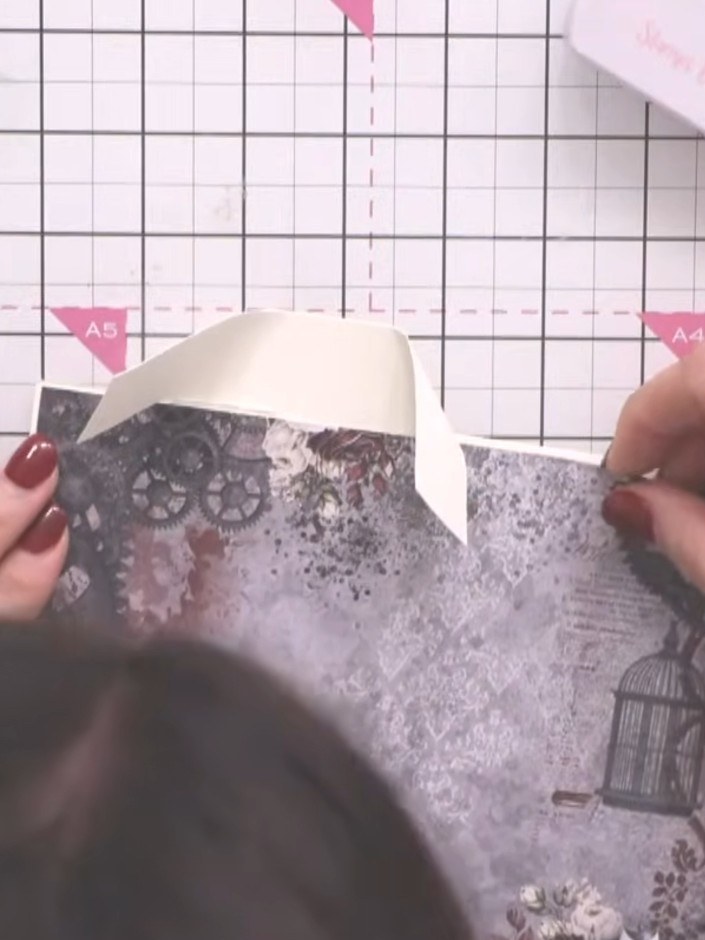
Create a small square pocket from coordinating patterned paper. Adhere the pocket flat to the front of the shirt, positioning it below the collar.
▶ watch this step (29:30)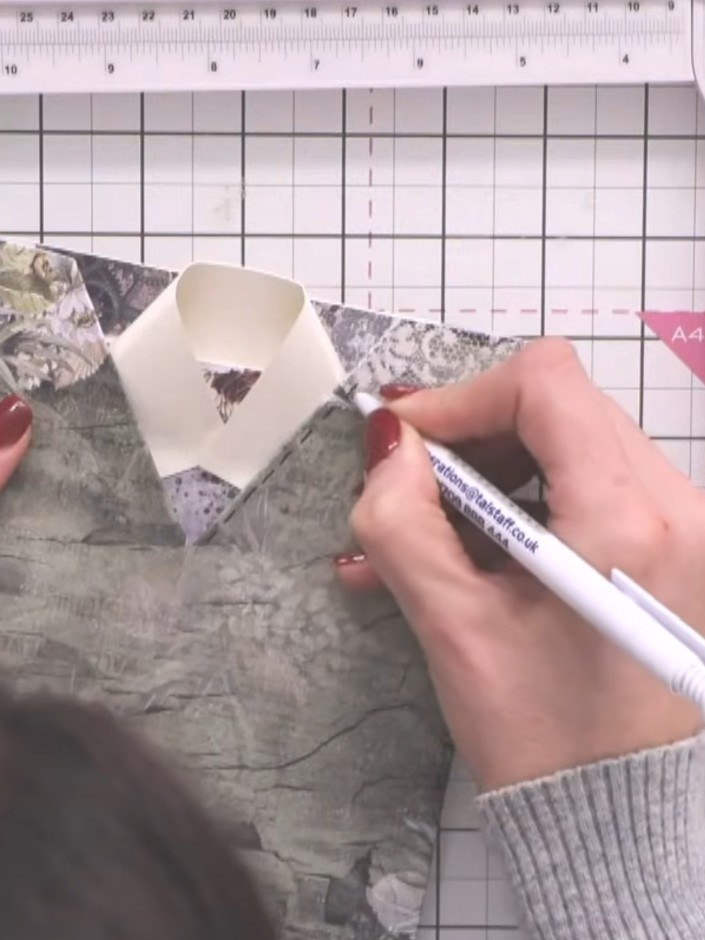
Add stitching detail around the collar and shirt edges using a pen or pencil and ruler. Draw lines to create a decorative stitched effect around the collar, pocket, and outer edges of the shirt.
▶ watch this step (36:00)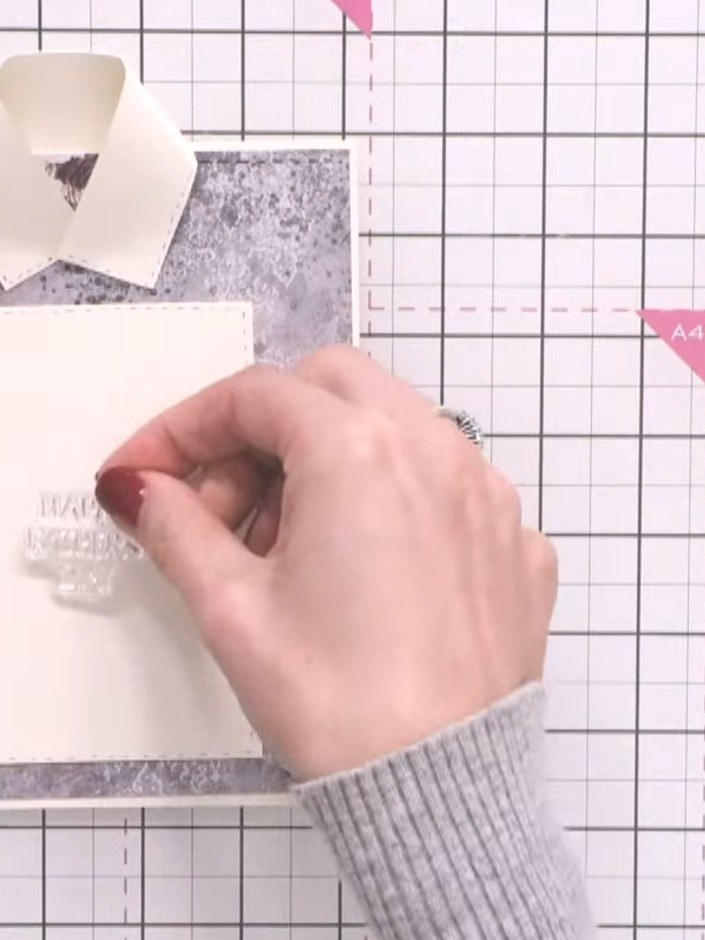
Stamp a sentiment such as 'Happy Father's Day' onto the white pull-out insert using the Eureka 101 stamp plate. Position the stamped insert inside the shirt pocket.
▶ watch this step (47:30)Written up from the show itself. See every guide from our shows · free how-to guides · watch live on My Telly
