Give your friends €10 off their first order!
Refer a FRIEND








Prices change straight away. Every language is our own translation, not Google.
A project from our live show CATCH UP with CARLEY and TONI for Stencil Heaven - Check out these fantastic designs from Stamps By Me · 18/06/2021
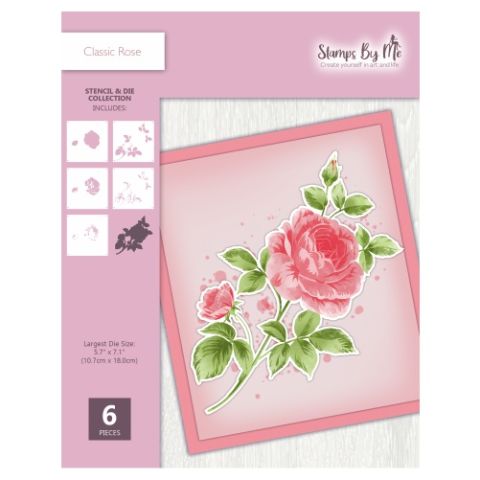
A luxury card featuring a die-cut classic rose as the focal point, mounted on mirror card with an iridescent glitter paste textured background. The encapsulated glitter adds shimmer without mess.
Take a piece of cardstock and apply gold glitter paste using a spatula, dragging it across the page to create texture.
Add white glitter paste in a swiping motion to create additional texture and iridescent effect.
Allow the glitter paste to dry completely (it dries quickly despite being thick).
Mount the textured piece onto mirror card to add extra shine and luxury.
Attach your previously completed die-cut rose design to the centre of the textured background.
Add a sentiment or decorative tile to complete the card design.
Share your make with the Stamps By Me community - and keep this guide for next time.
Written up from the show itself. See every guide from our shows · free how-to guides · watch live on My Telly · the previous layout