Give your friends €10 off their first order!
Refer a FRIEND








Prices change straight away. Every language is our own translation, not Google.
A project from our live show COMMUNITY SHOWCASE - Broadcast 16th November 2026 · 16/11/2026
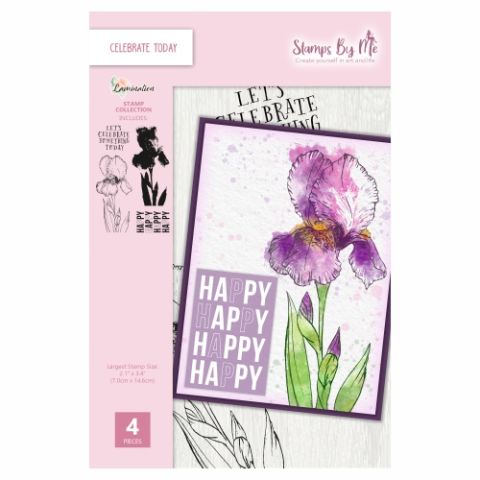
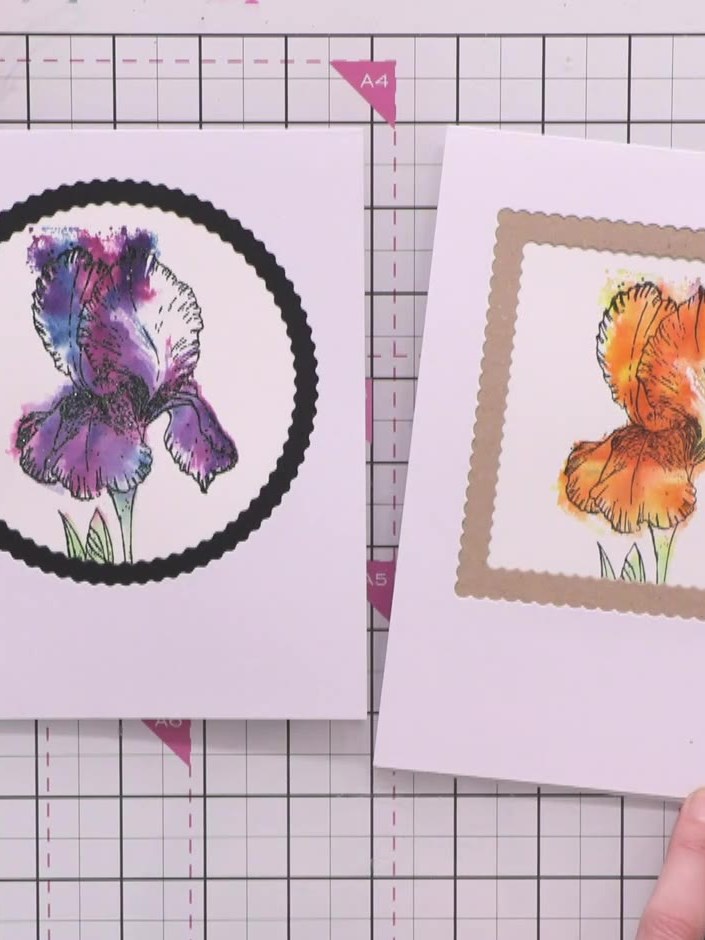
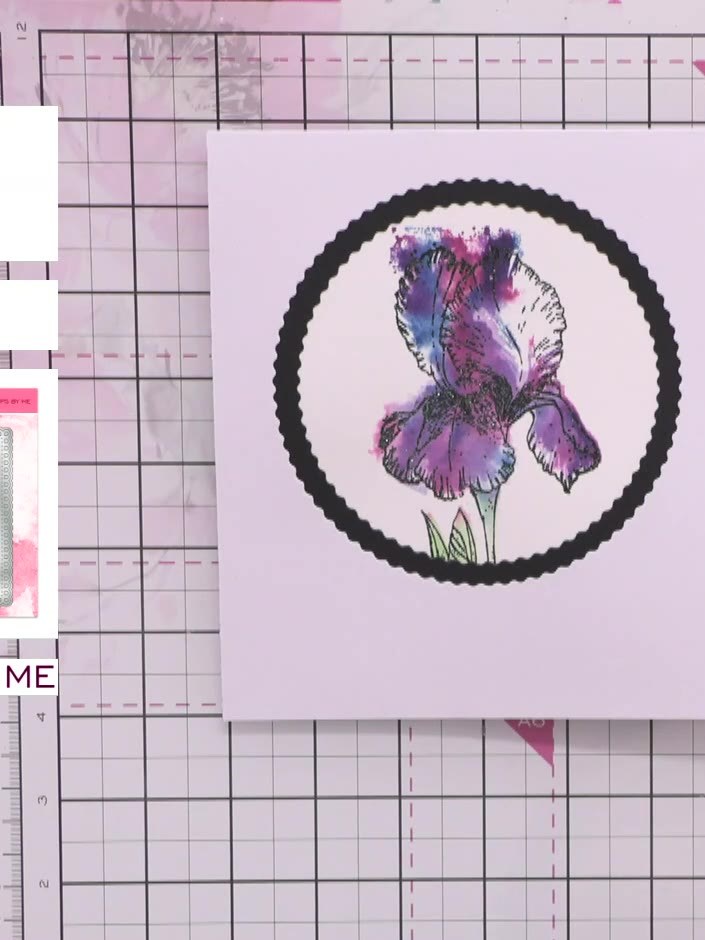
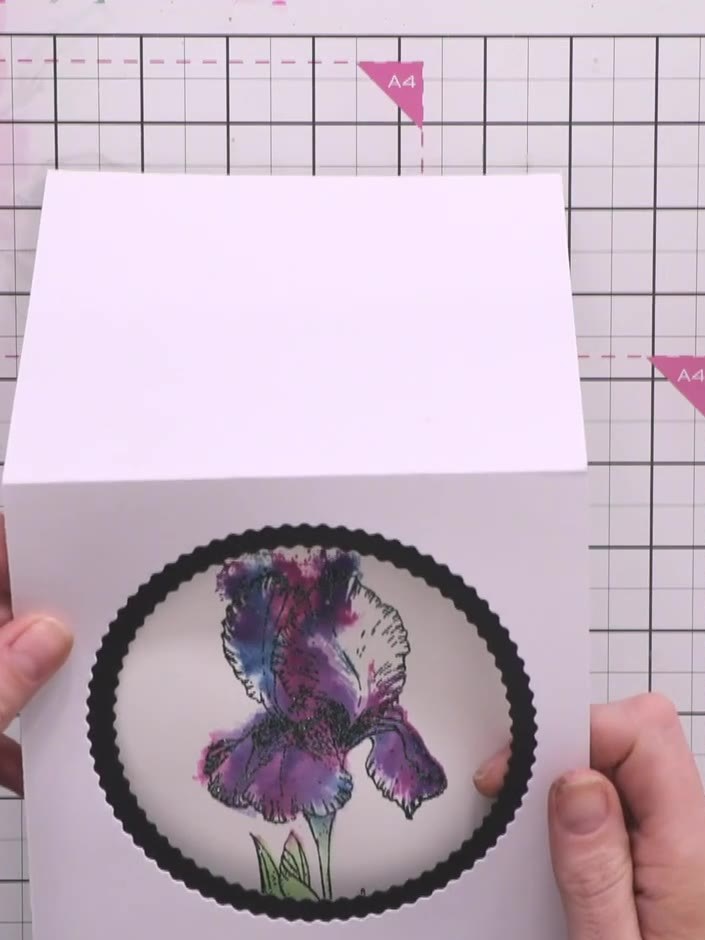
Create an elegant framed artwork card featuring a beautifully stamped iris in purple and pink tones. The iris is die-cut and positioned within a black scalloped circle frame on a pale pink square card base. This project uses lamination techniques combined with nesting square dies to create a sophisticated layered effect.
 1
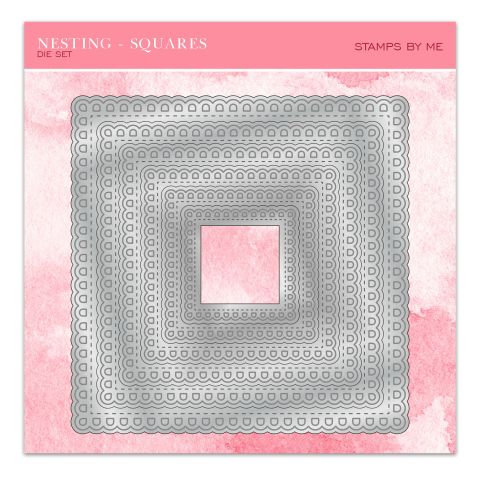
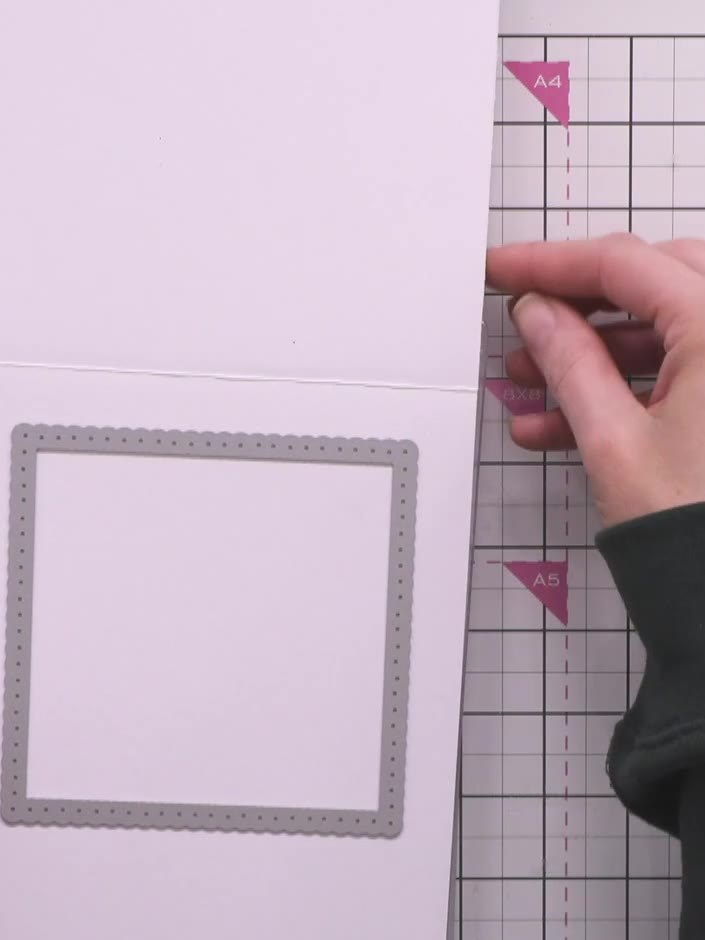
Place a pale pink card blank on your cutting mat. Position the largest square die from the Stamps By Me Nesting Squares set on the card blank.
 2
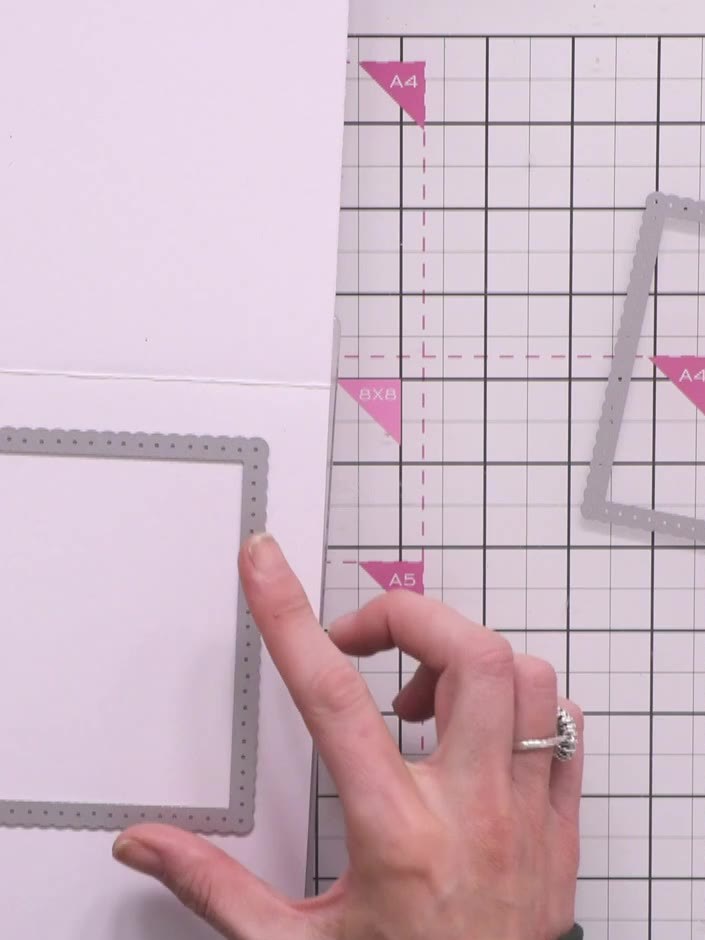
Run the card blank through your die-cutting machine using the large square nesting die to cut out the aperture. Ensure the die is positioned centrally on the card front before running through the machine.
 3
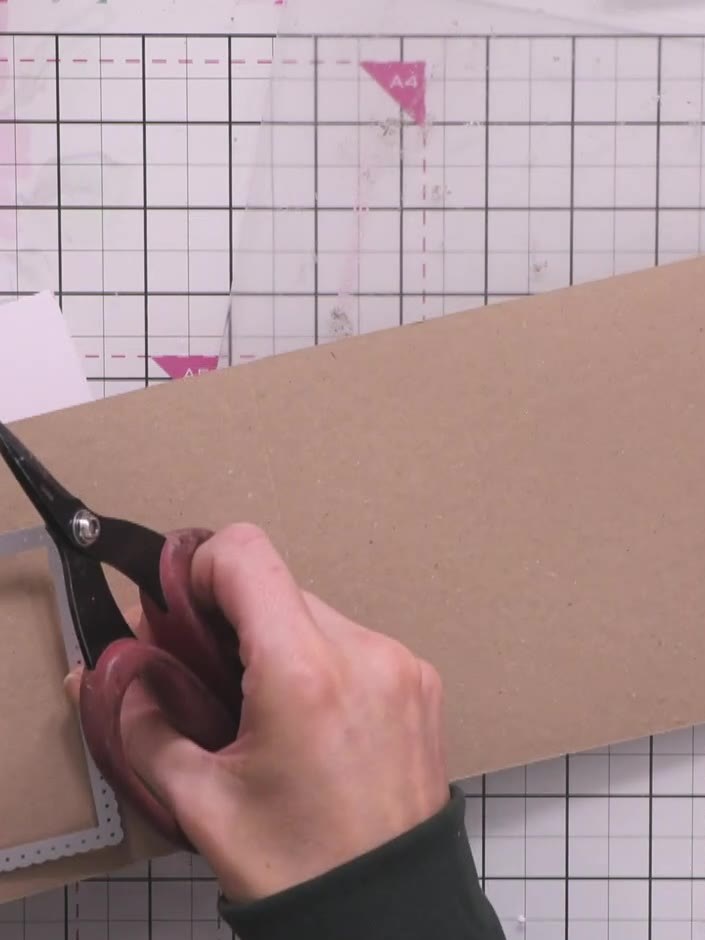
Cut the next size down square from the kraft-coloured card using the nesting squares die set.
 4
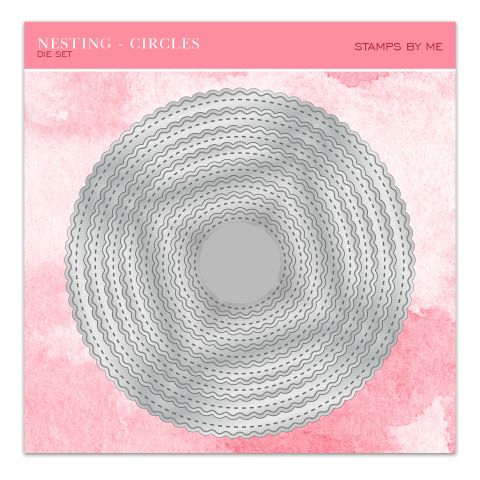
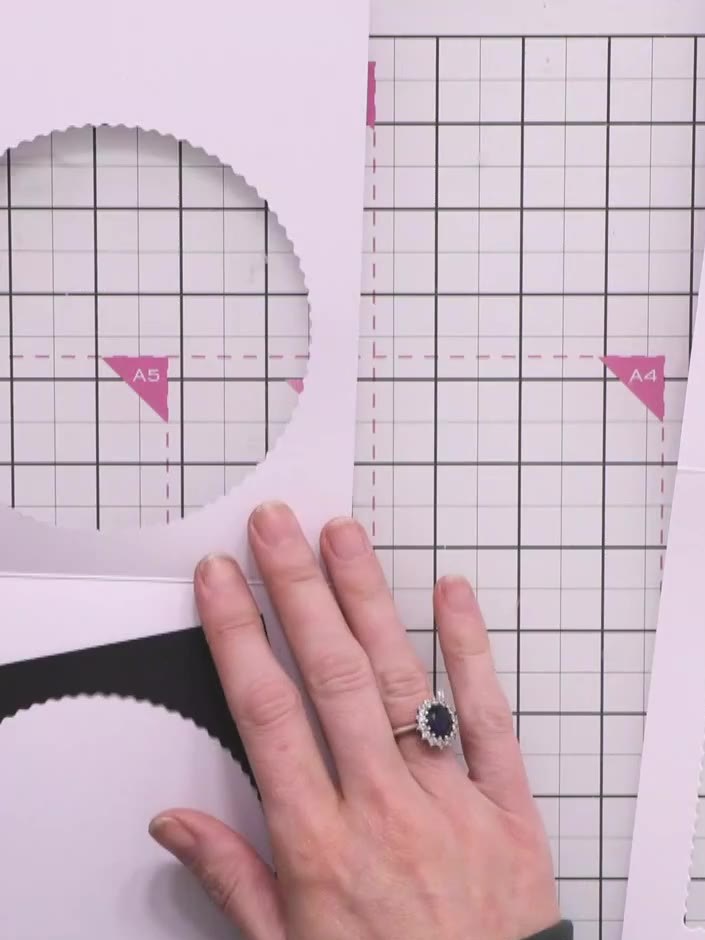
Cut a scalloped circle from pale pink card using the Stamps By Me Nesting Circles Die Set. Position the stamped iris image (with the black scalloped border) on this pale pink circle.
 5
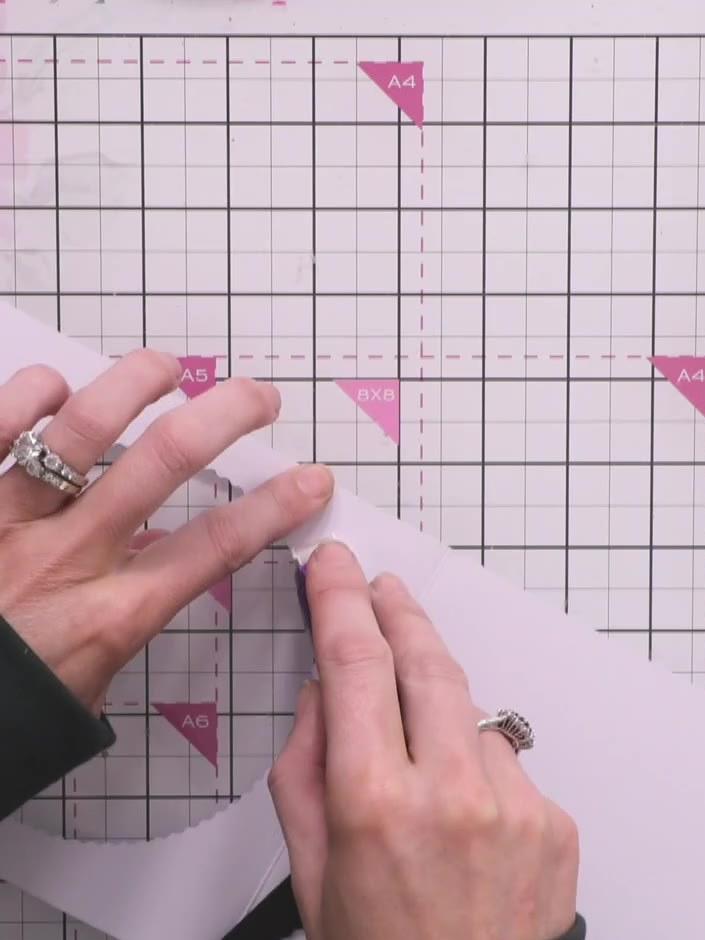
Apply glue to the back of the pale pink scalloped circle with the iris image and attach it to the inside of the card blank, positioning it behind the aperture to create a framed effect.
 6
Cut a piece of pale pink card slightly smaller than the aperture in the square frame. This will cover the back of your stamped image and hide any adhesive or markings.
 7
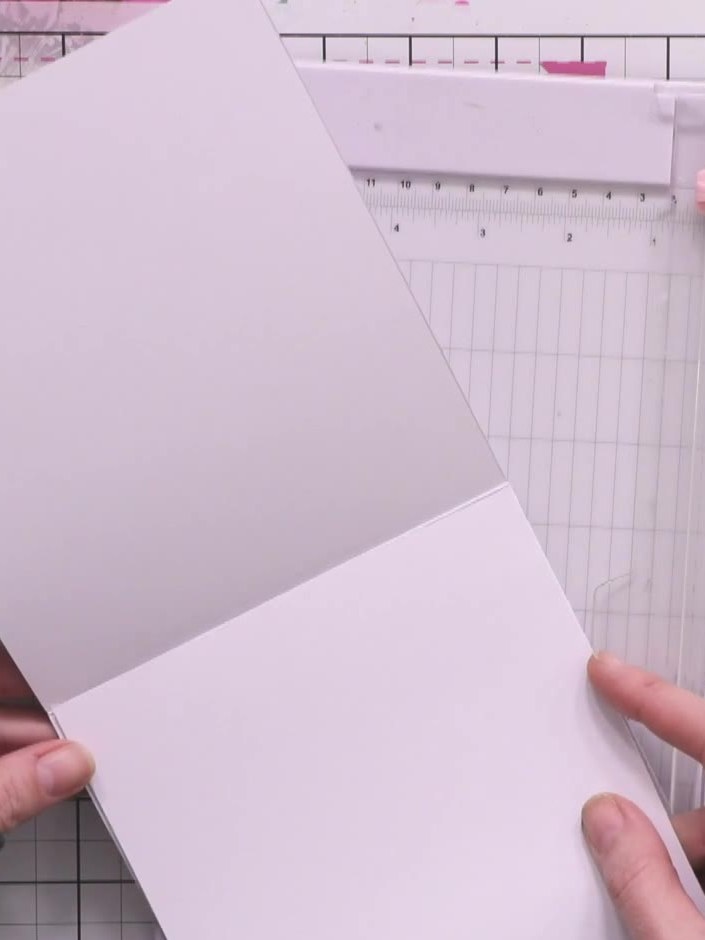
Position the backing card over the reverse of your artwork to secure all the layers in place. Press down firmly to ensure the backing card adheres well and completes the framed effect. Add a thin sentiment from the Celebrate Today stamp set to the bottom of the pale pink card base to complete your framed artwork card.
Share your make with the Stamps By Me community - and keep this guide for next time.
Written up from the show itself. See every guide from our shows · free how-to guides · watch live on My Telly · the previous layout