Give your friends €10 off their first order!
Refer a FRIEND








A project from our live show ONE DAY SPECIAL - Join Toni for her brand new launch - Broadcast 11th September 2025 · 11/09/2025 · watch it from 1:11:30
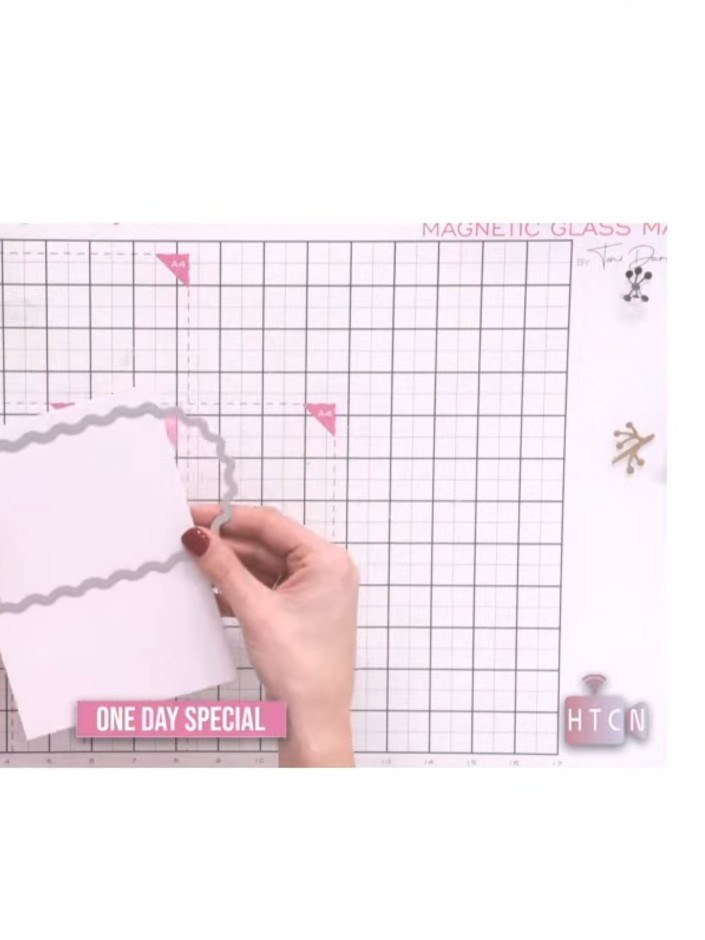
Create an elegant shaped card featuring a beautiful wavy arch edge. This quick and simple technique uses a wavy arch die positioned over the fold line of a white card blank to create a decorative scalloped edge without cutting away excess card. The result is a sophisticated card base perfect for any occasion.
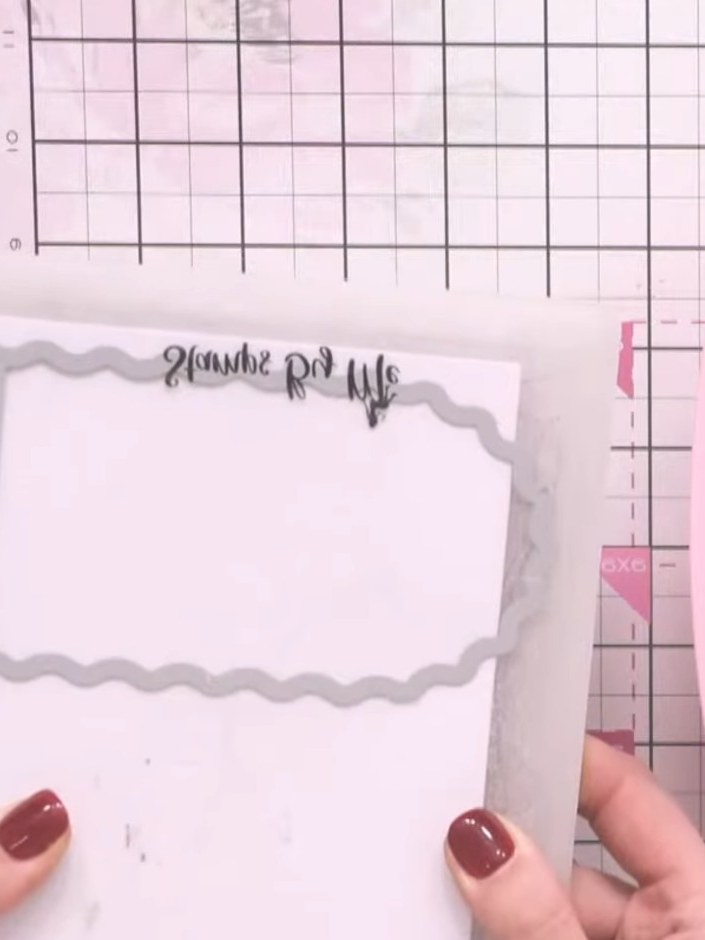
Position your wavy arch die just over the hinge fold line at the top of your card blank. The die should overhang the fold slightly.
▶ watch this step (1:11:45)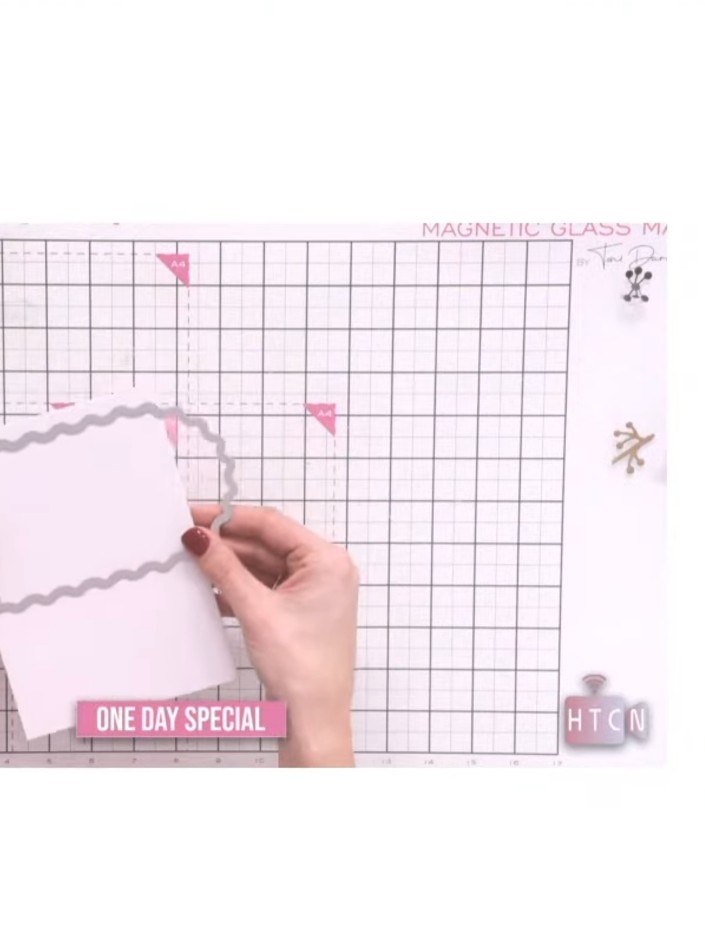
Place the card with the die on your cutting plate and run through your die cutting machine.
▶ watch this step (1:12:00)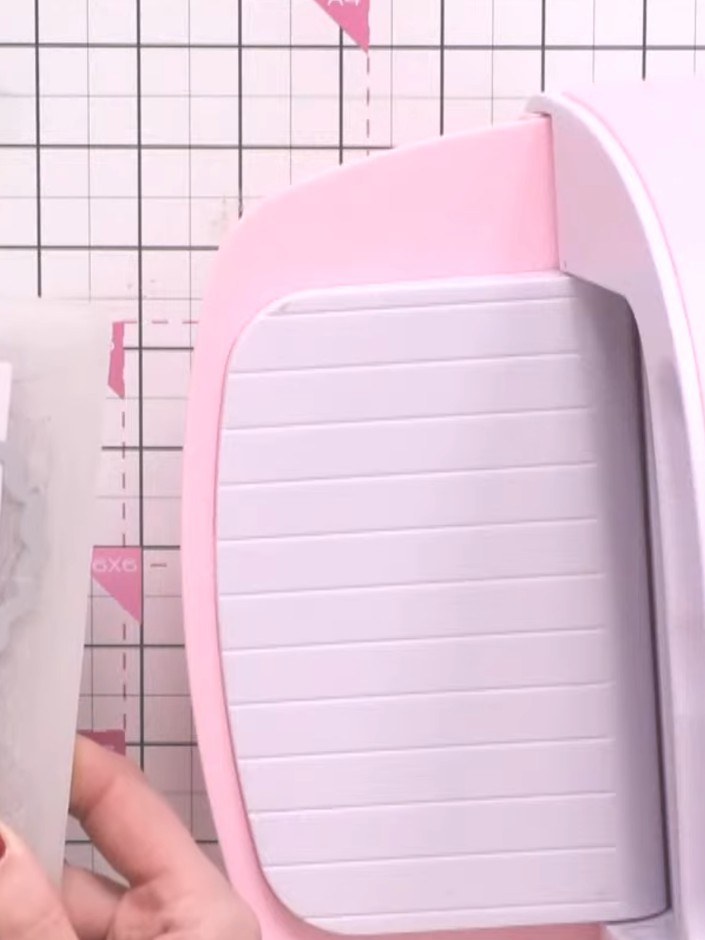
Remove the card from the die-cutting machine. You will have a shaped wavy arch edge at the top of the card with a small excess edge where the die cut through.
▶ watch this step (1:12:30)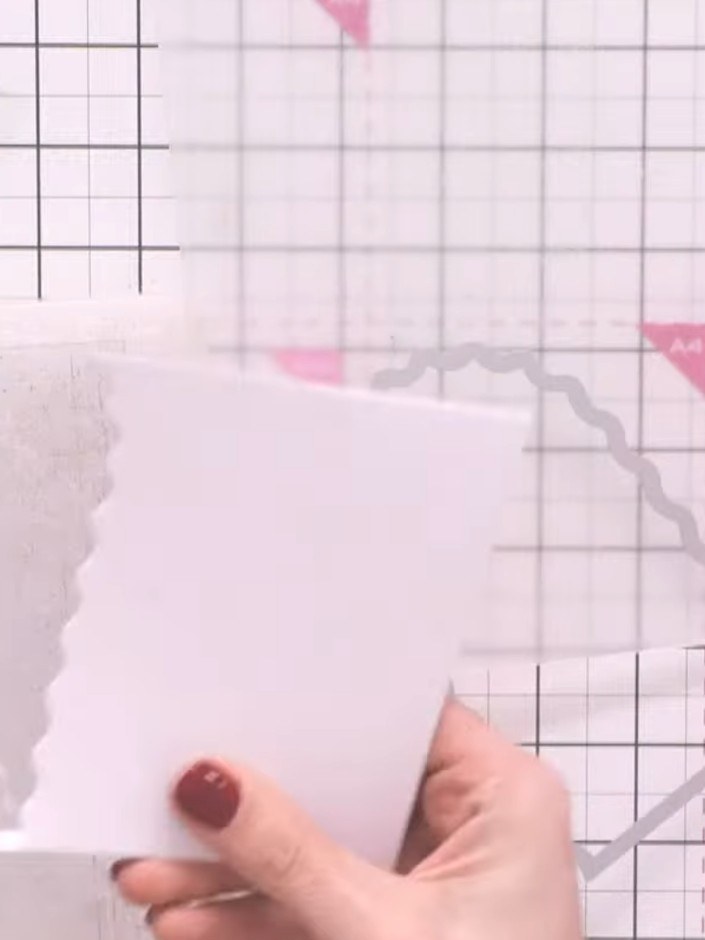
Cut a second piece of card using the same wavy arch die to create a matching shaped piece. Run the die and card through your die-cutting machine to cut out the shape.
▶ watch this step (1:13:00)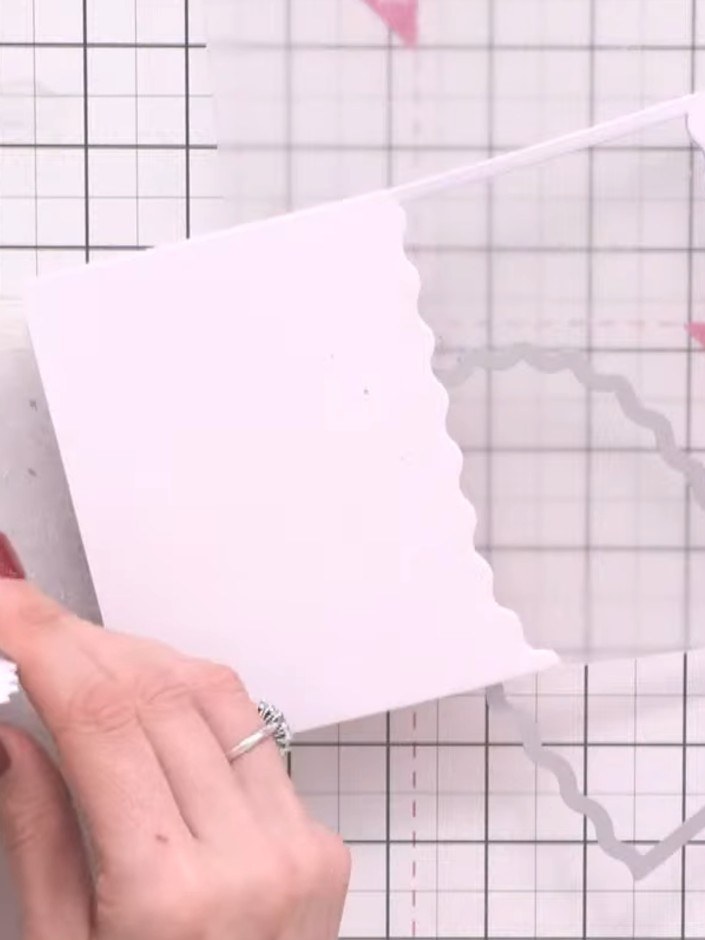
Adhere the second shaped piece directly on top of the first piece to hide the raw edge and create a neat shaped card. Massage the piece gently to ensure good adhesion.
▶ watch this step (1:13:30)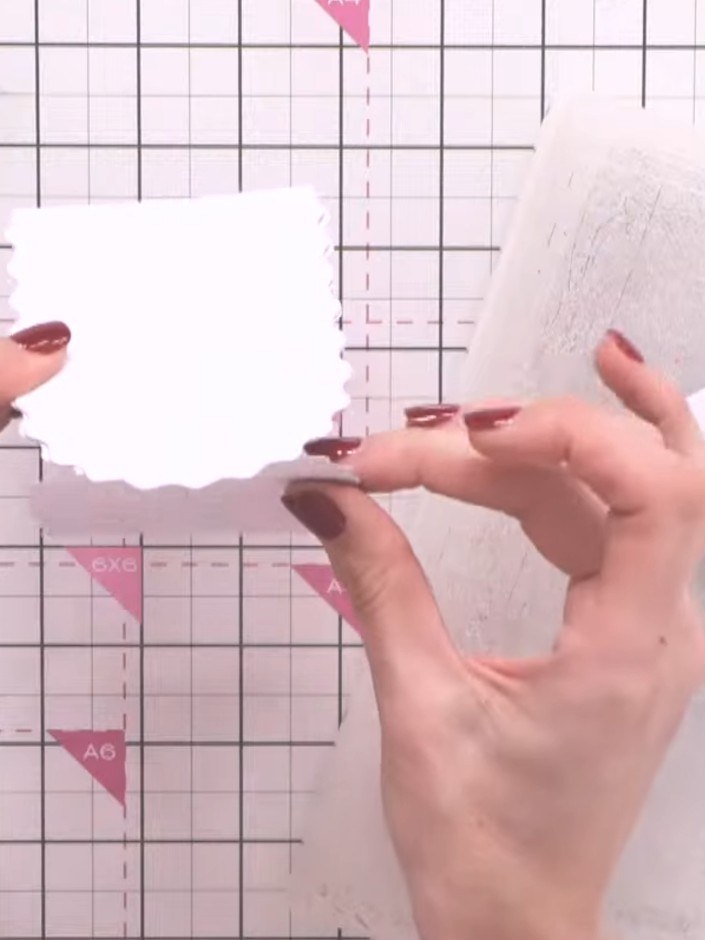
Cut two wavy arch shapes from white cardstock. Score one piece down the centre vertically. Attach the scored piece to the back of the unscored piece to create a 3D standing effect.
▶ watch this step (1:14:00)Written up from the show itself. See every guide from our shows · free how-to guides · watch live on My Telly
