Give your friends €10 off their first order!
Refer a FRIEND








Prices change straight away. Every language is our own translation, not Google.
A project from our live show THE THURSDAY DROP - Latest Products from Toni - Broadcast 27th August 2026 · 27/08/2026 · watch it from 46:00
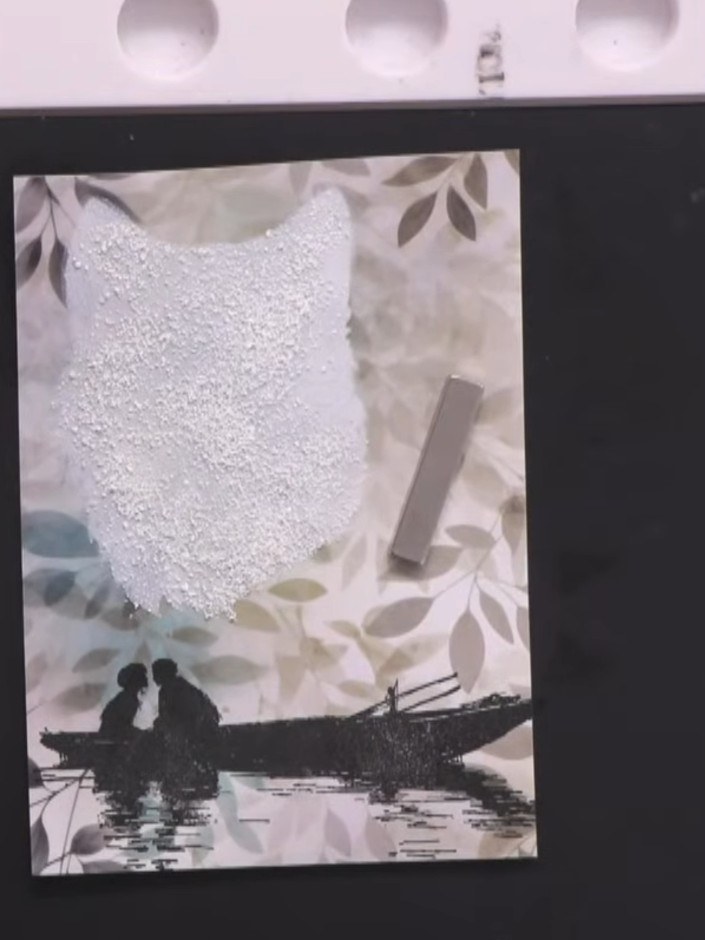
Create a striking card featuring a wolf head silhouette as an unconventional moon, embossed with glittering textured powder for stunning dimension. Set against a romantic scene of a couple in a boat with delicate foliage, this artistic design combines silhouette stamping, heat embossing, and layering techniques. The result is a dramatic, eye-catching card with a unique focal point that moves away from traditional circular moons.
 Stamps By Me - Woodland Wolf - Stamp and Stencil Set - 030724ASEE IT
 Stamps By Me - Woodland Wildlife the Next Chapter - 5 X 7 Paper Collection - 030724BSEE IT
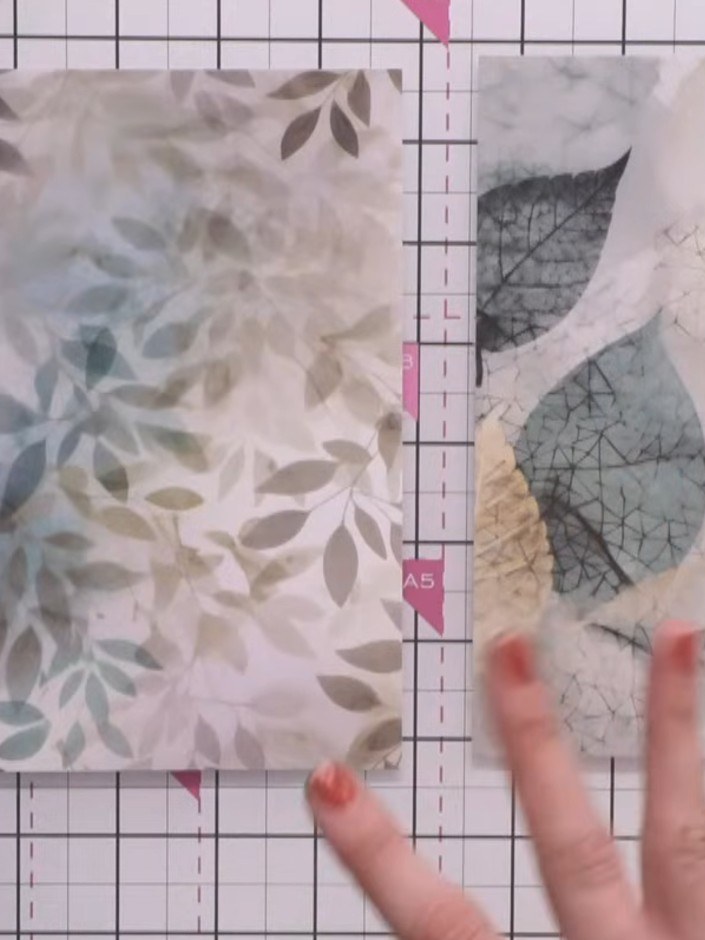
Select a patterned paper from the Woodland Wildlife collection to use as your card base. Choose from the decorative papers featuring leaf patterns and textured designs.
▶ watch this step (46:15)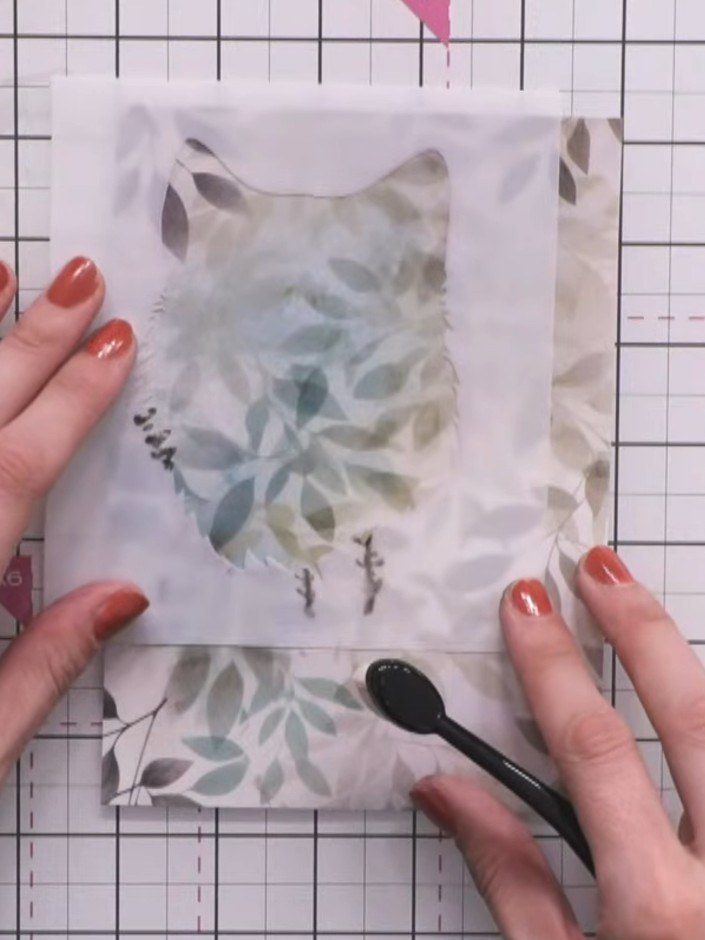
Position the wolf head stencil in the upper portion of your card panel where a moon would typically appear. Place it centrally and towards the top of the card.
▶ watch this step (47:00)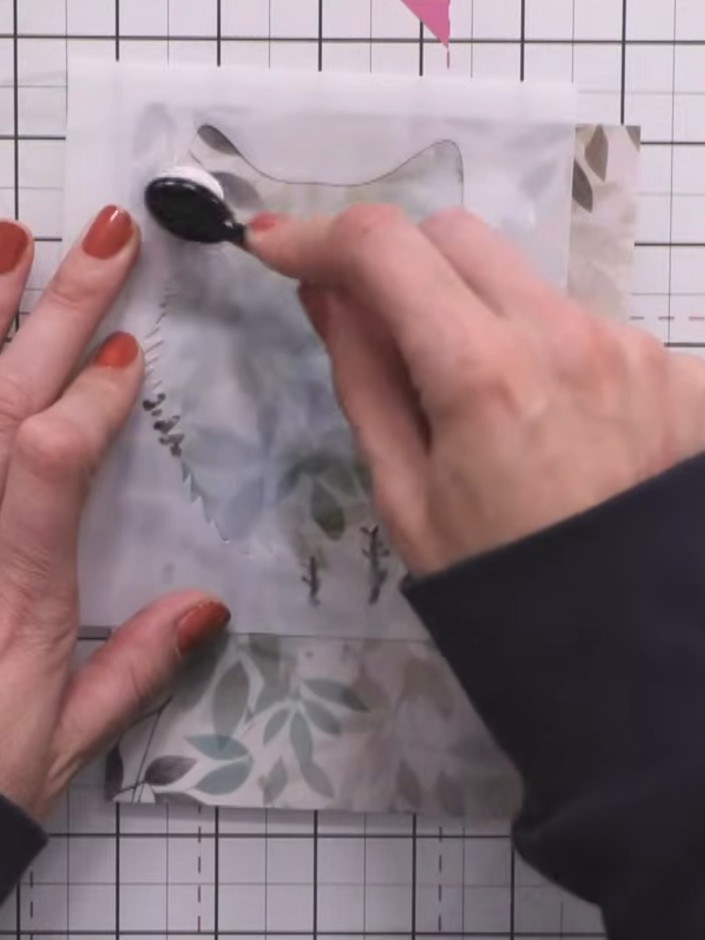
Position the wolf head stencil over your card and hold it steady with one hand. Using a sponge applicator, dab white pigment ink through the stencil to stamp the wolf head interior details.
▶ watch this step (47:30)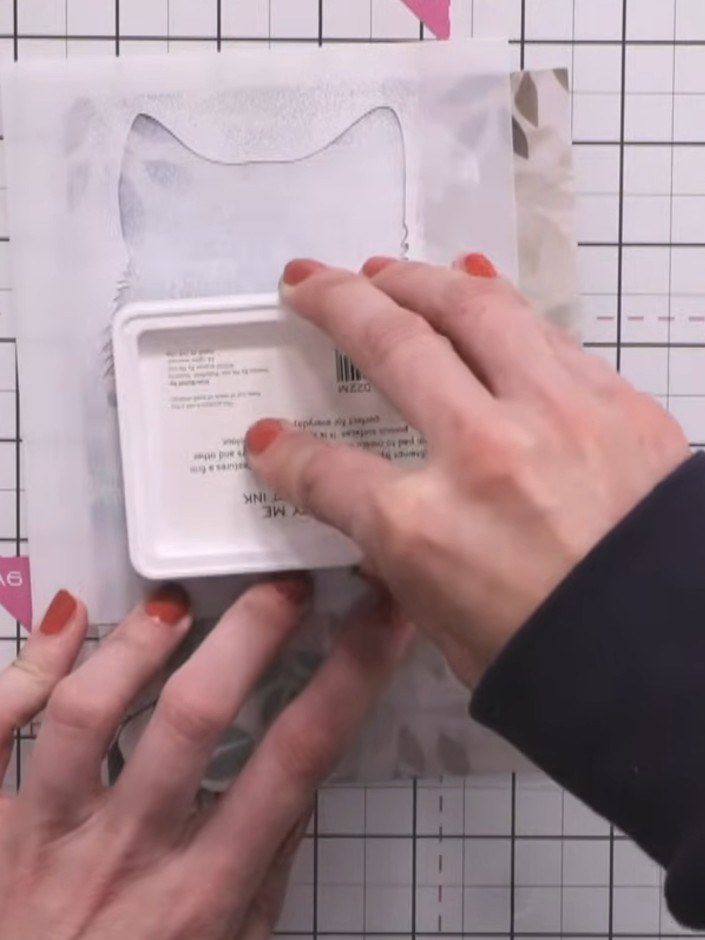
Sprinkle textured embossing powder with iridescence onto the wet white stamped area, ensuring good coverage over the cat silhouette.
▶ watch this step (48:30)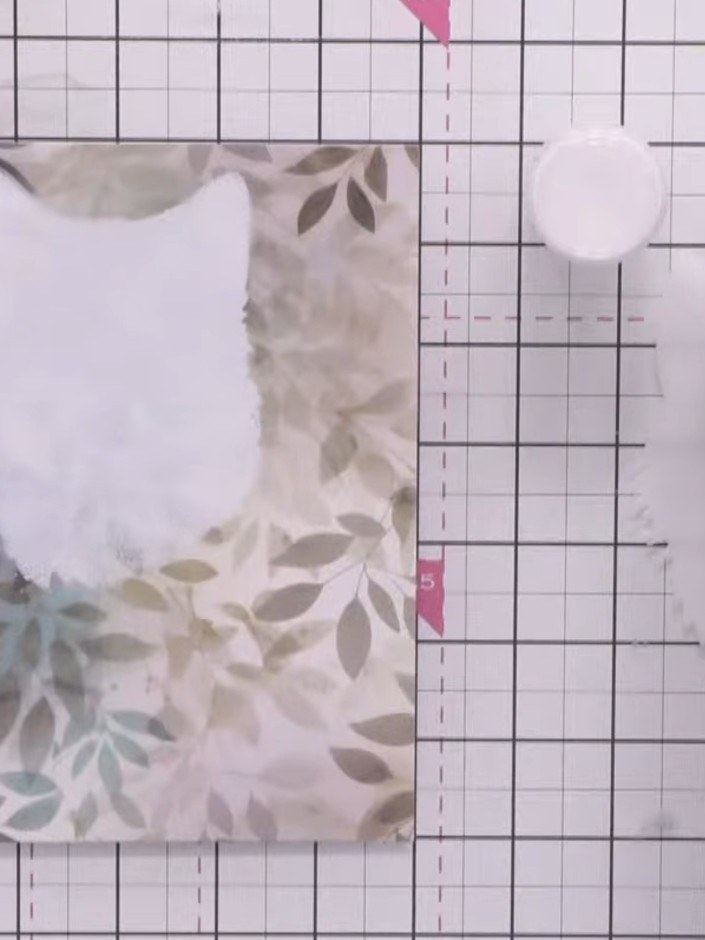
Heat set the embossing powder with a heat gun, holding it over the embossed areas until the powder melts and becomes smooth and glossy. Keep the heat gun moving to avoid scorching the paper.
▶ watch this step (50:00)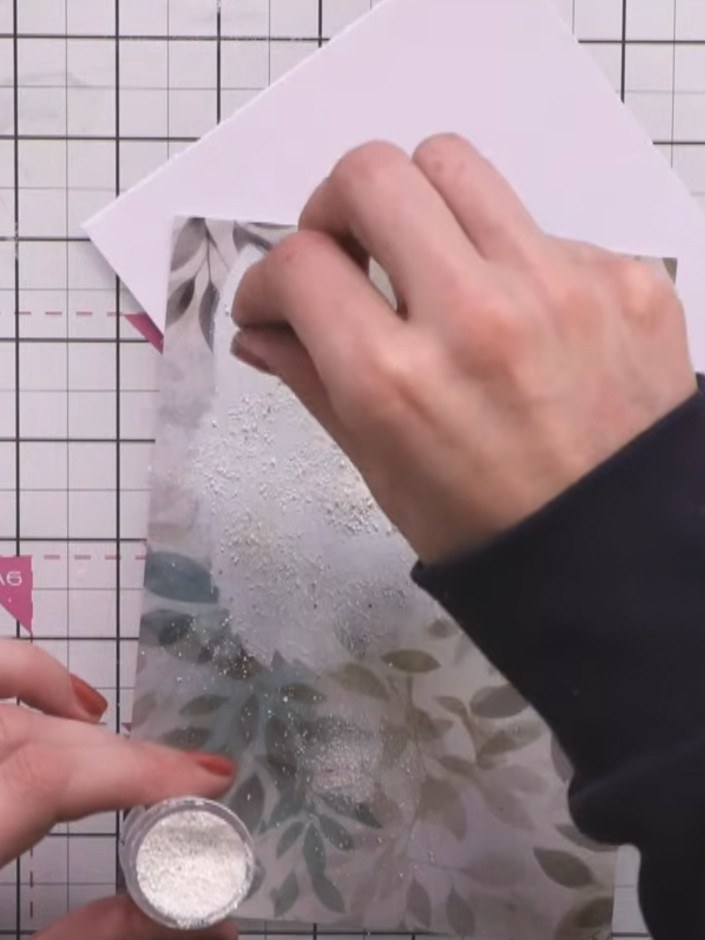
Use a blending brush with black ink to create a subtle vignette around the edges of the white card, gently darkening the corners to add depth and dimension to your design.
▶ watch this step (50:45)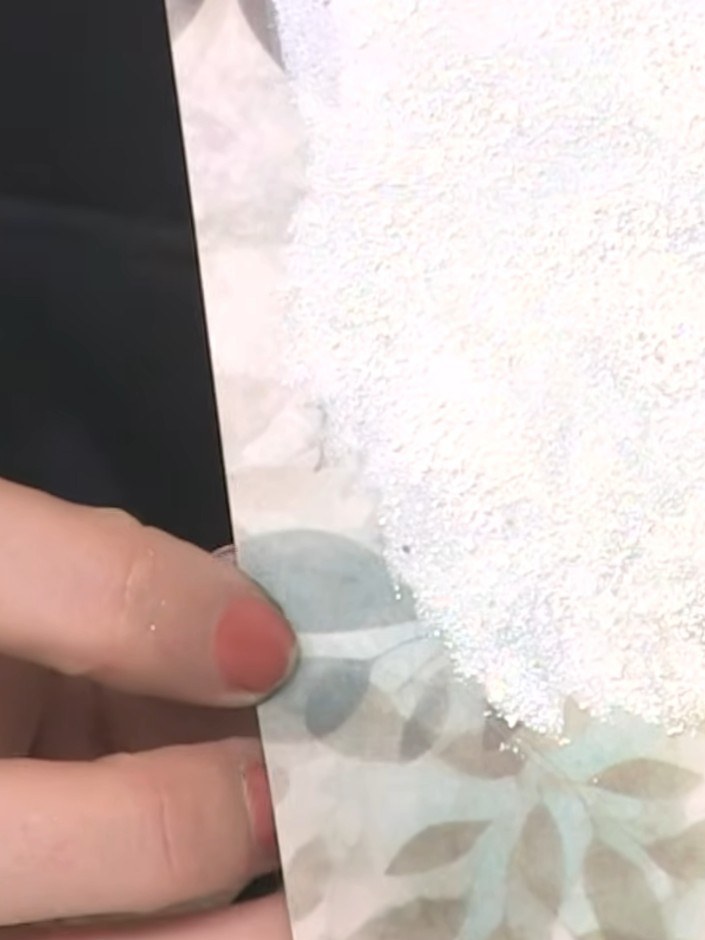
Trim the embossed white card down to size using a guillotine or paper trimmer.
▶ watch this step (53:00)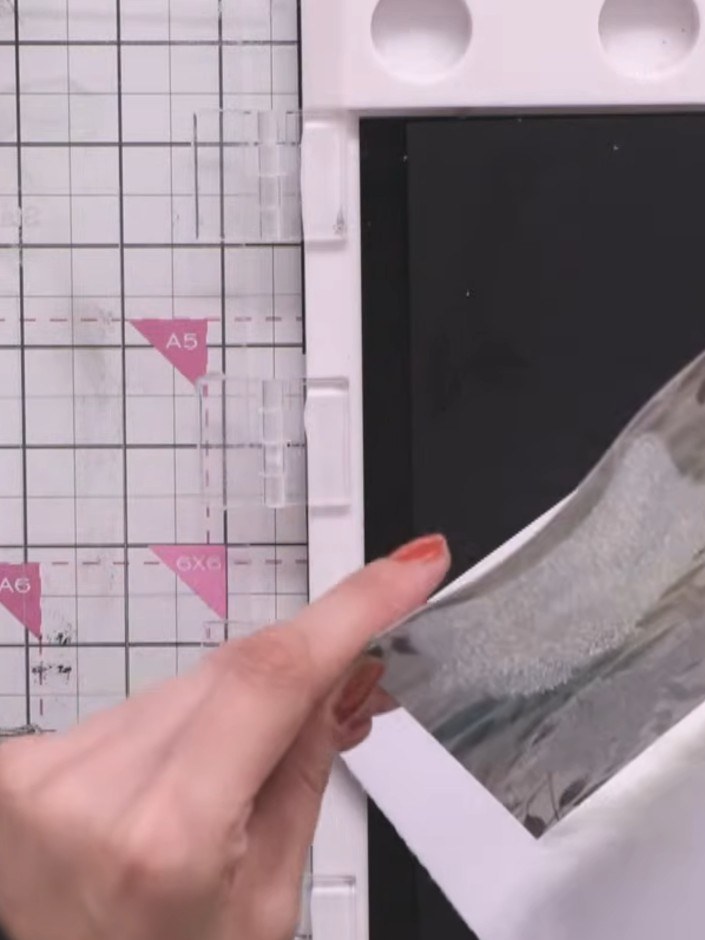
Stamp a sentiment onto white card stock and trim it into a banner shape with pointed tails.
▶ watch this step (53:45)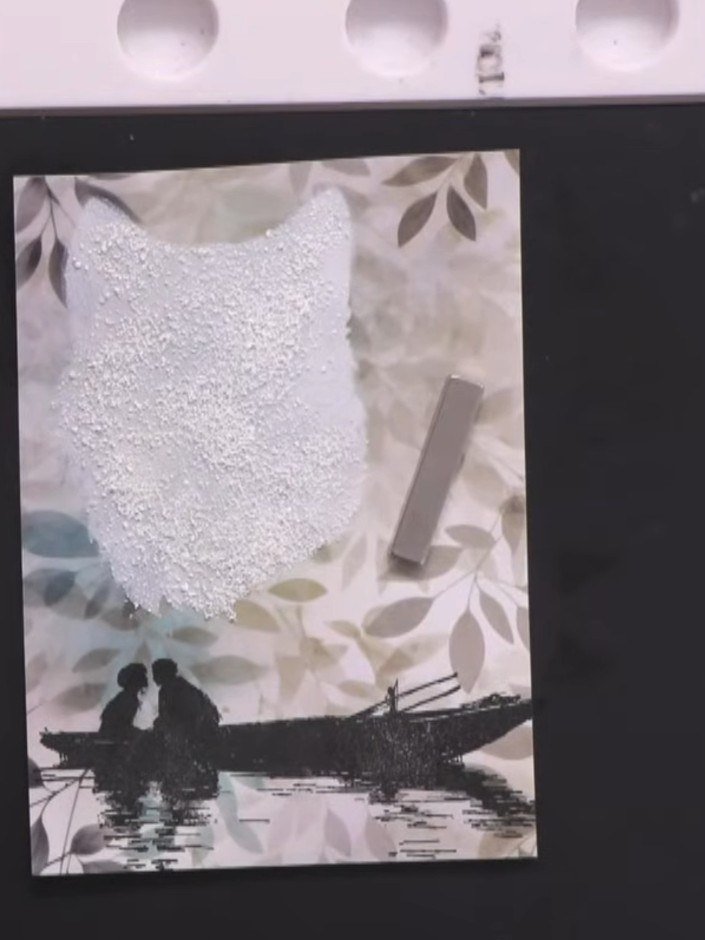
Adhere the sentiment banner to the card front using adhesive tape, positioning it across the lower portion of the design.
▶ watch this step (54:30)Written up from the show itself. See every guide from our shows · free how-to guides · watch live on My Telly


