Give your friends €10 off their first order!
Refer a FRIEND








Prices change straight away. Every language is our own translation, not Google.
A project from our live show MY PODCAST - Catch my latest updates broadcast 11th August 2025 · 11/08/2025
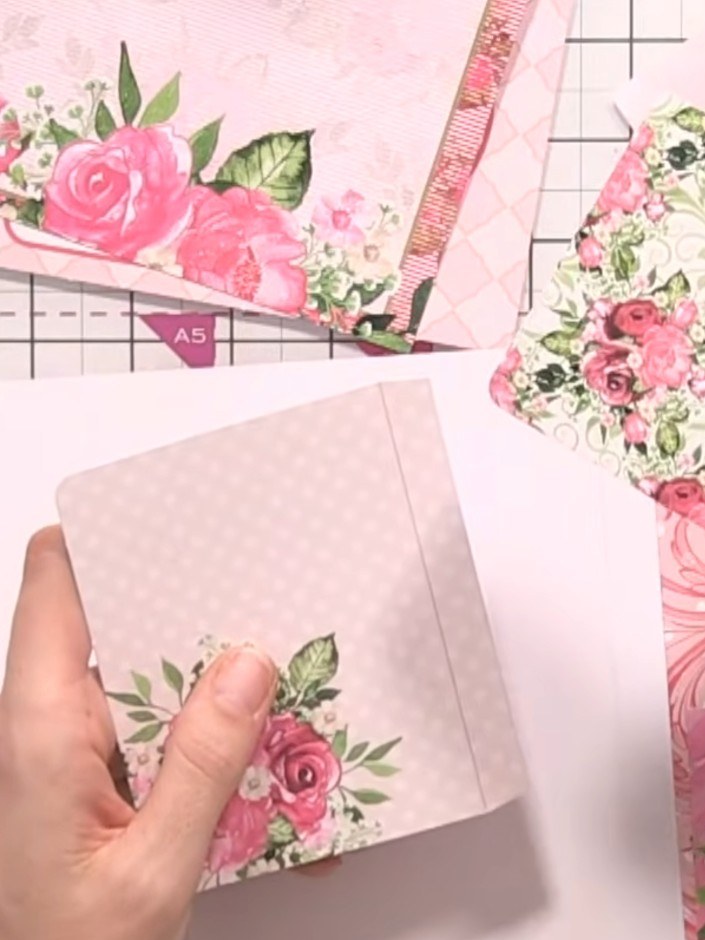
Create a charming mini album featuring decorative pages with interactive pockets and flaps. This project uses a pre-cut kit with floral patterns in soft pinks, greens, and cream tones to make a beautiful keepsake. The main techniques include scoring fold lines, assembling layered pages, and creating interactive elements for a personalised gift.
 1
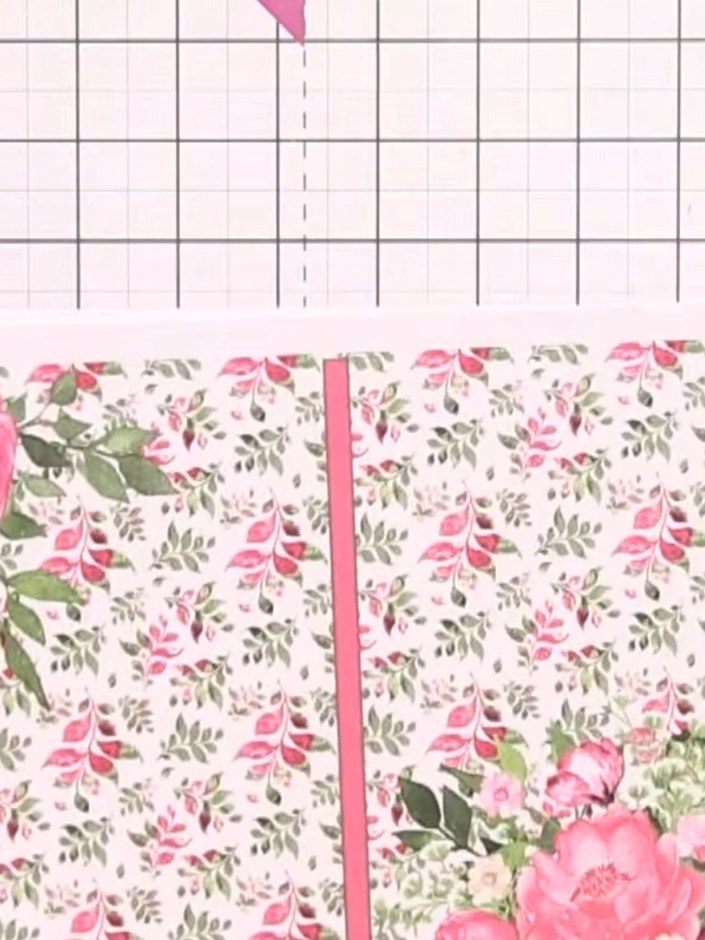
Gently press out all the pre-cut album pieces from the kit block. The pieces include floral patterned panels with pink roses and decorative elements that will form the pages and embellishments of your mini album.
 2
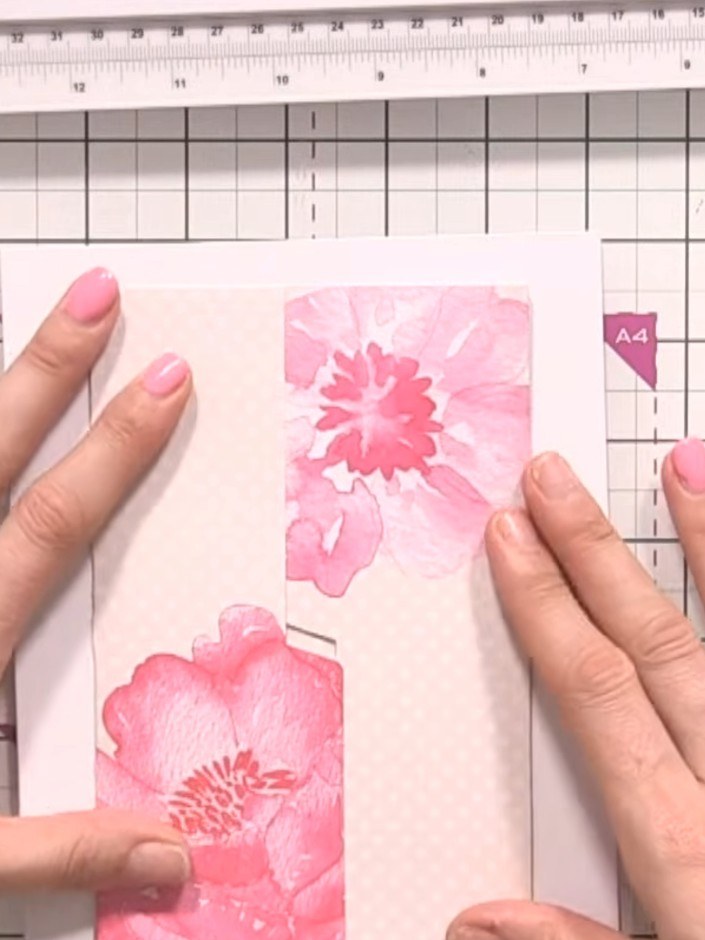
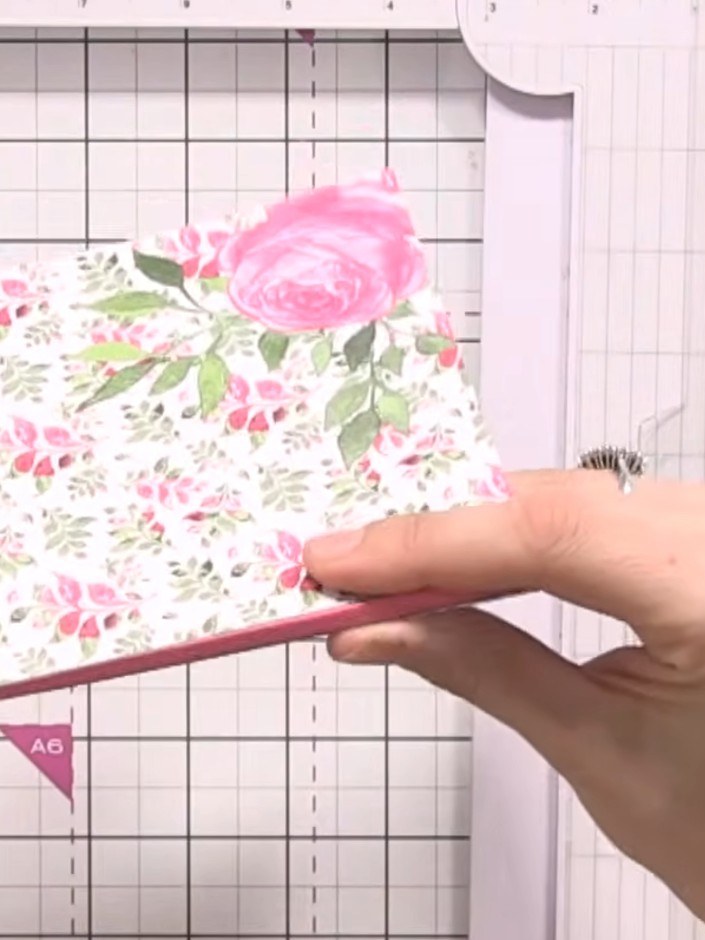
Score along the marked lines on your patterned paper using a scoring tool to create fold lines for the album structure. Work systematically across the paper, following the grid markings to ensure accurate placement of your score lines.
 3
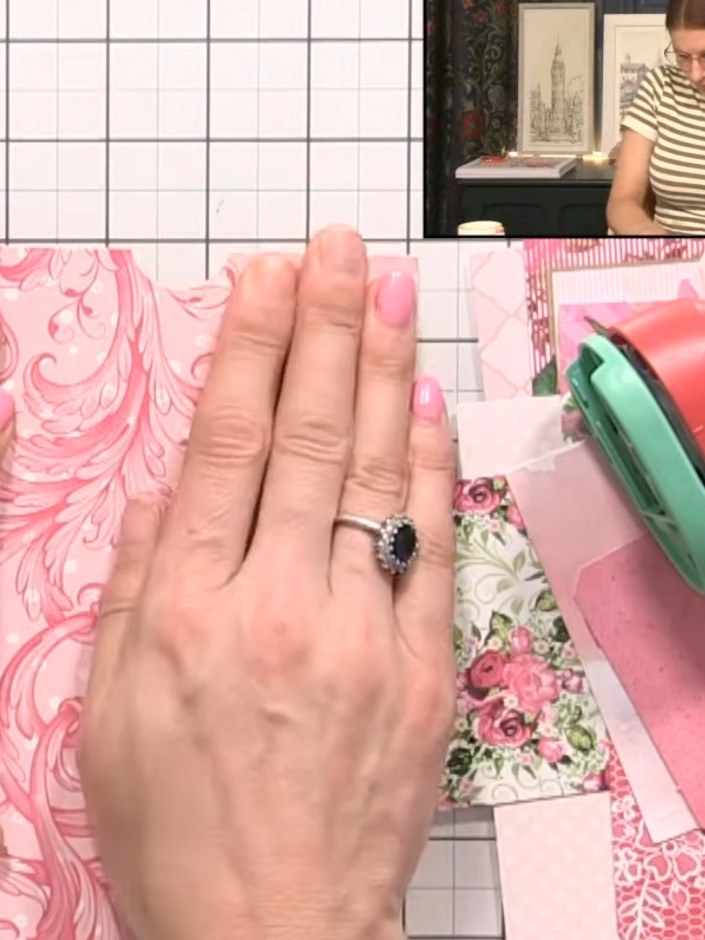
Position a decorative paper panel with pink swirl and polka dot pattern on your album base. Use low-tack tape or glue to secure it in place, creating the first hinge element for your spine.
 4
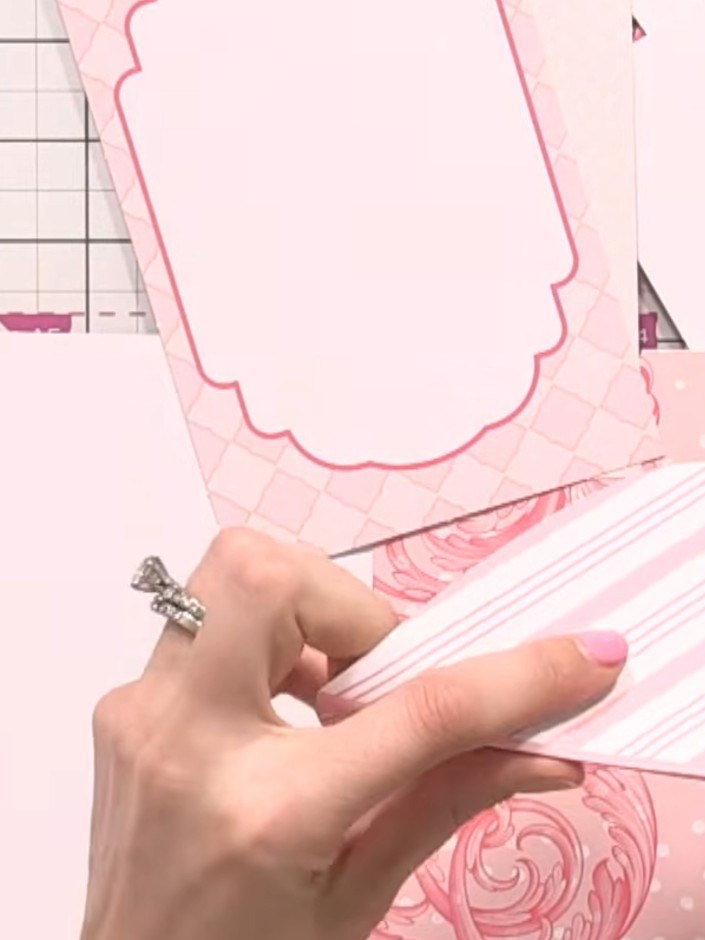
Position a decorative striped paper strip across the front of the album. Secure it in place with adhesive, ensuring it lies flat and straight across the cover.
 5
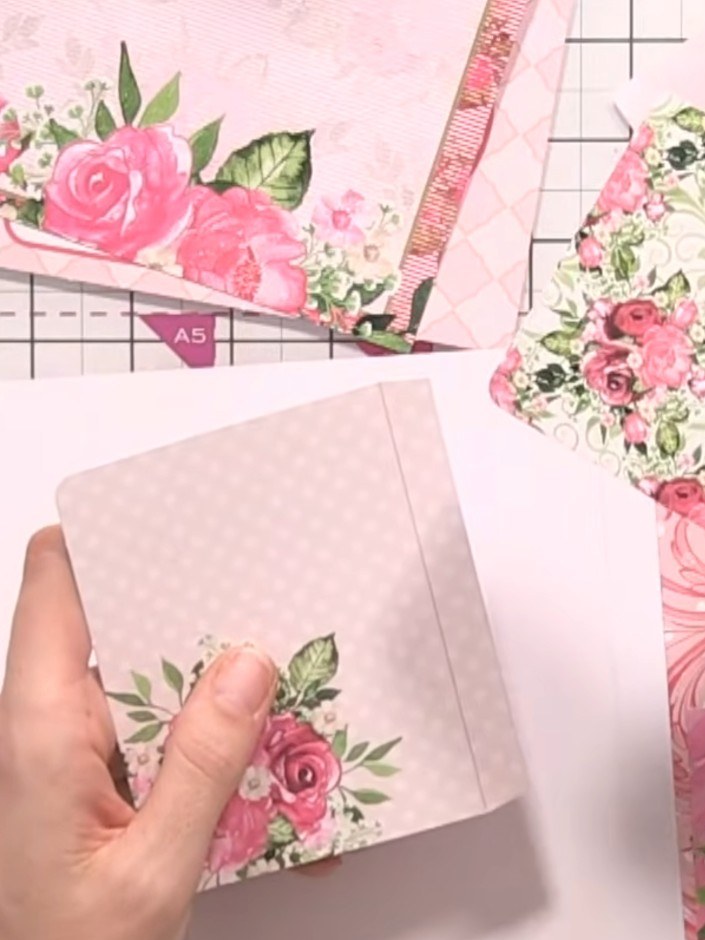
Glue the pocket elements inside the album pages at varying heights to create layered storage. Position the floral-decorated pockets at different levels to allow for multiple photos or mementos to be stored. Ensure the pockets are securely adhered before adding contents.
 6
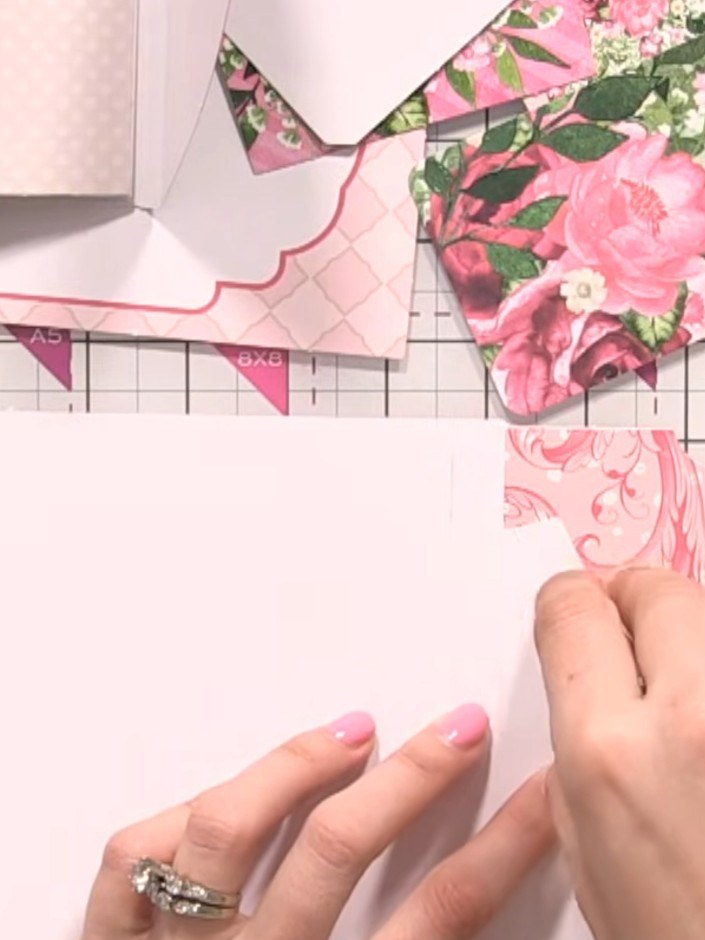
Apply glue to the back of your mat layer where the hinge will sit. Position the interactive flap page behind the mat layer and press firmly to secure the hinge mechanism in place. Add decorative elements or embellishments to your pages using foam pads behind them to create dimension. Position the elements where desired and secure them in place.
 7
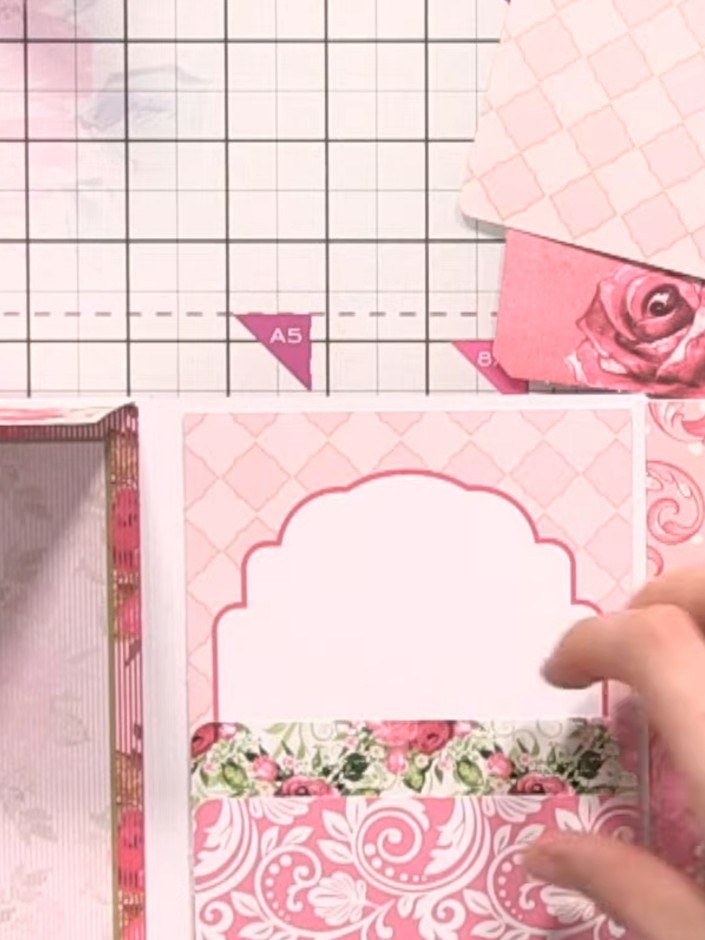
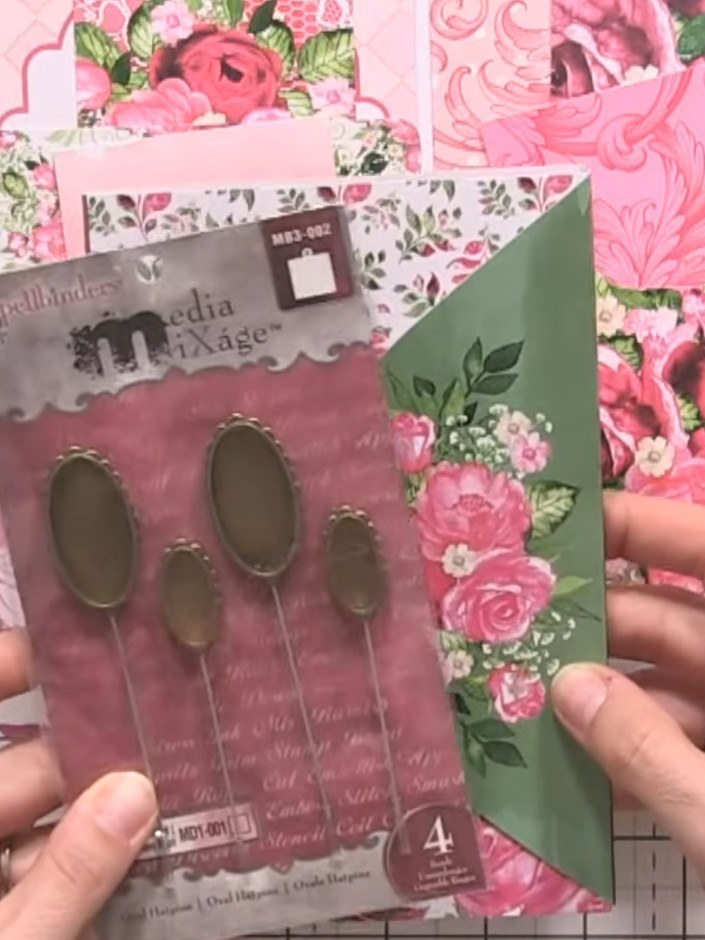
Layer and stack the patterned paper pockets vertically on the album page to create three-tier storage sections. Position the decorative frame piece on top and arrange the coordinating floral papers to build up the layered pocket design.
 8
Embellish the front and inside pages of your mini album with ribbon, flowers, decorative pins, or die-cut elements to personalise it. Add these embellishments to the pockets and interactive pages as desired to complete your album. Display your completed mini album alongside the coordinating cards and envelopes. The album features floral patterned papers in pink and green with decorative pockets and interactive elements throughout.
Share your make with the Stamps By Me community - and keep this guide for next time.
Written up from the show itself. See every guide from our shows · free how-to guides · watch live on My Telly · the previous layout