QUICK LINKS

Welcome to the How to Craft Network
 
SBM SHOP
GIVE YOUR FRIENDS €10 OFF REFER A FRIEND › DISCOVER MY-TELLY.COM › WE JUST GOT SMARTER GET THE APP › AWARD WINNING CHANNEL ON YOUR TV › JOIN THE CLUB FOR SAVINGS ›
 

Painted and Stencilled MDF Coaster with Vintage Distressing

A project from our live show ONE DAY SPECIAL - Join Toni for her brand new launch - Broadcast 8th August 2025 · 08/08/2025 · watch it from 23:30

Decorate an MDF coaster with layered stencil designs using acrylic paints, finger waxes, and fine liner details. This project creates a vintage-look gift piece with dimensional roses, distressed edges, and wood-grain effects.
You will need

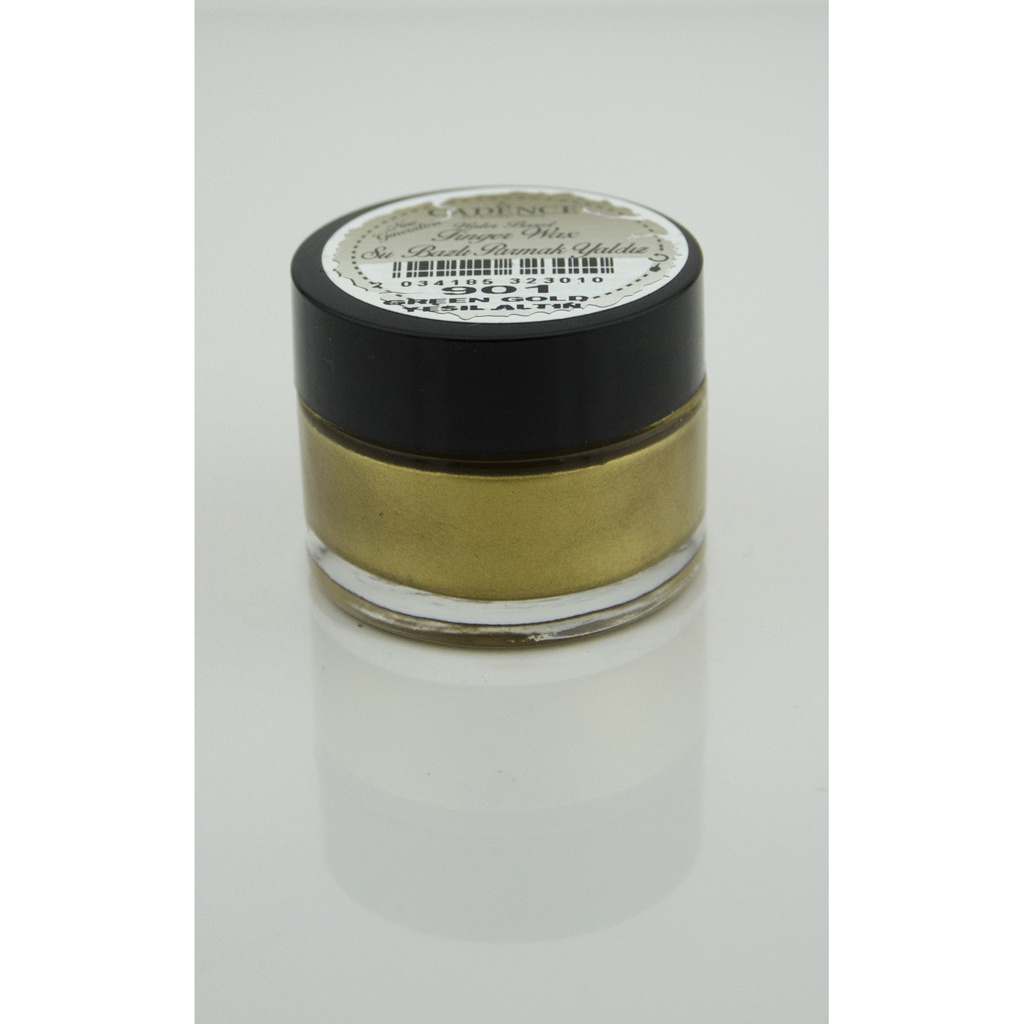
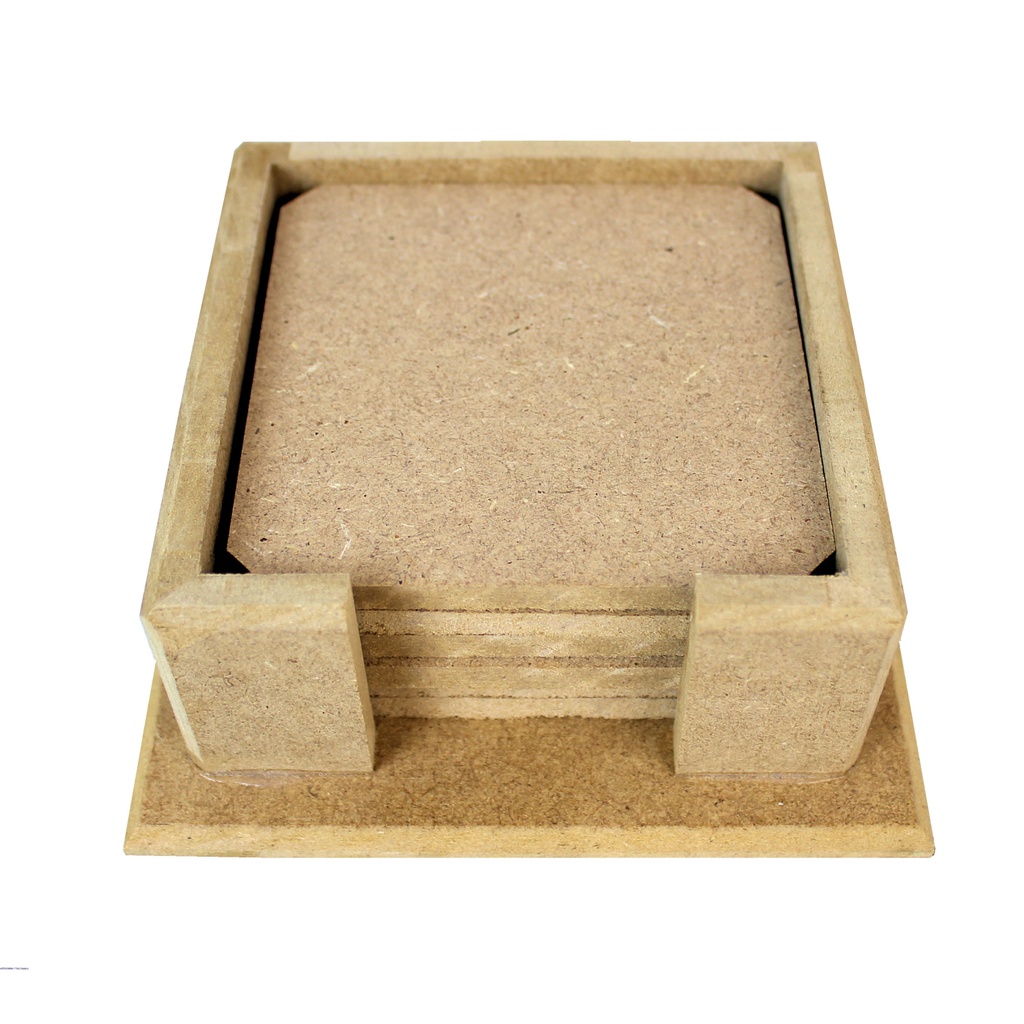
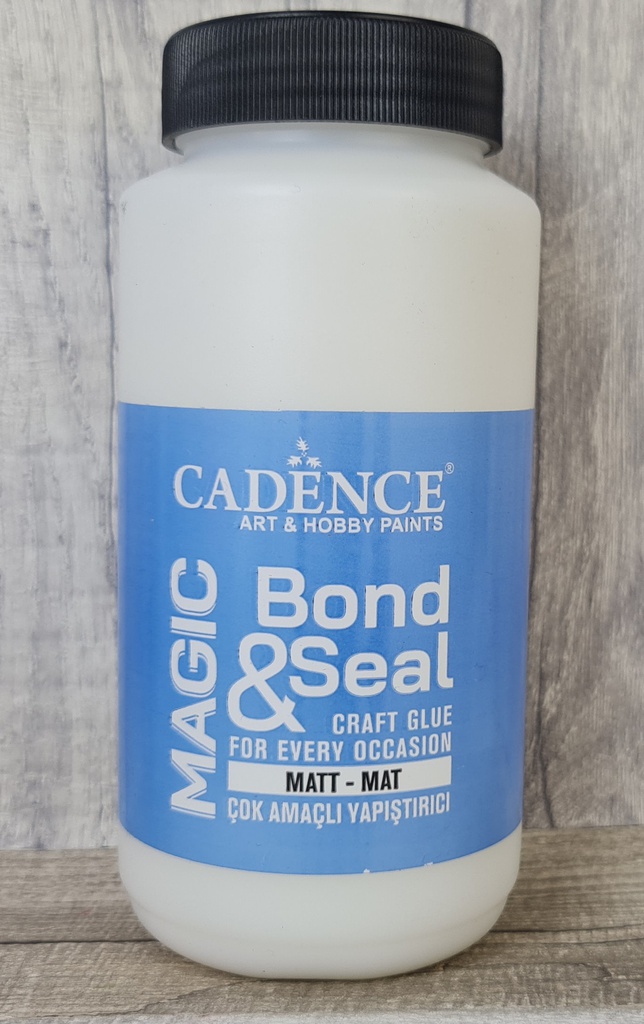
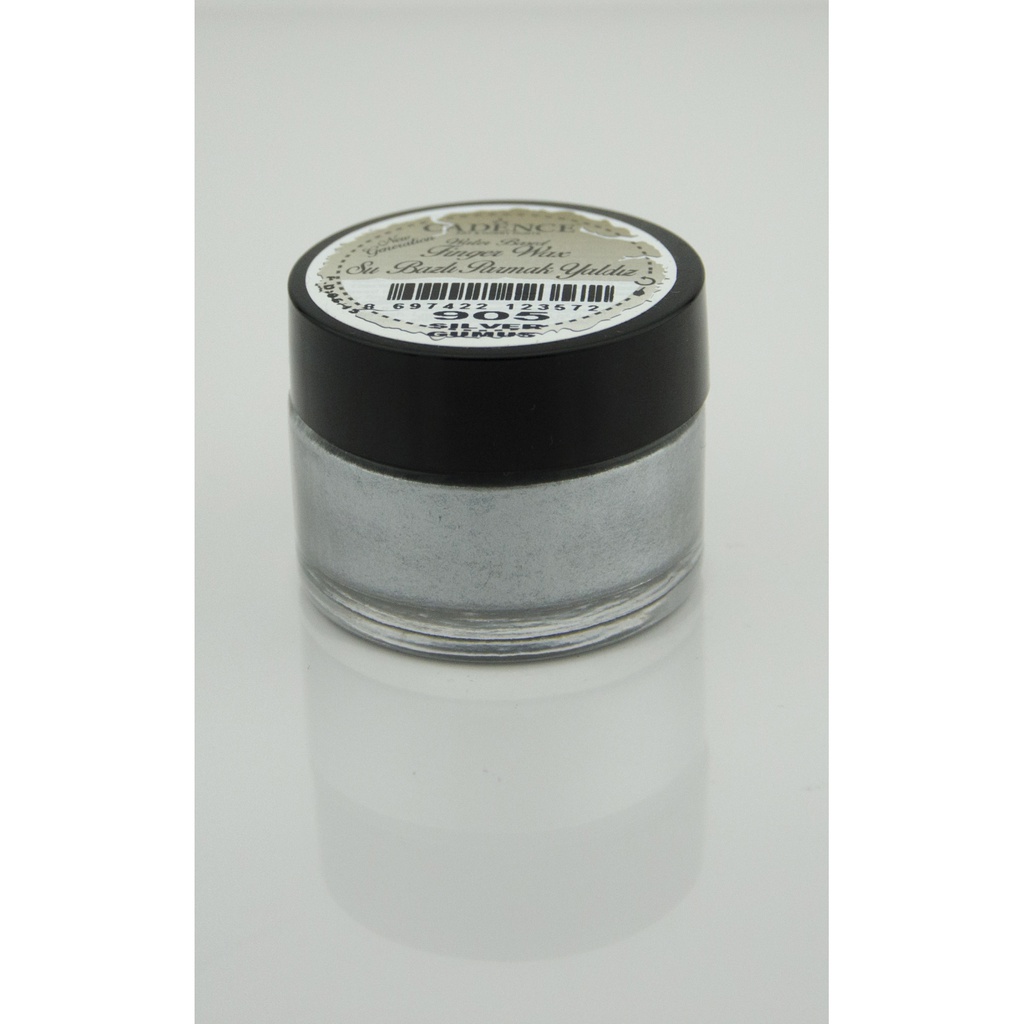
MDF Coaster 13 x 13 x 5cmMDF Coaster 13 x 13 x 5cmSEE IT Stamps By Me Stencil and Die Set - Classic Rose - 030125AStamps By Me Stencil and Die Set - Classic Rose - 030125ASEE IT Cadence Magic Bond & Seal - Matt (450ml)Cadence Magic Bond & Seal - Matt (450ml)SEE IT Cadence Finger Wax - SilverCadence Finger Wax - SilverSEE IT Cadence Finger Wax - Green GoldCadence Finger Wax - Green GoldSEE IT Glitter Varnish - Gold - 210420E1Glitter Varnish - Gold - 210420E1SEE IT
DOWNLOAD THIS GUIDE (PDF)

Step by step

  1. Place the coaster on a glass mat or paper surface to protect your work area. ▶ watch 28:15
  2. Squeeze a small amount of Cadence paint onto your palette and mix if needed, noting that a light oil may appear first—this is normal. ▶ watch 28:30
  3. Using a soft brush, apply the base paint colour to the coaster with cross-hatching strokes to ensure even coverage. ▶ watch 28:45
  4. Allow the base coat to dry completely. ▶ watch 31:00
  5. Position the first layer of the Classic Rose stencil on the coaster and hold it steady with your hand. ▶ watch 33:30
  6. Tap a pink ink pad lightly over the stencil opening to create the first layer of the rose design. ▶ watch 35:00
  7. Remove the first stencil and position the second numbered stencil layer on top, aligning it carefully. ▶ watch 36:30
  8. Tap the ink pad over the second stencil layer to add more detail to the rose. ▶ watch 37:00
  9. Continue layering with subsequent stencil layers (three, four, five) using different ink colours—pink, teal, and green—to build dimension. ▶ watch 38:00
  10. Apply green ink to the leaf areas of the stencil, tapping gently to avoid oversaturating. ▶ watch 40:15
  11. Dip your finger into green gold finger wax and gently tap the edges and corners of the coaster to add metallic highlights. ▶ watch 44:30
  12. Using a clean, dry brush, lightly dry brush white paint over the design to create a distressed, aged effect, dragging in one consistent direction. ▶ watch 47:00
  13. Apply additional gold finger wax to the edges and corners to enhance the vintage look. ▶ watch 49:30
  14. Using a ruler and silver pencil, lightly draw thin lines across the coaster to create a wood-grain effect, pressing gently to avoid heavy marks. ▶ watch 53:30
  15. Once complete and dry, seal the coaster with a matte or satin sealant to protect the design and make it suitable for use. ▶ watch 55:00

Tips from the show

Written up from the show itself. See every guide from our shows · free how-to guides · watch live on My Telly