Give your friends €10 off their first order!
Refer a FRIEND








Prices change straight away. Every language is our own translation, not Google.
A project from our live show ONE DAY SPECIAL - We are celebrating 3 million VIEWS! - Broadcast 13th June 2025 · 13/06/2025
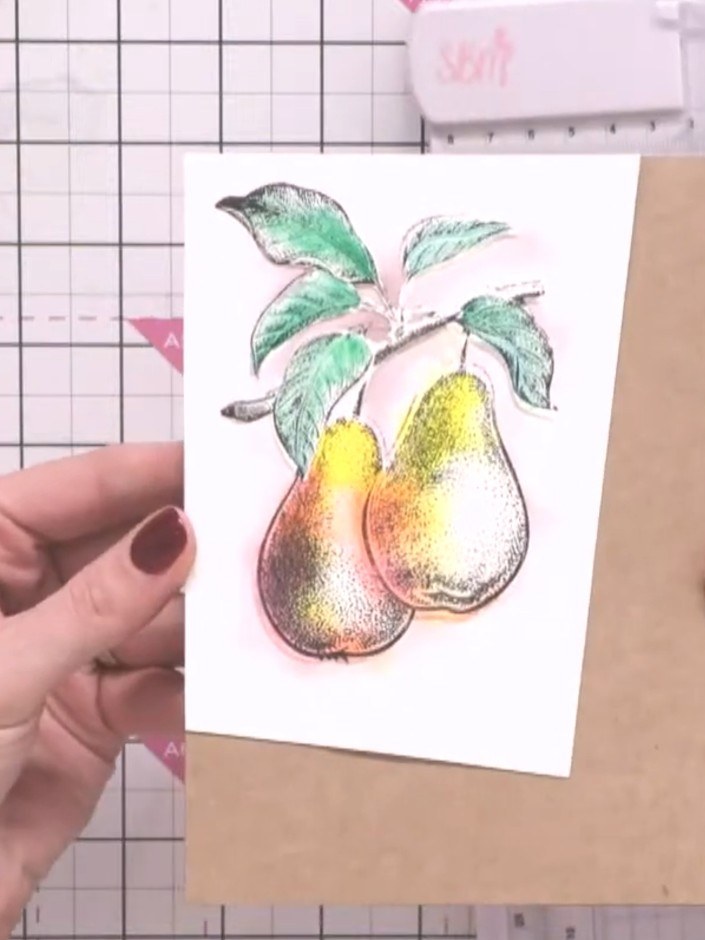
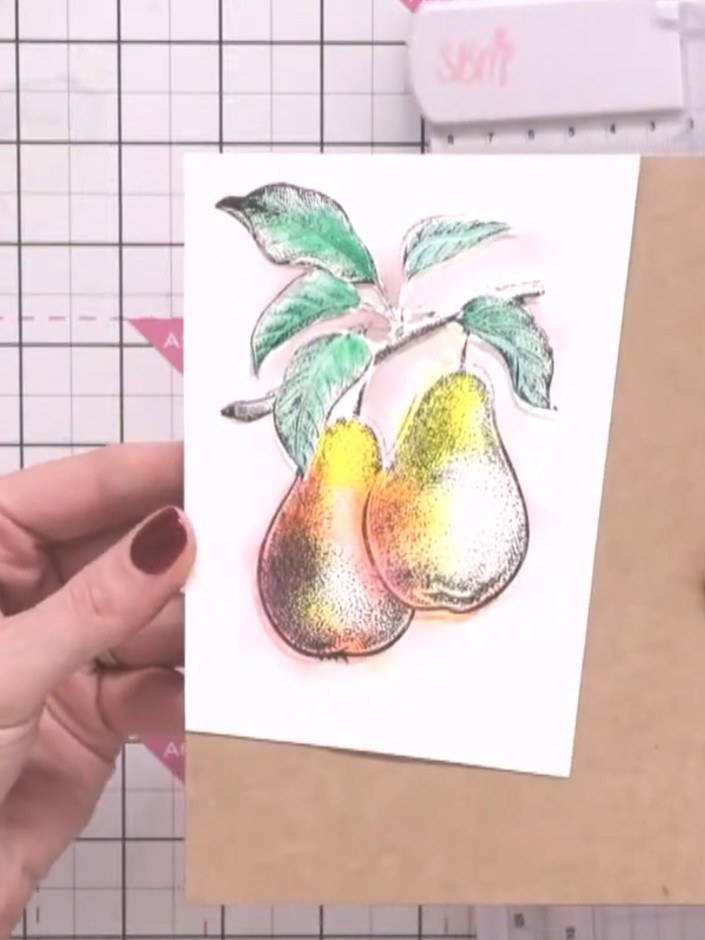
Create a stunning greeting card featuring beautifully watercoloured pears with embossed texture and fine stamped details. The pears are hand-painted in soft yellows, oranges and greens with delicate shading to add depth and dimension. This elegant design is mounted on kraft-coloured card stock, combining watercolour blending techniques with embossing and stamping for a professional finish.
 1
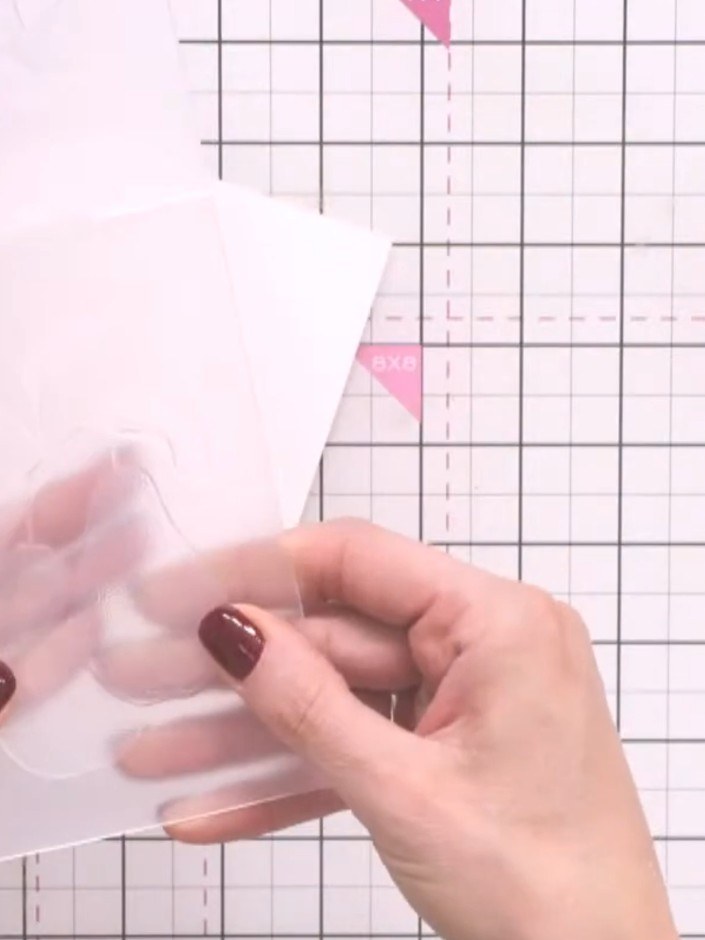
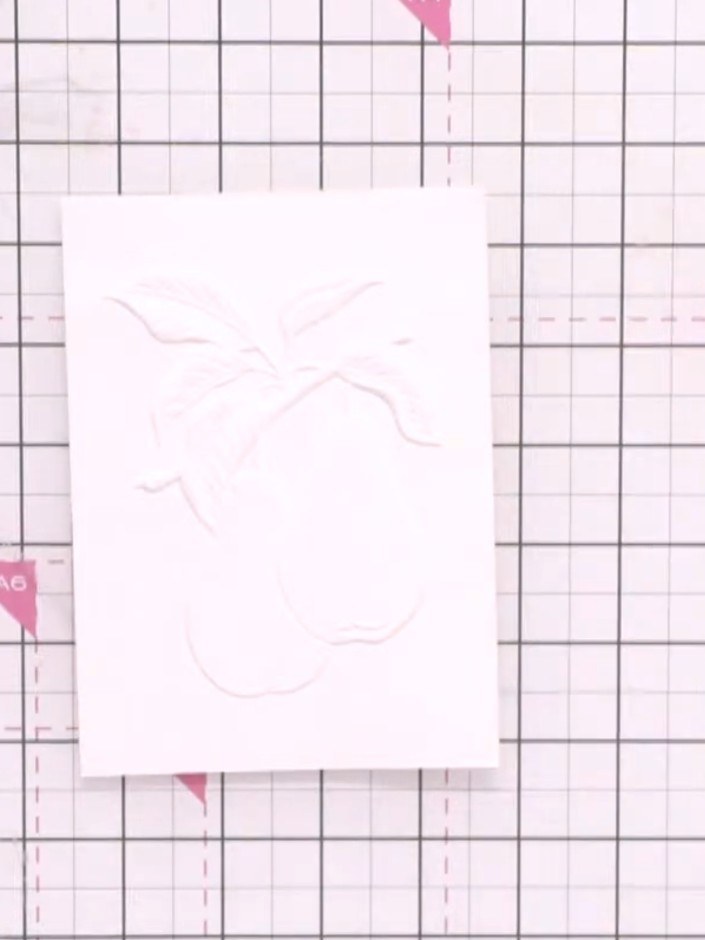
Place your watercolour card into the pear embossing folder. Run the folder through your die-cutting machine to create a raised pear design on the card.
 2
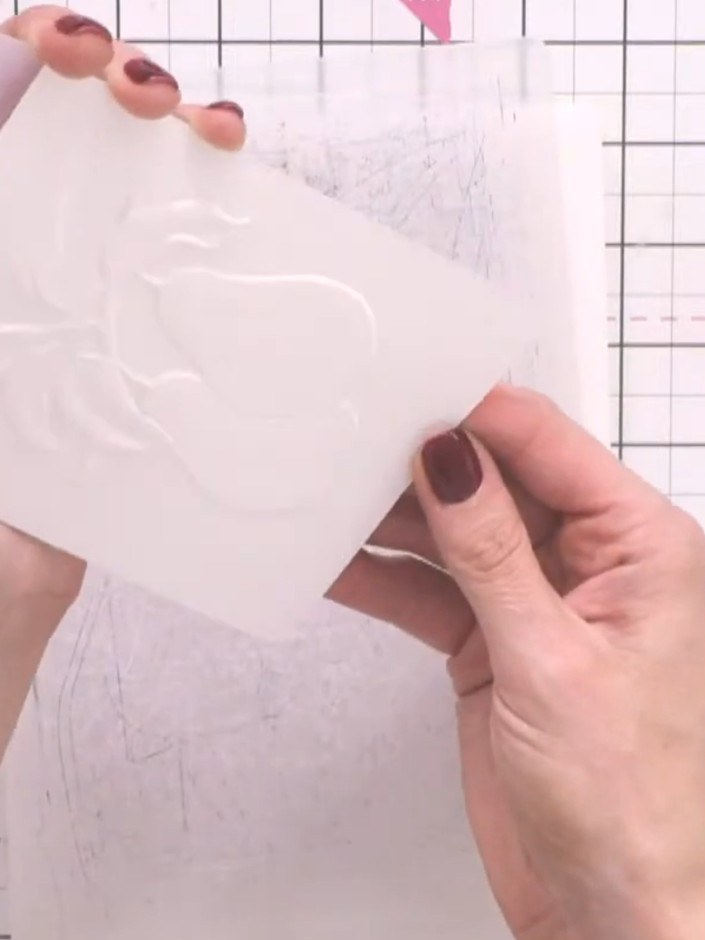
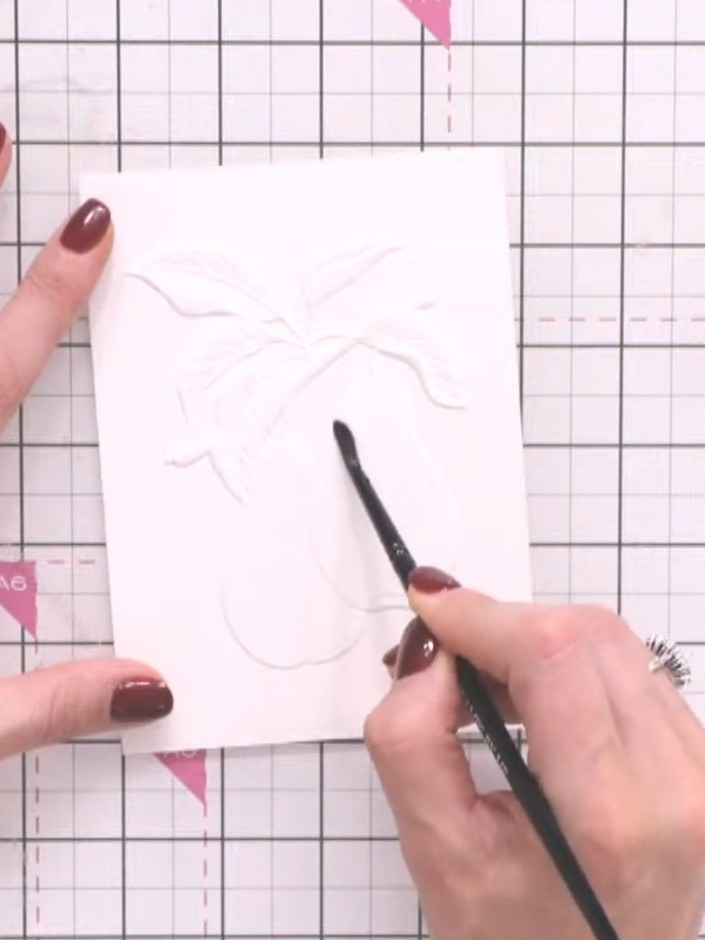
Using a clean watercolour brush, wet the entire embossed pear area with clean water. Ensure the water covers all the raised embossed details of the pear and leaves.
 3
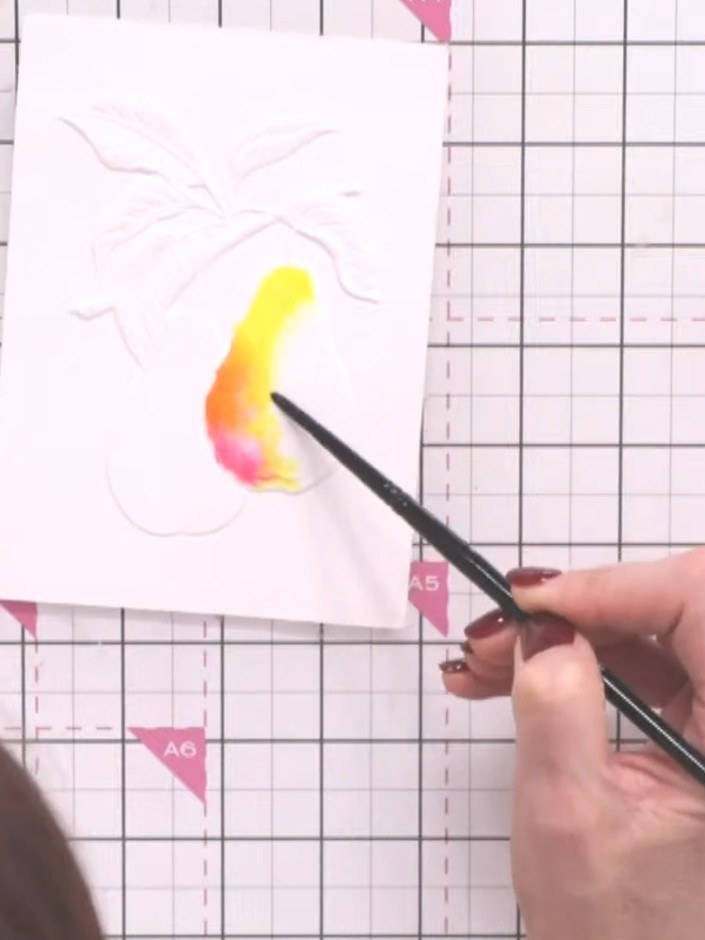
Drop watercolour paint onto the wet embossed pear image in multiple colours including pink, orange and yellow. Allow the water to blend the colours naturally on the card.
 4
Using a clean, damp brush, soften any harsh colour lines by blending the edges of the watercolour on your pear design. Work gently to create smooth transitions between colours.
 5
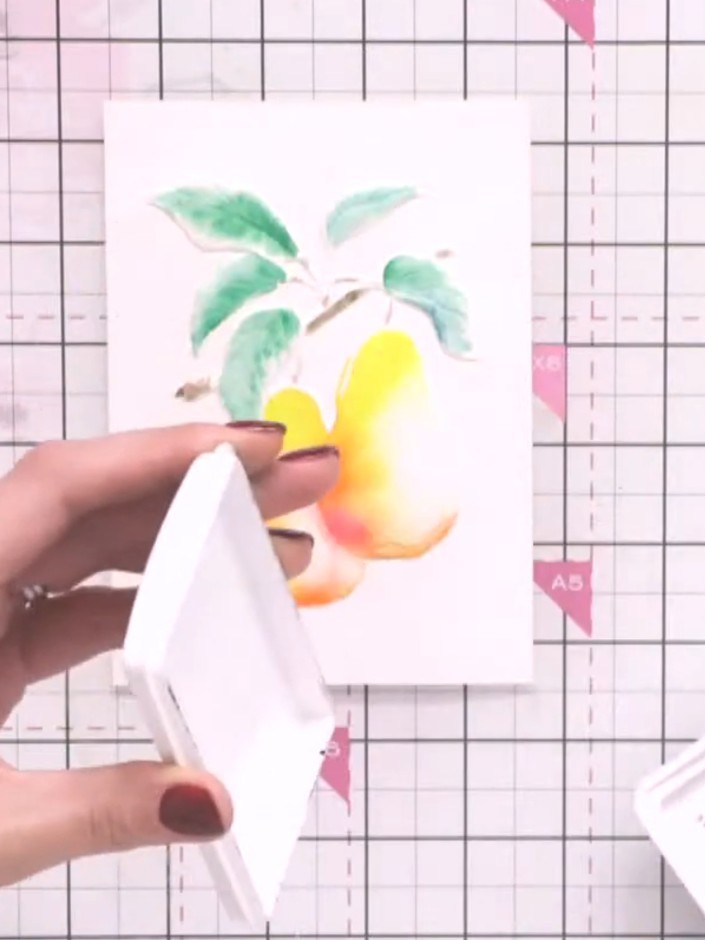
Using a wet paintbrush, add water to the edge of the pear shape. Paint the pear with yellow, orange and pink watercolours, blending the colours together whilst wet.
 6
Using a damp brush with diluted grey ink, add shadow definition around the exterior edges of the pears and leaves to create depth.
 7
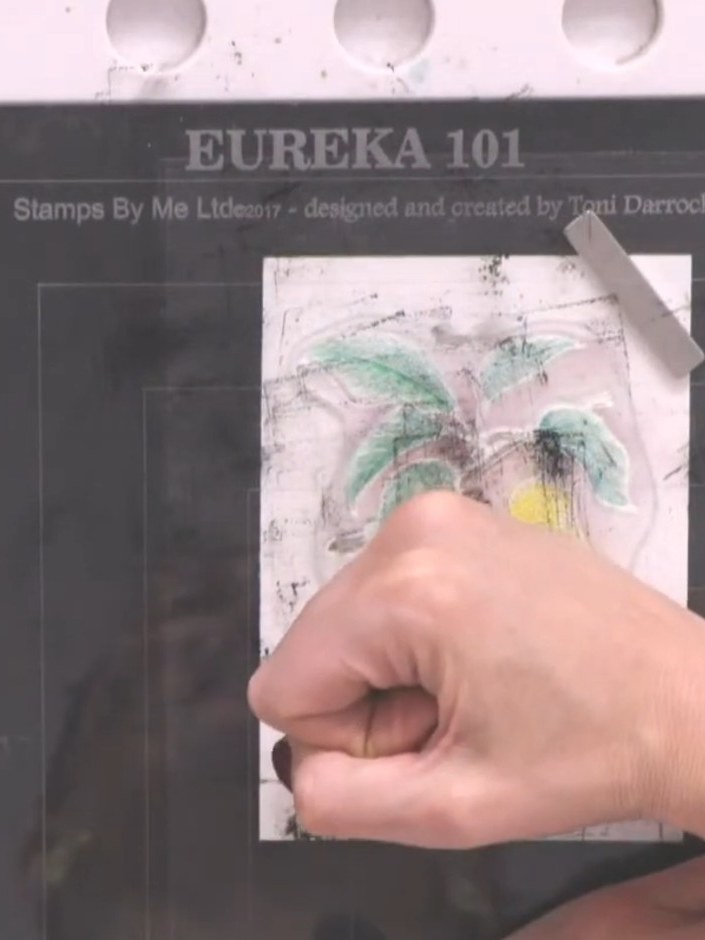
Stamp the pear design over the watercoloured area using black ink to add fine detail and definition to the image.
 8
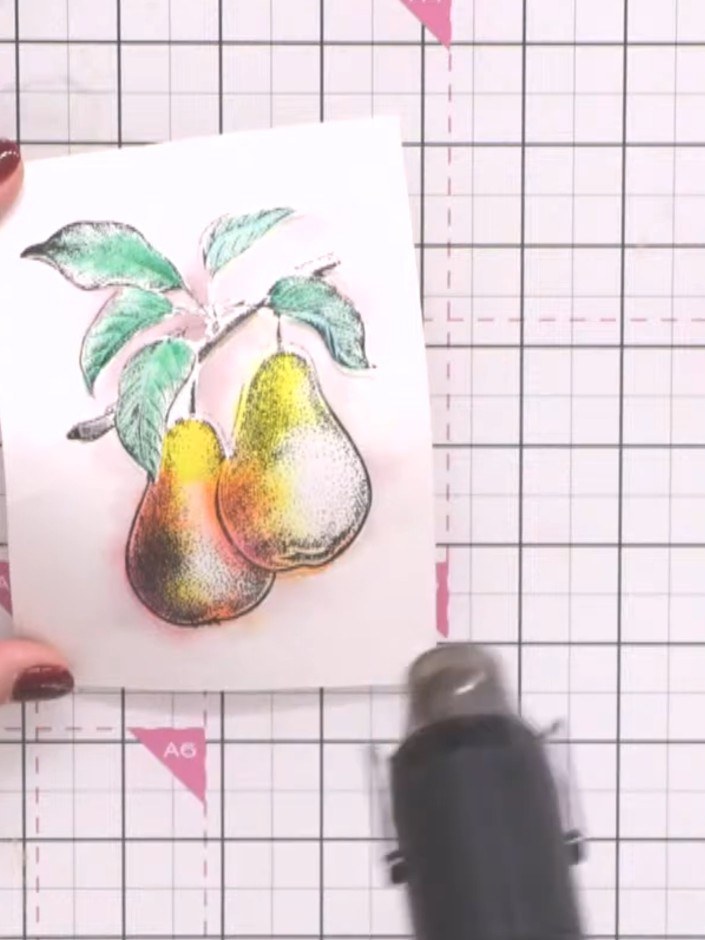
If detail has been lost from watercolouring, place the stamped card back into the embossing folder and run through the die-cutting machine again to restore the raised texture.
 9
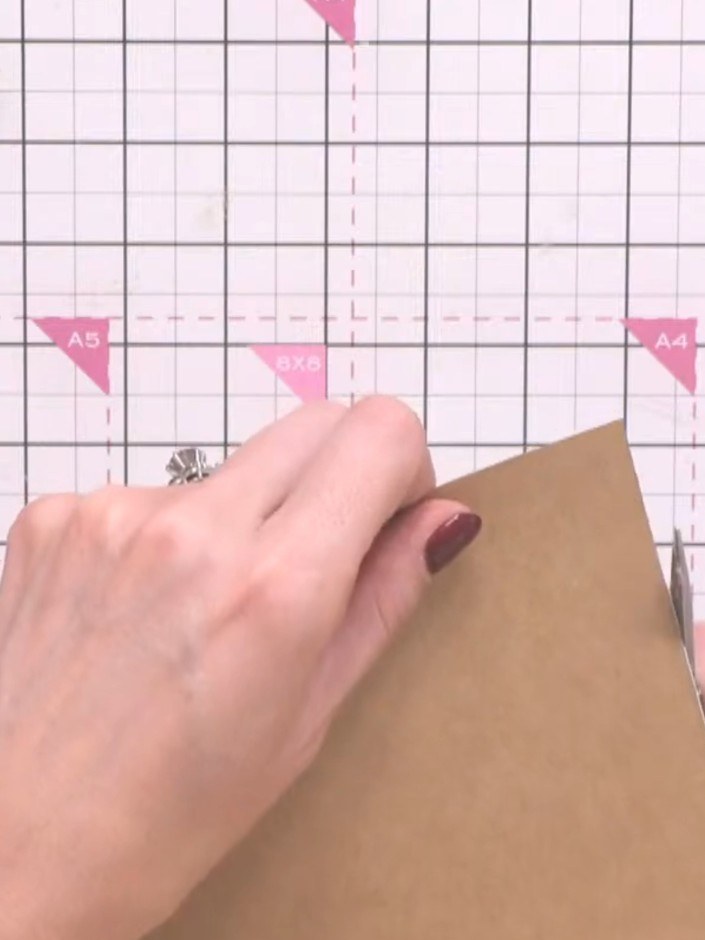
Mount the finished painted and stamped card panel onto a craft-coloured card blank using double-sided tape. Position the panel centrally on the card base.
 10
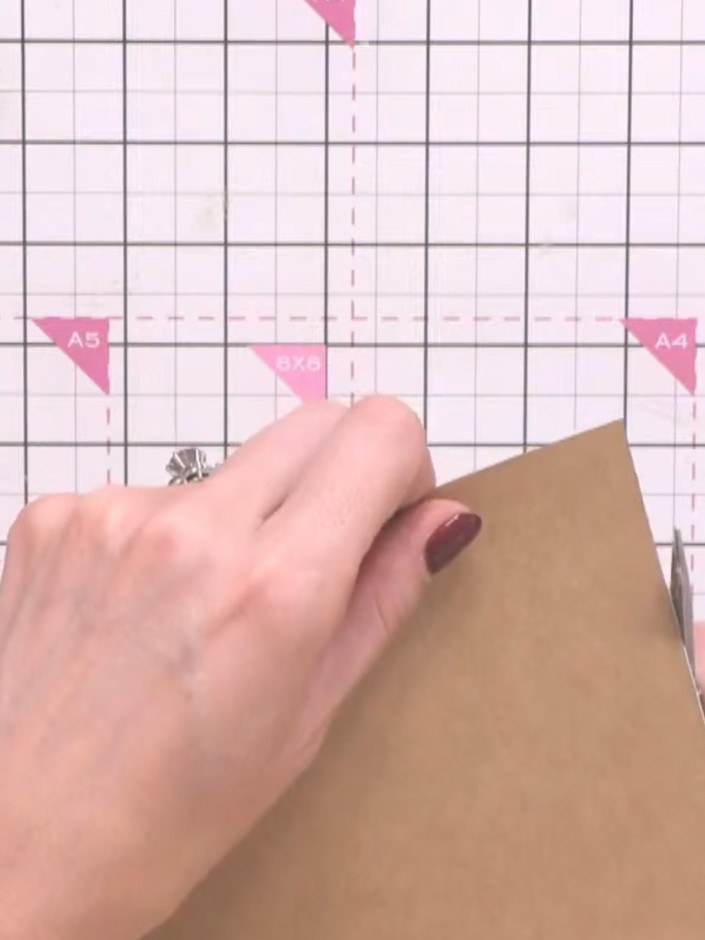
Cut a strip from the painted card at an angle using a guillotine to create a diagonal design element for your card.
 11
Add a sentiment from the stamp set to the bottom of the card. Use washi tape to mask off the area if desired for precise placement.
Share your make with the Stamps By Me community - and keep this guide for next time.
Written up from the show itself. See every guide from our shows · free how-to guides · watch live on My Telly · the previous layout