Give your friends €10 off their first order!
Refer a FRIEND








A project from our live show Create Together Club - 5 Days of Creativity - Broadcast Monday 9TH June 2025 · 09/06/2025 · watch it from 45:15
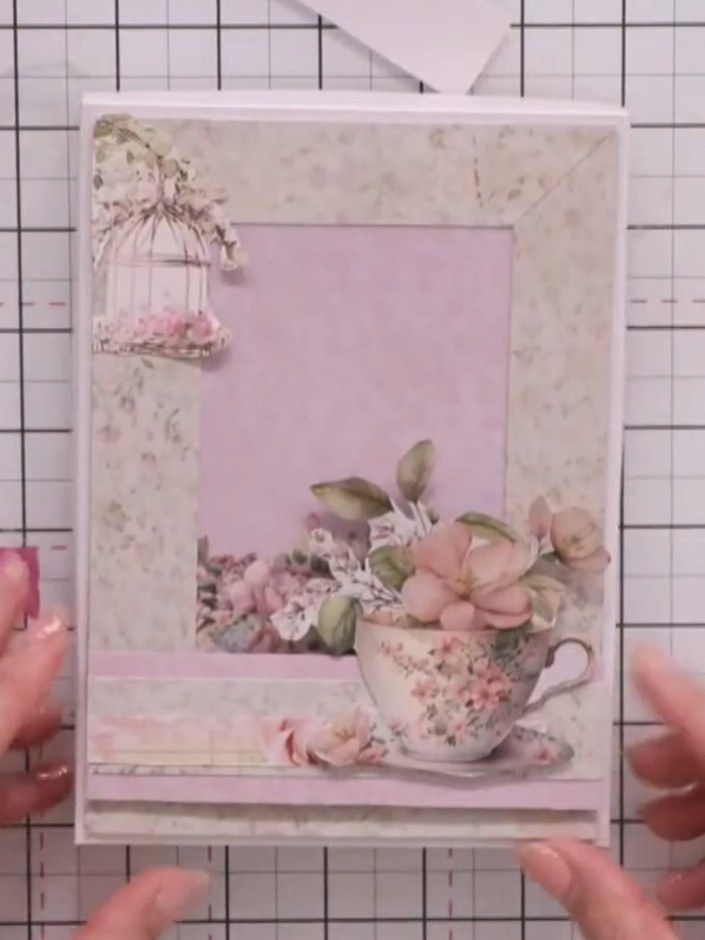
Create a charming box with a fitted lid featuring a vintage floral design in soft pinks and creams. This elegant piece showcases a romantic teacup arrangement with roses and a delicate birdcage motif, perfect for presenting cards or small gifts. The project uses simple scoring and folding techniques to construct a professional-looking box with clean edges and a secure lid.
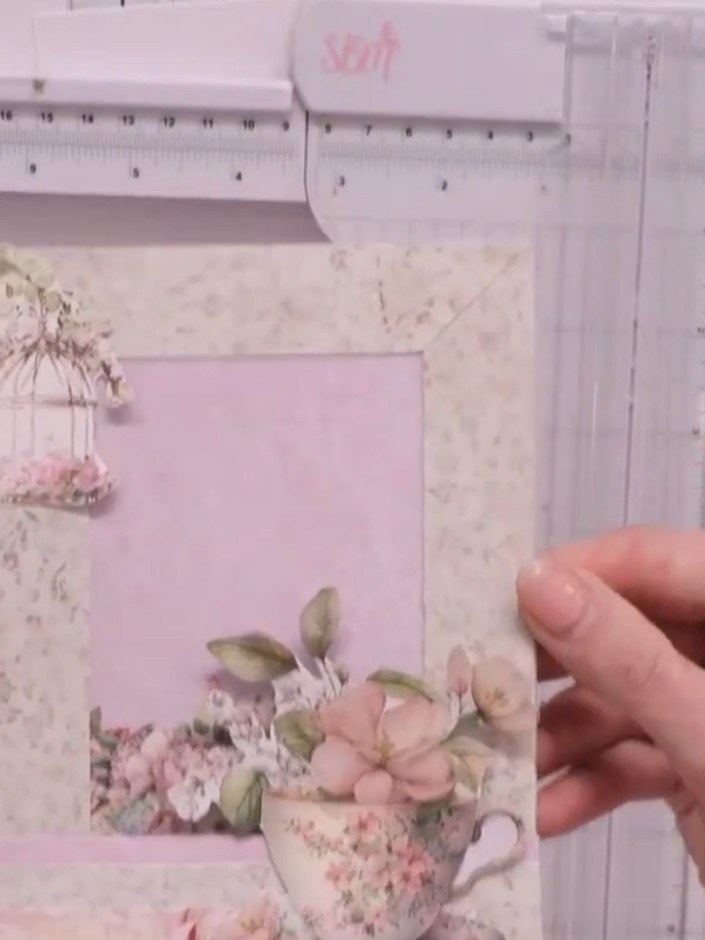
Measure your card base to determine the box dimensions. For a 5 by 7 inch card, add a quarter inch to each measurement to get your starting dimensions.
▶ watch this step (46:00)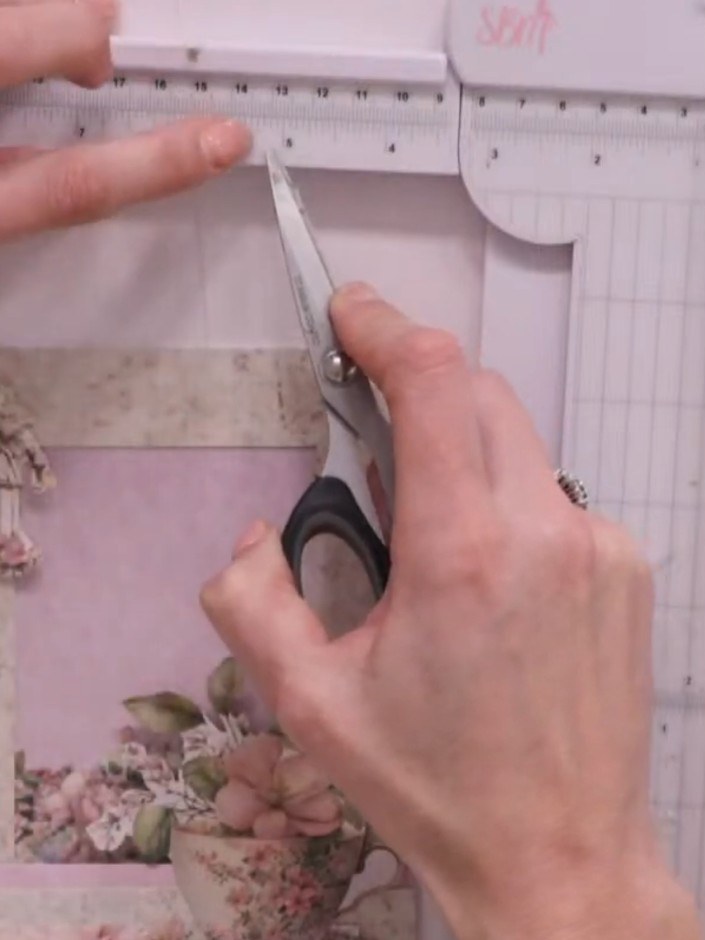
Cut two pieces of card stock to 5¼ × 7¼ inches using your paper trimmer - one piece for the box base and one for the lid.
▶ watch this step (46:45)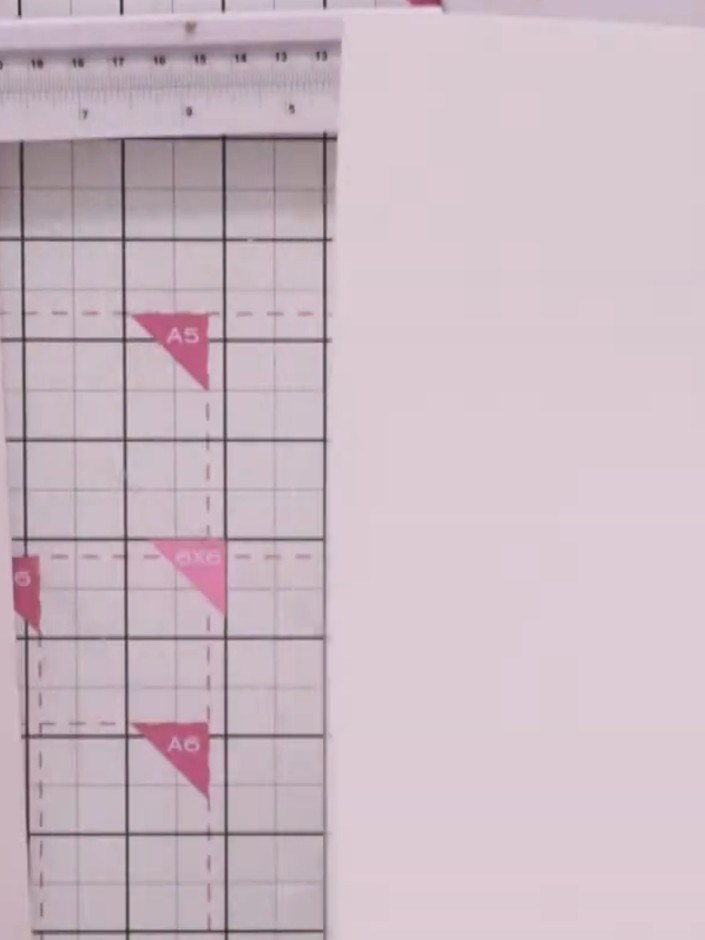
Add two inches to both the width and height measurements of your card piece to account for the box depth (one inch for each side).
▶ watch this step (47:30)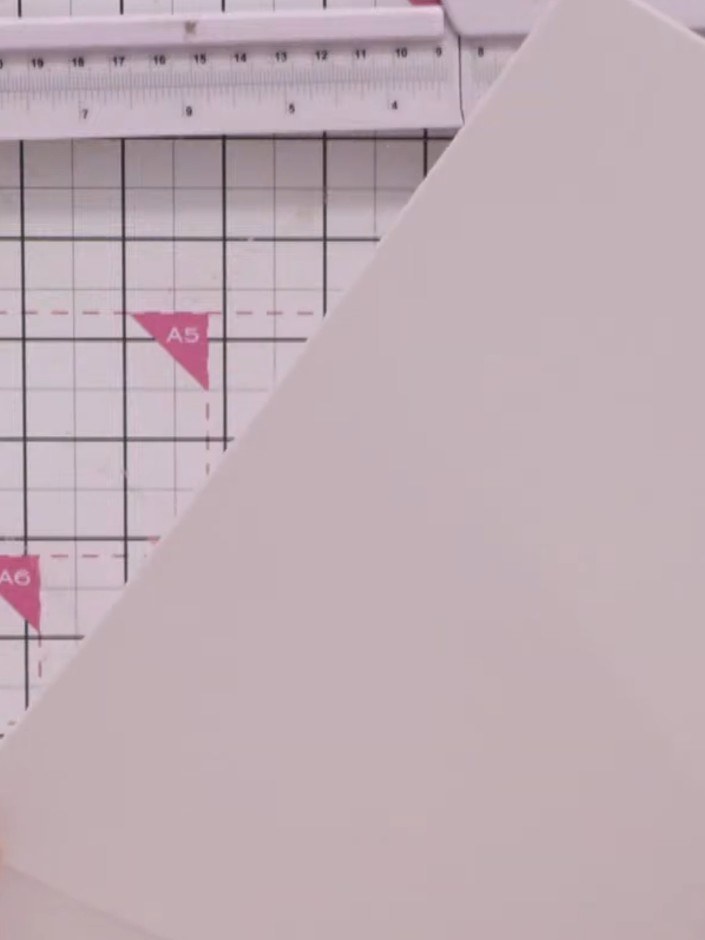
Cut both pieces of white cardstock to 7¼ × 9¼ inches (18.4 × 23.5 cm).
▶ watch this step (48:00)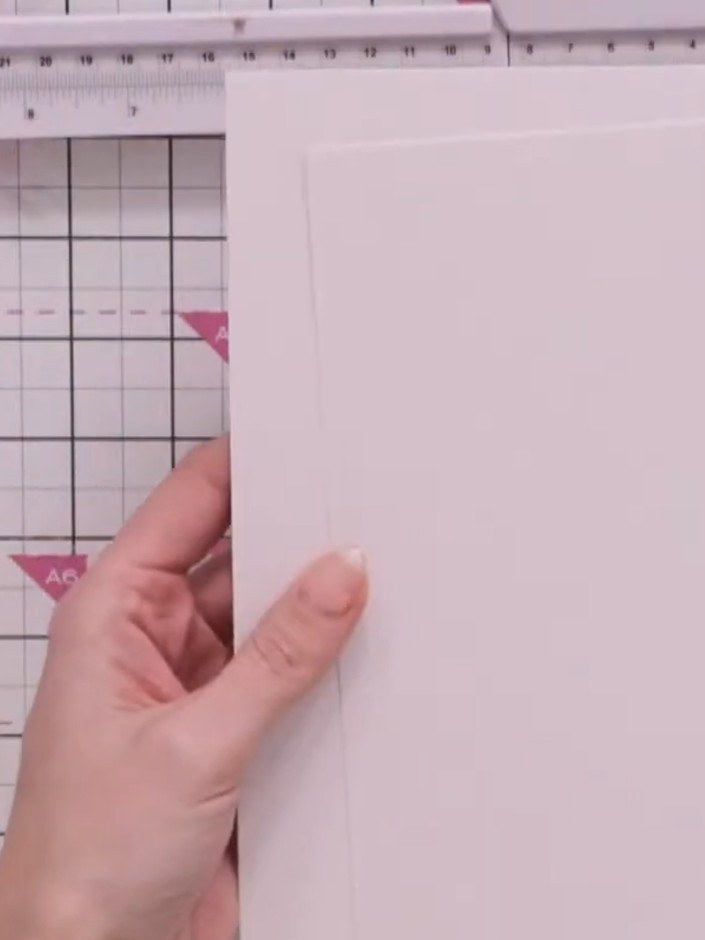
Take one of the two pieces of card and trim approximately one millimetre off the long side only using your guillotine or trimmer.
▶ watch this step (49:00)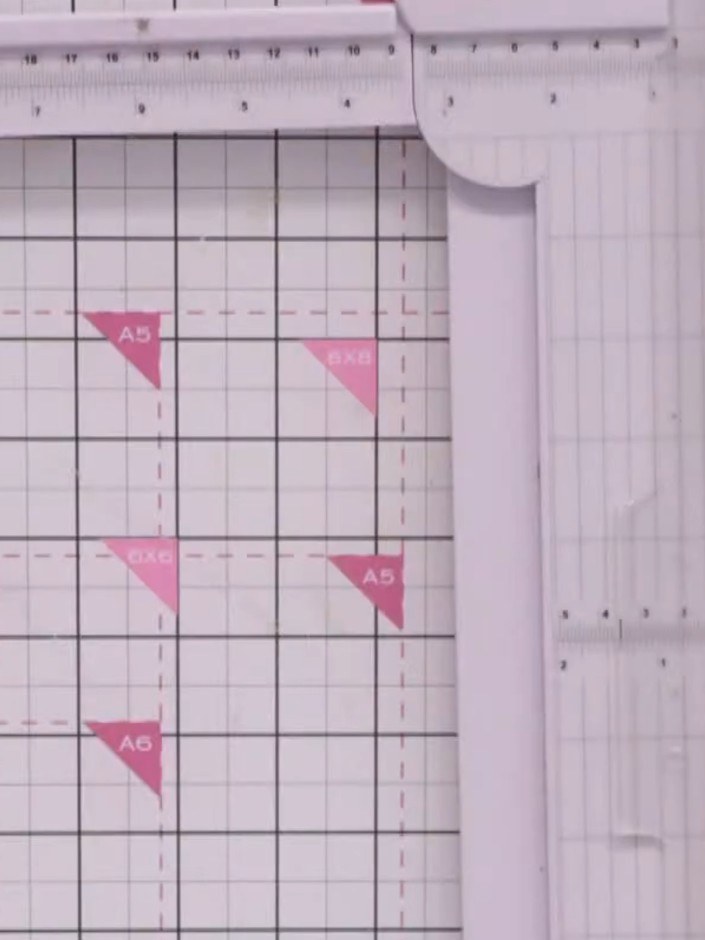
Trim a slither off the short side only of the same piece. This creates the lid that will fit inside the base.
▶ watch this step (49:15)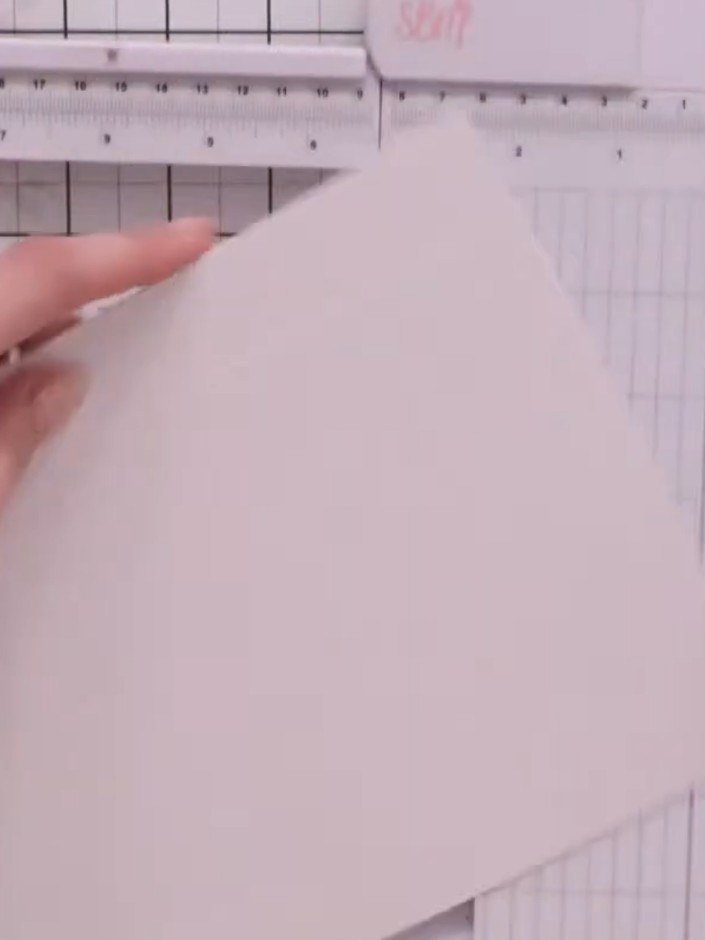
Score all four sides of both card pieces at 1-inch intervals using your scoring tool and ruler. Ensure the score lines are evenly spaced across each piece.
▶ watch this step (50:15)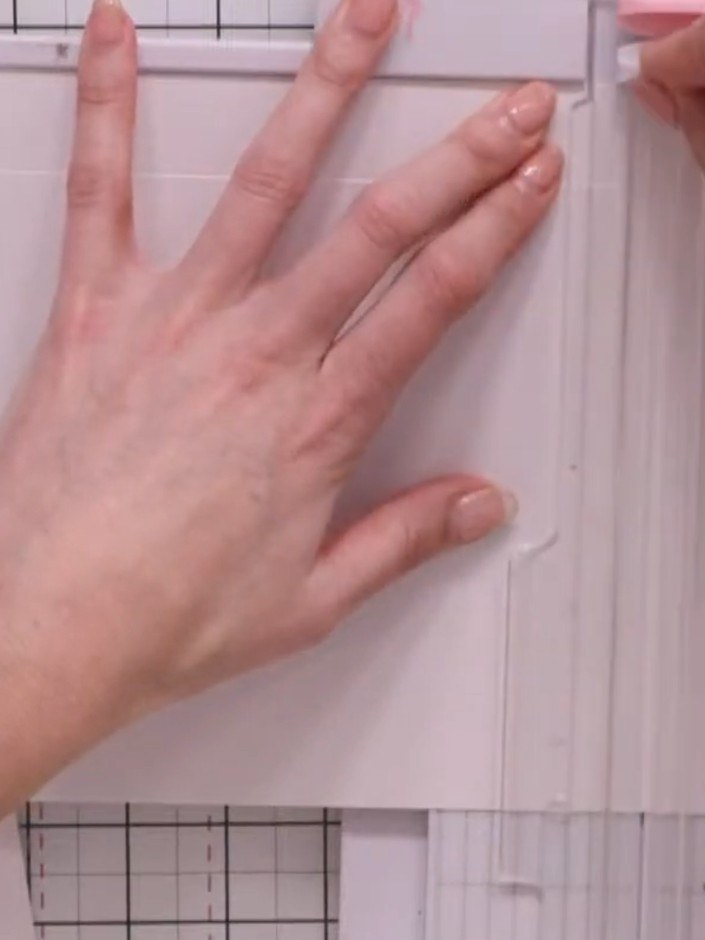
Cut diagonally into the corners at the scored lines, stopping at the inner corner point where the score lines meet.
▶ watch this step (51:00)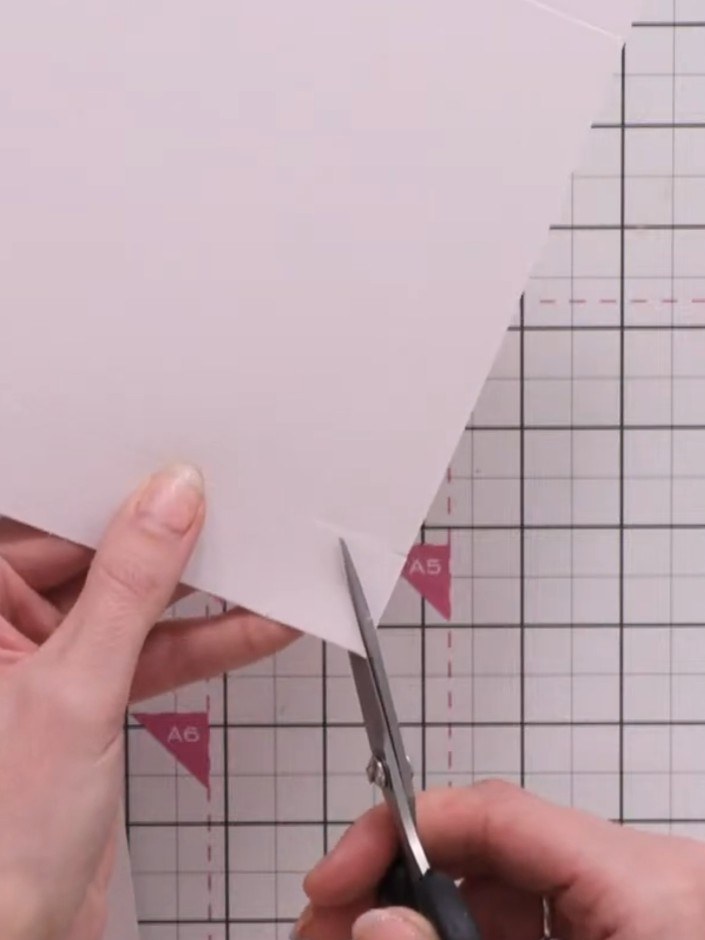
Chamfer the cut corners by trimming them at an angle with scissors. This creates neat bevelled edges that will tuck in and glue cleanly when assembling the box.
▶ watch this step (52:00)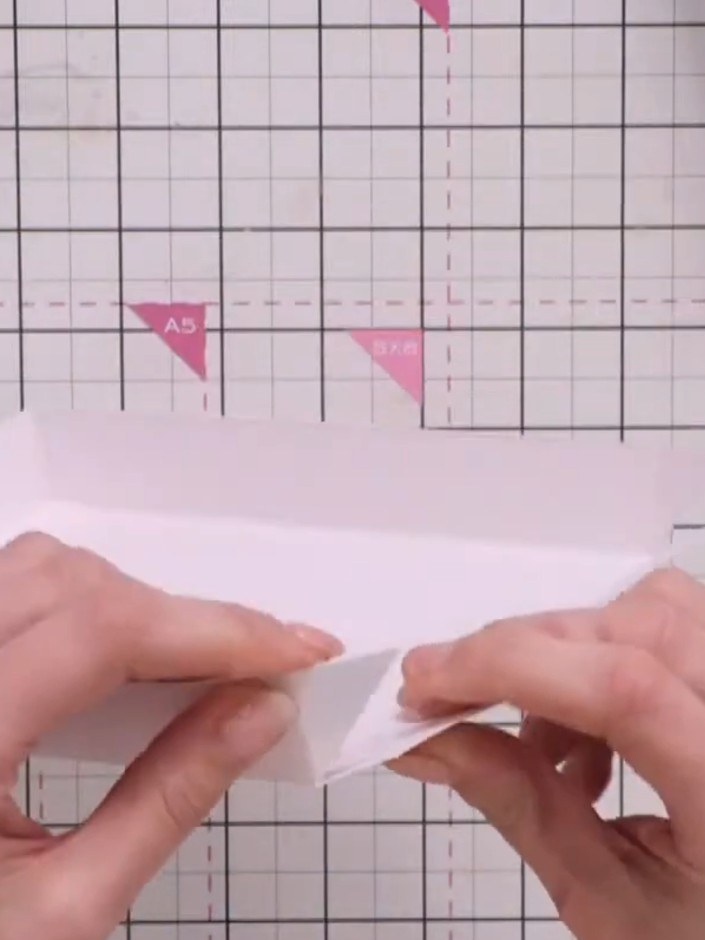
Fold up all four sides of the box. Secure the interior flaps with tape to hold the sides in place.
▶ watch this step (54:30)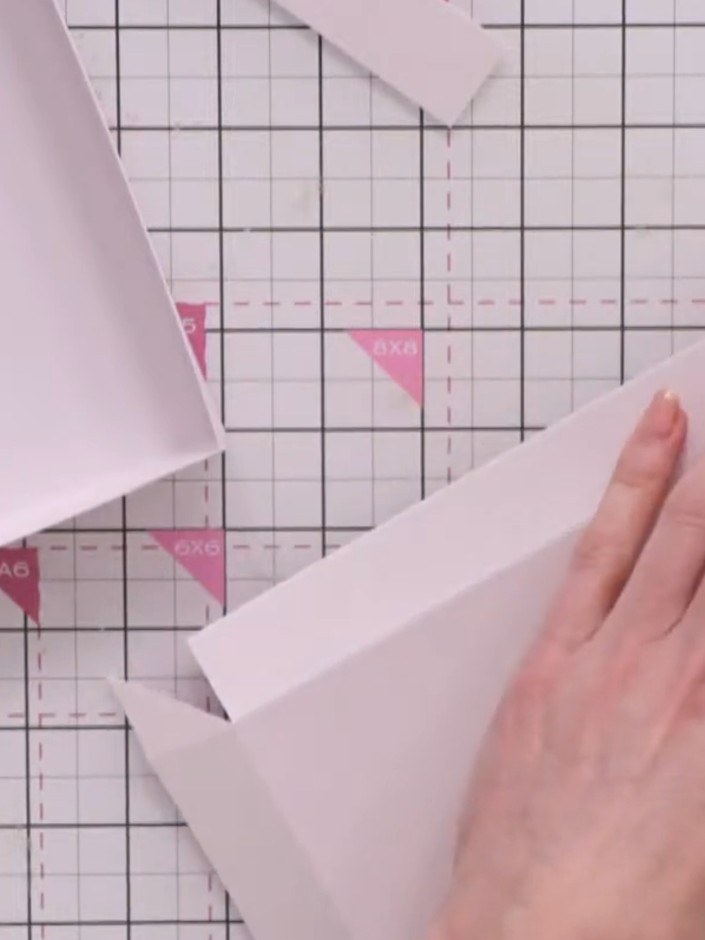
Repeat the folding and assembly process with the second piece of card to create the matching lid for your box.
▶ watch this step (55:00)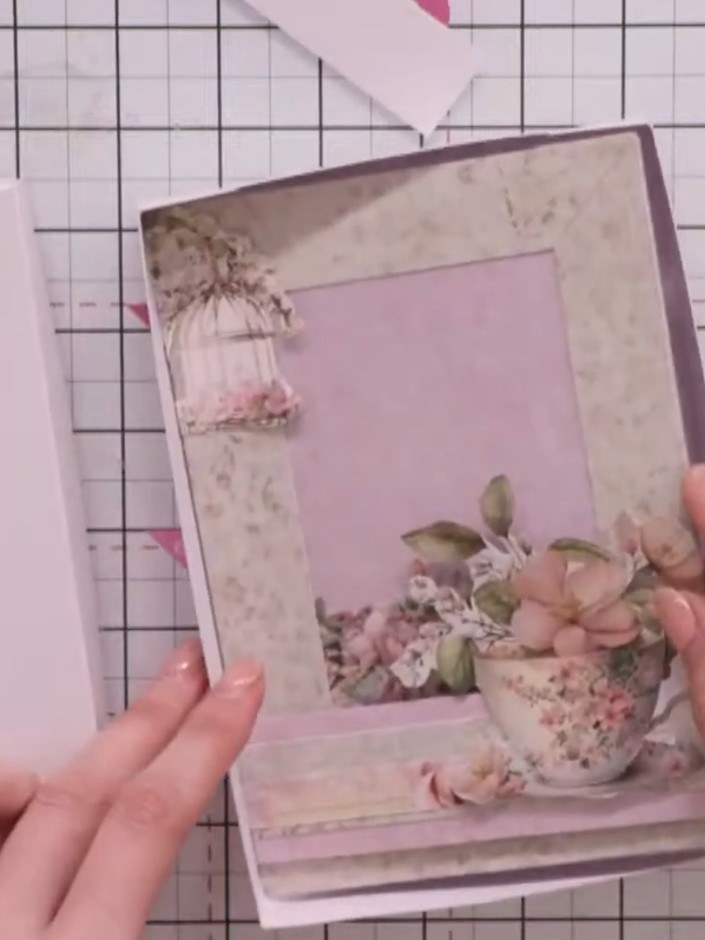
Test that the lid fits snugly inside the base. If needed, adjust the quarter-inch allowance to make the lid easier to remove and replace.
▶ watch this step (56:00)Written up from the show itself. See every guide from our shows · free how-to guides · watch live on My Telly
