Give your friends €10 off their first order!
Refer a FRIEND








A project from our live show MY PODCAST - Catch my latest updates broadcast 12th May 2025 · 12/05/2025 · watch it from 26:15
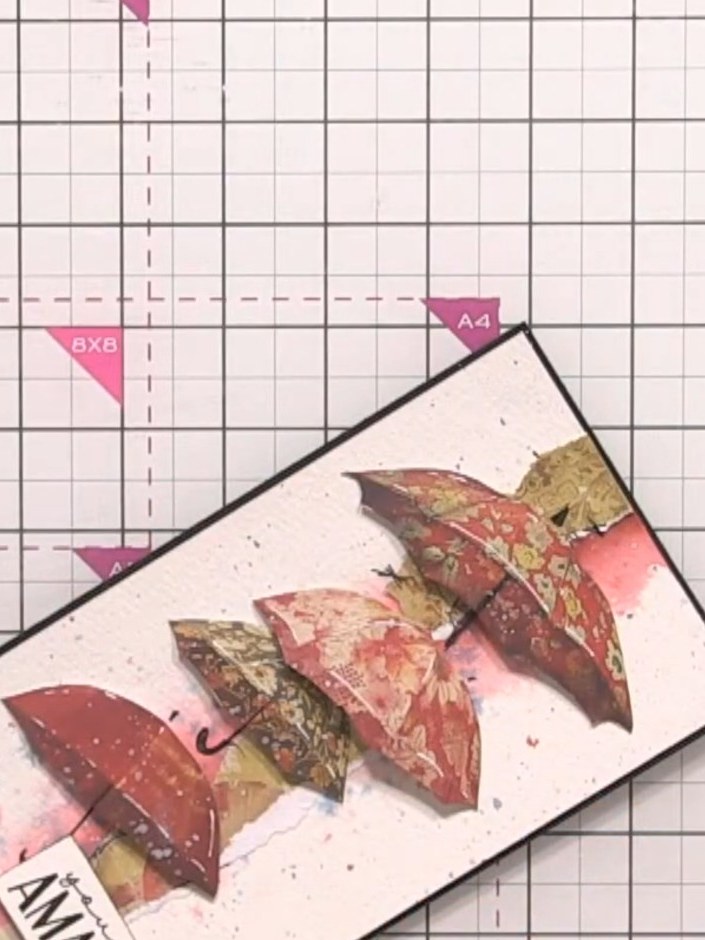
Create a stunning mixed-media card featuring watercolour umbrellas in warm coral and pink tones against a soft, dreamy background. Using ink pads and water to create a watercolour effect, you'll layer torn patterned paper strips and fussy-cut umbrella motifs with hand-drawn handles for a playful, dimensional design. The finished piece combines stamping, watercolour techniques, and paper layering for a textured card full of movement and charm.
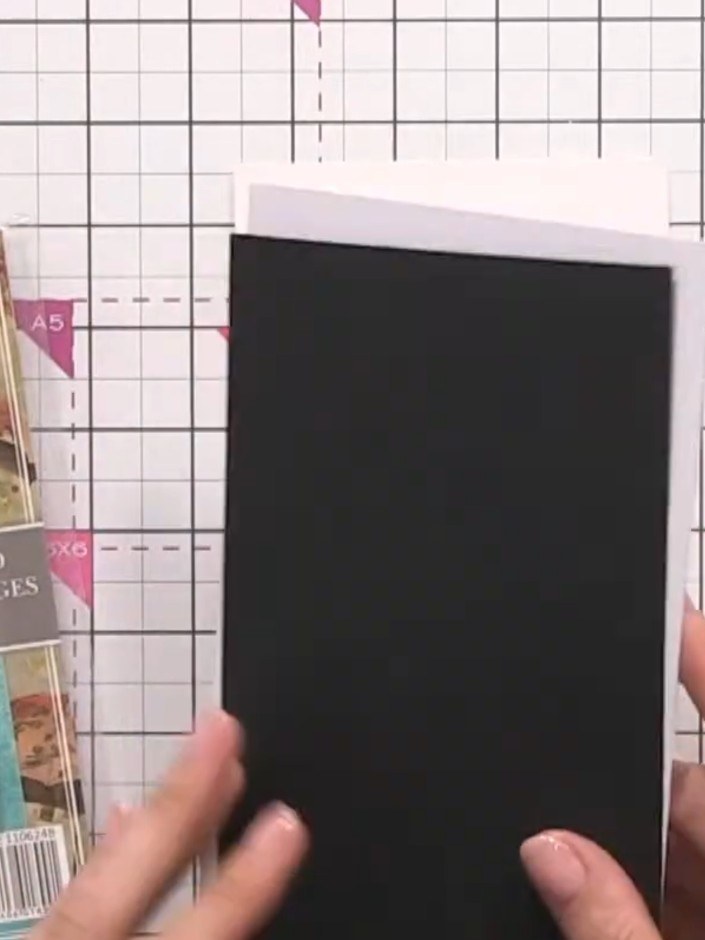
Cut a piece of watercolour card to your desired card blank size using the cut and score tool.
▶ watch this step (26:15)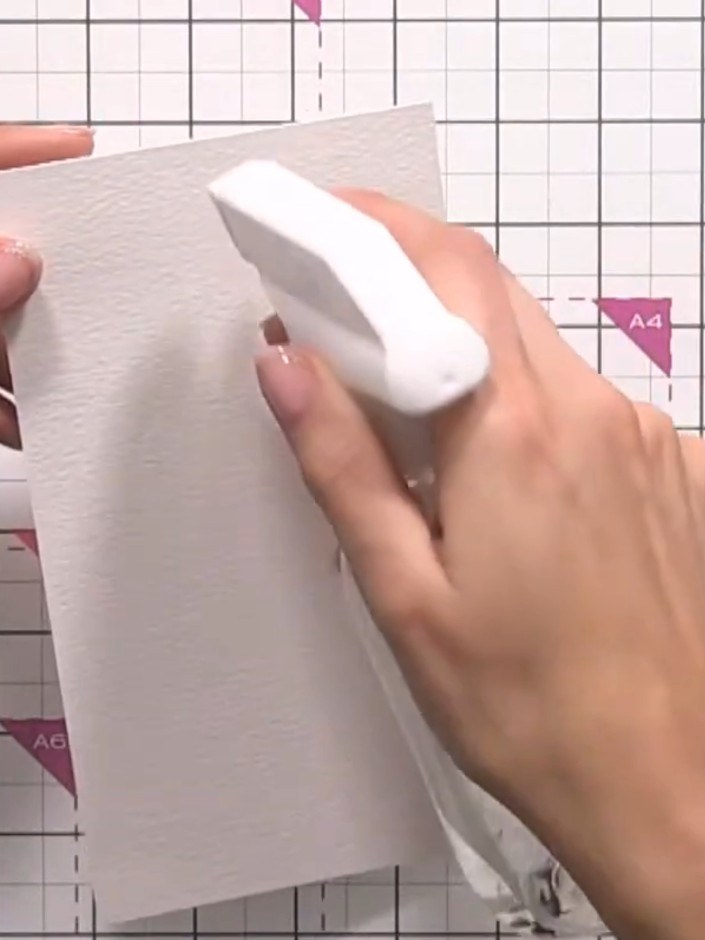
Spray water onto the watercolour card in the middle area and tilt to distribute the water evenly across the surface.
▶ watch this step (30:30)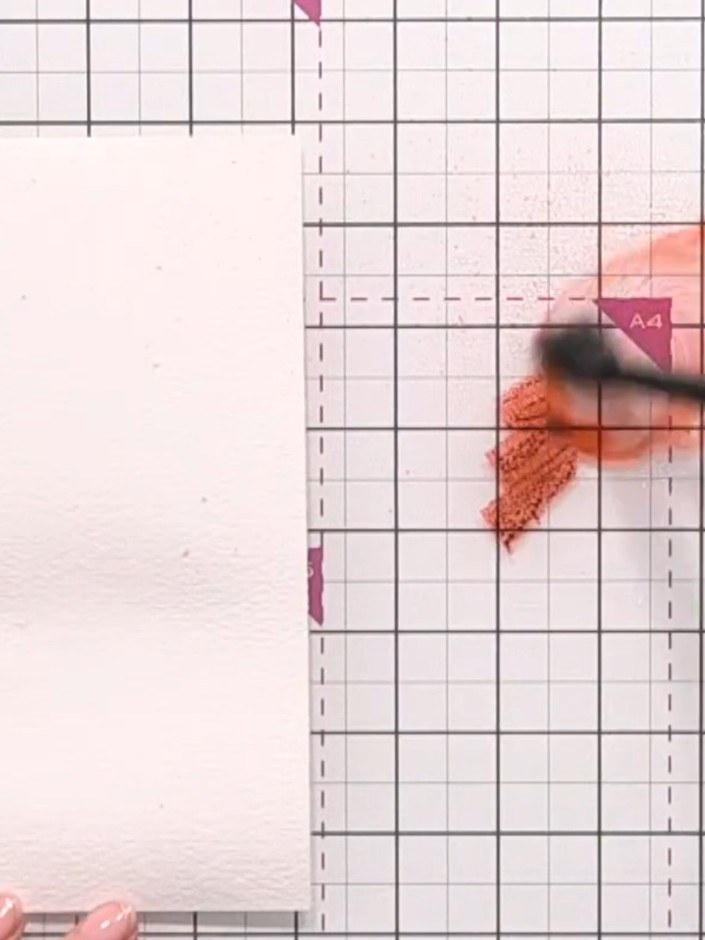
Tap the Redwood ink pad onto the wet area, allowing the colour to drag down into the water. Build up the colour gradually by tapping the ink pad multiple times.
▶ watch this step (32:15)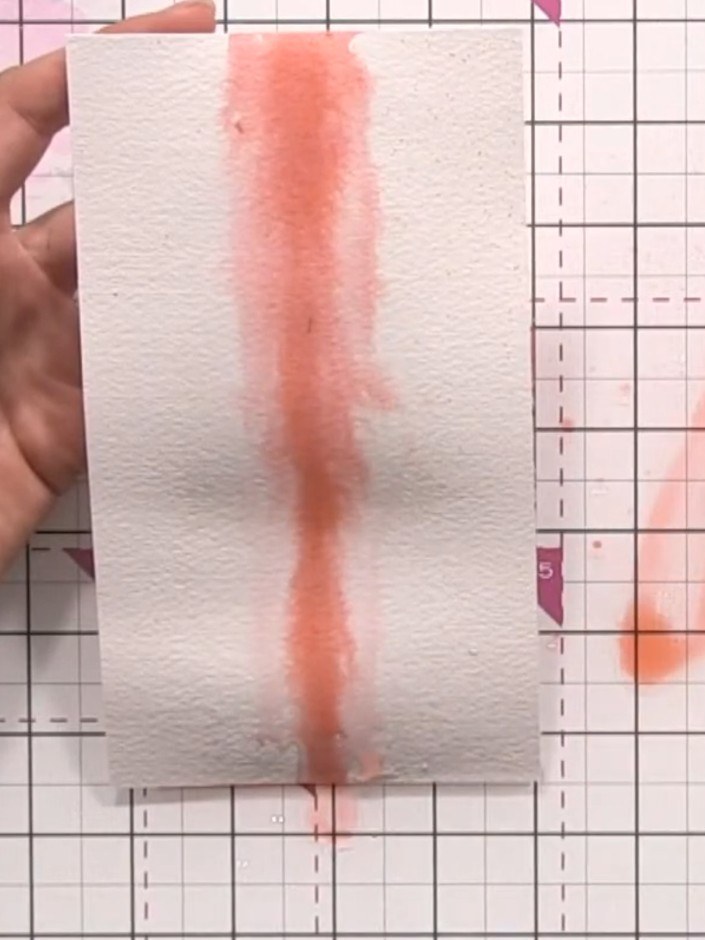
Use a tissue or baby wipe to gently dab and mop up excess water from the watercolour ink area. This helps control the spread of the ink and prevents it from bleeding too far.
▶ watch this step (34:00)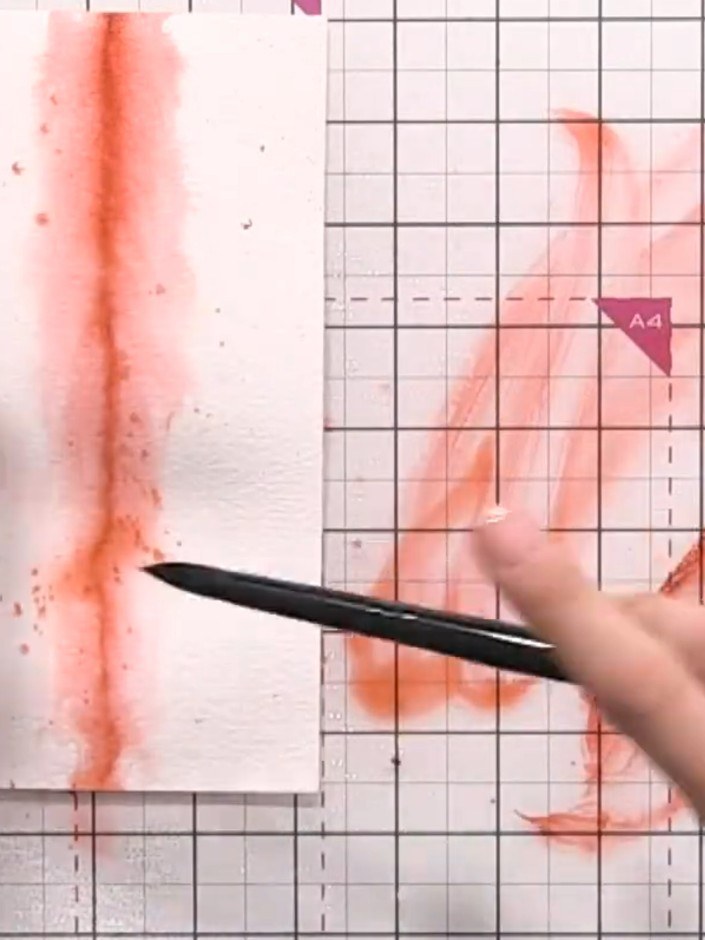
Add more red ink to the watercolour panel to intensify the colour where needed, building up the depth and vibrancy of the design.
▶ watch this step (34:30)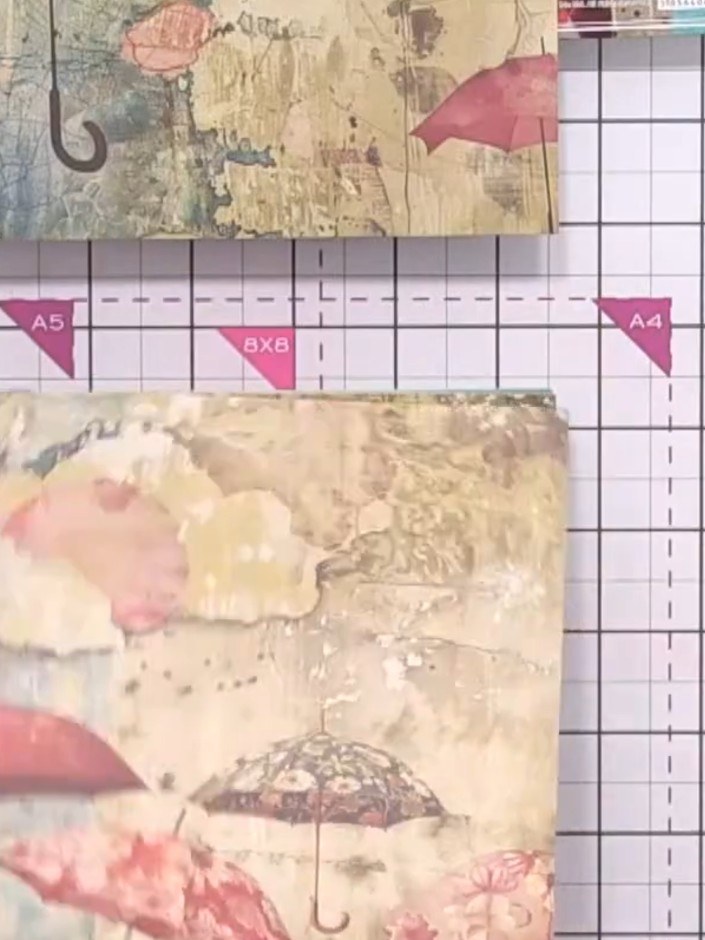
Tear strips from the patterned paper in the collection and set aside for later use.
▶ watch this step (36:00)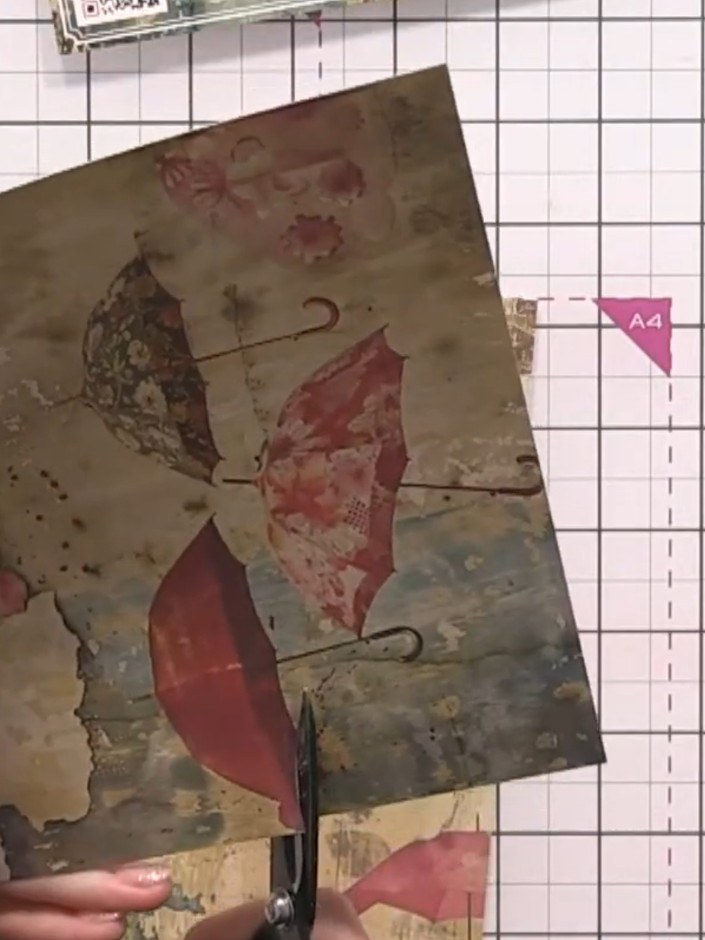
Fussy-cut the umbrella shapes from the patterned paper, cutting around the umbrella canopies but leaving off the handles as these will be drawn in later.
▶ watch this step (36:15)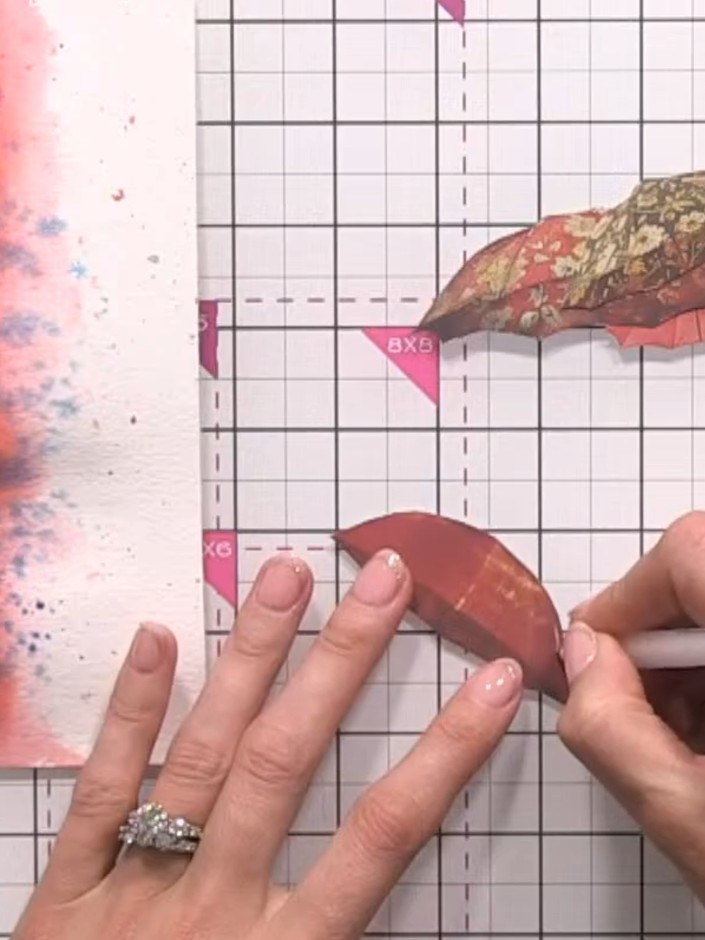
Use a white gel pen to add highlights to the umbrella shapes, creating dimension and detail on the patterned paper pieces.
▶ watch this step (42:00)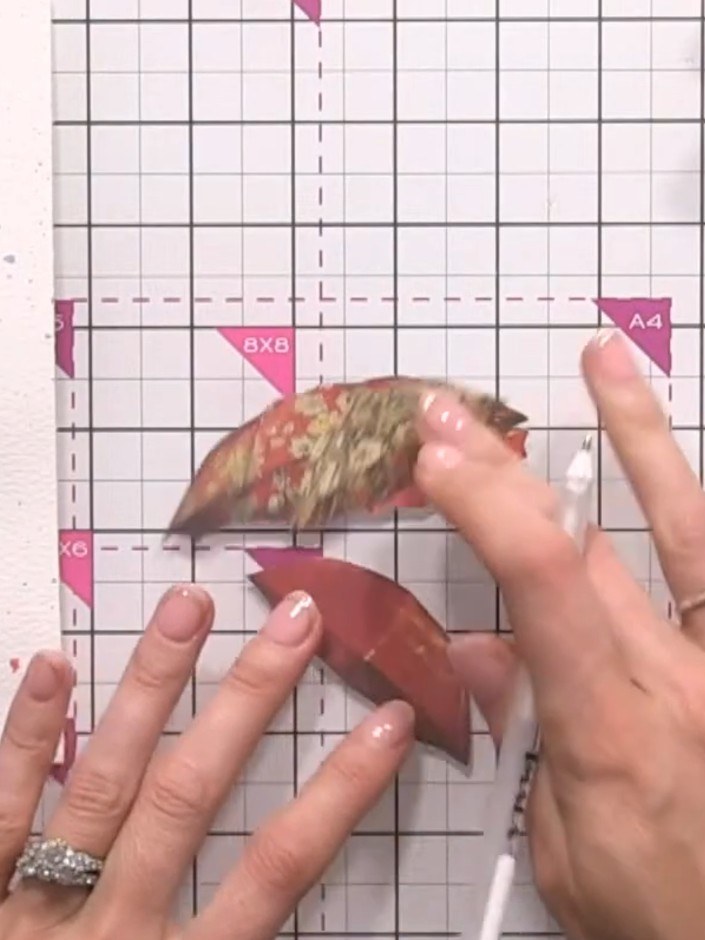
Glue the torn paper strips onto the inked watercolour background. Position them across the card to create layers. Add white highlights to the edges of the strips with a white pen.
▶ watch this step (43:30)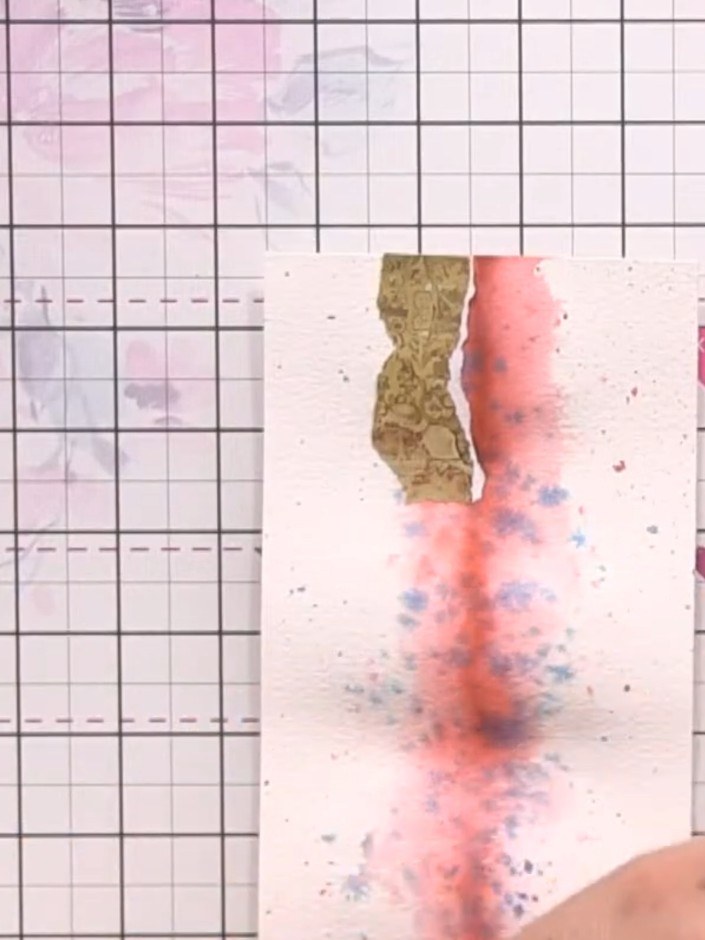
Position and glue the fussy-cut umbrellas onto the card front, layering some with foam pads for added dimension.
▶ watch this step (46:00)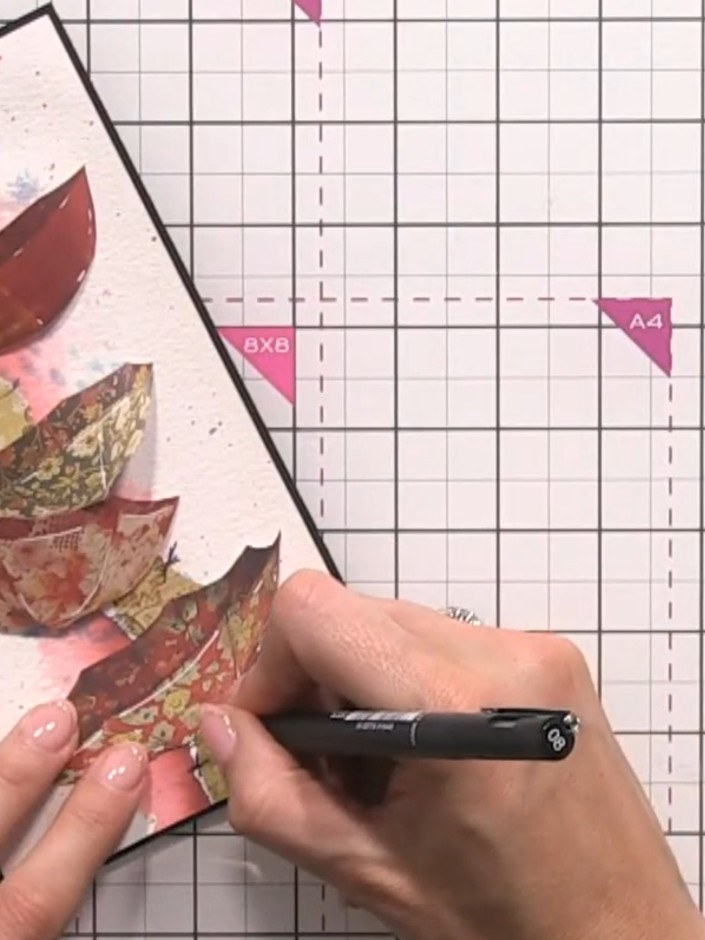
Using a black pen, draw in the umbrella handles and tops freehand on each of the torn paper umbrellas.
▶ watch this step (57:30)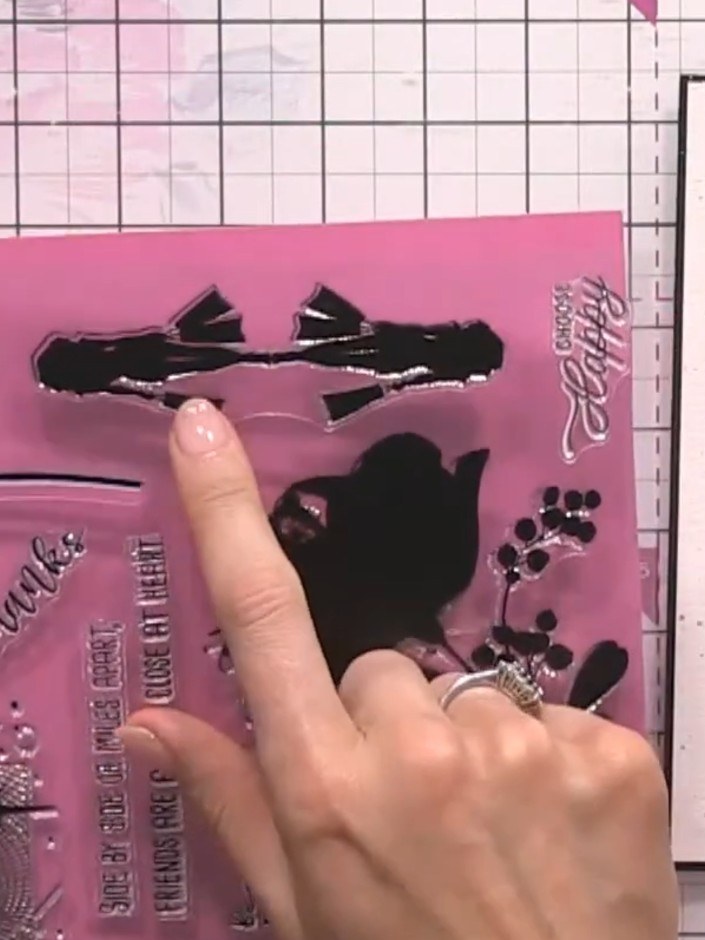
Stamp a sentiment from your stamp set onto watercolour card and trim to size. Add a black ink swipe across the sentiment panel. Layer the panel onto the card using foam pads to add dimension.
▶ watch this step (1:04:30)Written up from the show itself. See every guide from our shows · free how-to guides · watch live on My Telly
