Give your friends €10 off their first order!
Refer a FRIEND








A project from our live show ONE DAY SPECIAL - Join Toni for her brand new launch - Broadcast 2nd May 2025 · 02/05/2025 · watch it from 29:15
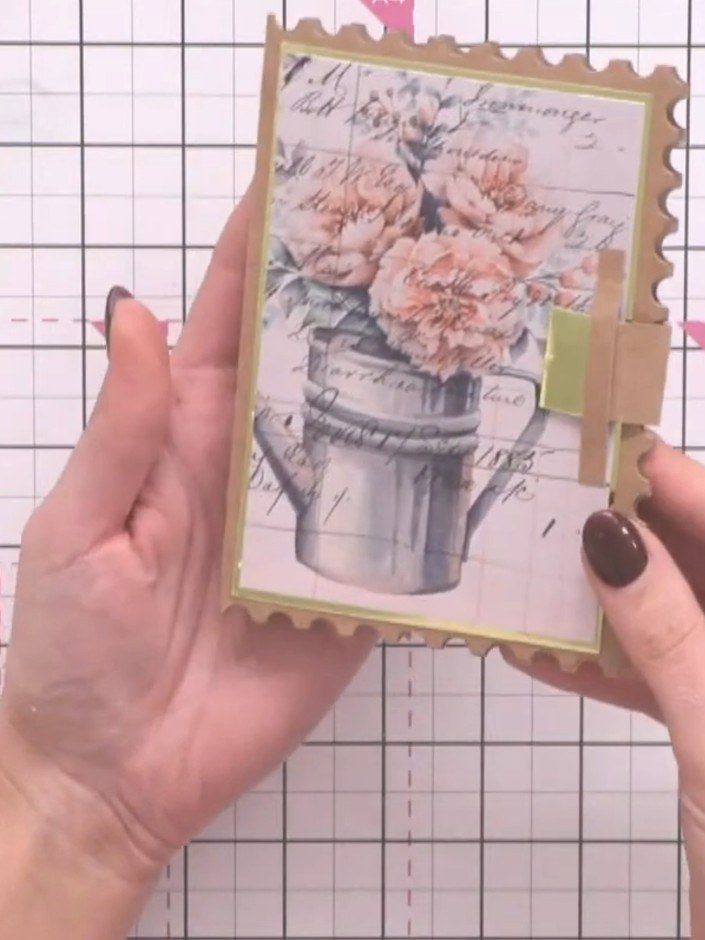
Create an elegant 4x6 folded card with a decorative postage-stamp edge and a functional magnetic closure. This vintage-inspired design features a romantic floral image on layered cardstock with gold accents, complete with a belly band perfect for gifting money, seeds, or bookmarks. The main techniques include edge distressing, layering, and adding magnetic closures for a professional finish.
 100537 - HTCN - Dotty Design Frame Card - Lacy Border 210722BSEE IT
 Stamps By Me - Romantic Garden - 5 X 7 Paper Pad - 300524AASEE IT
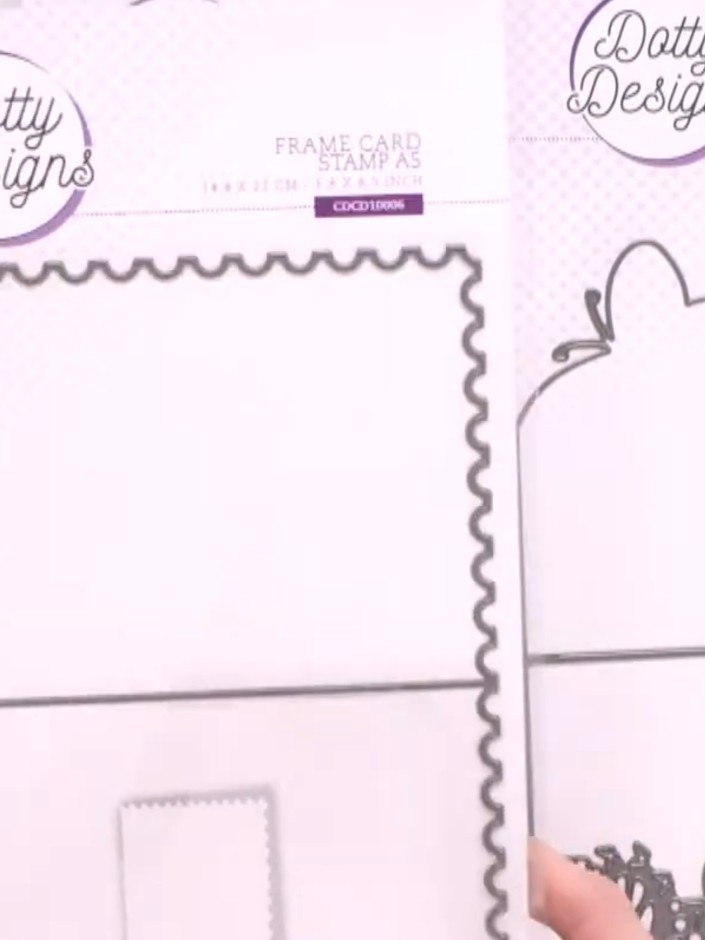
Cut your chosen paper to size using the postage-edge die on your die-cutting machine, ensuring the die fits snugly on your cutting plate.
▶ watch this step (30:00)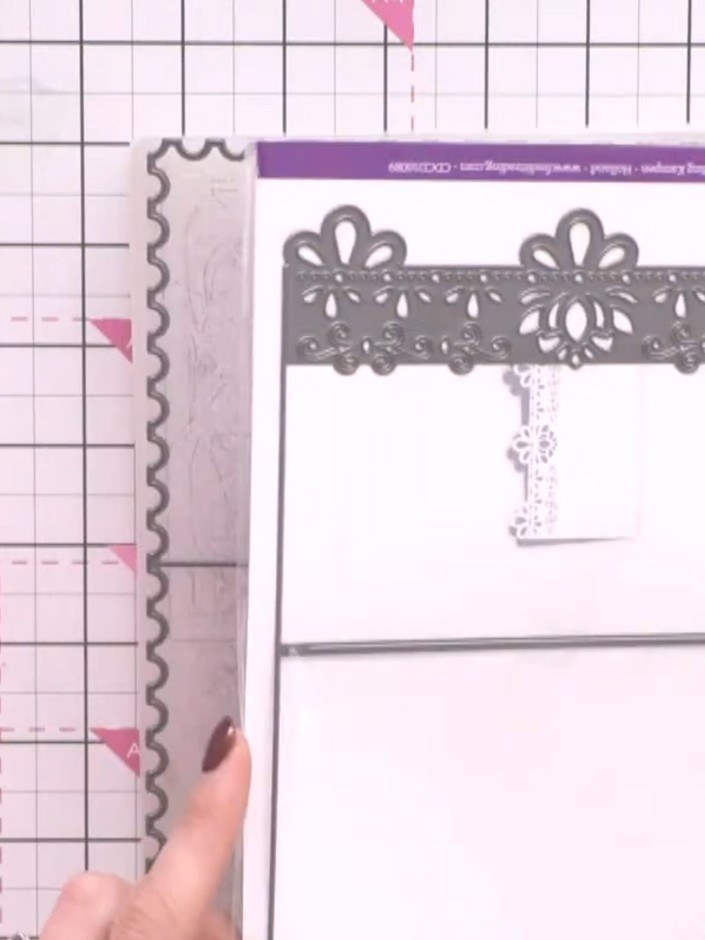
Note that the die creates a score line down the centre of the card. This score line will help you fold the card neatly in half.
▶ watch this step (31:00)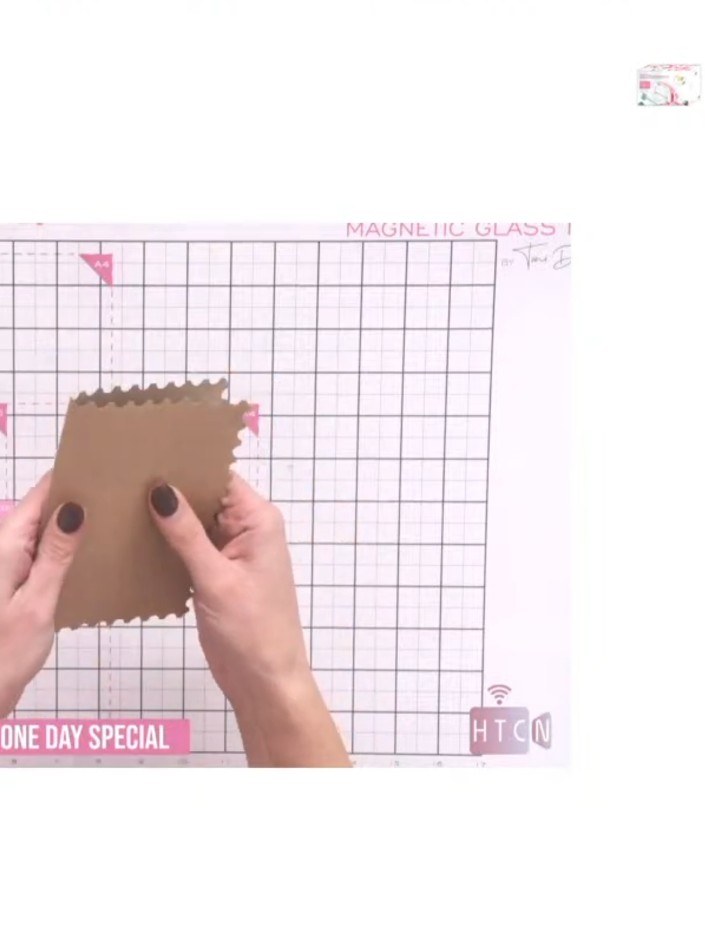
Take a piece of contrasting cardstock (such as kraft card) and adhere it to the back of your die-cut postage-edged card piece to create a backing layer.
▶ watch this step (35:30)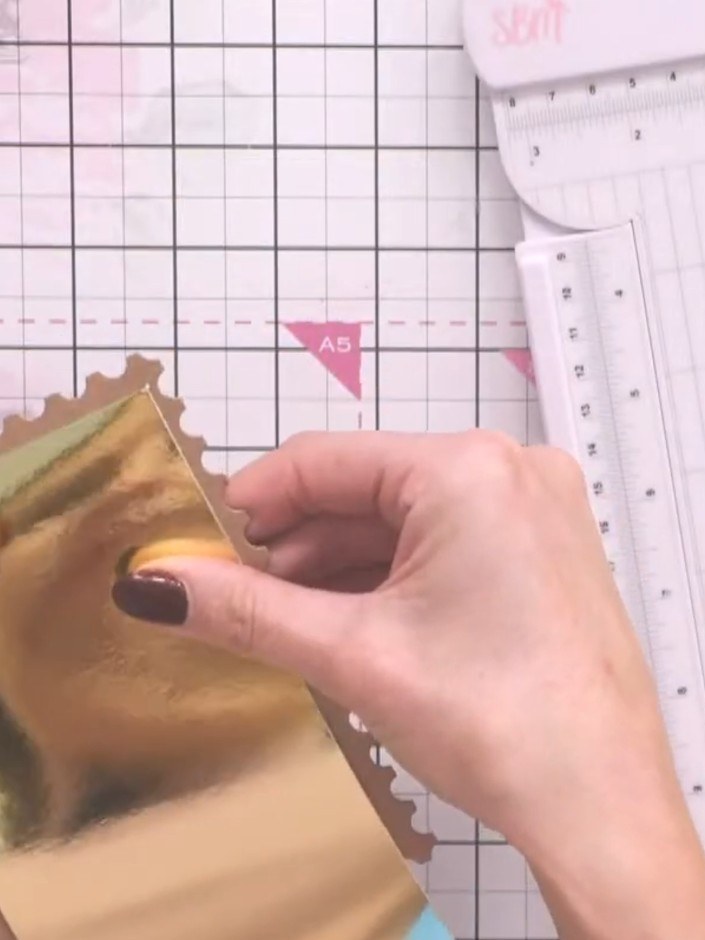
From the off-cut of your card, cut a thin strip approximately 1-2cm wide to use as your closure clasp.
▶ watch this step (37:00)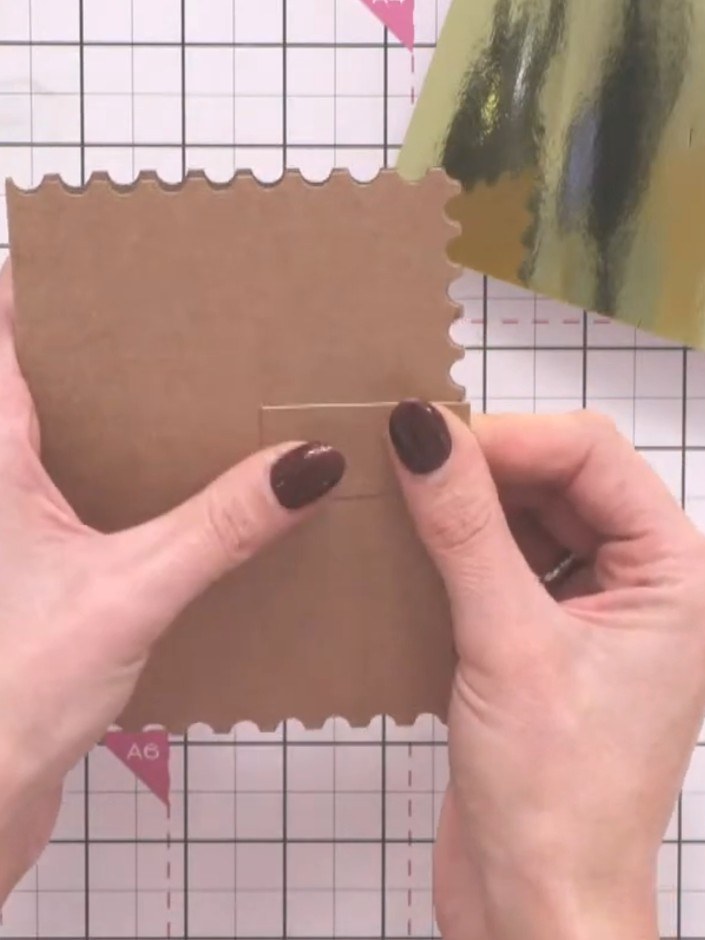
Secure the closure strip to the back of the card with glue, positioning it so it wraps around the scalloped edge at the front when the card is closed.
▶ watch this step (38:30)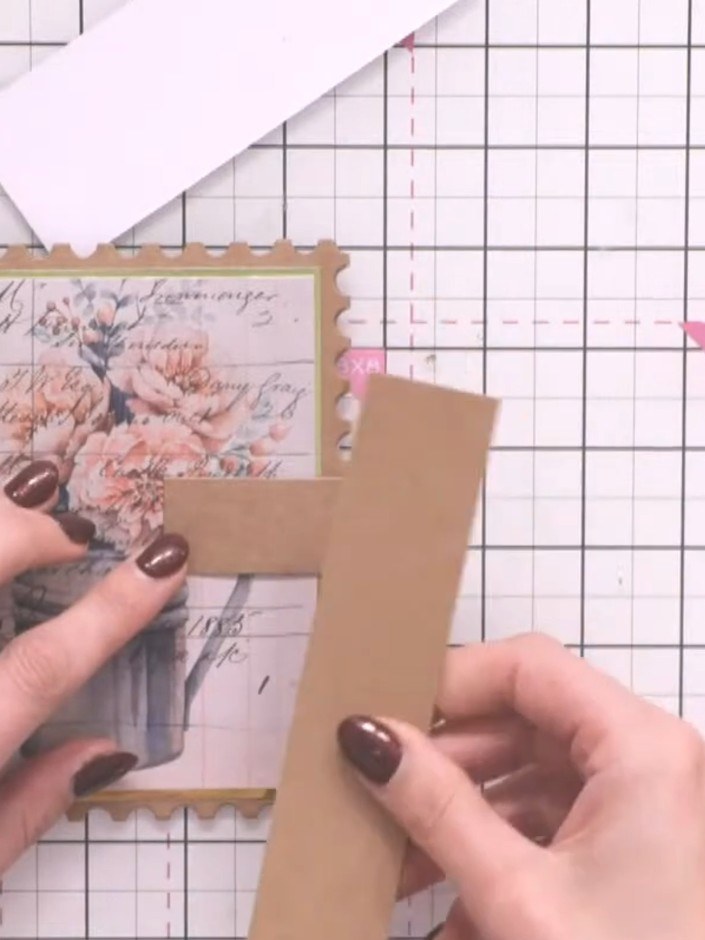
Fold a thin strip of mirror board or metallic card in half lengthways and attach it along the edge of your closure strip to create a decorative metal-effect border.
▶ watch this step (43:00)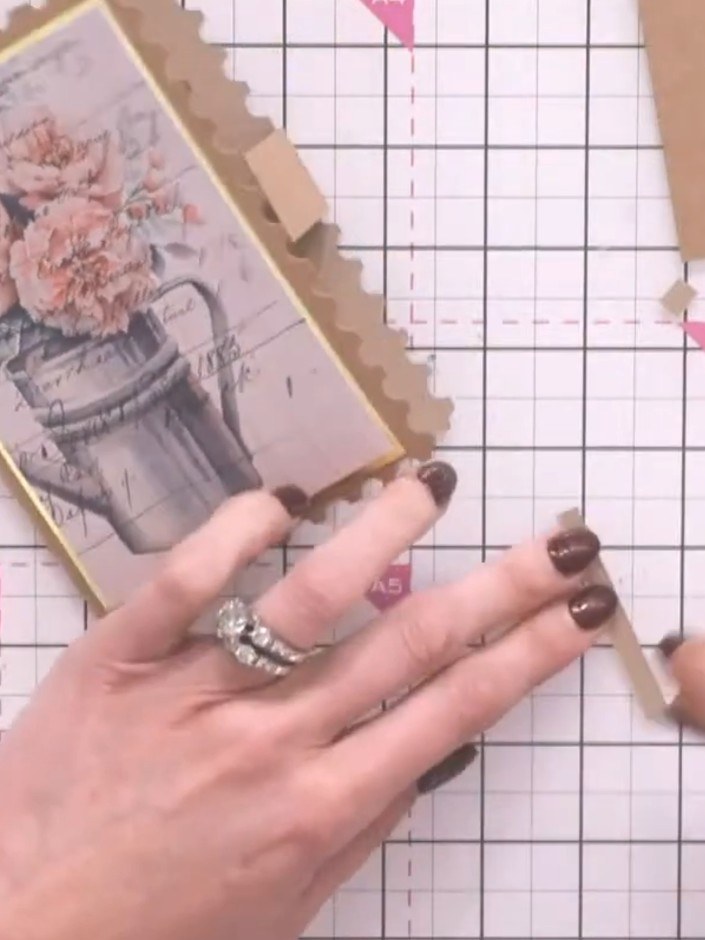
Trim the magnetic closure strip to the appropriate length, ensuring it doesn't overlap or interfere with the decorative floral design on the front of your card.
▶ watch this step (44:30)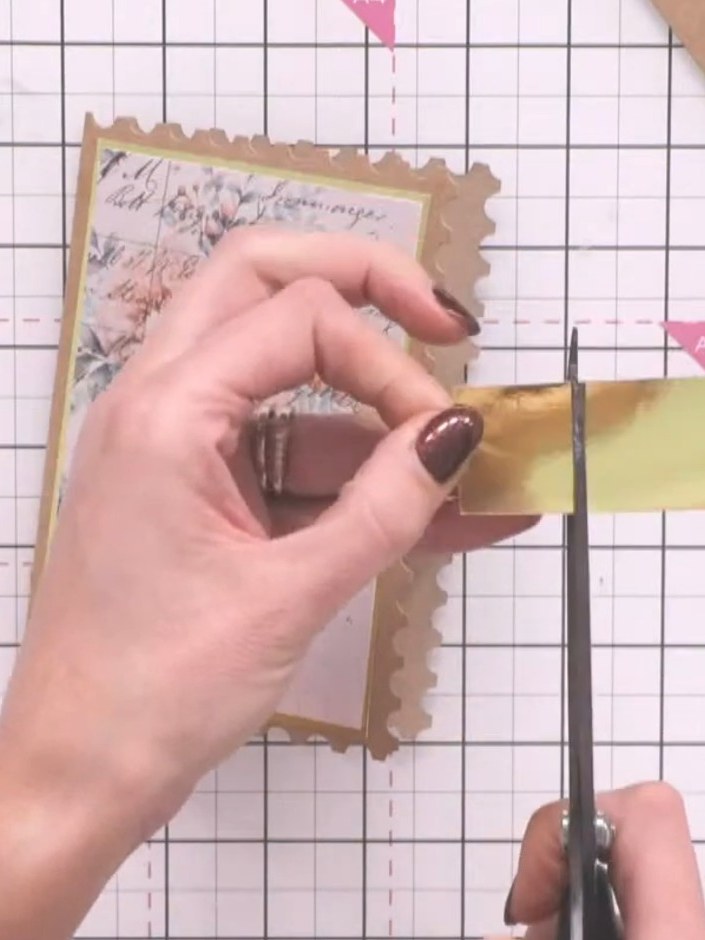
Cut a strip of gold cardstock approximately the same length as the card width. Attach this belly band to the inside left of the card to create a pocket for holding gifts, money, seeds or bookmarks.
▶ watch this step (46:00)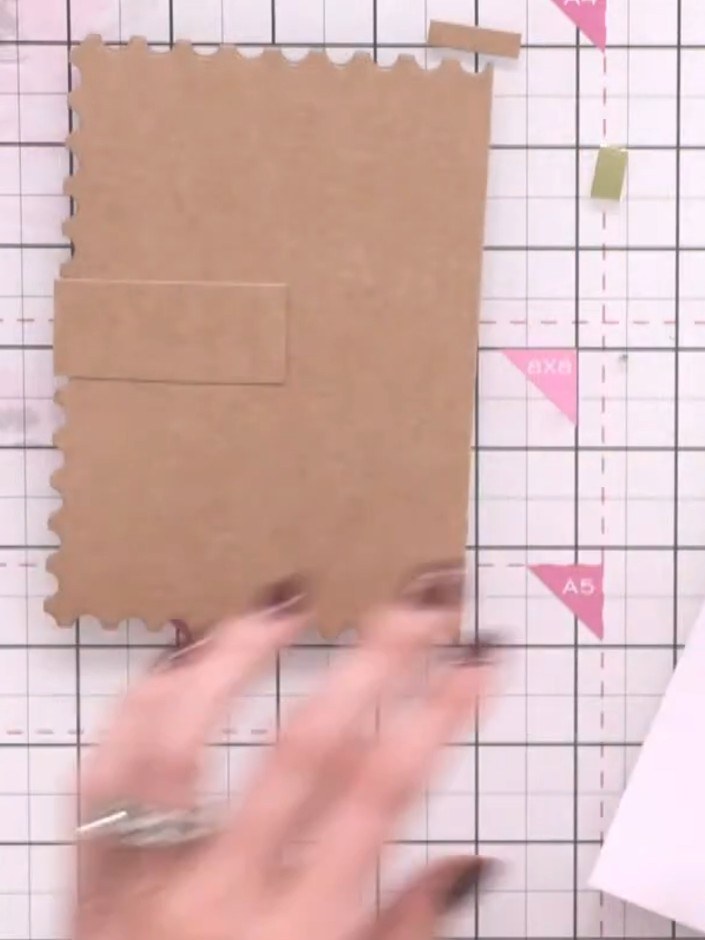
Apply adhesive to the back of the card and attach a plain or patterned paper panel to cover the construction and create a neat finish.
▶ watch this step (48:30)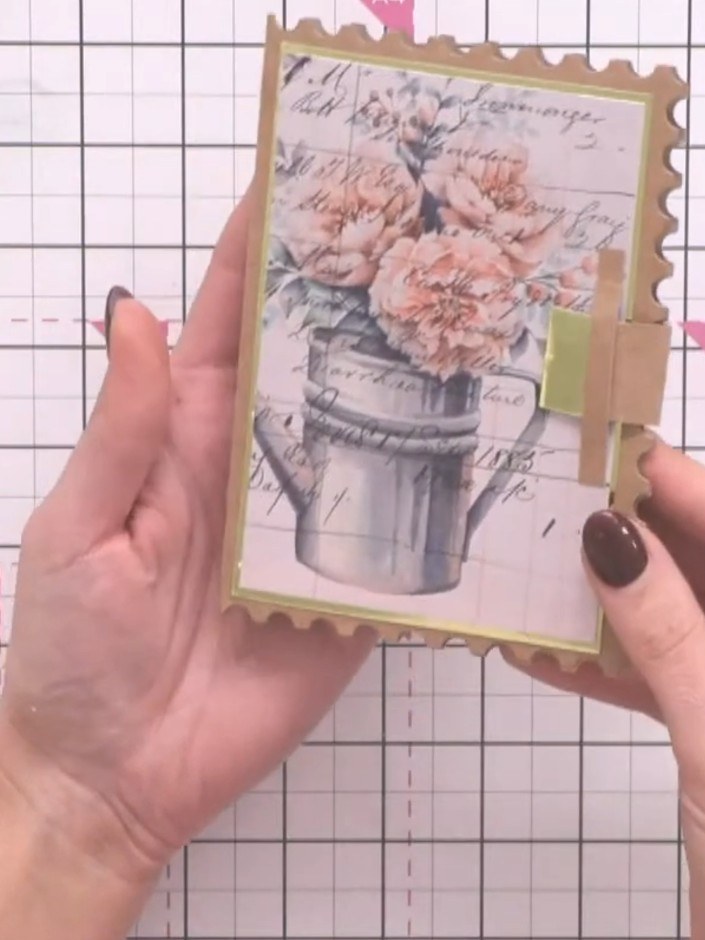
Distress the edges of the card using an ink pad or distressing tool to create a vintage, worn effect. Add any final embellishments such as hand-drawn details or glitter dots to enhance the romantic aesthetic.
▶ watch this step (50:30)Written up from the show itself. See every guide from our shows · free how-to guides · watch live on My Telly