Give your friends €10 off their first order!
Refer a FRIEND








A project from our live show ONE DAY SPECIAL - Join Toni for her brand new launch - Broadcast 25th April 2025 · 25/04/2025 · watch it from 10:00
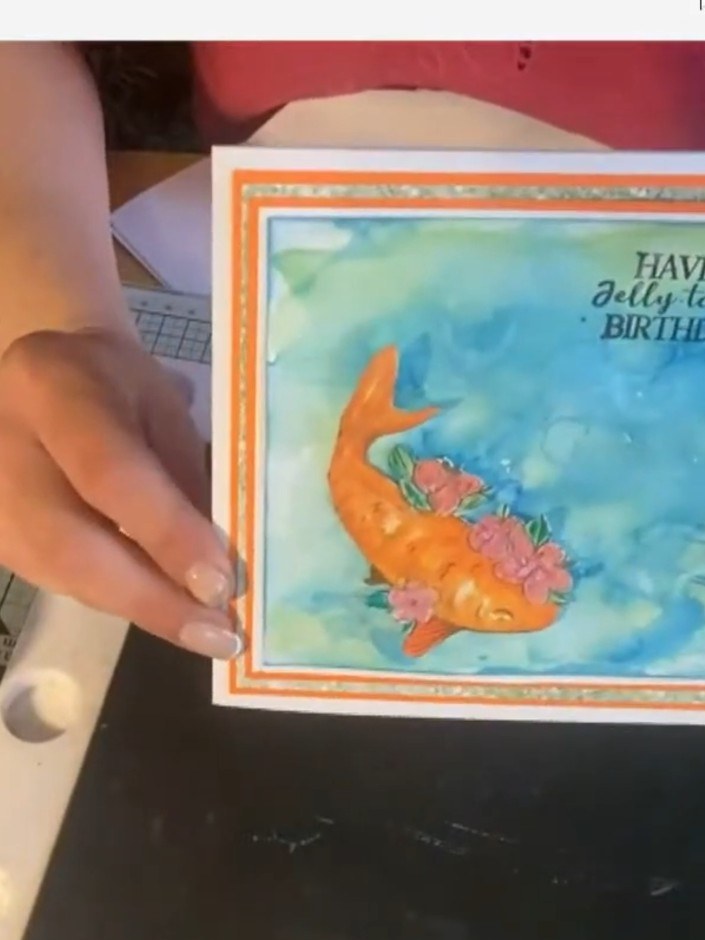
Create a unique underwater scene card by blending architectural stamps with aquatic elements. Buildings from the 'In Paradise' set are transformed into a submerged cityscape using water and metallic inks in turquoise and blue tones, then layered with a vibrant orange fish from the 'Under the Sea' collection. This creative mixed-theme design combines stamping, ink blending, and layering techniques for a striking birthday card with an imaginative twist.
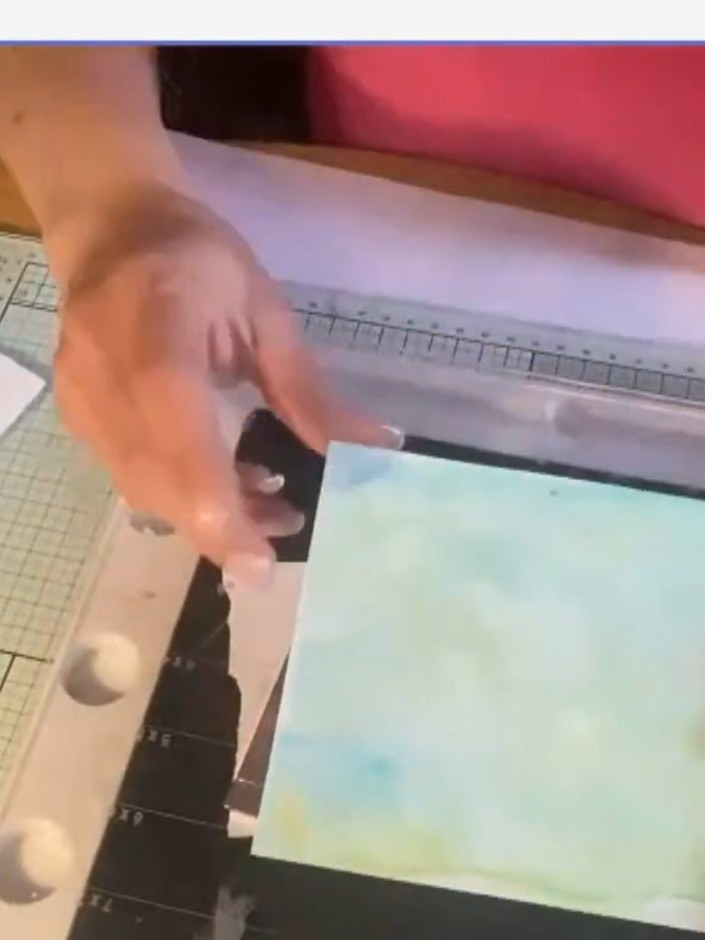
Apply a light watercolour wash to white card stock using diluted paint and water, blending soft colours across the surface. Allow the background to dry completely before proceeding.
▶ watch this step (10:30)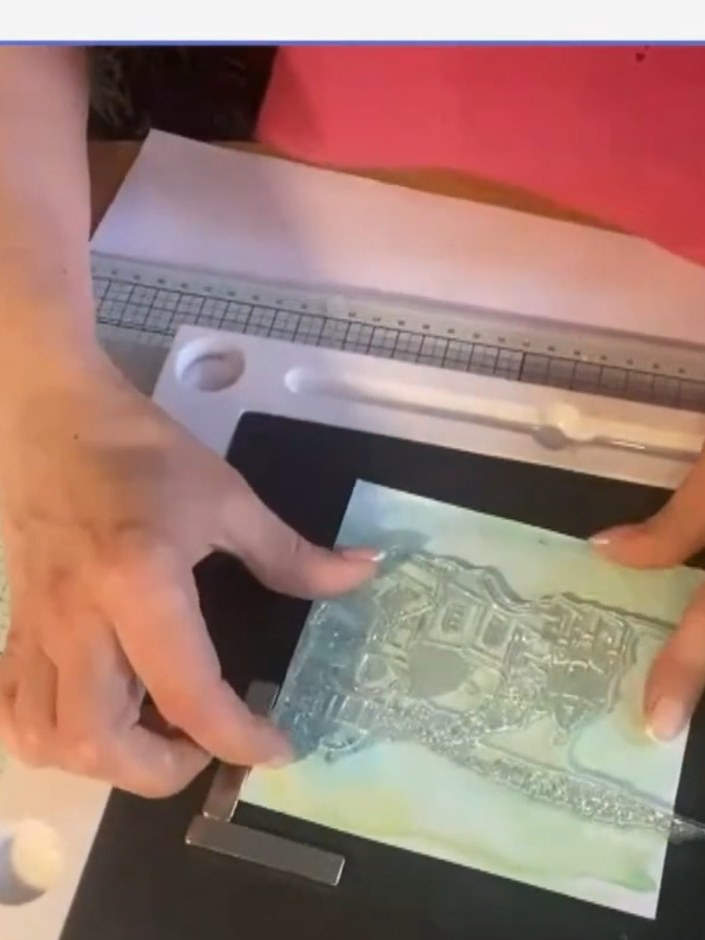
Using your stamp tool with broken china and mermaid lagoon distress oxide inks, stamp the rooftop scene from the 'In Paradise' stamp set onto your blended background panel.
▶ watch this step (11:00)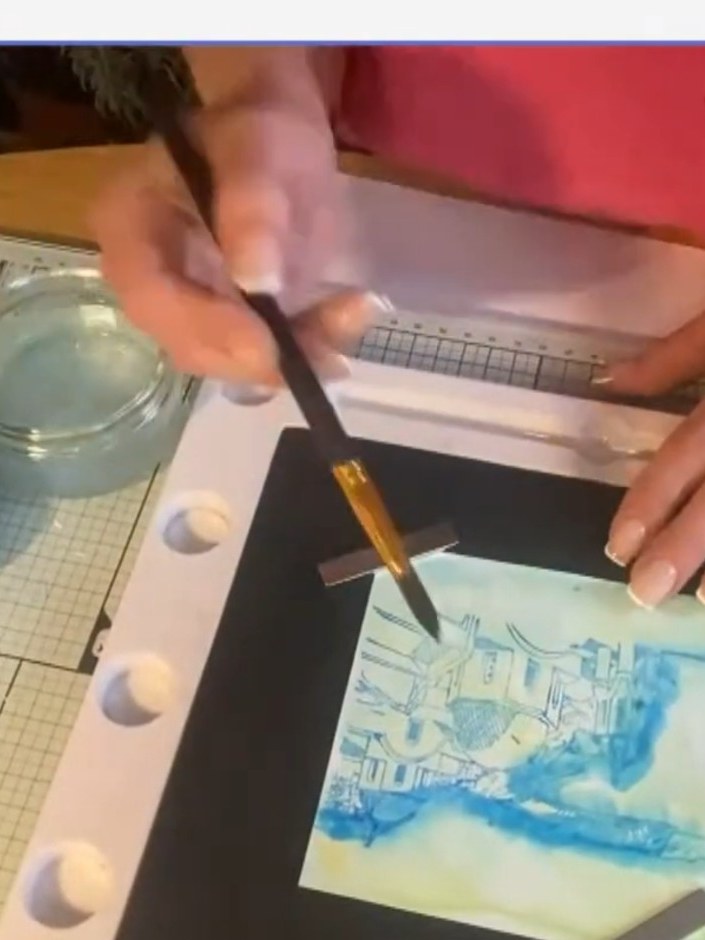
Using a small round brush dipped in clean water, gently blend the edges of the stamped image outward to create a soft, diffused watercolour effect.
▶ watch this step (12:15)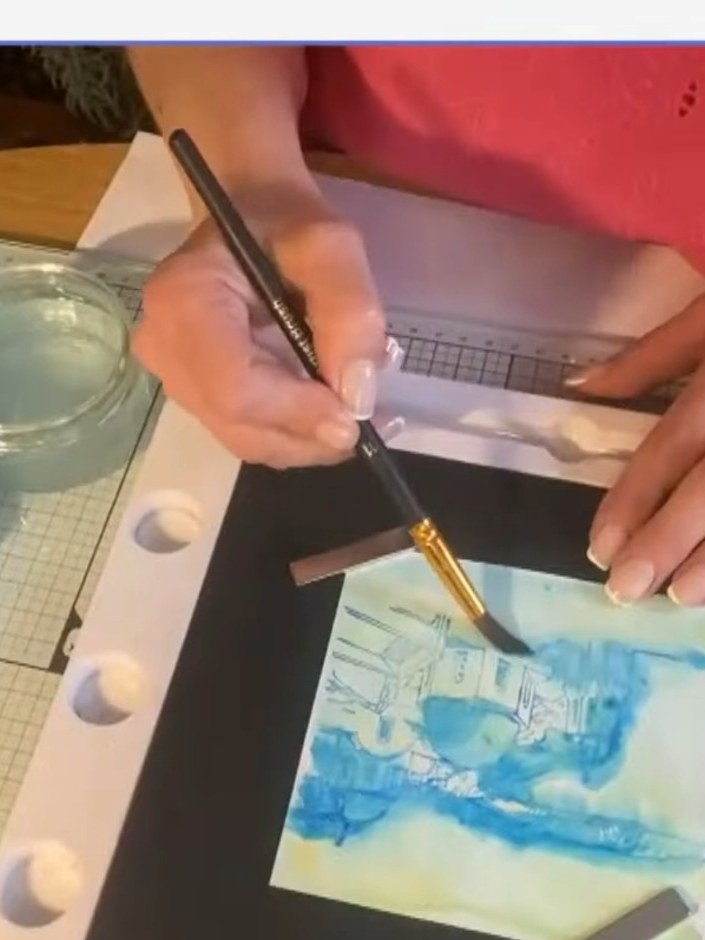
Using a water brush, add extra water lines beyond the blended blue area to help the colour seep further into the background, creating a natural transition.
▶ watch this step (12:30)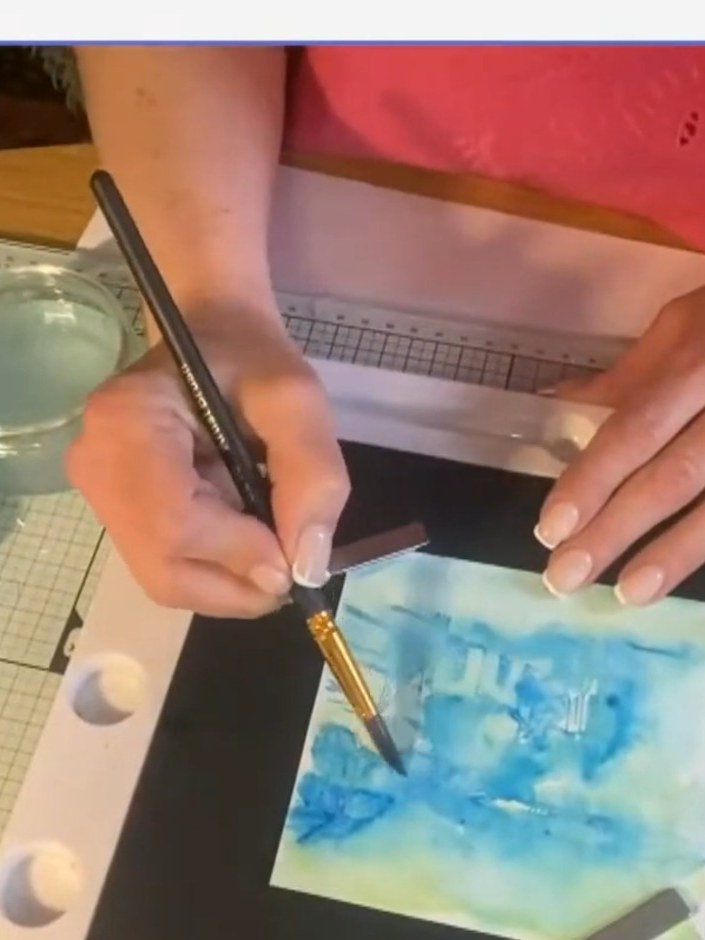
Heat dry the blended blue and green background completely. Using the handle end of a stamp pad, dab metallic ink onto the dried background to create bubble textures throughout the design.
▶ watch this step (13:15)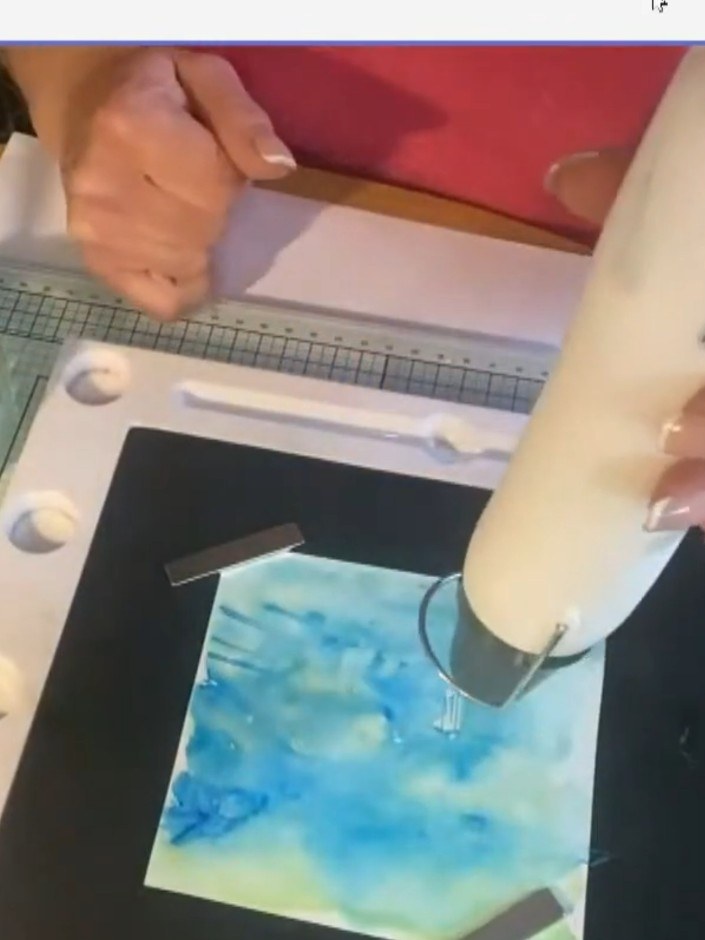
Using a heat tool, dry the blended background thoroughly to set the inks. Hold the heat tool above the card and move it gently across the surface until completely dry.
▶ watch this step (13:45)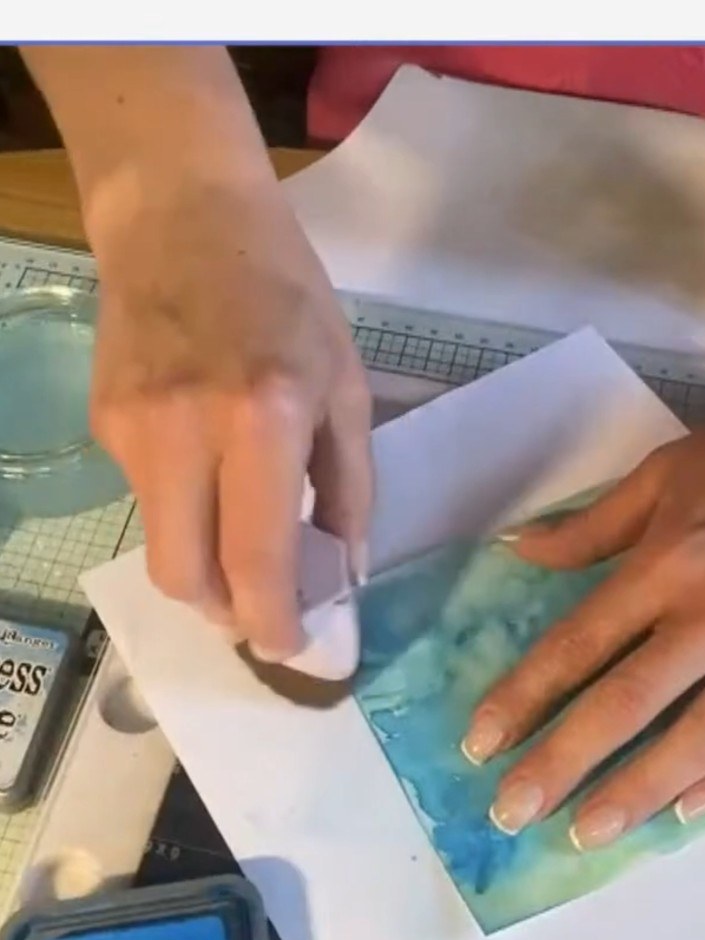
Stamp the fish from the 'Under the Sea' stamp set onto clean white paper using your Eureka stamping tool. Position the stamp carefully to create a clear impression.
▶ watch this step (16:15)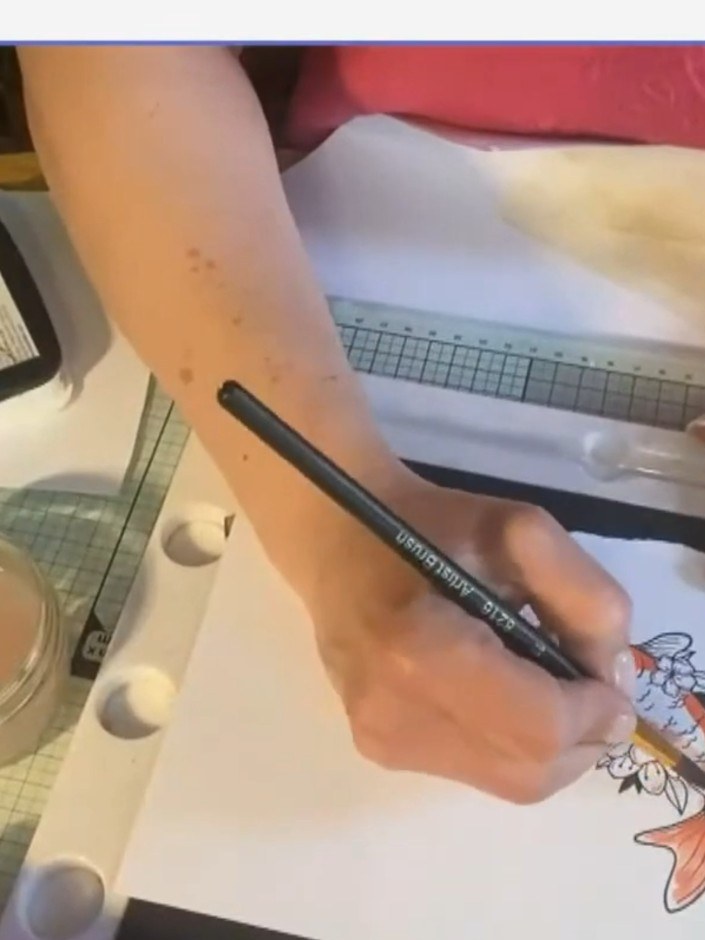
Colour the fish using Hemi paints, starting with lighter tones. Build up the colour gradually, then add depth by applying darker shades to create dimension.
▶ watch this step (18:00)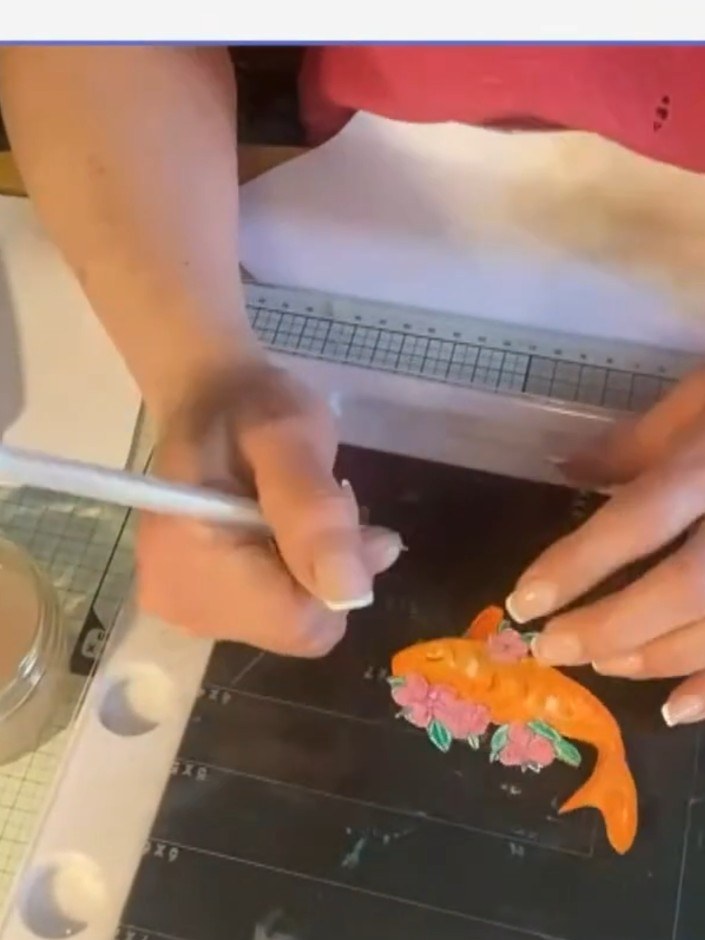
Use a white gel pen to add fine details to the fish, including eyes and highlights on the body.
▶ watch this step (19:00)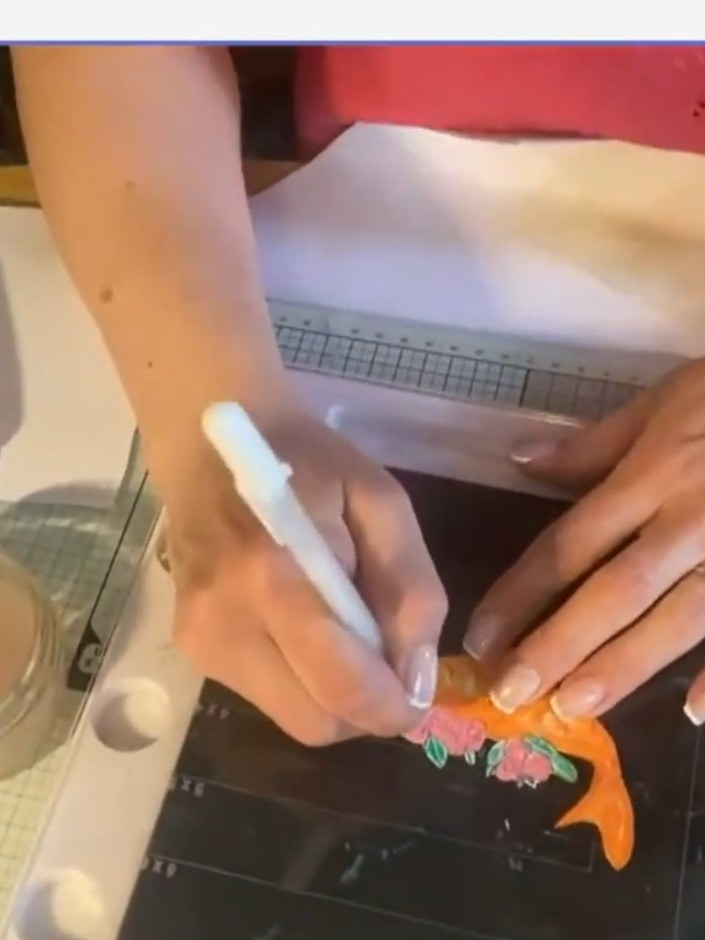
Attach the coloured fish die-cut to the blended background card using foam pads to add dimension. Position the orange fish centrally on the card front.
▶ watch this step (19:45)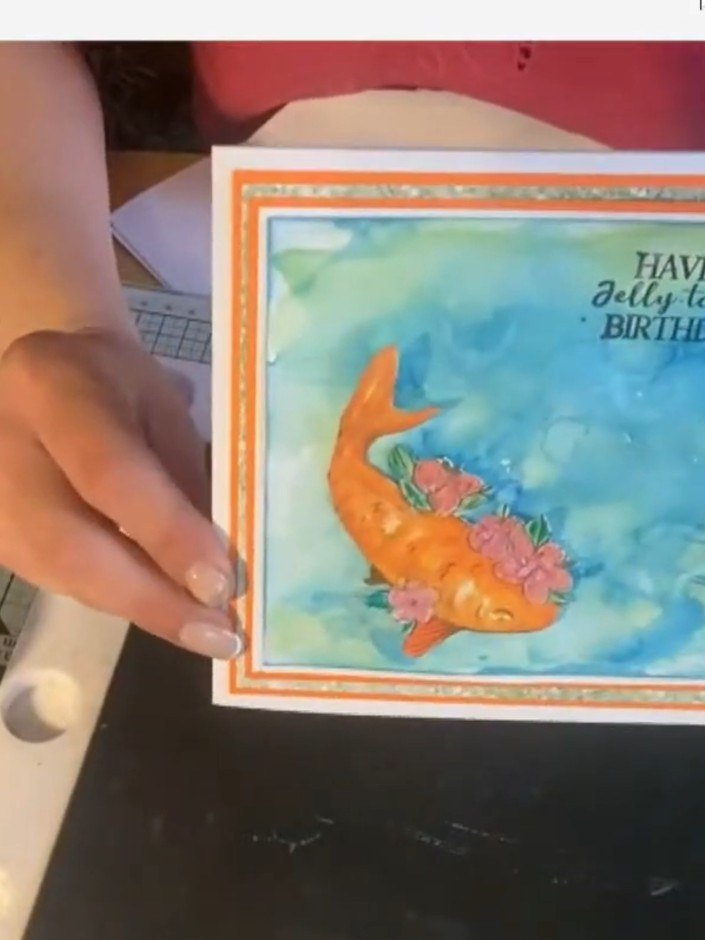
Stamp a sentiment such as 'Have a Jellyastic Birthday' in black ink at the top of the card panel.
▶ watch this step (21:15)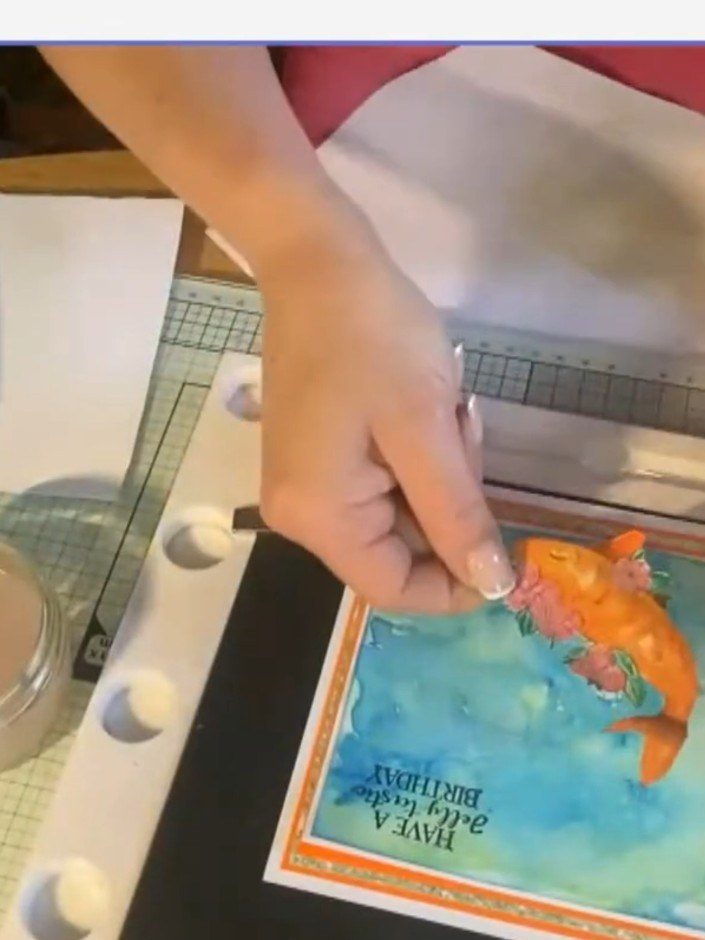
Attach the sentiment layer to the front of the card to complete your underwater scene card with the orange fish and blended blue background.
▶ watch this step (21:45)Written up from the show itself. See every guide from our shows · free how-to guides · watch live on My Telly

