Give your friends €10 off their first order!
Refer a FRIEND








Prices change straight away. Every language is our own translation, not Google.
A project from our live show ONE DAY SPECIAL - Join Toni for her brand new launch - Broadcast 21st March 2025 · 21/03/2025 · watch it from 22:30
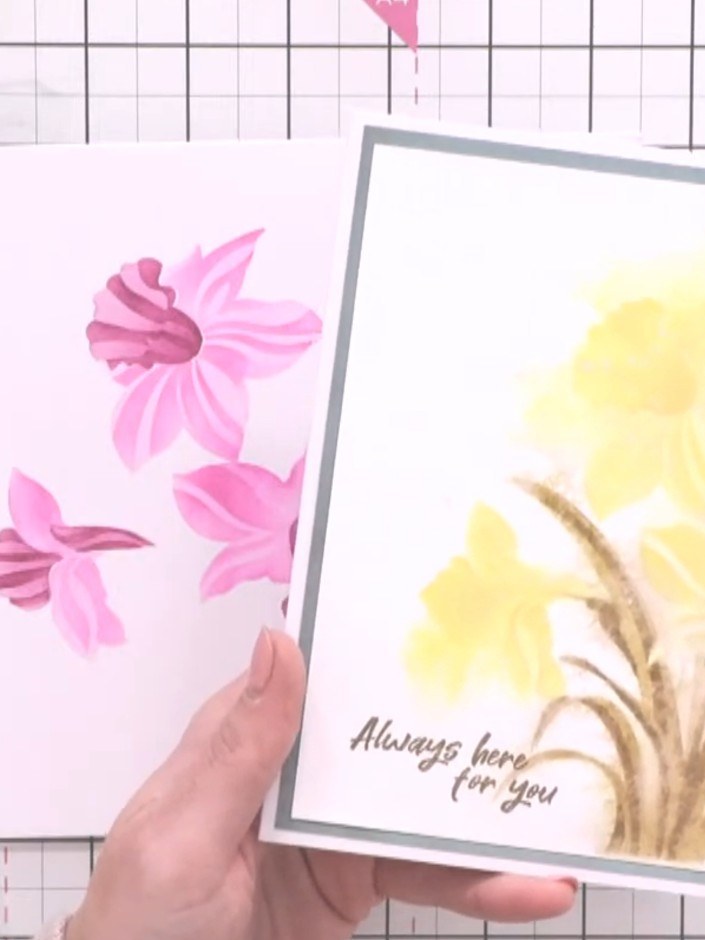
Create a beautiful shaped daffodil card using layered stencils and watercolour techniques. This artistic card features soft blended colours in pink, purple and teal with a semi-transparent, hand-painted effect. The design showcases the elegant daffodil motif with delicate colour transitions and dimensional layering.
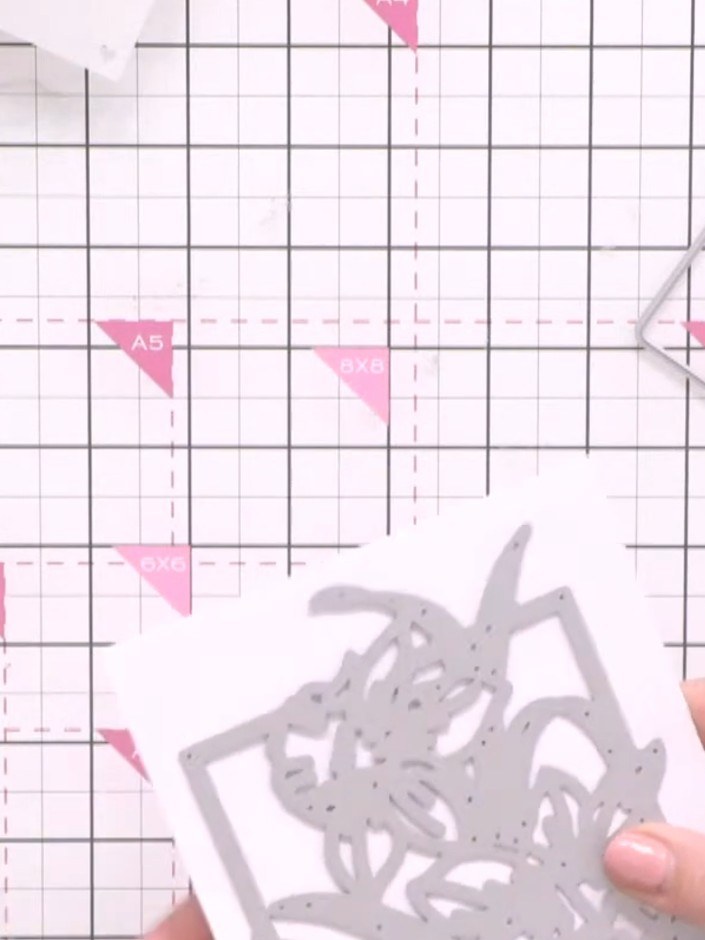
Cut the detailed daffodil die from white cardstock using a die-cutting machine, placing a shim underneath for better cutting.
▶ watch this step (24:00)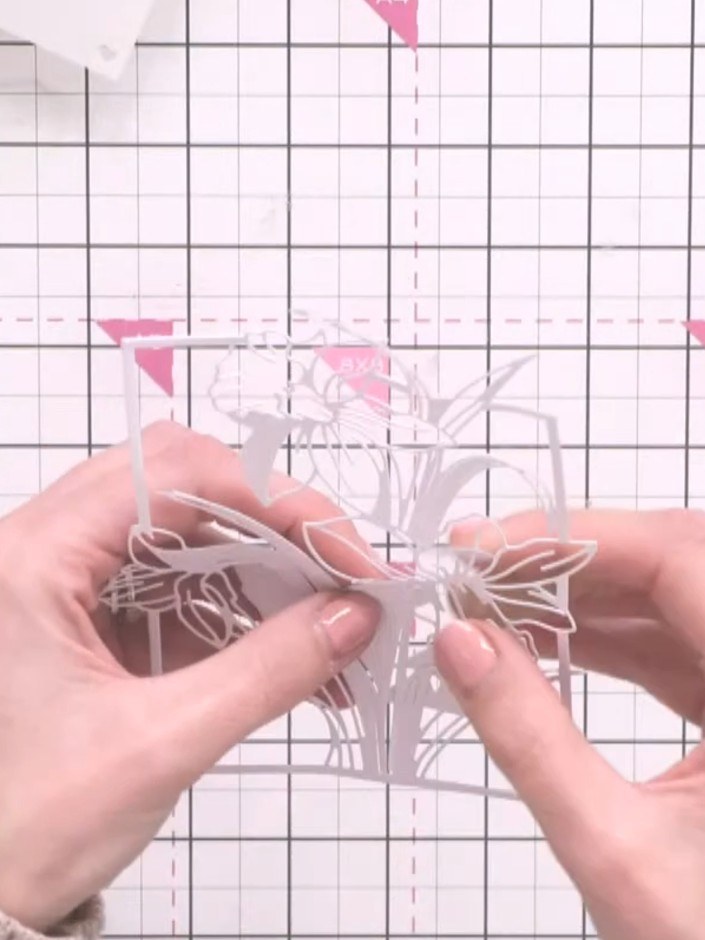
Carefully pop out all the cut pieces from the die-cut sheet using a craft tool or your fingers. Take care with delicate areas such as the flower petals and stems to avoid tearing.
▶ watch this step (26:00)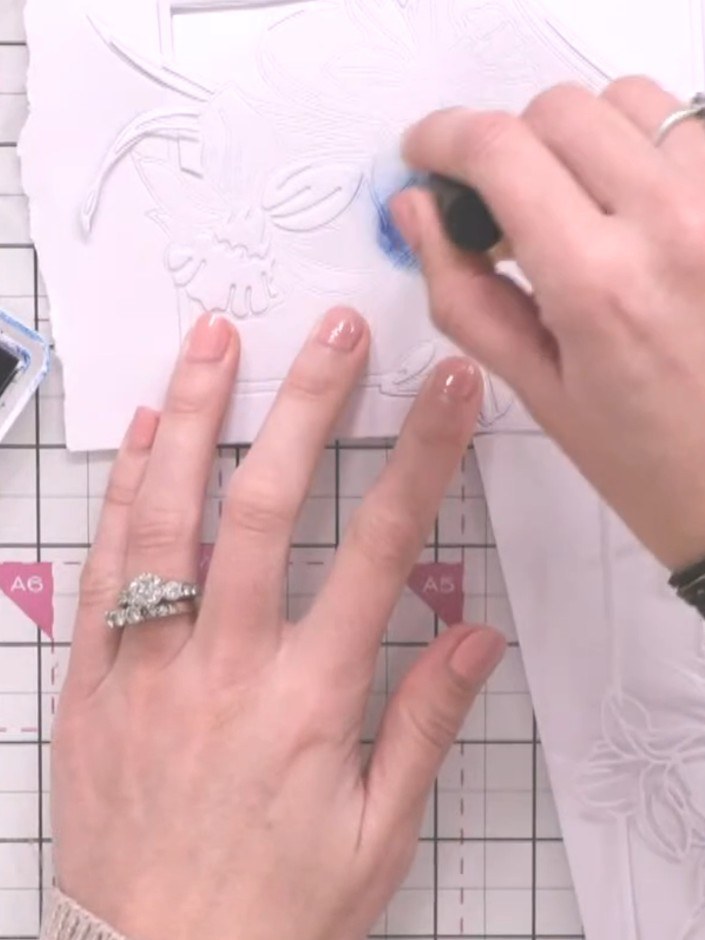
Using a brush and light pink ink, tap colour onto the outer petals of the white daffodil piece, focusing on the edges to add subtle shading.
▶ watch this step (28:00)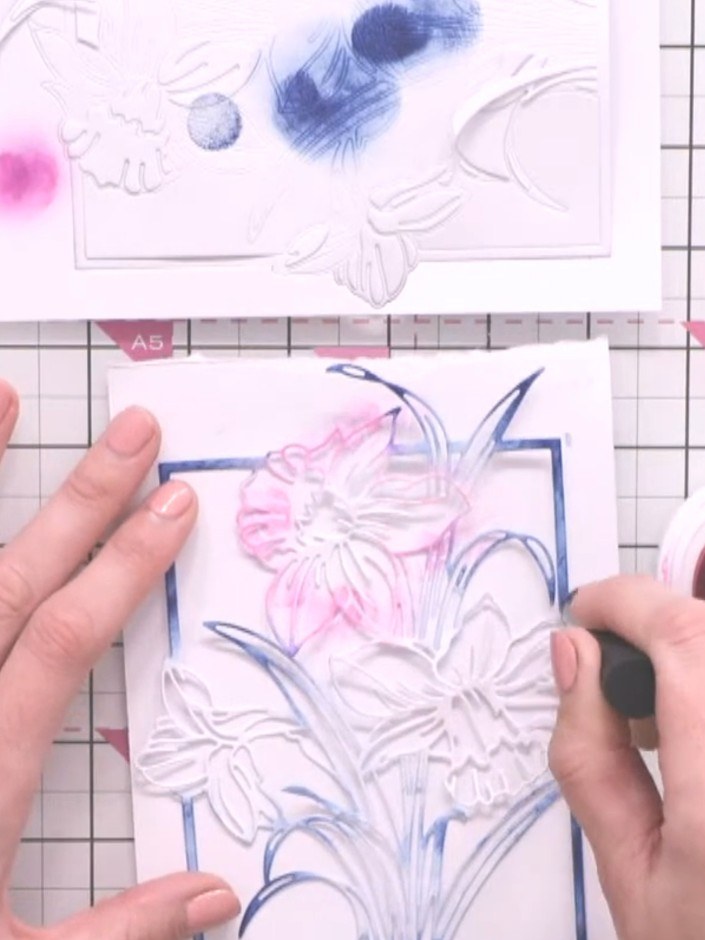
Using a darker purple ink pad, tap colour into the centre of each flower petal on the embossed design to add depth and shading. Work gently to build up the colour gradually. Apply teal ink to the leaves and stem of your daffodil design. Create darker tones at the tips and lighter tones towards the centre for a gradient effect.
▶ watch this step (32:00)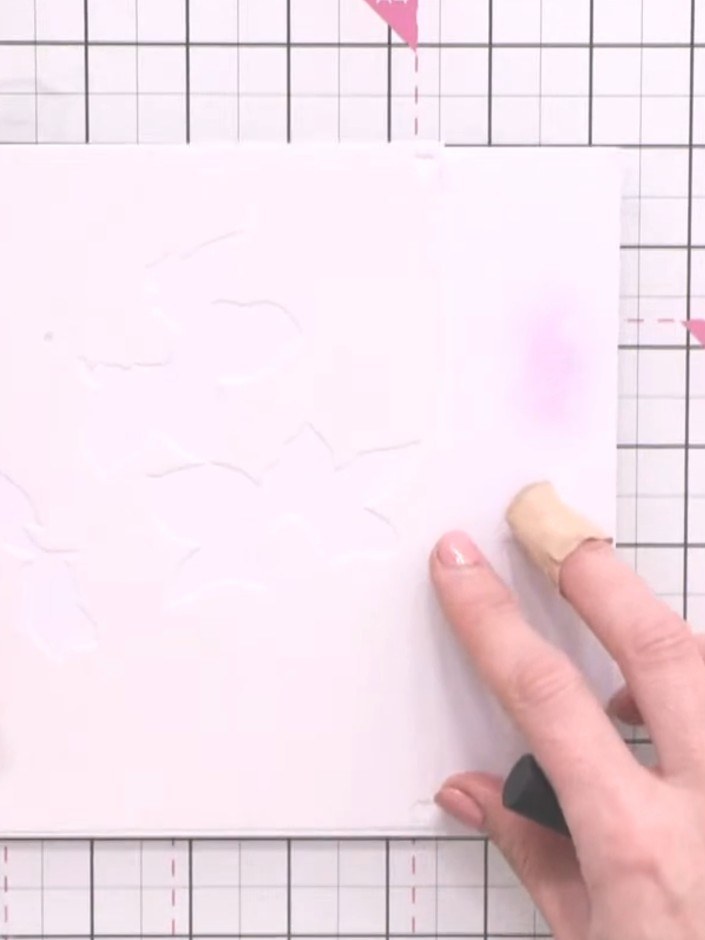
Position stencil number one over the white card piece. Using a blending brush, apply light pink ink through the stencil with gentle tapping motions to create a soft watercolour effect.
▶ watch this step (39:45)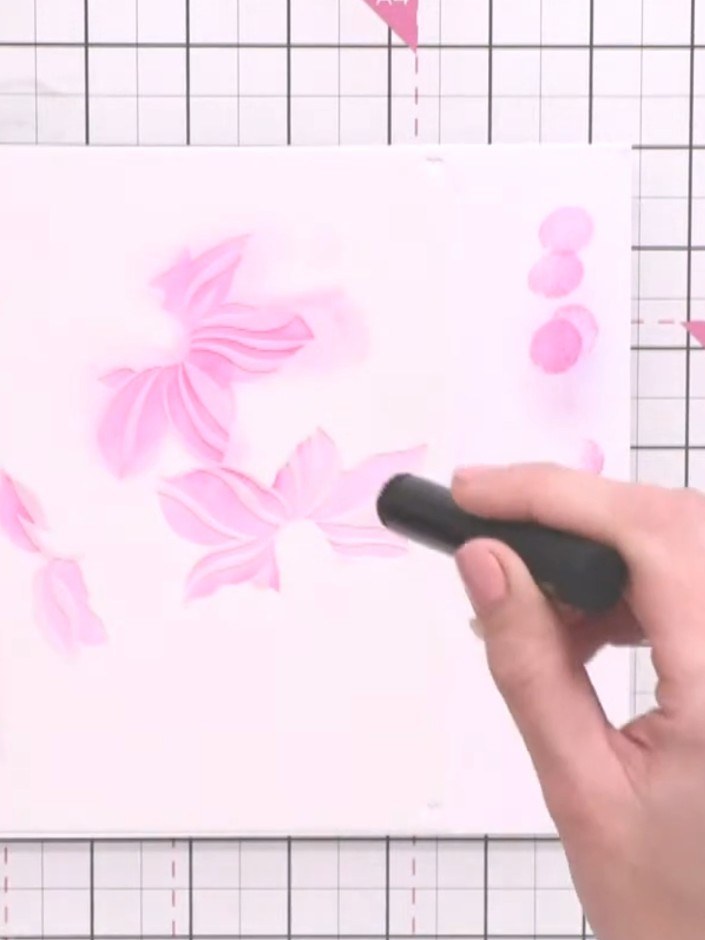
Position stencil number two over the same area on your card. Apply slightly darker pink ink using the blending tool to add more detail and definition to the daffodil design.
▶ watch this step (41:00)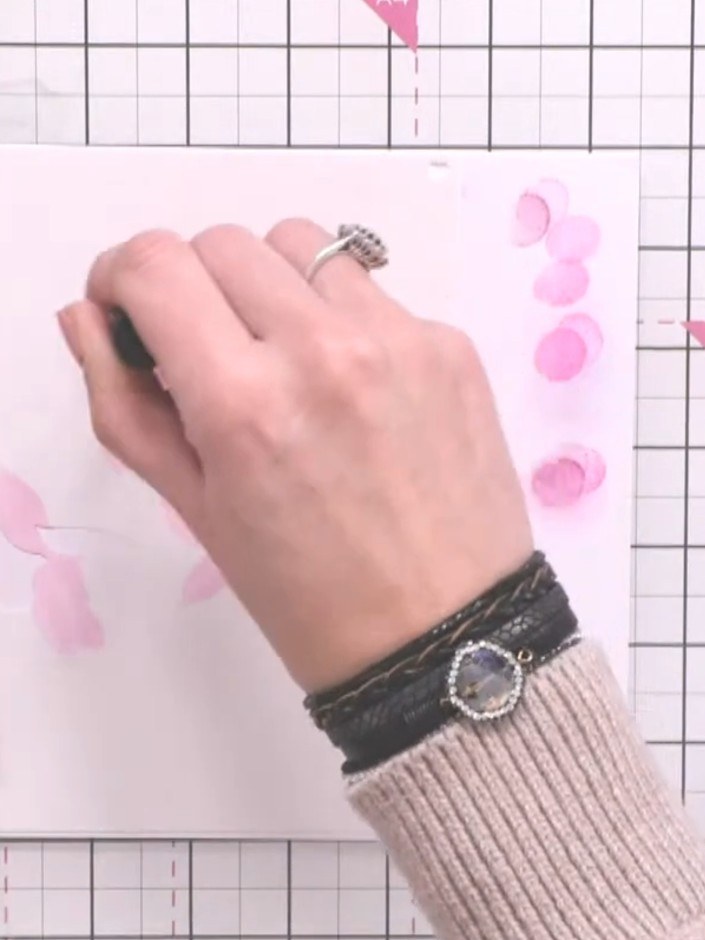
Position stencil number three over the flower centre. Apply a darker shade of pink ink through the stencil to build up depth and dimension in the layered design.
▶ watch this step (42:00)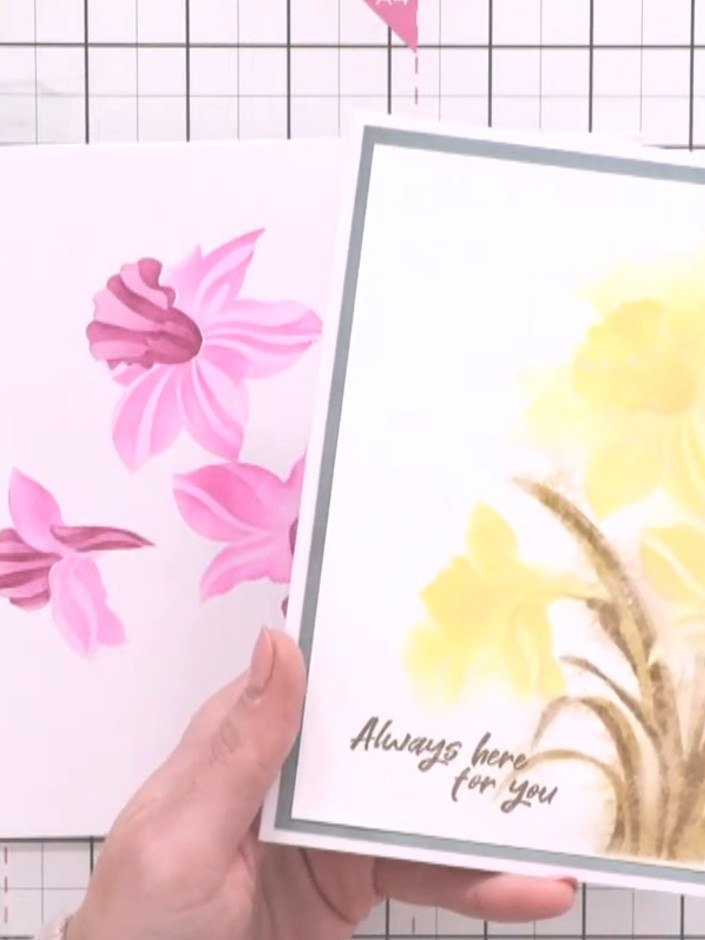
Lightly spray the layered stencil work with water to create a soft watercolour bleed effect between the yellow and gold colours on the daffodils. Cut the daffodil outline die from white cardstock to create the shaped card template. Run it through the die-cutting machine without a shim to achieve a clean cut.
▶ watch this step (44:30)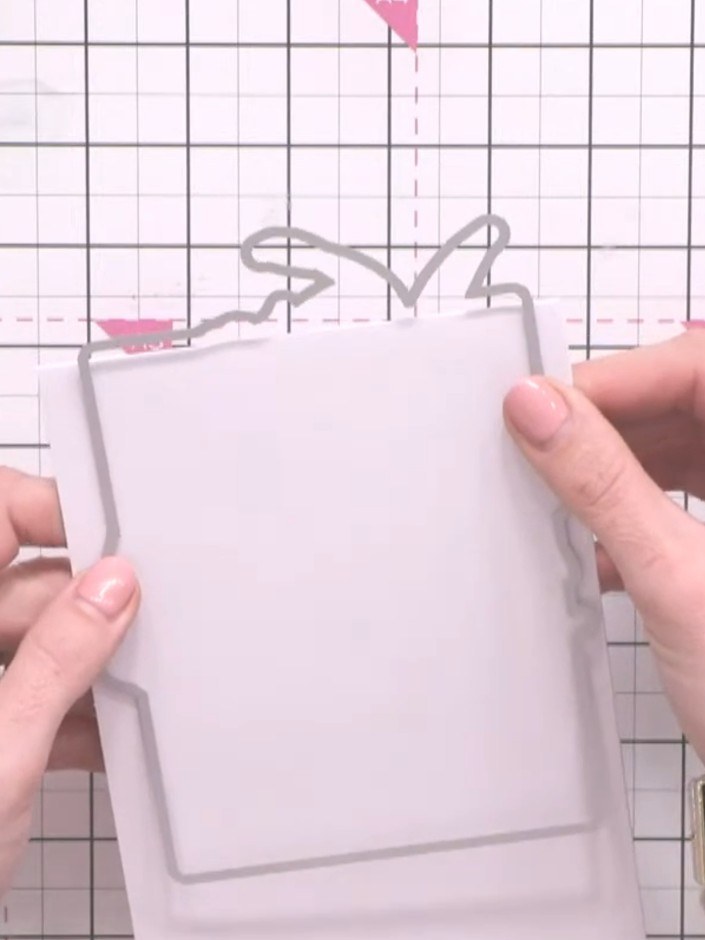
Position the outline die across the top hinge of a folded white notecard so it cuts the shaped edge but leaves the fold intact to create a shaped card base.
▶ watch this step (52:00)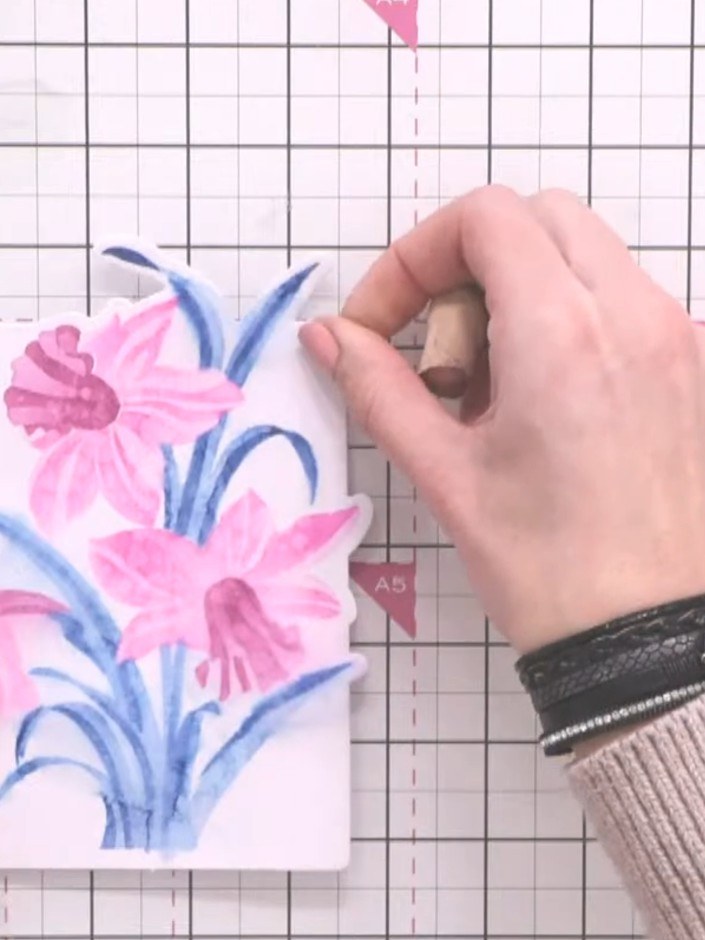
Attach the coloured daffodil piece to the shaped card base using tape or glue to complete your card.
▶ watch this step (53:30)Written up from the show itself. See every guide from our shows · free how-to guides · watch live on My Telly




